Working with text in Silhouette Studio offers so many options for personalization! One of my favorite tools is Text on Path. This tool allows you to “bend” your test to fit almost any shape! Best of all, you can do this in all levels of Silhouette Studio!!
Curved Text
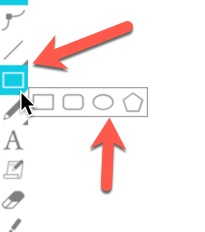
Let’s start with an easy project, curving text. Open your Silhouette Studio. Left click on the drawing tools and select the ellipse tool. Bring the cursor into the workspace and left click and drag to create a shape. (If you want a circle instead of an ellipse, be sure to hold the Shift key down as you left click and drag your shape.)
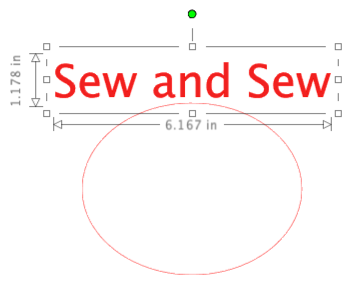
Now we’ll add some text. Click on the Text tool in the left tool bar. Bring the cursor into the workspace and left click to get your text placeholder and blinking cursor. Enter your text. Left click off the text to exit text mode and add some color to your lettering by clicking on the Fill icon in the Quick Access Toolbar (QAT).
Double click on the text so you are back in text editing mode. You should see a four-headed arrow icon in the lower left corner of the text box.
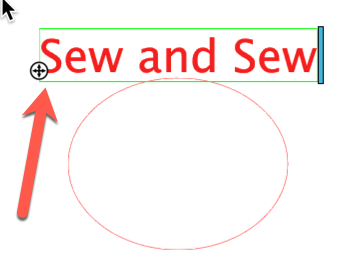
Left click and drag the icon down to the edge of the ellipse. The text should snap to the edge of the ellipse. You can then use the icon to move the text around on the shape until you have it placed where you want it to be.
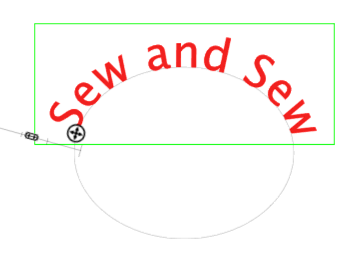
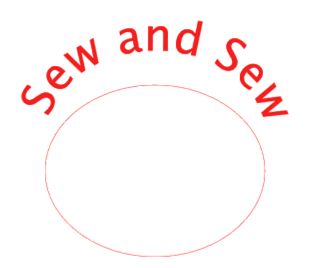
This looks great … but what about the ellipse?? We don’t want that in our design. If you look closely, you will see that the ellipse has a grey line. If you try moving either the text or the ellipse, they move together. Left click on the text to select it. Right click and select Convert to Path. The ellipse line color will revert to red and the text and ellipse are no longer joined. You can now select the ellipse and press the Delete key on the keyboard to get rid of it.
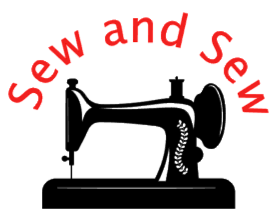
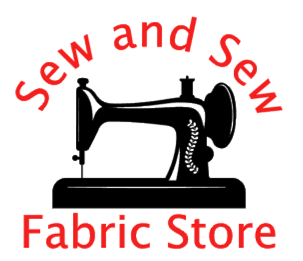
I added a line of straight text and merged a sewing machine design into my workspace and centered it underneath the curved lettering to show you how a finished design would look.
Text on a Hexagon
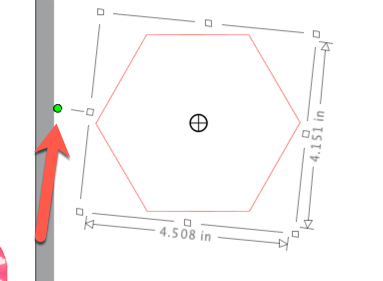
Continuing to work with shapes available in all levels, let’s draw a hexagon. Click on the Drawing tools icon and select the Draw a Regular Polygon icon (it looks like a pentagon). Bring your cursor into the workspace and left click and drag to create a shape.
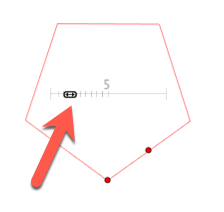
Notice the two red dots in the shape … you can use these to adjust the size of your shape. Left click and drag on the slider in the middle of the shape to increase the number of sides in the shape. We want a hexagon, so just increase the number to 6. Right click and select Convert to path. Use the rotation handle to adjust the orientation of the shape.
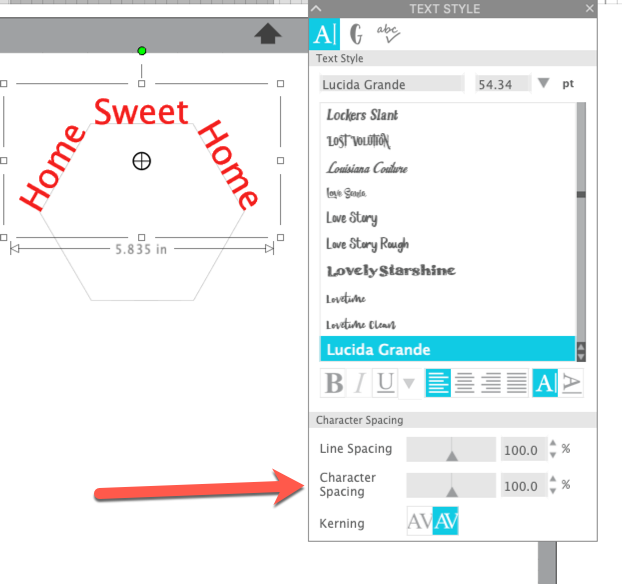
Click on the Text icon in the left toolbar. Click in the workspace and enter the text “Home Sweet Home”. Click off the text and add color to the text using the Fill icon in the QAT. If necessary, adjust the size of the text so it will be in proportion to your shape. I moved my text up so it was on top of the hexagon and sized the word “sweet” so it will fit on the top side of the hexagon.

Double click on the text. When you see the 4-headed arrow icon, left click and drag it down to the hexagon. Arrange it so each word is on a different side of the hexagon. You can adjust the size of your text as needed. You can also use the Character Spacing slider in the Text Style box to adjust the spacing between the letters so it fits your shape.
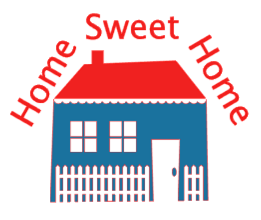
When you have the lettering spaced the way you want, right click on the text and select Convert to Path. Delete the hexagon. I added a house to complete the design.
Inside a Heart
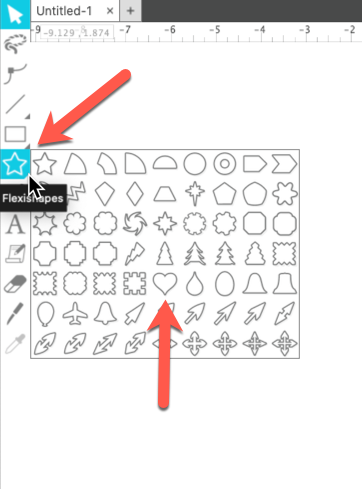
Create a new workspace. We are going to use a heart created using Flexishapes. Flexishapes are a feature available in Designer Edition + and Business Edition of Silhouette Studio. Click on the Flexishapes icon in the left toolbar. Select the heart. (If you don’t have DE+ or BE, any heart shape you have will work just fine.)
Move the cursor into the workspace and left click & drag to create a heart. Adjust the size of the heart and when you are satisfied, right click and select Convert to Path. Click on the Text icon in the left toolbar and click in the workspace. Add the word “Love” to the design. Fill the word with color using the Fill icon in the QAT. I used the font called Love Story from the Silhouette Design Store.
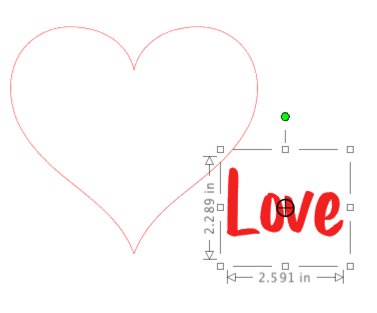
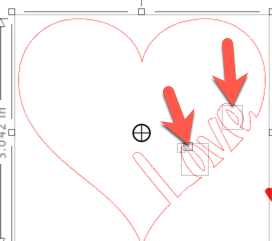
Double click on the text. Left click and drag the 4-headed arrow over to the heart. This time instead of snapping to the outside of the line, move the text inside the heart and allow the text to snap to the inside of the heart. Use the slider to adjust the text in relation to the line. I moved my text down so it is just outside the heart.
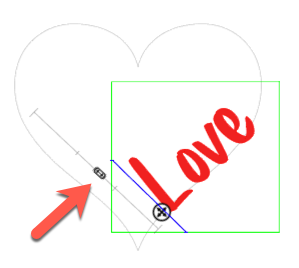
I used the Character spacing in my text to get the letters placed just right. When you have the text the way you want it, right click and select Convert to Path. Click on the text to select it. Right click and select Duplicate. Left click and drag the duplicate away from the heart.
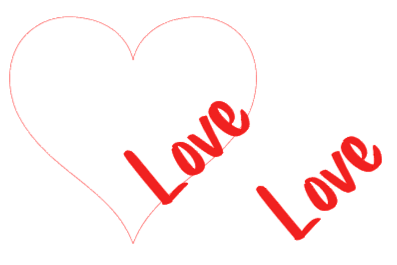
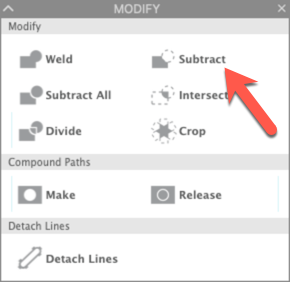
Select the heart and the word. In the Modify panel on the right toolbar, select Subtract.
When you subtract the word from the heart, the word will be deleted but some small parts will be created. Left click on these small parts and delete them.
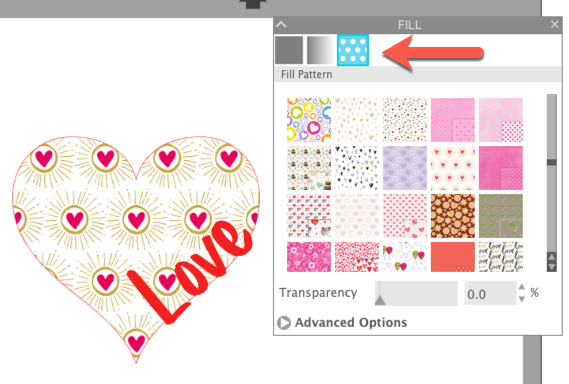
Left click and drag the duplicate word up into the spaces created when you subtracted the word. With the heart selected, click on the Fill icon in the right toolbar. Click on the Pattern tab and select a pattern to fill the heart.
And there you go! Three different ways to use Text to Path! I hope you like these examples and will find using Text to Path to be fun and easy!!
If you enjoyed these tips, please join my Facebook groups … Libby’s Silhouette Group — Tips, Tricks, Tutorials and Projects, Libby’s Craft and Sewing Group and Running With Sisers – Juliet and Romeo. You can also find me on FB at Libby’s Loft.com. Please join and feel free to ask questions and share your creations! I look forward to seeing you there!!
Until Next Time,
Happy Crafting!!
Disclaimer: Posts on this site may contain affiliate links. Clicking on one of these links or making purchases at linked sites does not mean you pay more for your purchases. It means I may receive a small commission on your purchase. This commission helps defray the costs of this site and enables me to continue to provide you with new and exciting content.
Until next time,
Happy Crafting!!
Disclaimer: Posts on this site may contain affiliate links. Clicking on one of these links or making purchases at linked sites does not mean you pay more for your purchases. It means I may receive a small commission on your purchase. This commission helps defray the costs of this site and enables me to continue to provide you with new and exciting content.