The latest update to Brother’s CanvasWorkspace (v2.3) includes a new Fit to Path feature. I love this new feature and think you will love it to! Let’s get started….
Curved Text
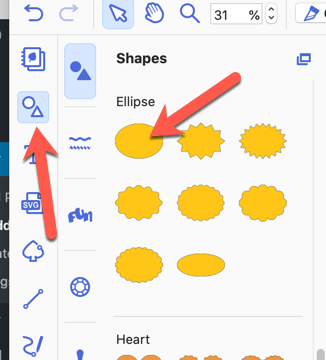
Open a new page in your CanvasWorkspace. Click on the Shapes tool in the left toolbar. The Shapes menu will open. Scroll down to the Ellipse section. Click on the ellipse icon to place the ellipse in your workspace.
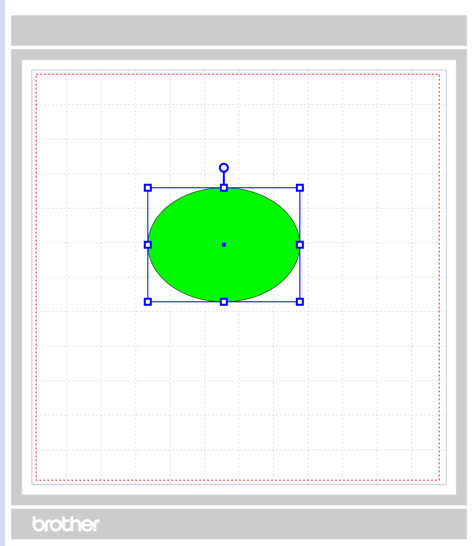
Left click and drag the ellipse down toward the center of the workspace so you have room to work. Click on the Fill icon and add color to the ellipse. I like to add color to my shapes so they are easier to see.
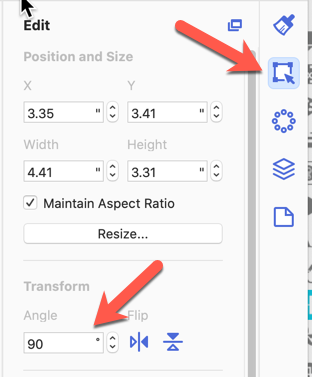
I rotated the ellipse by entering 90 in the Angle box in the Transform section of the Edit panel.
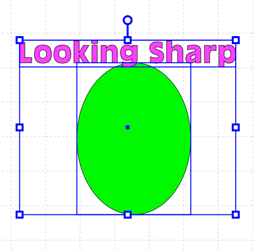
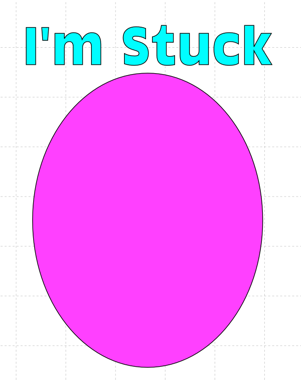
Click on the Text icon in the left toolbar. Click in the workspace. Enter your text in the text box. Press the Enter key. I added color to my text using the Fill icon in the top toolbar.
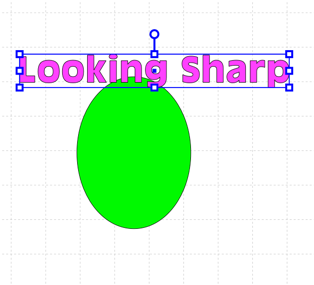
If necessary, adjust the size of your text so it will fit nicely on your ellipse. Once you are satisfied with the size, left click and drag a box round both the text and the ellipse so both are selected.
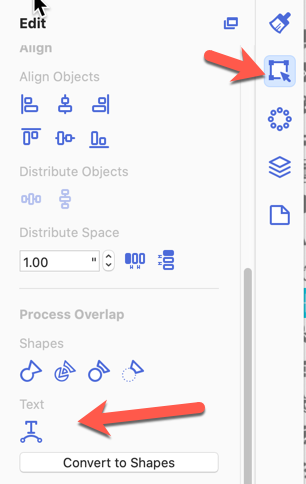
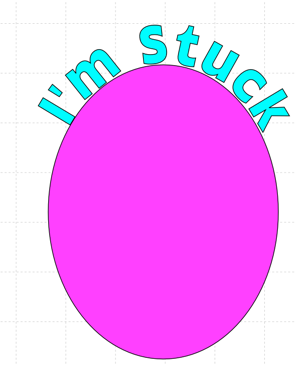
With both objects selected, click on the Text icon in the Process Overlap section of the Edit tab.
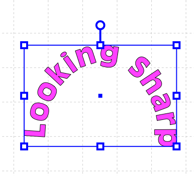
Your text will be placed along the shape. Left click and drag the “+” in front of the text to move the text into position on the ellipse.

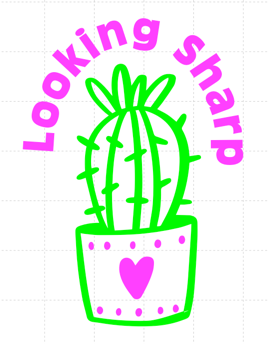
Click on the Convert to Shapes button in the Process Overlap area on the Edit tab. The ellipse will be deleted and the text will now be an object. This means you can no longer edit the text. For this reason I often make a copy of the text before I apply the shaping, “just in case”.
I added an SVG design I purchased from the Silhouette Design Store. This is a great place to get inexpensive SVG files to use with your Scan ‘n Cut.
Double Curve — top and bottom
Clear your workspace. Select the ellipse from the Shapes tab. Move the ellipse down toward the center of the workspace so you have room to work. Adjust the size and shape of your ellipse, if desired. Right click on and select Copy. We will use this copy later. Click on the Text icon and click in the workspace. Enter your test. I added color to mine so it is easier to see.
Left click and drag a box around the ellipse and the text. Click on the Text icon in the Process Overlap area of the Edit Tab. Left click and drag the “+” to position the text on top of the ellipse. Click on Convert to Shapes. The ellipse is deleted. Right click and Paste the ellipse into the workspace. Left click and drag it up under the text.
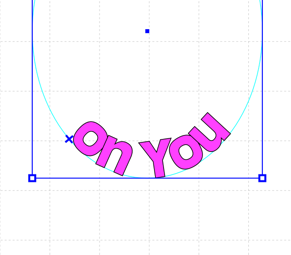
Click on the Text icon and enter your second line of text. Select the ellipse and the second line of text. Click on the Text icon in the Process Overlap section of the Edit tab. Left click and drag the “+” to position the text.
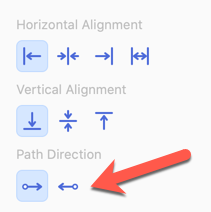
Click on the Properties tab in the right toolbar. With the text still selected, click on the End to Start icon in the Path Direction section of the Properties tab.
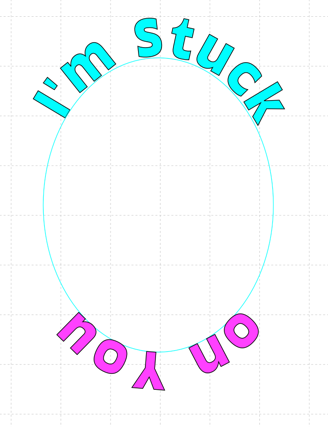
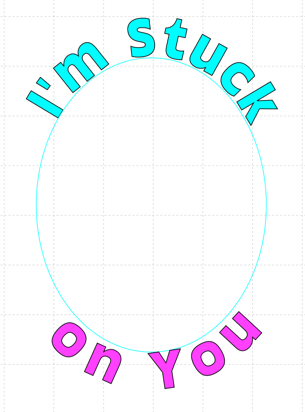
The text now goes the right direction! Use the “+” to move the text into position at the bottom of the ellipse.
With this text still selected, click on the Top icon in the Vertical Alignment section of the Properties tab.
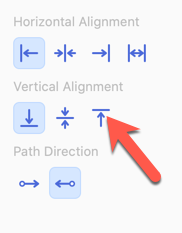
The text is now on the outside of the ellipse!!
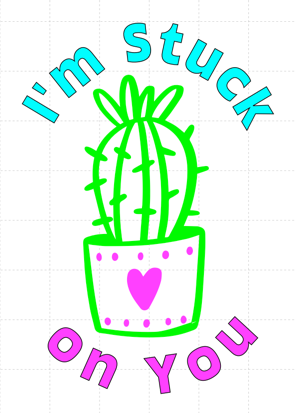
Click on the Edit tab and select Convert to Shapes in the Process Overlap section. The ellipse is deleted. I added the cactus design back into the workspace.
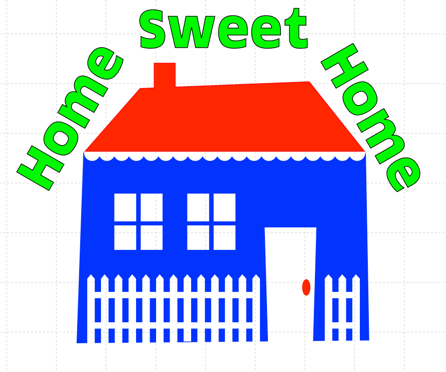
Examples Using Other Shapes
Using the steps listed above, I created a number of designs using a variety of shapes. In this one, I used a hexagon for shaping the text.
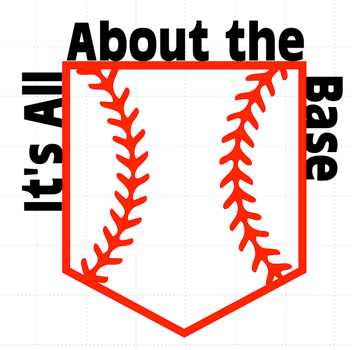
In this example, the outline of the base was used to shape the text.
I used the heart to shape the text. Then I created an offset for the text and subtracted the offset from the heart.

The possibilities are endless using this great new tool!! I hope you will try it and will post pictures of your creations in the FB group!
If you enjoyed these tips, please join my Facebook groups … Libby’s Silhouette Group — Tips, Tricks, Tutorials and Projects, Libby’s Craft and Sewing Group and Running With Sisers – Juliet and Romeo. You can also find me on FB at Libby’s Loft.com. Please join and feel free to ask questions and share your creations! I look forward to seeing you there!!
Until Next Time,
Happy Crafting!!
Disclaimer: Posts on this site may contain affiliate links. Clicking on one of these links or making purchases at linked sites does not mean you pay more for your purchases. It means I may receive a small commission on your purchase. This commission helps defray the costs of this site and enables me to continue to provide you with new and exciting content.
Until next time,
Happy Crafting!!
Disclaimer: Posts on this site may contain affiliate links. Clicking on one of these links or making purchases at linked sites does not mean you pay more for your purchases. It means I may receive a small commission on your purchase. This commission helps defray the costs of this site and enables me to continue to provide you with new and exciting content.