Want to add a “soft” edge to your photos but don’t have any photo-editing software? Silhouette Studio to the rescue!! Let’s get started!
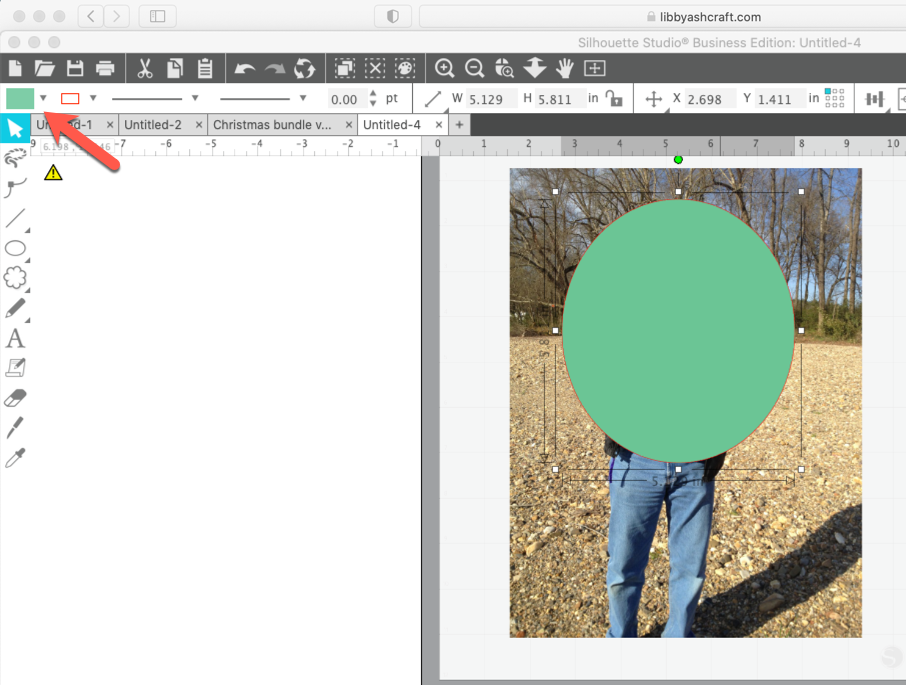
Open your image in Silhouette Studio. Select the Ellipse tool from the Draw Tools flyout menu. Bring the cursor into the workspace and left click and drag to create an ellipse. Click on the Fill icon in the Quick Access toolbar and select a color.
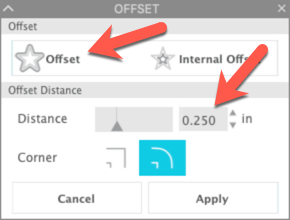
With the ellipse selected, click the Offset icon in the right toolbar. Click on Offset and set the distance to 0.25″. Click Apply.
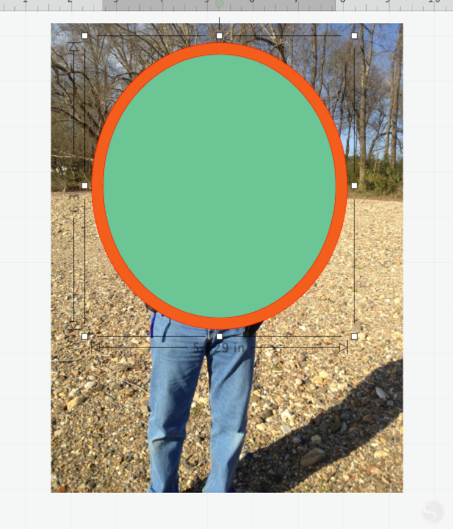
The offset will be selected. Click on the Fill icon in the Quick Access toolbar and add color to the offset.
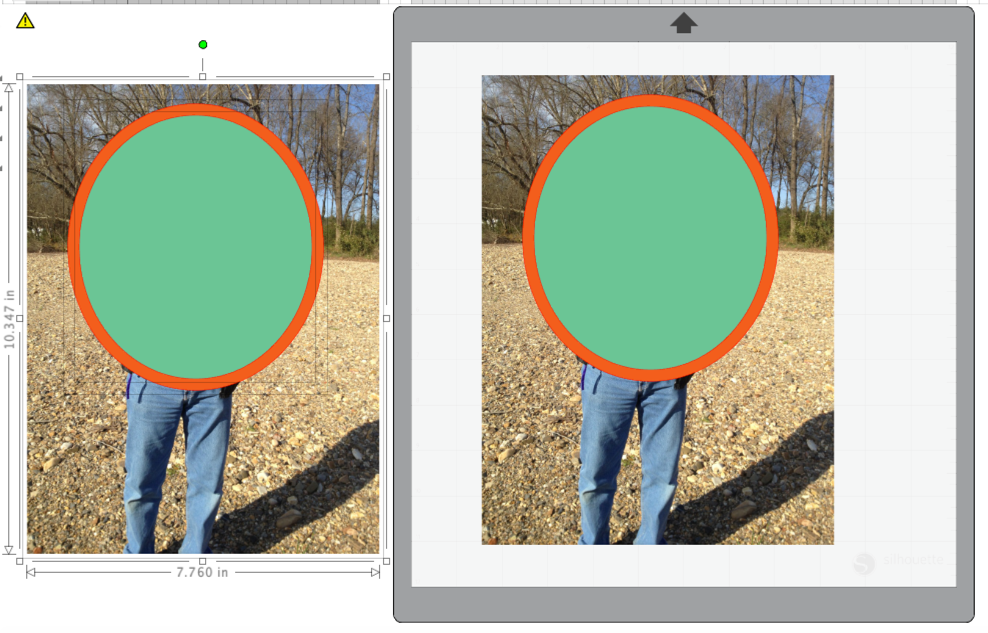
Left click and drag a box around all three items. Right click and select Duplicate. Left click and drag the duplicate items off the mat.
On the mat, click on the original ellipse to select it. Hold down the Shift key and select the photo. Click on the Modify icon in the right toolbar.
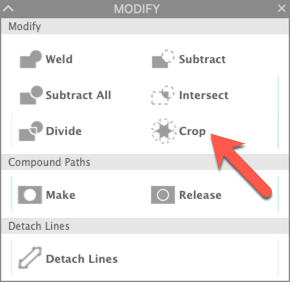
Click on the Crop icon. The photo will be cropped by the ellipse. The offset will still be in the workspace.

Click on the offset to delete it.

Now click on the offset and shift click on the photo in the grouping you moved off the mat. Select Crop.
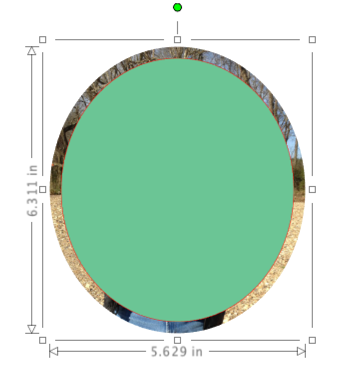
Click on the original ellipse (green in my example) and press the Delete key on the keyboard. Left click and drag the cropped image into the workspace.
Right click on the larger ellipse and select Send to Back. Select both ellipses and click on the Center icon in the Quick Access Toolbar.

We’re almost finished … just one more step! Select the back (larger) ellipse. Click on the Fill icon in the right toolbar to open the Fill panel.
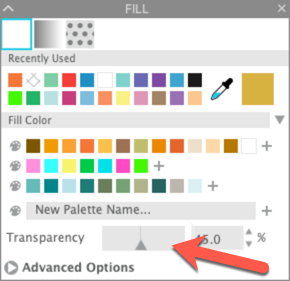
The back ellipse will now be lighter than the inner ellipse, giving a softer edge to the photo.

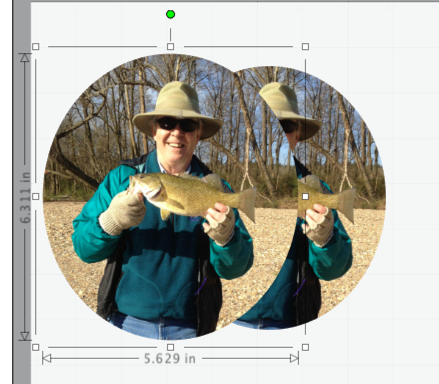
Here’s another example of this technique. To create this effect, duplicate the photo and make sure it is centered on the original. Draw your shape and position it on your photos. Select the shape and the top photo. Select Crop in the Modify Panel. Select the back photo and lower the transparency in the Fill panel.

The techniques used in the examples above are all in the Basic level of Silhouette Studio. Now let’s try something a little different. I will be using a couple of the Flexishapes available in Designer Edition Plus and Business Edition for this technique.
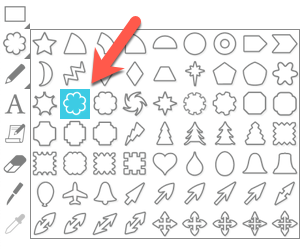
The Flexishapes icon is directly below the drawing tools in the left toolbar. Click on the icon and select a shape … I chose the flower-like shape that is the second one in the third row.
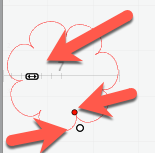
Move your mouse into the workspace and left click and drag to draw your shape. Use the white button to increase the size of the design. The red button increases the depth of the inset into the shape. The slider changes the number of “petals” in our shape. You can learn more about working with flexishapes by clicking here.
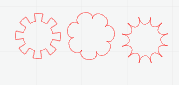
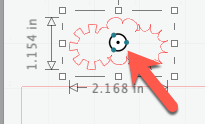
Once the design is sized and shaped to your liking, right click and select Convert to Path. I adjusted the size of my shape to about 1″ square. Now repeat the steps above two more times, using different shapes.
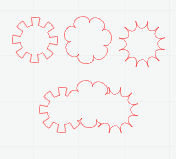
Now move the shapes over each other so they overlap in an interesting way. When you have them arranged, select all 3 shapes. Right click and select Weld. You can see from my shape below that I did not line the shapes up in a straight line — this will make the effect more interesting.
Select the rectangle shape from the Draw Tools in the left tool panel. Move your cursor into the workspace and left click and drag a shape. Mine is about 8.5″ x 11″. Click on the Replicate icon in the right toolbar to open the Replicate panel. Click on the Object on Path tab.
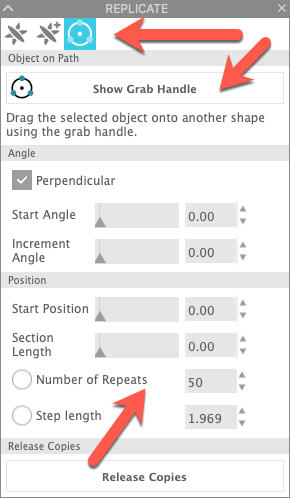
Make sure your created shape is selected, not the rectangle. Click on Show Grab Handle.
Left click and drag the shape over onto the rectangle. It will “grab” the edge of the shape and replicate itself.
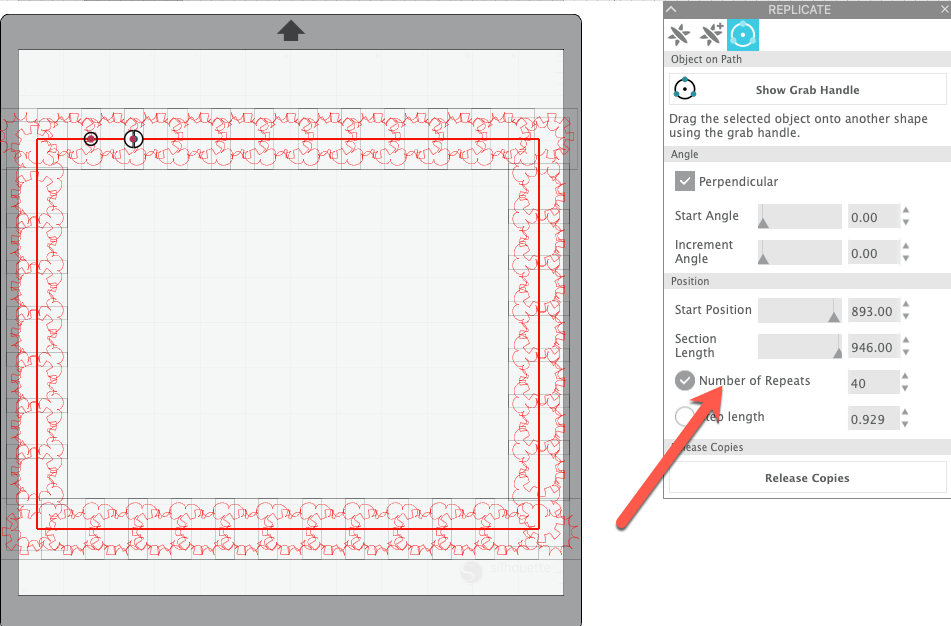
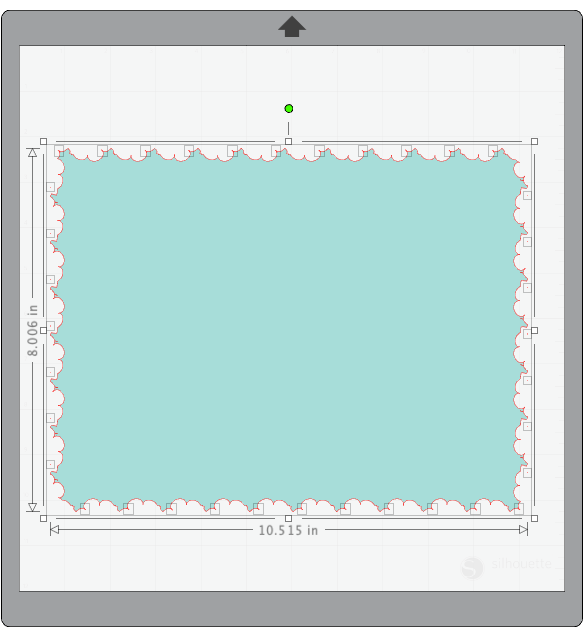
The software will automatically replicate the design enough times to completely cover the rectangle. You can adjust the number of repeats in the Replicate panel. When you have a design you like, click the Release Copies icon. This will detach the shapes from the rectangle and you could delete it if you wanted to do so … but in this case, we are going to use it so don’t delete the rectangle. Left click and drag a box around all the objects on the mat, making sure you get all the elements. (I added color to mine so you can see it better.)
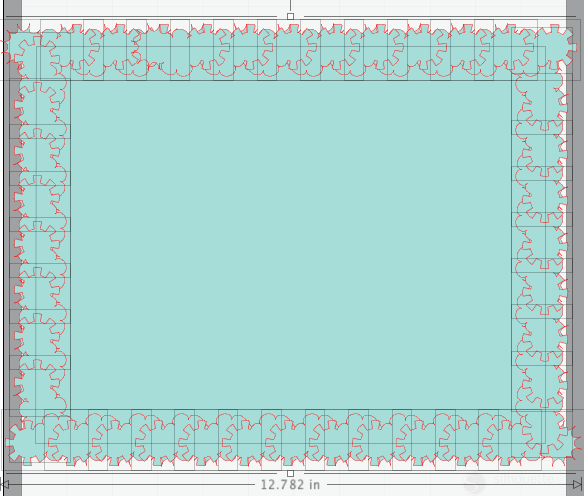
Click on the Modify tab and select Subtract in the Modify panel. It may take a moment for the software to process your request, so be patient.
Before I apply this shape to the photo, I would save this shape so it can be used again. Select Merge from the File Menu and load your photo into the workspace. With the photo selected, right click and select Send to Back. I rotated my frame to match the orientation of the photo I selected. Right click on the photo and select Duplicate from the menu. Left click and move the duplicate photo off the mat.
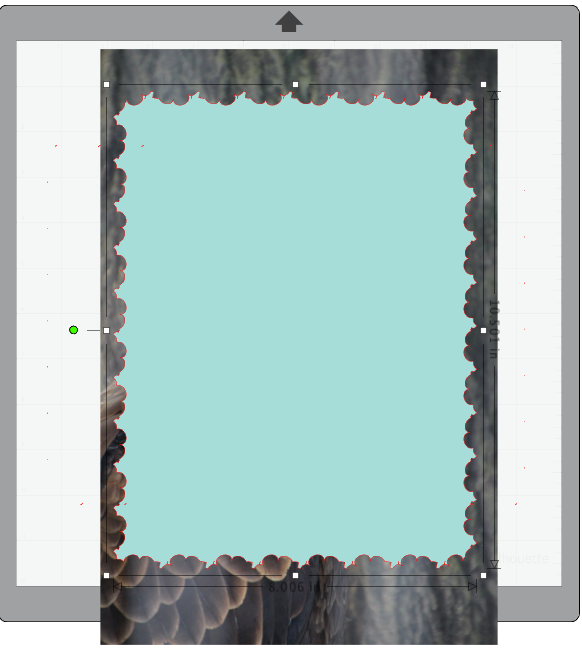
With the frame selected, click on the Fill panel icon in the right toolbar. Left click and drag the transparency slider so you can see your photo behind the frame. Move the frame as necessary so it is placed where you want it on the photo.
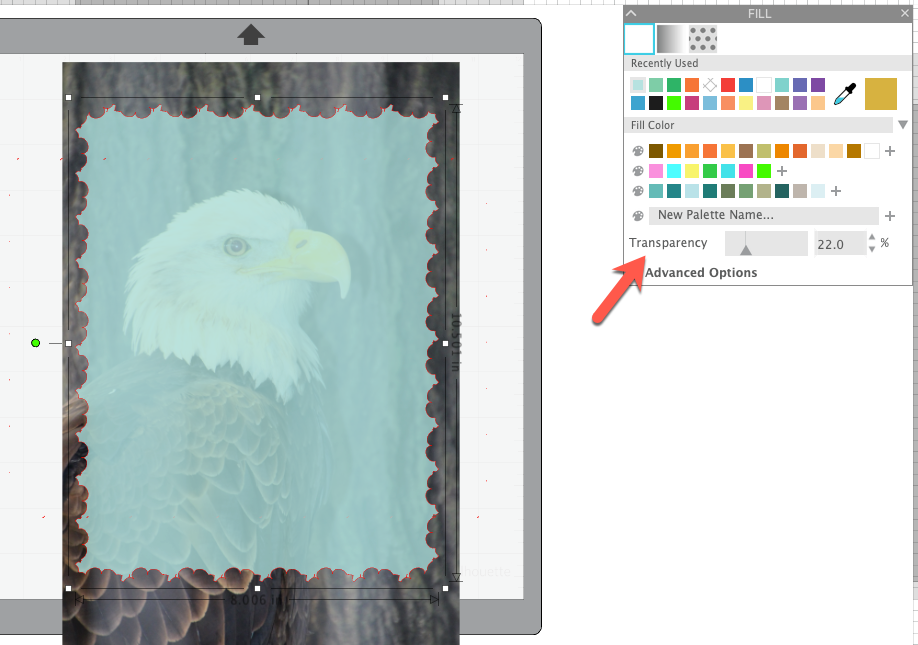
Left click and drag a box around both the photo and the frame. Make sure the frame is on top of the photo. Select Crop in the Modify Panel.
For added effect, move the copy of the photo back into the workspace. Use the transparency slider to lighten the photo and move it into position over the framed photo.

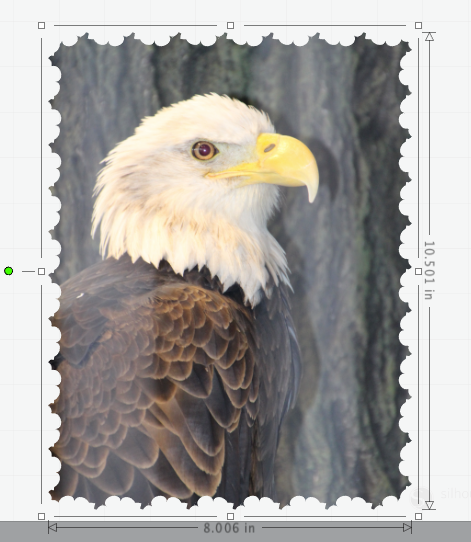
You can combine effects to create truly custom looks! What do you think?
If you like the “grunge” look, you can see how to apply that look to your photo by clicking here. I am always looking for interesting patterns that will make great grunge overlays — learn more about creating your own overlays here.
I cannot wait to see how you customize your photos!!
If you enjoyed these tips, please join my Facebook groups … Libby’s Silhouette Group — Tips, Tricks, Tutorials and Projects, Libby’s Craft and Sewing Group and Running With Sisers – Juliet and Romeo. You can also find me on FB at Libby’s Loft.com. Please join and feel free to ask questions and share your creations! I look forward to seeing you there!!
Until Next Time,
Happy Crafting!!
Disclaimer: Posts on this site may contain affiliate links. Clicking on one of these links or making purchases at linked sites does not mean you pay more for your purchases. It means I may receive a small commission on your purchase. This commission helps defray the costs of this site and enables me to continue to provide you with new and exciting content.
Until next time,
Happy Crafting!!
Disclaimer: Posts on this site may contain affiliate links. Clicking on one of these links or making purchases at linked sites does not mean you pay more for your purchases. It means I may receive a small commission on your purchase. This commission helps defray the costs of this site and enables me to continue to provide you with new and exciting content.