
Give your photos a professional look by adding a “grunge” edge to them!


Adding this grunge edge to your photos is quick and easy. Start by selecting your photo and importing it into your Silhouette Studio Workspace.
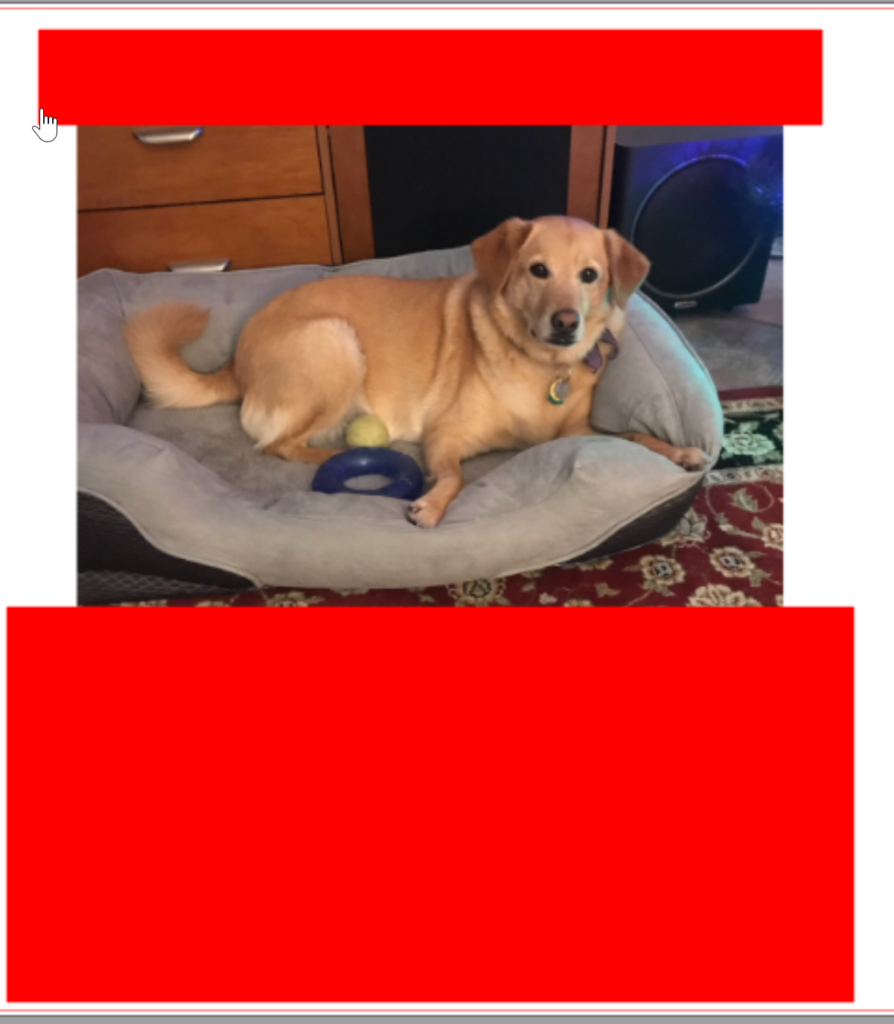
Here’s a picture of our dog, Dixie. This picture has too much carpet at the bottom of the picture and a little too much space at the top of the picture.

To get rid of this “extra” part of the picture, I drew a rectangle at the top of the picture and another one at the bottom of the picture. They are filled with red here to make them easier to see.
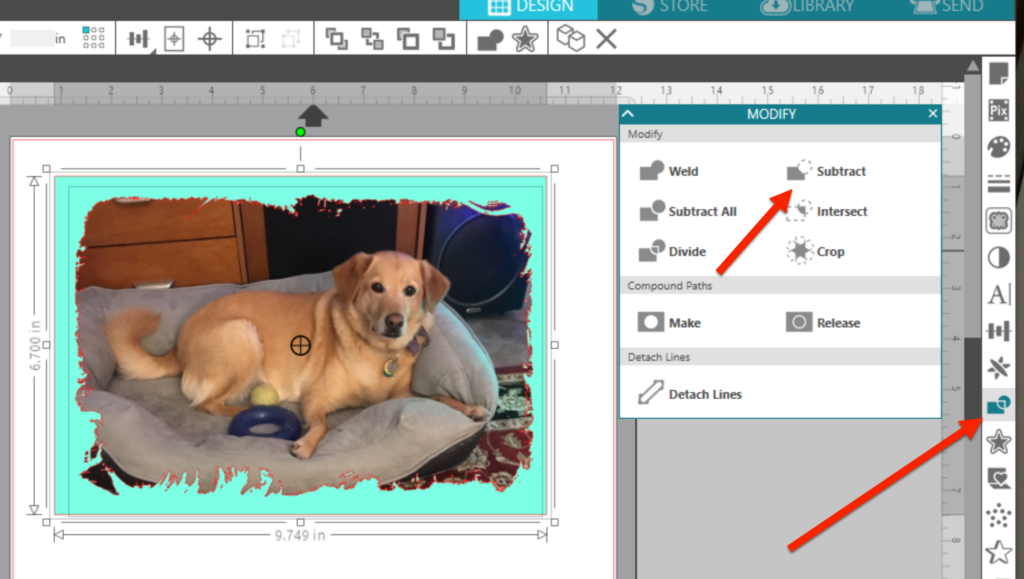
Select all three items and select Subtract from the Modify panel. The extra space will be deleted!

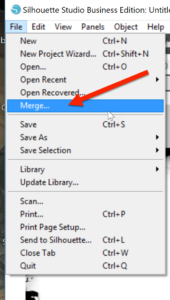
You can find some grunge SVG files that do not need to be traced. If you have Designer Edition (or higher) of Silhouette Studio, you can just select Merge from the File Menu and bring your grunge frame into your workspace. Using Merge instead of Open brings the frame into the same workspace with your picture.
If you do not have Designer Edtion, you can use a DXF file it is available. If you do not have a DXF file, locate a raster image (JPG or PNG). Left click and drag your picture over off the mat for a minute. Select Merge from the File menu and bring the grunge frame into your workspace.
Click on the Trace icon in the right toolbar to open the Trace panel. Click on Select Trace Area. Move your cursor into the workspace and left click & drag a box around the grunge frame.
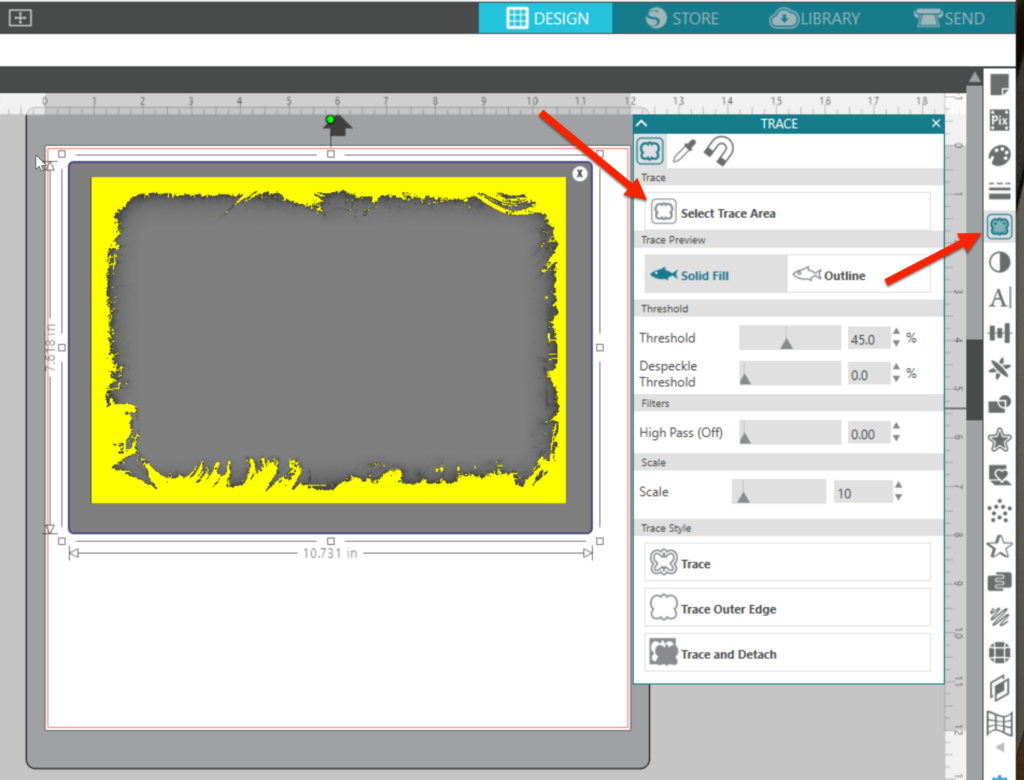
The grunge frame should turn yellow. The yellow area is what will be traced. If necessary, adjust the Threshold to fine tune your trace area. When you are satisifed with the trace, click Trace. The yellow will disappear and a red line will appear around the grunge frame.

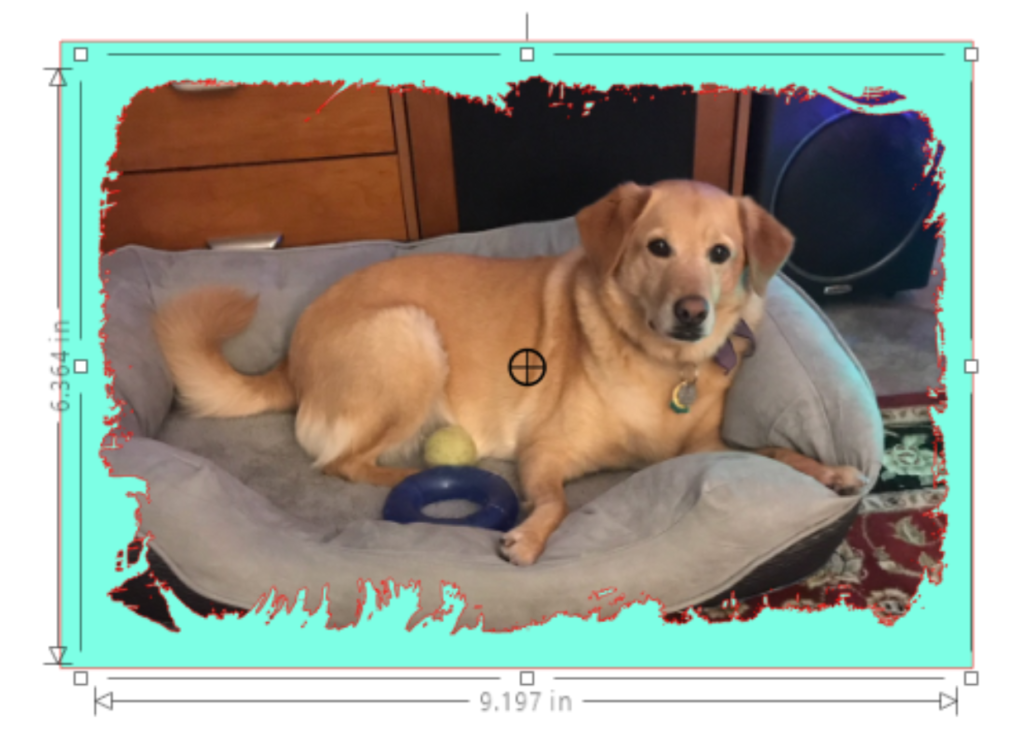
Delete the original frame image so just the newly traced image remains. Left click and drag your picture back into the workspace and center it under the frame (I filled mine with color so it is easier to see). If necessary, adjust the size of the picture and frame so they are approximately the same size. The most important thing is to make sure the picture is completely covered by the frame.
Select both the frame and the picture. Again, make sure the photo is in back of the frame. Click on the Modify icon in the right toolbar to open the Modify Panel. Click on Subtract.
It may take a minute and you may see a Processing progress window. Once the process is complete, you should see your picture, with its new grunge edges. There also may be a lot of small pieces around the edges of your image.
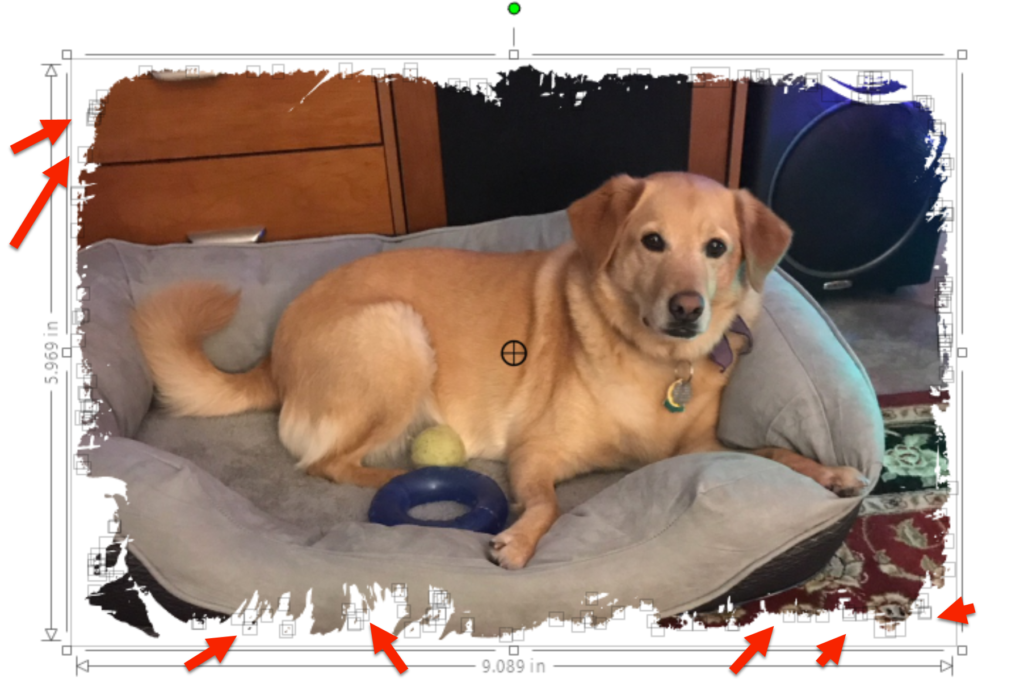
If you have these small pieces around the edges and you want to keep them, right click and select group while they are all still selected from the Subtract process.
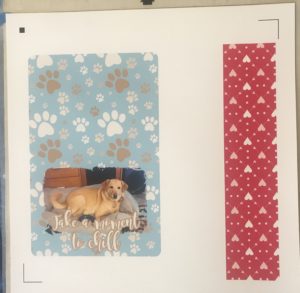
Your image is now ready to use! This technique is perfect for sublimation, but in this case, I just added it to a card for a friend. Since I was using a 12×12 piece of cardstock, I added a bookmark to make use of my whole page. Here it is printed on the mat ready to cut.
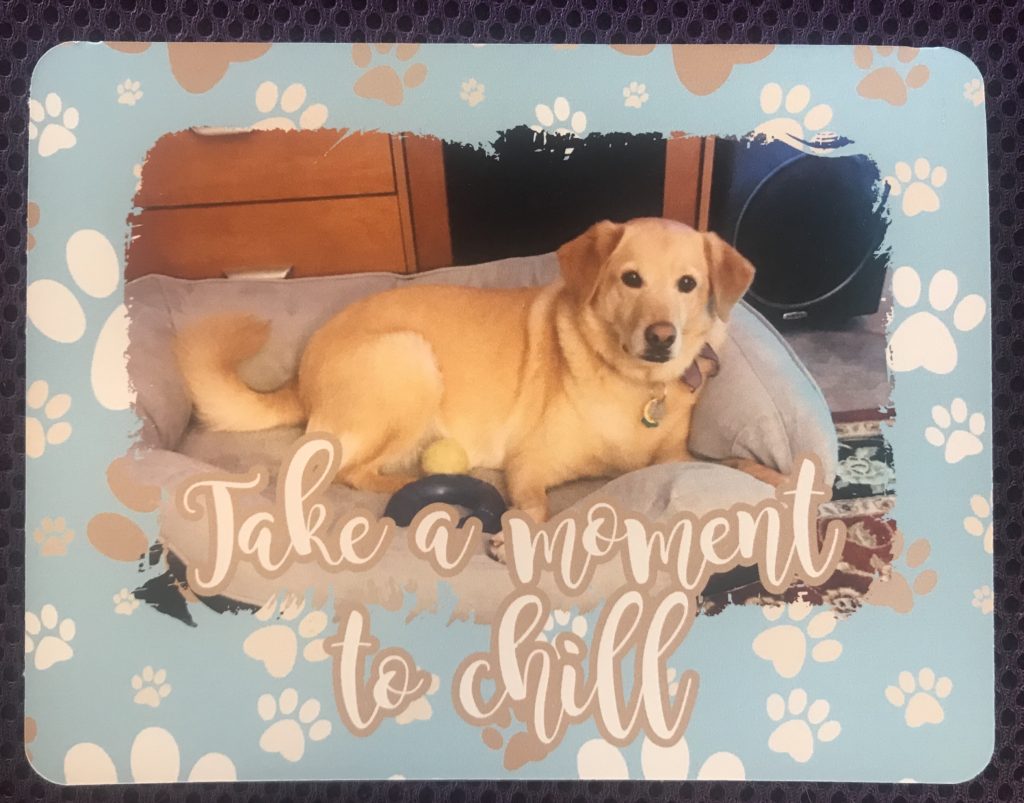
Here’s my card, ready to mail!
Want to create your own grunge effects?? Check it out here.
If you enjoyed these tips, please join my Facebook groups … Libby’s Silhouette Group — Tips, Tricks, Tutorials and Projects, Libby’s Craft and Sewing Group and Running With Sisers – Juliet and Romeo. You can also find me on FB at Libby’s Loft.com. Please join and feel free to ask questions and share your creations! I look forward to seeing you there!!
Until Next Time,
Happy Crafting!!
Disclaimer: Posts on this site may contain affiliate links. Clicking on one of these links or making purchases at linked sites does not mean you pay more for your purchases. It means I may receive a small commission on your purchase. This commission helps defray the costs of this site and enables me to continue to provide you with new and exciting content.
Until next time, Happy Crafting!
Libby
Wowza! This is a really cool process Libby! And unlike scrapbooking techniques with scissors and such, once you botched it your stuck. Here undo or start again!