Don’t you hate it when you find “just the right design” for your project only to find out it’s not a cut file?! I sure do! But you are in luck … Silhouette Studio has great tracing tools. Let’s take a look!
The Trace panel is in the right toolbar, and looks like either a piece of buttered toast or a butterfly … I have heard it called both!
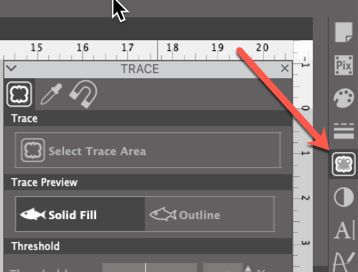
All the options in the panel will not be available when you open it. First you have to have an image selected to trace. I did that just so you can see all the tools in this panel. Also, if you have the Basic level of the software (the free level), you will only have one tab. Once you upgrade to at least Business Edition, you will have all three tabs shown here.
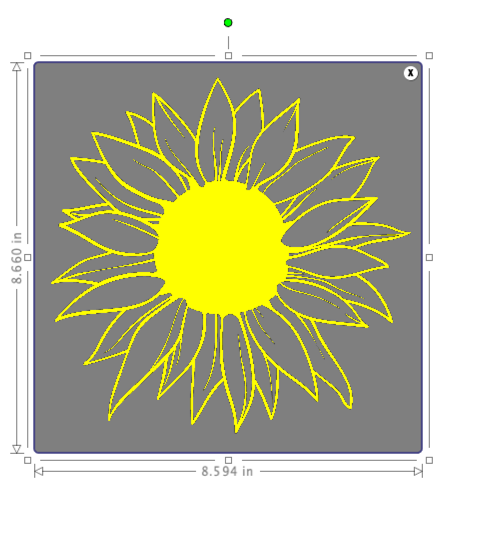
Let’s take a look at how these tools work. The first thing you need to do is open an image file in your design space. You can do this by opening, merging or copying & pasting a design into the workspace. In the Trace panel, click on the Select Trace Area icon and left click and drag a box around your image. The area recognized by the software will be highlighted in yellow.

If your entire design is highlighted, you are ready to click on the Trace button in the bottom part of the panel. Your image will be traced and the cut lines created. You can then drag the original image off the mat and work with your cut lines.
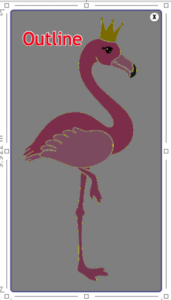
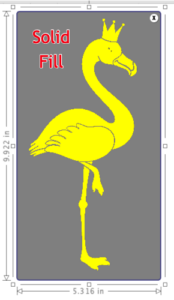
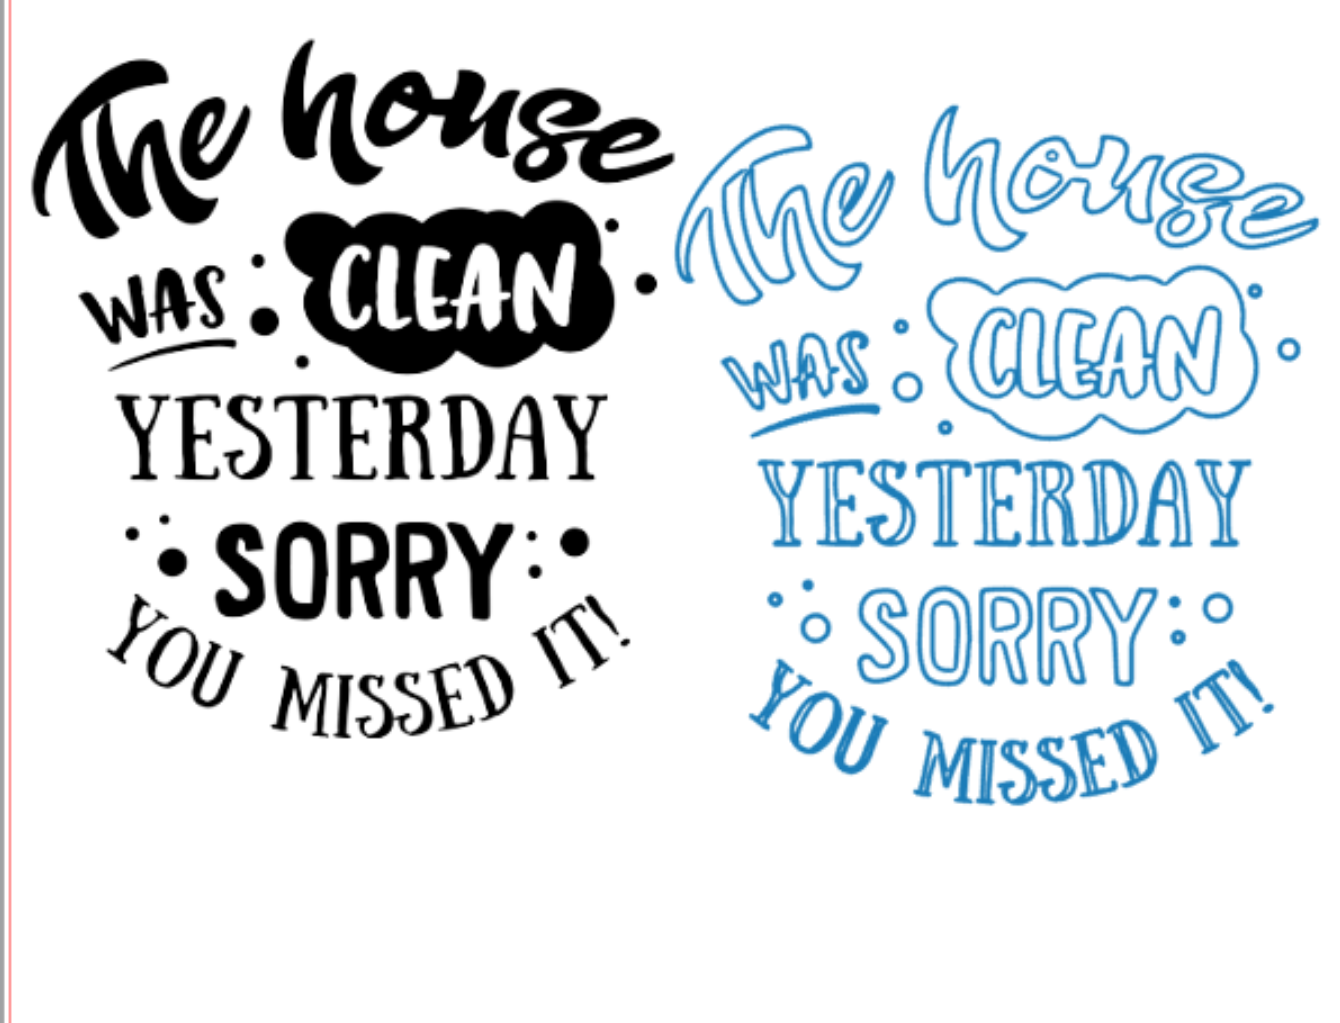
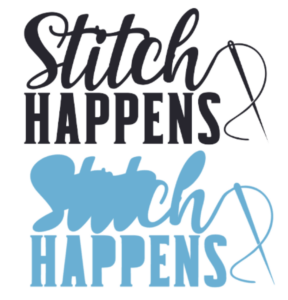
Trace Preview allows you to determine how you will see the preview of your trace … as a solid fill or as an outline. You can see the difference in the two previews here. The one on the right is the Solid Fill option and the one on the left is the outline trace — see the dotted yellow line? Both of these options result in the same cut lines when traced.
If everything in your image shows up yellow (or outlined in yellow), you are ready to trace. But what if not everything is highlighted in the preview? That’s were the adjustment tools come in handy.

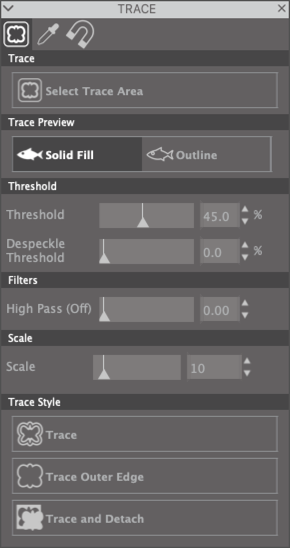
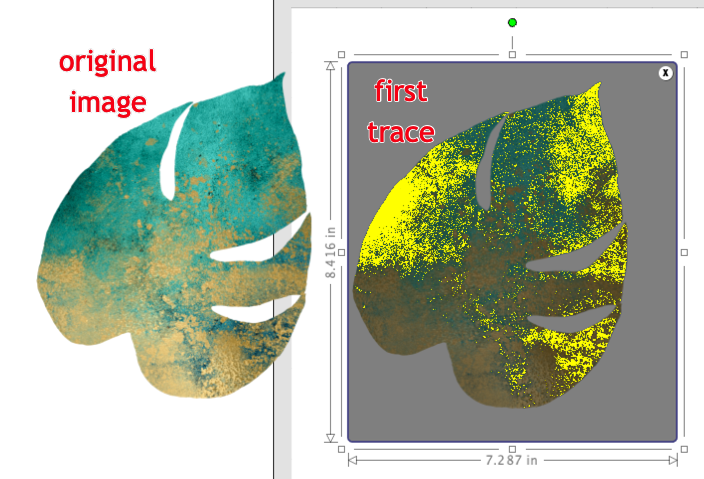
Threshold — this determines how the software looks at the colors in your design as it traces the image. Increasing the threshold means the software looks at more variations of a color to include in the trace. My original image is on the left. On the right is the result of my first trace with the threshold set to 45.
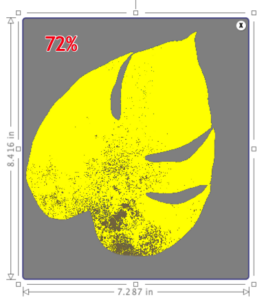
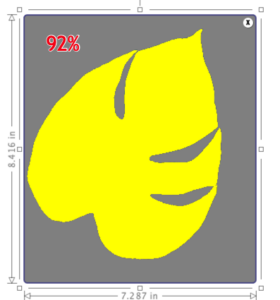
I increased the threshold to 72% and you can see that more of the design is selected. In order to get all the design, I had to increase the threshold to 92%.
Despeckle Threshold — use this command to help eliminate digital “noise” or distortions (speckles) in your images. Noise is unwanted particles in you image. There are lots of different ids of digital noise — the amount and kind of noise depends on how the image was created. Using this tool can help you get a better trace.
High Pass Filter — the high pass filter examines your design from the outside in toward the center. Increasing (or decreasing) this filter will adjust the area being traced. It can also give you a totally different trace result from the one you get by increasing the threshold. Let’s look — here’s the original image and the initial trace I got when I selected the trace area. (I added color to the trace result so you could see the result.)

Now here’s the result when I increased the High Pass Filter instead of increasing the threshold. Notice that I got lines inside and outside the objects so the result is outlined design elements, not completely filled elements. (Again, I added color so to make the trace results easier to see.)
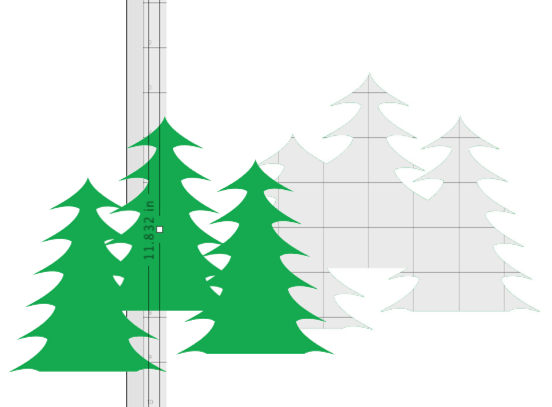
Scale — you can increase or decrease the scale to change the results you get. The results will vary depending on your settings for the other filters. One thing that can happen when you increase the scale is a reduction in the number of edit points in your design. The blue image below is traced with the scale set at the default. The purple is traced with the scale increased.
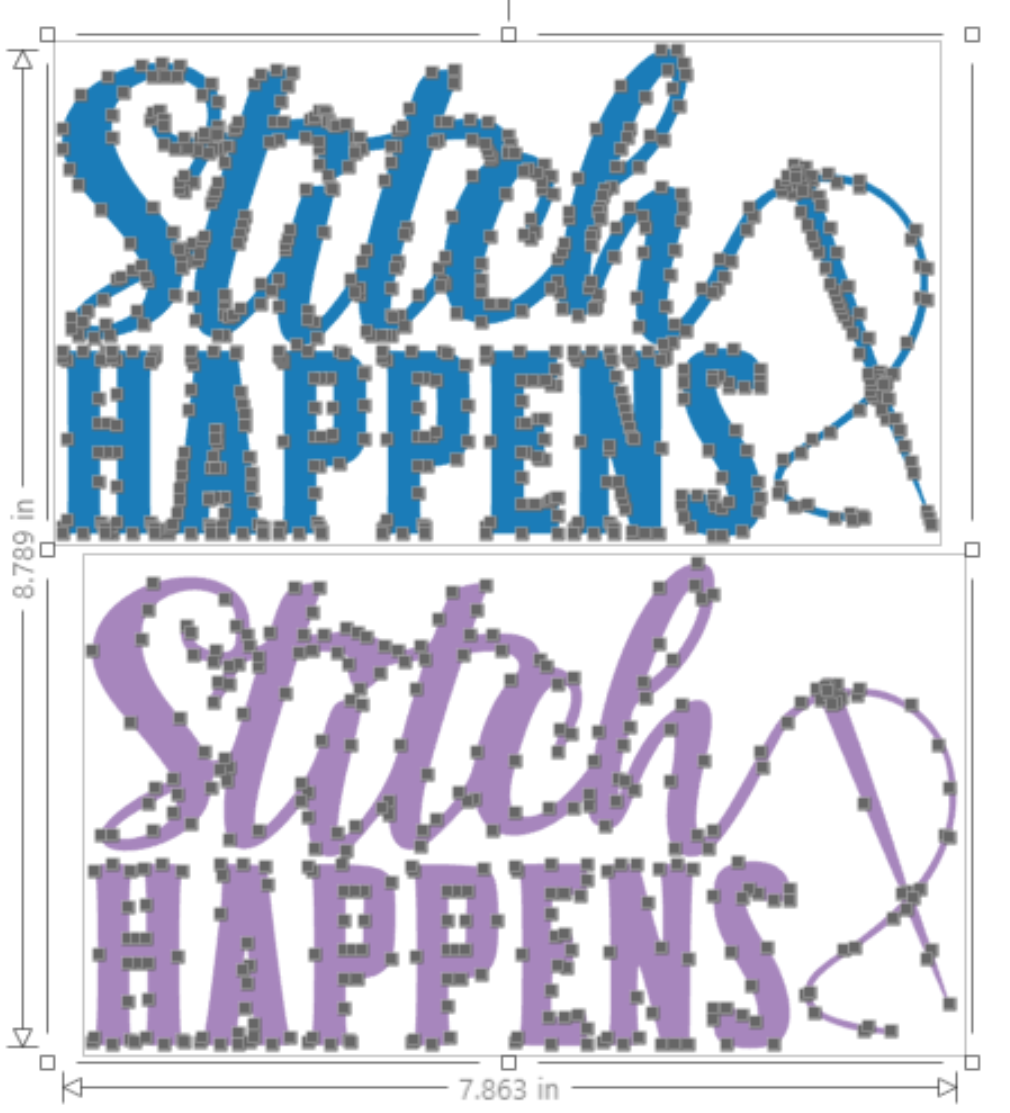
I used the Simplify command in the Edit Points panel to try to reduce the number of edit points so my design would cut more smoothly. Even after using the command a couple times, there are still some spots where I would want to manually reduce the number of edit points.

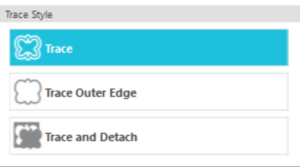
Trace Style — Last but not least, let’s talk about Trace Style. There are three choices in the Trace Style section of the panel. Trace is the one I use the most. Trace Outer Edge traces just the outside edge of the image. Trace and Detach traces the image and removes it from the background.
Here’s the original image and the result when I use the Trace command.

Trace Outer Edge does just that … it traces the outer edge of your image. Notice that any closed areas are filled with color using this type of trace.
Trace and Detach traces the image and removes it from the background. Many PNG files already have transparent backgrounds so this will not make much difference for those files. But for PNG files with white backgrounds or JPG files (which always have a background), this is a great tool. Here you can see where the trees were cut from the background.
Wow! That’s a lot of info!!! There are still two more tabs in the Trace panel — Magnetic Trace and Trace by Color. We’ll cover those in upcoming blogs. As they are written and posted, I will link them from here.
With all this information about tracing, let me just add that tracing is a powerful tool and should not be used to copy trademarked or copyrighted material. All the images used in this post are images I either purchased or were free downloads from designer websites. None of these images are were googled and copied without the designer’s permission. Please be respectful of designers who create images — their images are their livelihood.
If you enjoyed these tips, please join my Facebook groups … Libby’s Silhouette Group — Tips, Tricks, Tutorials and Projects, Libby’s Craft and Sewing Group and Running With Sisers – Juliet and Romeo. You can also find me on FB at Libby’s Loft.com. Please join and feel free to ask questions and share your creations! I look forward to seeing you there!!
Until Next Time,
Happy Crafting!!
Disclaimer: Posts on this site may contain affiliate links. Clicking on one of these links or making purchases at linked sites does not mean you pay more for your purchases. It means I may receive a small commission on your purchase. This commission helps defray the costs of this site and enables me to continue to provide you with new and exciting content.
Until next time,
Happy Crafting!!
Disclaimer: Posts on this site may contain affiliate links. Clicking on one of these links or making purchases at linked sites does not mean you pay more for your purchases. It means I may receive a small commission on your purchase. This commission helps defray the costs of this site and enables me to continue to provide you with new and exciting content.