This week we will continue our exploration of the Trace features in Silhouette Studio — we are going to tackle Trace by Color. You will need to have Designer Edition (or higher) to use this feature. If you need to upgrade your software, you can do so here. Last week, we took a look at the basics of Tracing. You can find that post here if you missed it.
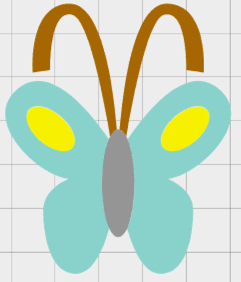
Let’s get started. In the Trace panel, the second tab is the Trace by Color tab. I am using a design from the Spring Garden design set from Creative Fabrica.
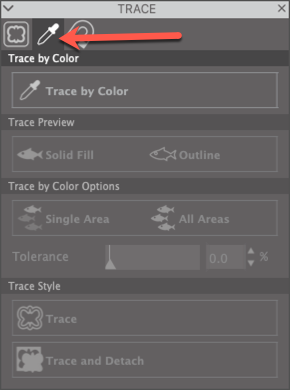
With your design open in the workspace, click on the Trace by Color button. Move your cursor into the workspace. When you click on the first area you want to trace, the cursor turns to an eyedropper and the area becomes yellow.
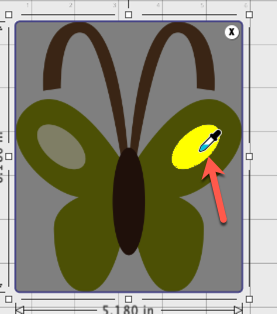
When you select the first area, the other tools and options in the panel will become available. The default setting in the Trace by Color Options area of the panel is set to Single area. So when I click one area, only that area is selected.
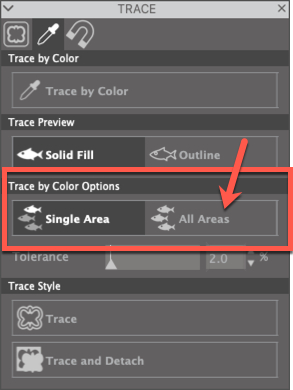
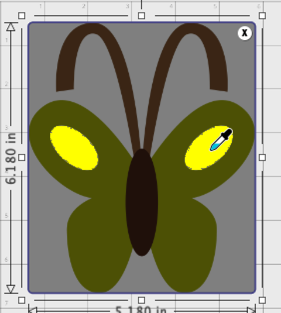
With the first area still selected, click on All Areas in the Trace by Color Options box. Now the other area of the same color in the design is selected.
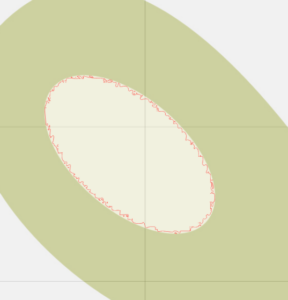
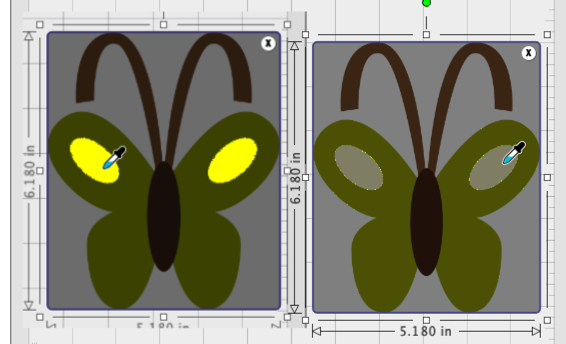
Click Trace and these two parts of the design will be traced. You can see the red cut lines for these parts. When I zoom in on these areas, the lines are very jagged. This will result in a jagged cut. So let’s undo this.
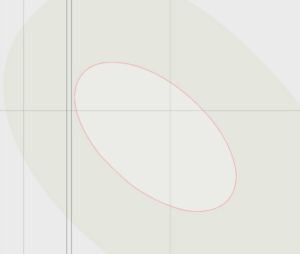
I repeated the process of clicking on the Trace by Color button and clicking in the area to be traced. I clicked on All Areas. Then I used the Tolerance slider to increase the amount of color being selected. Using the tolerance slider tells the software to pick colors similar to the color selected with the eyedropper. Increase the tolerance until these areas appear more smooth. Click Trace.
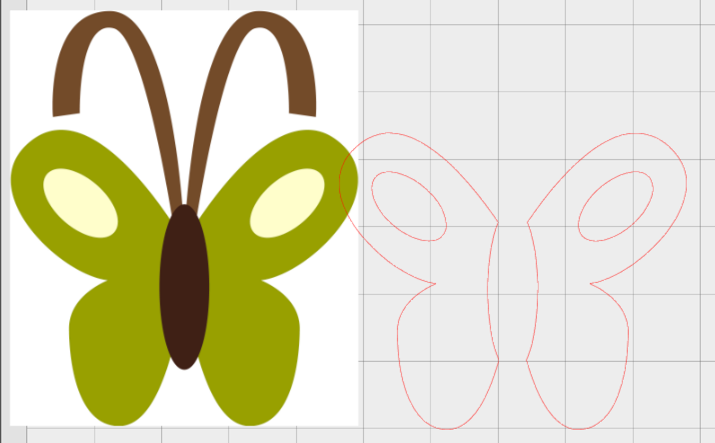
These shapes look much better. Now proceed with selecting the other color areas of the design. Click on Trace by Color and click on one of the wings. Click All Areas and both wings will be selected. Click Trace.
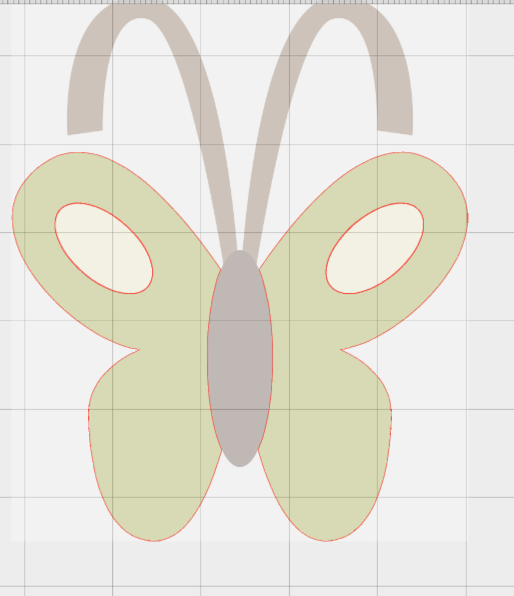
Repeat these steps for the other parts of the design.
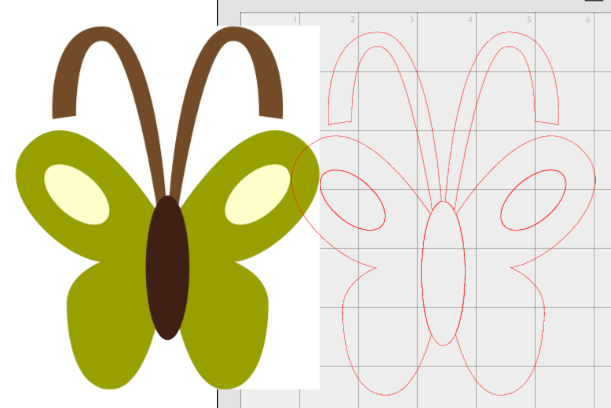
Here’s how my trace looks after I add fill colors to the design.
I prefer using the Solid Fill view in Trace Preview. However, you can also use the Outline View, if desired. Here’s the difference. It’s purely a matter of personal preference which one you use.
There’s one last control for us to talk about … Trace vs. Trace and Detach. As you have seen, when I select Trace, the software traces the shape and creates red cut lines.
If I use Trace and Detach, the result is different. Instead of just creating outlines, it creates a filled shape with the color of the original shapes. It also detaches that portion from the original background image.
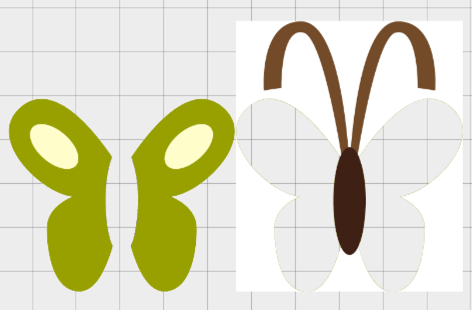
In this case, it created the traced both the winds and the ellipse inside the oval as one object. You can see in the Send tab, that the ellipse has no cut lines.

Each of the two wings is now a separate item, so when I try to select both the ellipses using the All Areas command, nothing happens. I have to trace each ellipse separately.
So that’s it … Trace by Color. It’s a powerful tool and can make tracing those difficult images easier! Stay tuned next week, we’ll cover Magnetic Tracing. If you missed the Tracing Basics post, you can find it here.
If you enjoyed these tips, please join my Facebook groups … Libby’s Silhouette Group — Tips, Tricks, Tutorials and Projects, Libby’s Craft and Sewing Group and Running With Sisers – Juliet and Romeo. You can also find me on FB at Libby’s Loft.com. Please join and feel free to ask questions and share your creations! I look forward to seeing you there!!
Until Next Time,
Happy Crafting!!
Disclaimer: Posts on this site may contain affiliate links. Clicking on one of these links or making purchases at linked sites does not mean you pay more for your purchases. It means I may receive a small commission on your purchase. This commission helps defray the costs of this site and enables me to continue to provide you with new and exciting content.