When you hear the word “Mock-up”, you might think they are just for business … but no! They are for everyone … being able to see how a design will look on a blank before you actually create it is what mock-ups are all about! Let’s get started!!
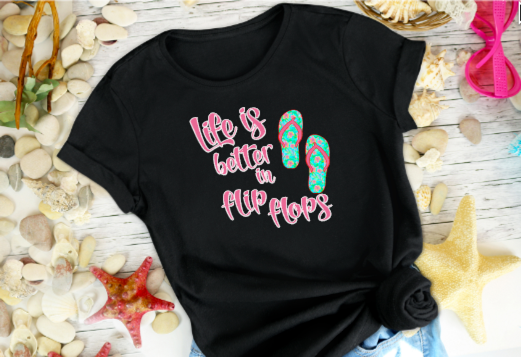
What is a mock-up, you ask? A mock-up is a model or prototype of a design used for “teaching, demonstration, design evaluation, promotion, and other purposes.” (Wikipedia definition) For our purposes, a mock-up shows how our design will look on our blank … so here’s how my design will look on a black t-shirt.
The first thing you will need to create a mock-up is an image of the blank … be it a t-shirt, a mug or whatever. You could take a photo of the blank yourself or you could use an image someone else has already created. There are a lot of places that have mock-ups available either free or for purchase. Some of my favorite places include Creative Fabrica, Design Bundles and Font Bundles. The nice thing about getting mock-up images from these sources is that they are ready to use and the creator usually has staged the blanks in a pleasing manner.
When you are selecting mock-ups that are already created, you need to be careful what format you you will be receiving. Some of the mock-ups I found were PSD files — these are Photoshop files and cannot be opened in Silhouette Studio. These files are layered files with each element on a different level. This means you can change parts of a design without changing all the other parts of the design. For example, you could easily change the color of the mug or the background.
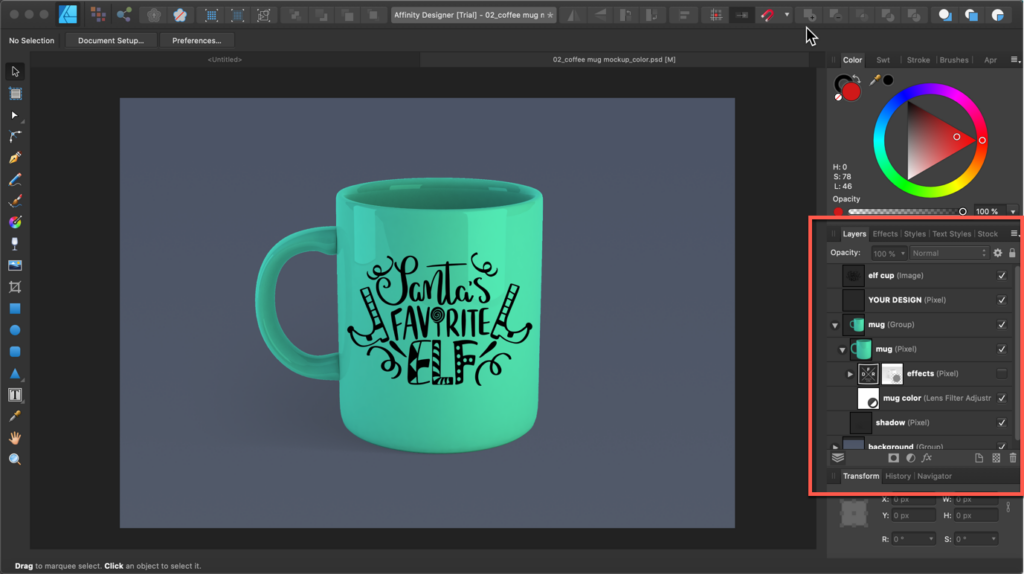
PSD files can be read by programs such as PhotoShop, PhotoShop Elements, CorelDraw, Adobe Illustrator, and Affinity Designer.
Sometimes a JPG or PNG file will also be included with the PSD file. These files can be ready by Silhouette Studio. Even though these files can be read by your software, they may create a challenge when using them to showcase your design.
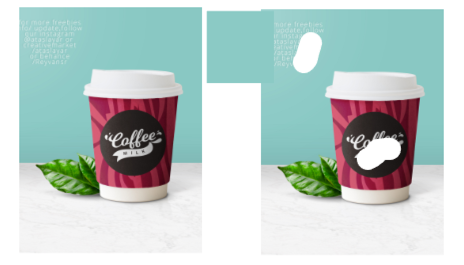
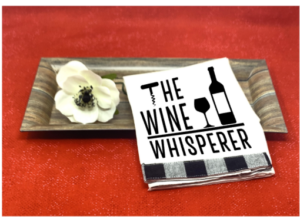
In the image on the left, there is white writing in the top corner. When I tried to erase the writing, it erased the background. The only way to cover it up was with the small square I added in the right image … it just needs to moved over the writing. Additionally, the “coffee” wording was a part of the image and the only way to remove it was to erase it or make sure the design will cover it up.
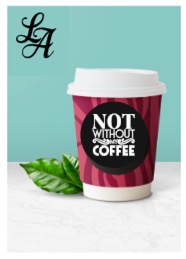
To be able to use the image, I added a black circle over the existing circle in the original image. I then added my wording inside the circle. If you know to look for it, you can see the square I used to cover up the white writing even though I used the eyedropper to sample the colors so it would be a “match” for the background. To take attention away from that square, I added my logo.
Many of the mock-ups I found were high resolution JPG files. This means they can be resized (within reason) without becoming too pixelated.
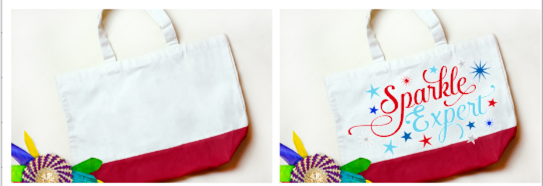
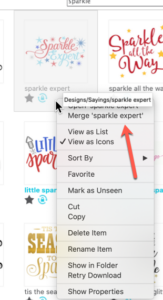
The tote bag image above was ready for my design with no additional work. It is a high resolution JPG from Creative Fabrica. To create this, I opened the JPG in my Silhouette Studio workspace. Then I added the design I wanted to use — this design was in my Library so I just selected the file in the Library and used the Merge command to open this design directly into the current workspace.
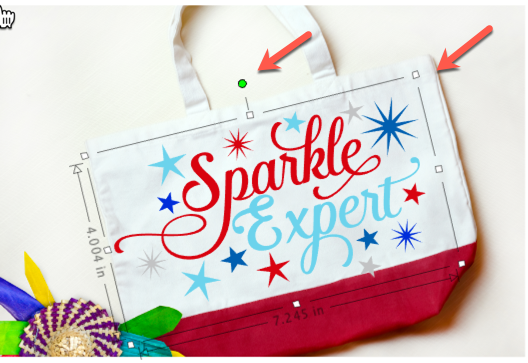
I used the corner scaling handles to adjust the size of the design so it fit in the white part of the bag and I used the green rotation handle to rotate the design so it fit “just right”.
Now that you have your mock-up ready it’s time to save it so you can share it with customers, friends and family. If you have Business Edition of Silhouette Studio, you can save the file as either a JPG or a PNG file. If you do not have Business Edition, you can use the Windows Snipping tool or Shift+CMD+3 on a Mac. Both these methods will allow you to save the image so you can share it or post it to your website or social media.
Unfortunately not every blank will have a pre-made mock-up available and you will have to create your own. To do that, create your vignette and snap the photo!
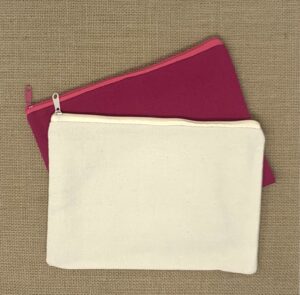
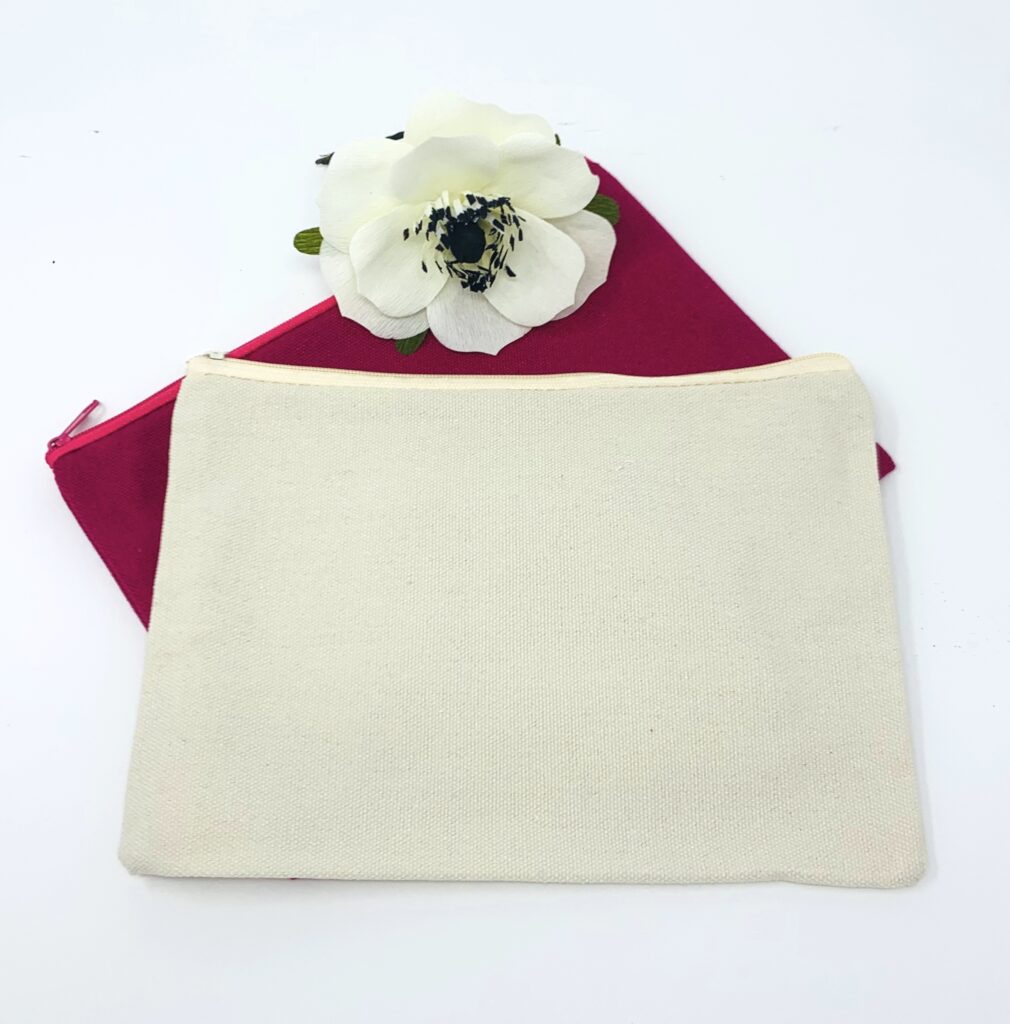
I used a piece of burlap scrapbook paper as a background for the bags and they look ok, but they could look so much better …. take a moment to add a few “accessories” to take your photo up a notch.

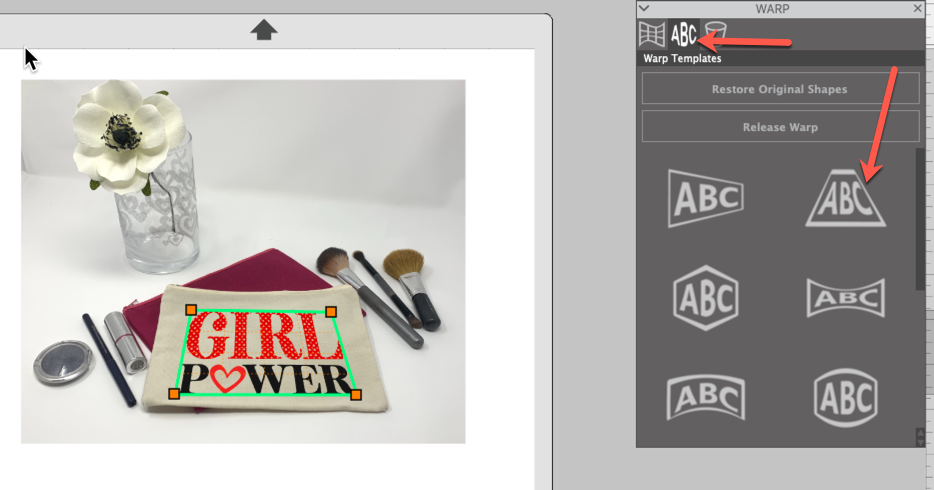
Once you have your photo, open it in Silhouette Studio and add your design. In this case, I needed to add a little bit of a warp to the text so it looked like it was really on the bag. Warp requires Designer Edition above of the software. I used the Warp Templates to make adding the warp effect quick and easy.
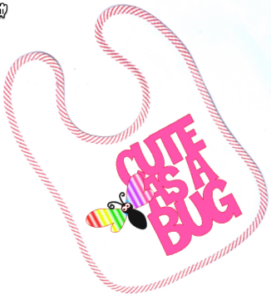
Here’s another blank where I took the photo of something I wanted to create. I used a white backdrop and snapped a photo of this bib and then added my design.
So now we’ve used purchased (or free) mock-ups and created our own mock-ups — complete with vignettes to add interest to the photo. You can use fabric or inexpensive photography backdrops to add even more texture (and realism) to your mock-ups. You are really limited only by your imagination!
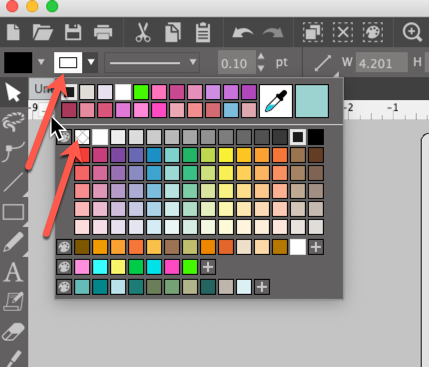
One final tip: if you are using a design or image that has a red cut line around it and you do not want the cut line to remain red, you can change the line color either to the same color as your design or you can make it transparent. Then there will be no lines around the design in your mock-up. You can change the line color in the Quick Access Toolbar or in the Line Style panel in the right toolbar.
Creating vignettes and working with mock-ups is so much fun and can take your business to a whole new level! And think how great it will be to be able to show that “very particular” child exactly how the design will look on their new shirt! Have fun!!
If you enjoyed these tips, please join my Facebook groups … Libby’s Silhouette Group — Tips, Tricks, Tutorials and Projects, Libby’s Craft and Sewing Group and Running With Sisers – Juliet and Romeo. You can also find me on FB at Libby’s Loft.com. Please join and feel free to ask questions and share your creations! I look forward to seeing you there!!
Until Next Time,
Happy Crafting!!
Disclaimer: Posts on this site may contain affiliate links. Clicking on one of these links or making purchases at linked sites does not mean you pay more for your purchases. It means I may receive a small commission on your purchase. This commission helps defray the costs of this site and enables me to continue to provide you with new and exciting content.
Until Next time,
Happy Crafting!!
Disclaimer: Posts on this site may contain affiliate links. Clicking on one of these links or making purchases at linked sites does not mean you pay more for your purchases. It means I may receive a small commission on your purchase. This commission helps defray the costs of this site and enables me to continue to provide you with new and exciting content.