Have you seen the cute shirts and other items people are making with photos filling the letters??

These are quick and easy to create …. let’s get started! Open your Silhouette software and create a new workspace. Click on the Text tool in the left toolbar. Bring the cursor into the workspace and left click to get a placeholder. Enter the name you want to use. Click off the name to exit Text mode then click back on the word to select it. (I filled mine with red so it would be easier for you to see.)

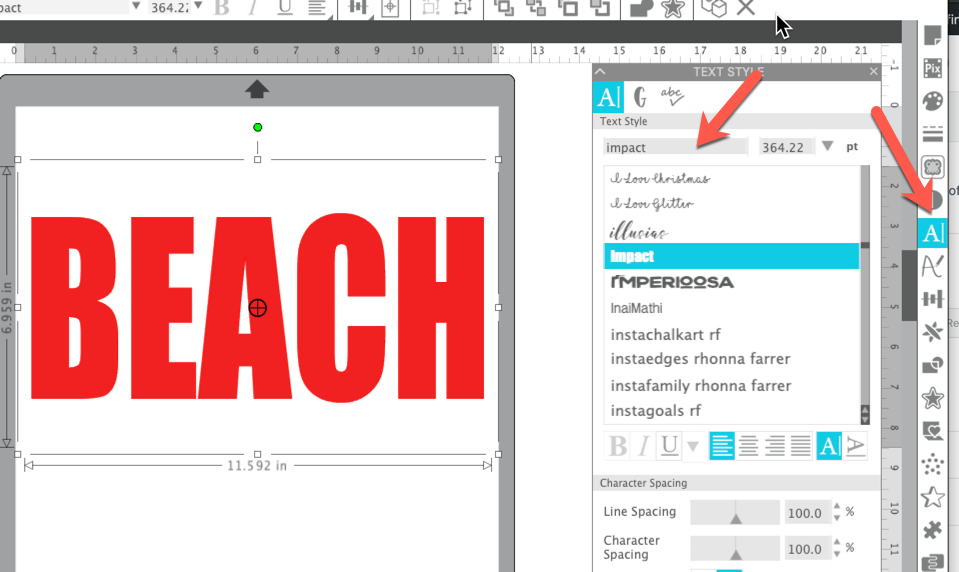
Left click and drag one of the corner handles to make the word larger. With the lettering still selected, click on the Text panel in the right toolbar. Locate a thick font and click on it to select it. I am using Impact in this example.
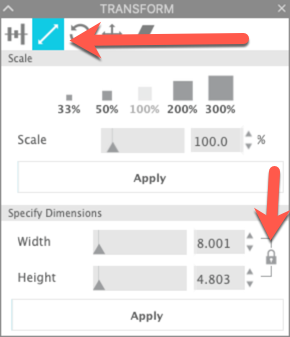
Select Merge from the File menu and locate the photo you want to use. Using Merge will bring the photo into the current workspace. The photo may be very large when it is brought into the workspace. If so, with the photo selected, click on the Transform tab. Click on the Scale tab. Click on the padlock next to the dimensions and change the width of the photo to 10″. Click Apply.
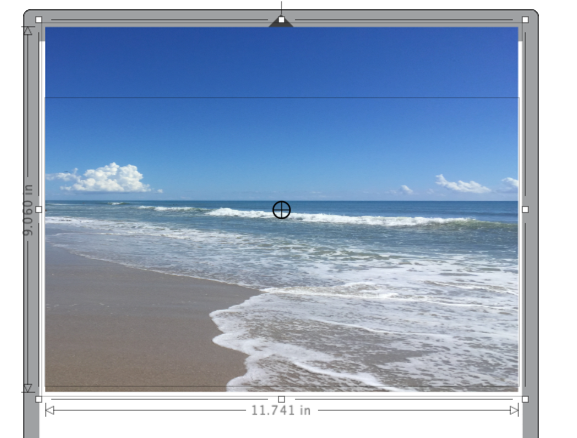
The photo will disappear from the visible area. Click on the first tab in the Transform panel, the alignment tab. Click on Center icon.
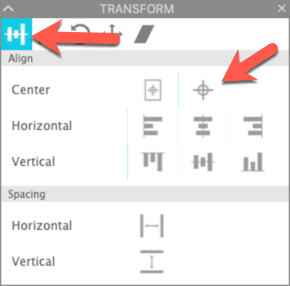
The photo will be placed in the center of the workspace.
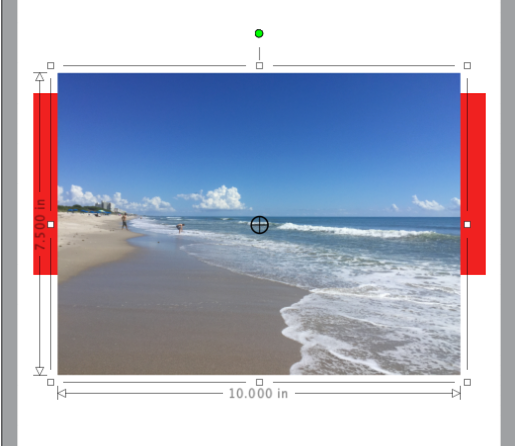
If necessary, adjust the size of the photo so it is larger than your words. With the photo selected, click on the Fill Panel in the right toolbar. Use the Transparency slider to increase the transparency of the photo.
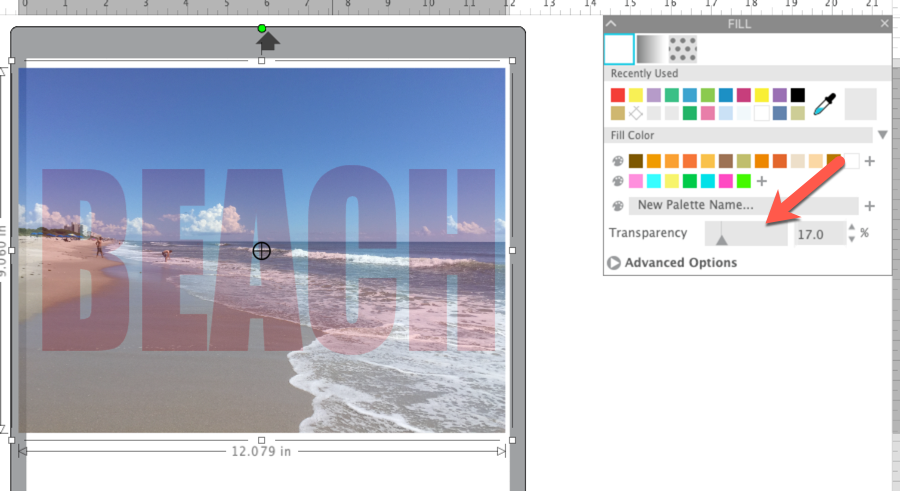
This will allow you to adjust the position of the photo over the words. Once you like the position of the photo, lower the transparency back to -0-.
Left click and drag a box around the photo and the lettering. Click on the Modify panel in the right toolbar. Click on Crop.

The photo will now be in the letters!

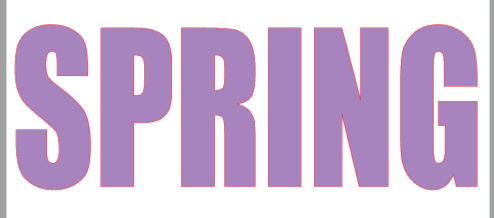
That’s great but what if you want a different photo in each letter? Let’s create that now! Click on the New page icon to open a new workspace. Click on the Text tool and click in the workspace. Enter the text you want to use. Select the font you want to use and increase the size of the word using the same steps we used above.
Use the same techniques as above to merge your photos into the workspace and adjust their sizes.
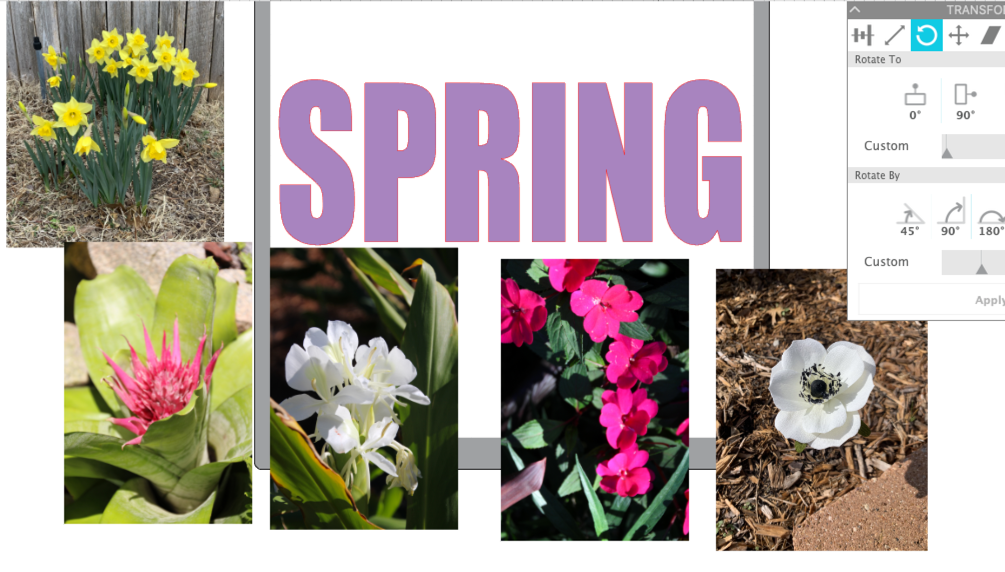
Right click on the lettering and select Ungroup. This will allow us to add a different picture to each letter. Click on the first letter. Move the first photo over the letter. Use the Transparency slider in the Fill panel to help decide where to place the photo.

Increase the Transparency of the photo. Select the photo and the letter. Click on the Modify panel and select Crop.
The photo will now be inside the letter.

Continue with each letter, positioning the photo over the letter. Select the letter and the photo and select Crop in the Modify panel.

Here’s my finished design. I used photos of flowers I have taken on some of my trips but you could use photos of friends or family members to create your own designs! Print the design on on card stock, printable vinyl transfer paper. Print it on EasySubli or sublimation paper. The possibilities are endless!!
I cannot wait to see what you create using this technique!!
If you enjoyed these tips, please join my Facebook groups … Libby’s Silhouette Group — Tips, Tricks, Tutorials and Projects, Libby’s Craft and Sewing Group and Running With Sisers – Juliet and Romeo. You can also find me on FB at Libby’s Loft.com. Please join and feel free to ask questions and share your creations! I look forward to seeing you there!!
Until Next Time,
Happy Crafting!!
Disclaimer: Posts on this site may contain affiliate links. Clicking on one of these links or making purchases at linked sites does not mean you pay more for your purchases. It means I may receive a small commission on your purchase. This commission helps defray the costs of this site and enables me to continue to provide you with new and exciting content.
Until next time,
Happy Crafting!
Libby that was a great tutorial. I’m gonna try this one I’m done making masks.
Thanks, Sharon! Don’t forget to post your pics in the FB group!!
Now I’m just frustrated! This worked for 2 letters. Now as I’m trying to do a 3rd letter, it won’t work! I’ve tried 5 times. I’m trying to make a word with each letter having a different print. I love your directions, when they work. Idk why, but apparently I’m doing something wrong. BTW, Thank you for directions.
Deb, I know it sounds crazy but have you tried opening the 3rd letter in another workspace and adding the image to it there? Sometimes after you have tried a lot of things, it is better to start with a clean workspace. Let me know if that does not work …. and I am glad it worked part of the time!!