

I love adding adhesive vinyl to things, don’t you! It’s quick and easy when the design is only one color but I often fall in love with designs with more than one color. Sometimes “eyeballing” it is fine for getting things lined up, but what if you need to line things up exactly? Today we’ll look at a few tips to get your vinyl placed “just right”.
Two Colors
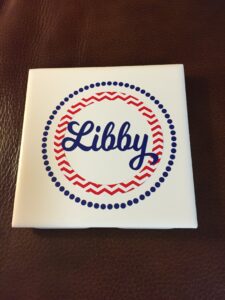
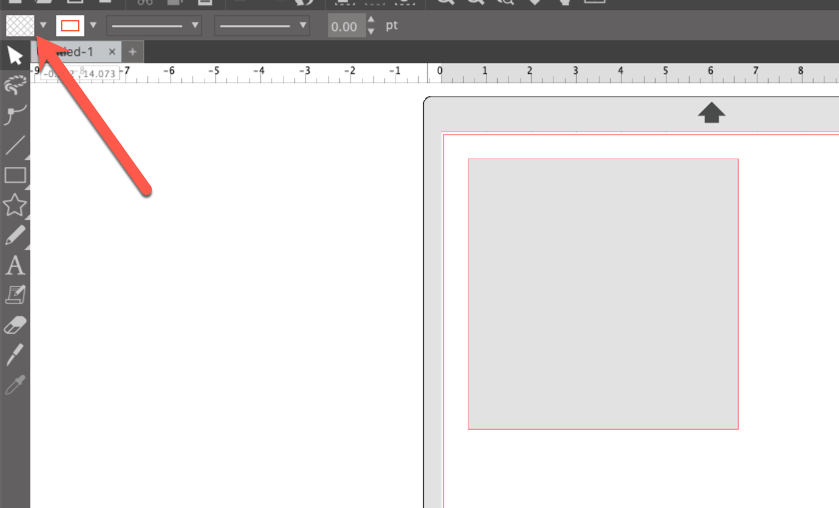
Let’s start with an easy one … two layers, overlapping each other. Open your software and create a new workspace. This designs going on a 6×6 tile so let’s create a “tile” in our workspace so we know how large to make the rest of the elements. Click on the Draw tool in the left toolbar and click on the Rectangle tool. Move the Cursor into the workspace. Hold down the Shift key and left click and drag to create a square. Click on the Fill icon in the Quick Access toolbar and add a color to the square.
With the square selected, click on the Transform Tab. Click on the Scale tab. Make sure the padlock is closed and change one of the dimensions to 6″. Press the tab key and the other dimension will automatically change because you locked the aspect ratio when you closed the padlock. Press Apply to change the size of the square.
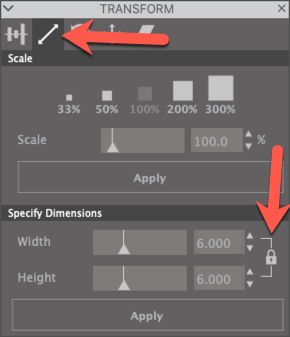
Now click on the Draw tools icon again and left click on the ellipse tool. Bring the cursor into the workspace. Hold down the shift key and left click and drag a circle inside the square. Make this approximately 3.5″. Click on the Fill icon in the quick access toolbar and add color to the circle. Once you have created the circle, click on the Scale tab in the Transform tab. Click on the padlock to lock the aspect ratio and change one of the dimensions to 3.5″. Press the tab key and the other dimension will change. Press Apply.
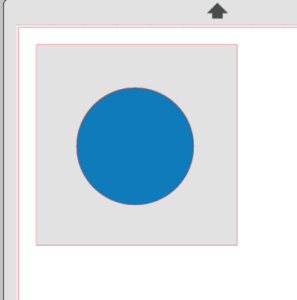
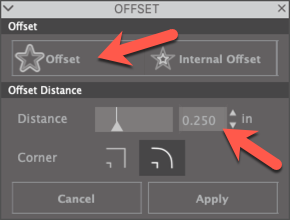
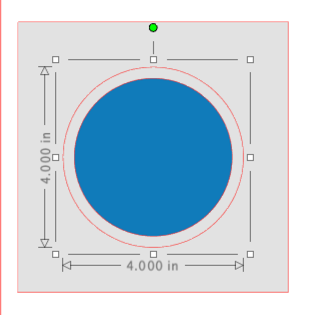
Left click and drag a box around both elements on the screen. Click on the Center icon in the quick access toolbar to make sure the circle is centered in the square. Click off both elements so nothing is selected. Click on the Circle to select it. Click on the Offset icon in the right toolbar. Select Offset and set the distance to 0.25″. Click Apply.
There are now 3 objects in the workspace. The square, the circle and the offset.
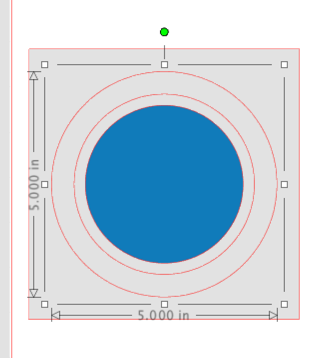
Click on the original circle and click on the Offset panel again. Select Offset and set the distance to 0.75″. Click Apply.
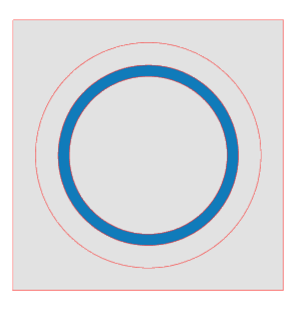
Select the original circle. Hold down the shift key and select the first offset. Right click and select Make Compound Path. Click on the Fill icon and add color to the new object.
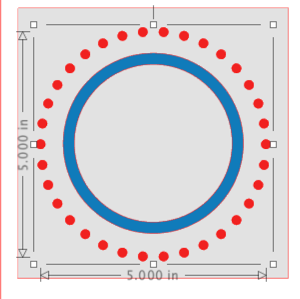
If you have Designer Edition or above, click on the Rhinestone panel in the right toolbar. Make sure the remaining offset is selected. Click on Edge in the Rhinestone Effect section. Change the Rhinestone Size to 20ss. Change the spacing to 0.25″.
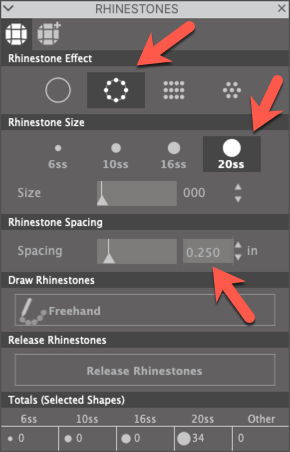
Add a fill color to the “stones” so they are easy to see. Make any adjustments to the spacing you wish.
If you do not have Designer Edition or above, you can still create a ring of circles. Click on the Draw icon and select the ellipse. Move the cursor into the workspace. Hold down the shift key and left click and drag a small circle, about .3″. Add a fill color to the new circle.
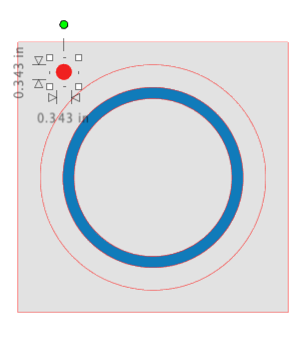
With the new circle selected, click on the Replicate panel. Click on the Object on Path tab. Click on the Show Grab Handle icon.
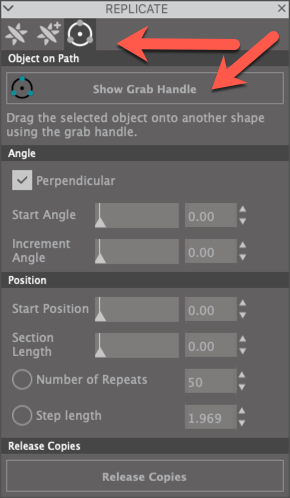
Click on the circle with the grab handle and left click and drag it onto the remaining offset circle. It will “grab” onto the circle. Adjust the number of repeats in the Object on Path panel until you have a pleasing look. I set mine to 30.
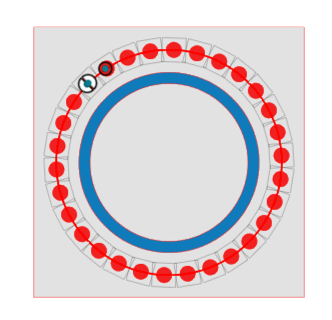
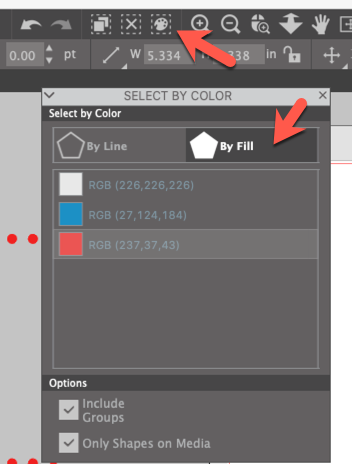
Click Release Copies in the bottom of the Object on Path panel. The circles are no longer glued to the circle and you can click on the circle and delete it. If you do not do this, the offset circle will cut right through the smaller circles we just created. Click on the Select by Color icon. In this panel, click on By Fill and select the color of your small circles. They will all be selected now. Right click and select Group.
No matter how you got your ring of circles, everyone is ready for this nest step.
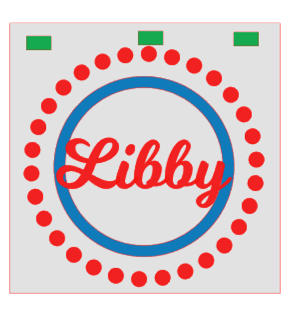
Left click on the Text icon in the left toolbar. Click in the workspace and type your name. Click on the Text panel in the right toolbar. Use the Font dropdown and select a font you like. I selected Milkshake. I added color to my text so it would be easier to see. Use the corner handles to size the text so it fits in the center of your other design elements.

Select CTRL/CMD+A to select all the elements. Use the Center icon in the Quick Access toolbar to center all the elements. Now it’s time for the magic. Click on the Draw tool in the left toolbar. Bring the cursor into the workspace. Left click and drag a rectangle about .25″ tall by .50″ long. Add a color not already in your design.

With the new rectangle selected, right click and select Copy. Right click and select Paste. Right click and select paste again. Move the three rectangles into position above the design elements, spacing them across the width of the square.
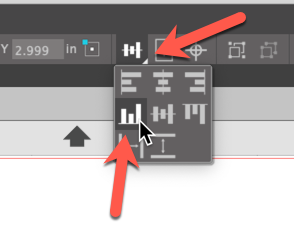
Left click on the first rectangle. Hold the Shift key and select the second and third rectangles. Select Align bottom from the Align tools in the Quick Access Toolbar.

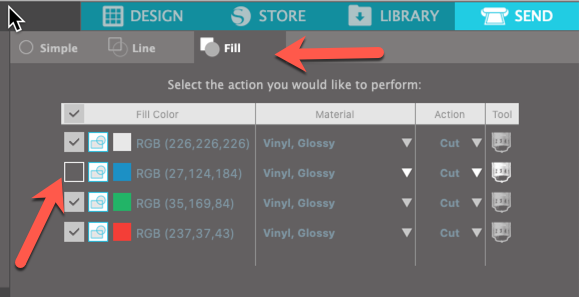
I moved the original square down a little so that there is room for the rectangles and the design inside the square … this way, the original square can now be used as a weeding box when we cut each layer. Click on the Send tab. Click on the Fill icon. Now you can cut by color. Uncheck the color of the inner circle. Cut the alignment boxes, the “rhinestones”, the name and the weeding box. Once you have cut these elements, uncheck the color for the name and the “rhinestones” and select the color for the inner circle. Cut this element.
Once the design elements are cut, you are ready to apply them to your tile. Put our transfer tape on the design that will be the top layer. Then match the alignment boxes on the top layer to the alignment boxes on the next layer … here’s a video to help you see how it’s done.
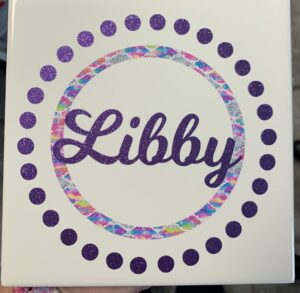
Here’s the finished project!
Create an Offset for Easy Alignment
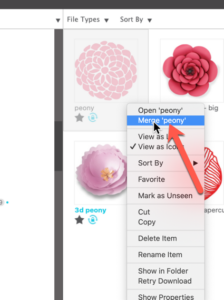
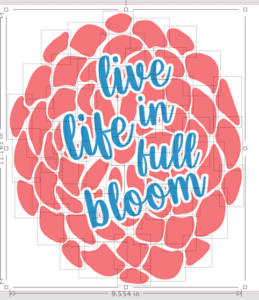
Start a new workspace. I am using the design called Peony from the Silhouette Design store (#30647). Locate the file in your Library. Right click on the file and select Merge. The design will be placed in the workspace.
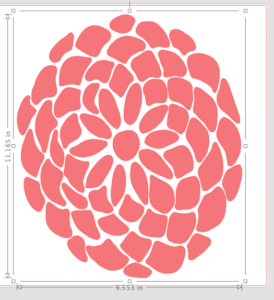
Left click on one of the corner handles and drag to increase the size of the design. I increased my design size to fill the mat area and added color using the Fill icon in the Quick Access Toolbar.
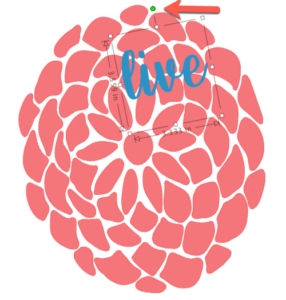
Now let’s add some text. Click on the Text icon on the left toolbar. Click in the workspace and enter the word “live”. In the Text panel, select Bright Cherry from the font dropdown menu. (This font is available in the Silhouette Design Store.) Add color to the word using the Fill icon in the Quick Access Toolbar. Use the handles to adjust the size and rotation of the word.
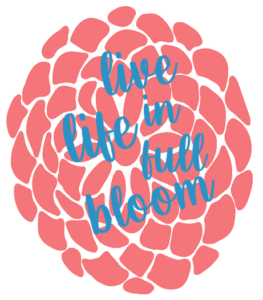
Right click and select Duplicate from the menu to add another line of text. Doing it this way means it will be the same font and color as the first word. Double click on the text and change it to “life”. Repeat this process to add the rest of the words for the saying “life life in full bloom”. Adjust the size and rotation of the words into a pleasing arrangement.
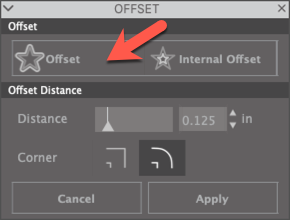
Click on the first word. Shift left click on each of the other words until they are all selected. Right click and select Group. Click on the Offset icon in the right toolbar. Click on Offset. To accept the default distance, no the raction is necessary.
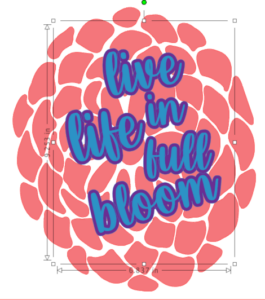
Without clicking anywhere else, click on the Fill icon in the Quick Access Toolbar and fill the offset with a color not in the design. I like to fill all the design elements with color to make them easier to select.
With the offset still selected, hold down the Shift key on the keyboard and click on the peony. Click on the Modify panel in the right toolbar and click on Subtract.
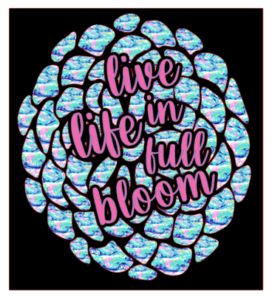
Before you click anywhere else, and with all the parts of the flower selected, right click and select Group. The flower petals are all now one group. So I can see how this is going to look on a background, I added a black rectangle. Then I changed the color of the flower to a pattern fill. Click on the Fill panel in the right toolbar. Click on the 3rd tab (Pattern) and select a pattern for the flower. If necessary, change the color of the text.
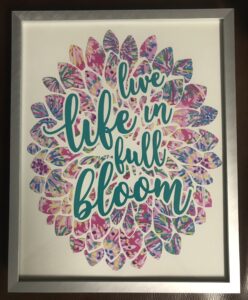
You can add the alignment boxes if you want to use them, but adding the offset and creating the space around the words gives you a “fudge factor” so you can eyeball the placement. Use the Fill tab in the Send panel to select the part of the design you want to cut. Once both design elements are cut, position the flower on your surface. Then add the words. Here’s an example of this design I put in an 8×10 frame.
And that’s it! Two ways to make layering adhesive vinyl easy and quick! Let me know which method you prefer!
If you enjoyed these tips, please join my Facebook groups … Libby’s Silhouette Group — Tips, Tricks, Tutorials and Projects, Libby’s Craft and Sewing Group and Running With Sisers – Juliet and Romeo. You can also find me on FB at Libby’s Loft.com. Please join and feel free to ask questions and share your creations! I look forward to seeing you there!!
Until Next Time,
Happy Crafting!!
Disclaimer: Posts on this site may contain affiliate links. Clicking on one of these links or making purchases at linked sites does not mean you pay more for your purchases. It means I may receive a small commission on your purchase. This commission helps defray the costs of this site and enables me to continue to provide you with new and exciting content.
Until next time,
Happy Crafting!!
Disclaimer: Posts on this site may contain affiliate links. Clicking on one of these links or making purchases at linked sites does not mean you pay more for your purchases. It means I may receive a small commission on your purchase. This commission helps defray the costs of this site and enables me to continue to provide you with new and exciting content.