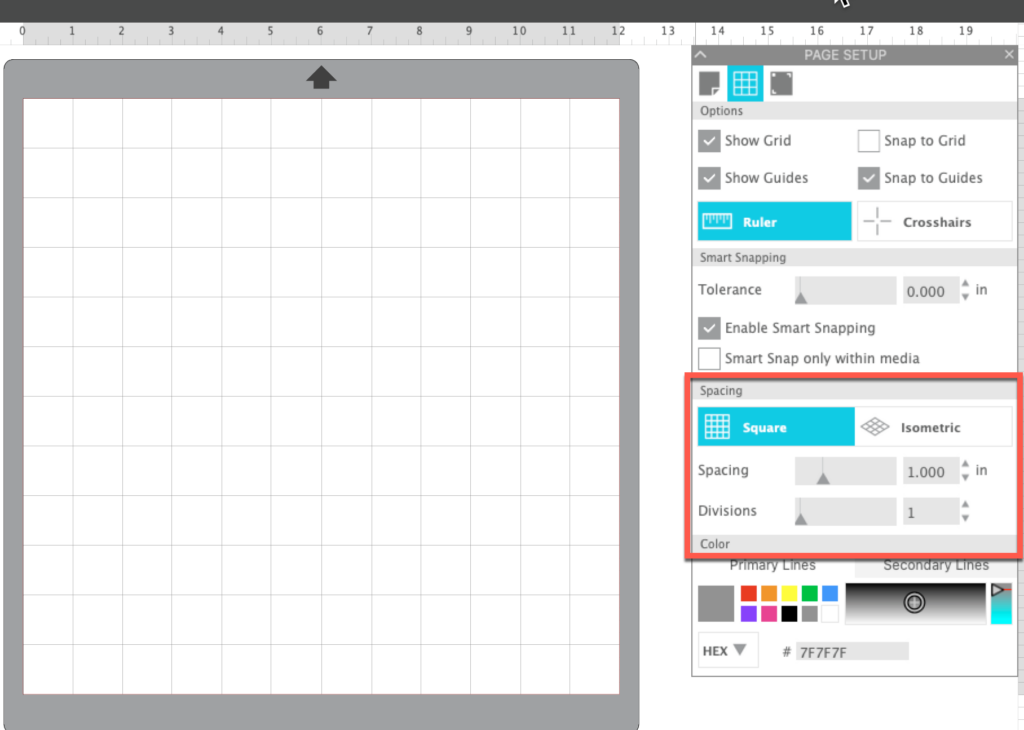
The Page Setup panel controls so much about how your workspace looks! As we discussed in a previous post, you can control which machine you are using, the mat choice, the media size, and more. You can explore the main page of the Page Setup panel by clicking here. In this post, we are going to explore the Grid Settings Tab.
To access the Grid settings tab, click the second tab in the Page Setup panel. If you have the Basic level of Silhouette Studio, the top of your Grid settings will look like this. Here you can control whether or not your grid is visible. You can also toggle Snap to Grid on and off.
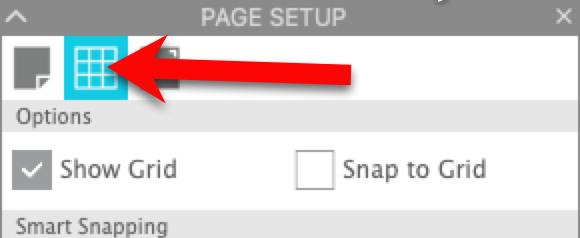
Snap to Grid can be turned on and off depending on what you are doing. Basically with it turned on, items created or moved will “snap to the grid” and will be placed on grid lines. You cannot position them in-between grid lines. This video will show you exactly how it works.
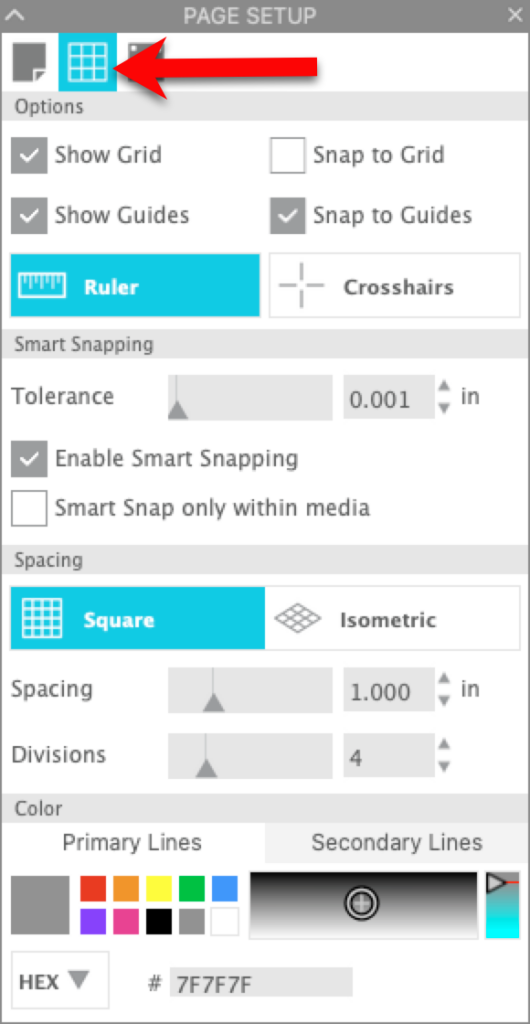
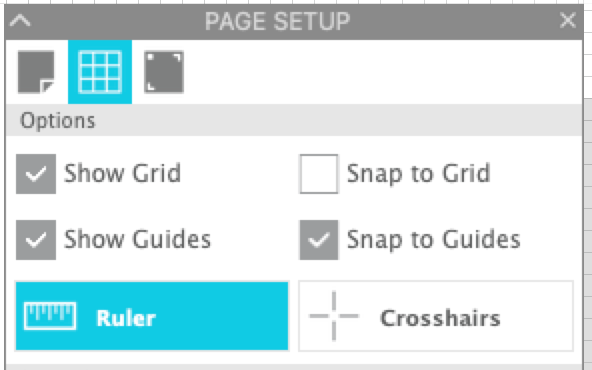
If you have Designer Edition or higher, you will have a few more options in this section of the Grid Settings. You have the option to Show Guide and also a Snap to Guide motion. Guides are lines you “pull out from the rulers” to help in aligning design elements. Snap to Guide works just like Snap to Grid, but items snap to the guide lines instead of the grid lines. You also have a Ruler at the top and right side of the workspace. Finally, you have the ability to turn the Crosshairs on and off (you can also do this by pressing ‘h’ on the keyboard).
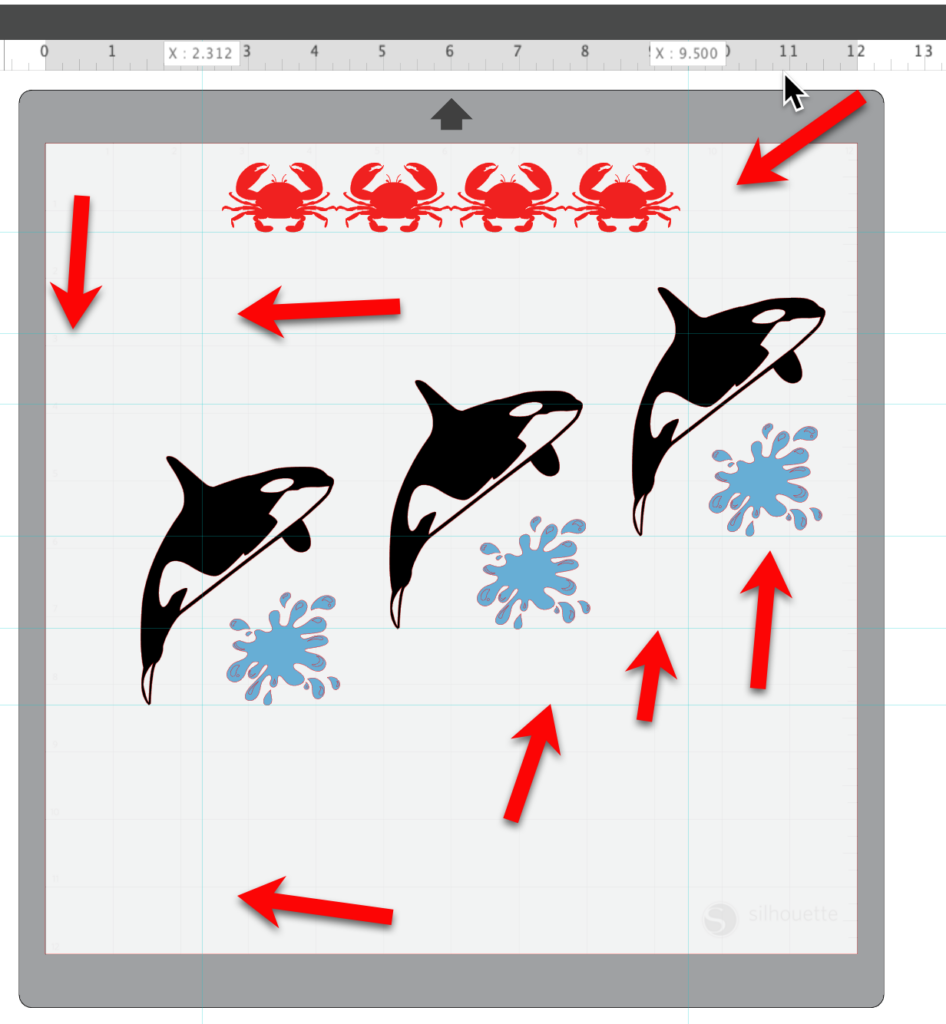
Here’s my workspace with Guides pulled down from the top ruler and also in from the side ruler. When you are finished using the Guides, you can right click on a Guide and select Delete All Guides. They will all be removed from the workspace.
Many people like to have crosshairs attached to their mouse when designing. They will follow your mouse as you move it around the workspace. You can turn them on and off here in the Grid Settings tab. You can also toggle them on and off by pressing ‘h’ on the keyboard.
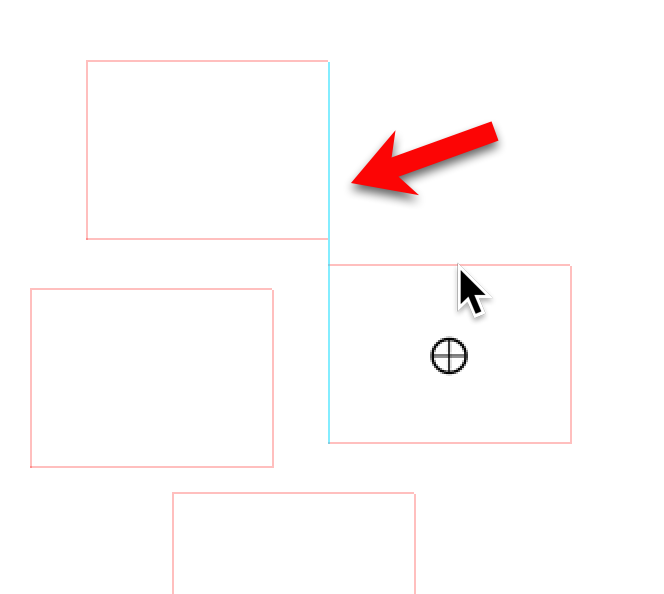
The rest of the tools in this panel are available in all levels of Silhouette Studio. Smart Snapping is the next area of the panel. When Smart Snapping is enabled, objects will align to temporary smart snap lines used on the edges of other objects in the workspace.
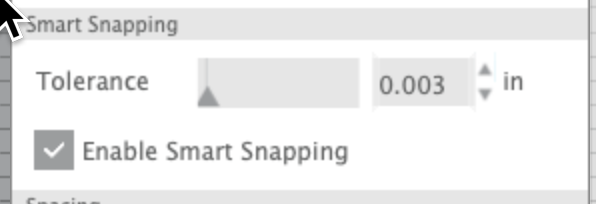
This is great for aligning objects with other objects in the workspace. The Smart Snap lines are teal. Increasing the tolerance allows for more leeway as you approach the edges of objects — I found increasing the tolerance made it easier to use Smart Snapping.
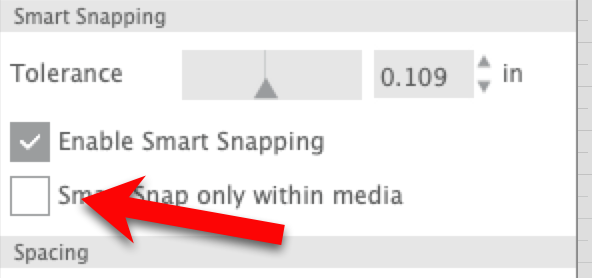
I am using Silhouette Studio v 4.4.889 and I have an additional setting in the Smart Snapping section of this panel. There is a check box that would limit the use of Smart Snapping so it only works inside the media area and not in the area around the virtual mat.
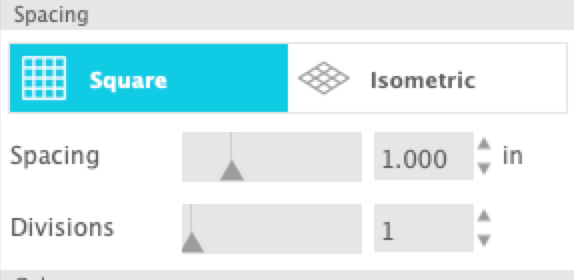
The number and spacing of the grid lines as well as the configuration of the grid lines is handled in the next part of the panel. Here you can set the spacing for the major grid lines and the number of divisions between the major grid lines.
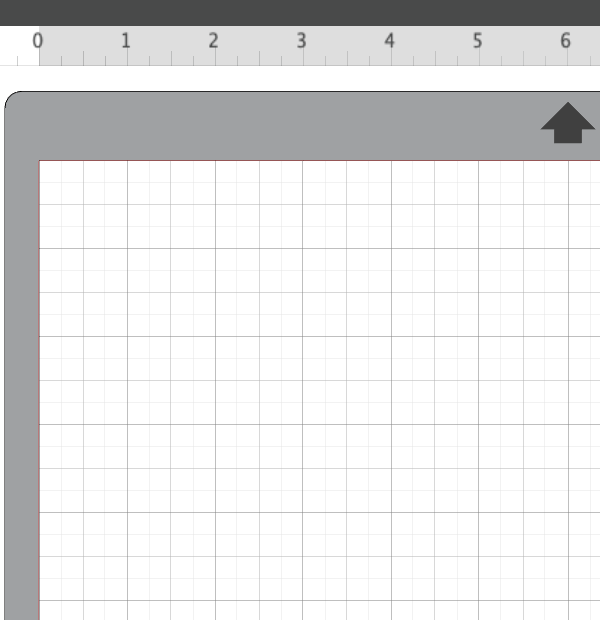
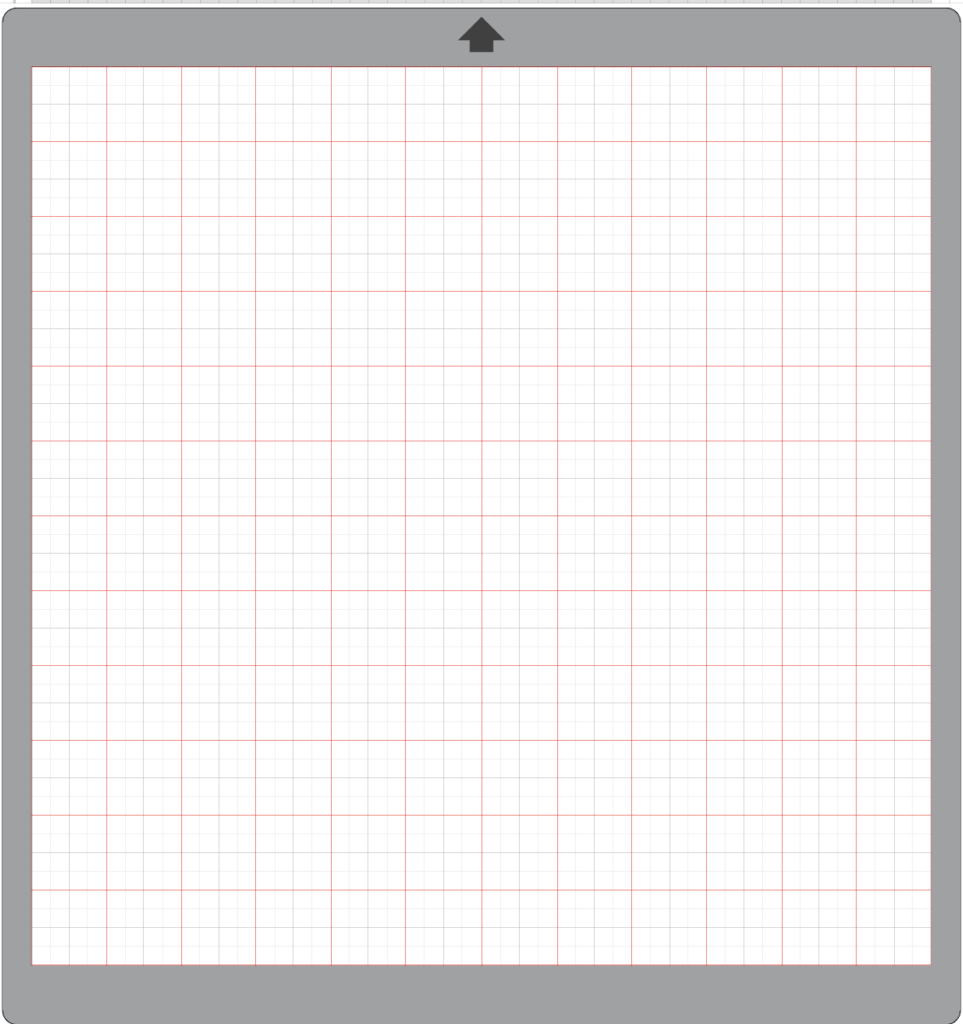
Let’s look at how this changes, depending on the choices you make. Here is my grid set to 1″ major grid lines, with no divisions between the lines.
If I change the number of divisions, I can get more lines between the major grid lines. This allows me to get very precise positioning of objects on the mat and their relationship to each other. Here the spacing is still set to 1 inch but the divisions is set to 4. So now my grid is set to show me not only the 1″ lines but also the 1/4″ lines as well.
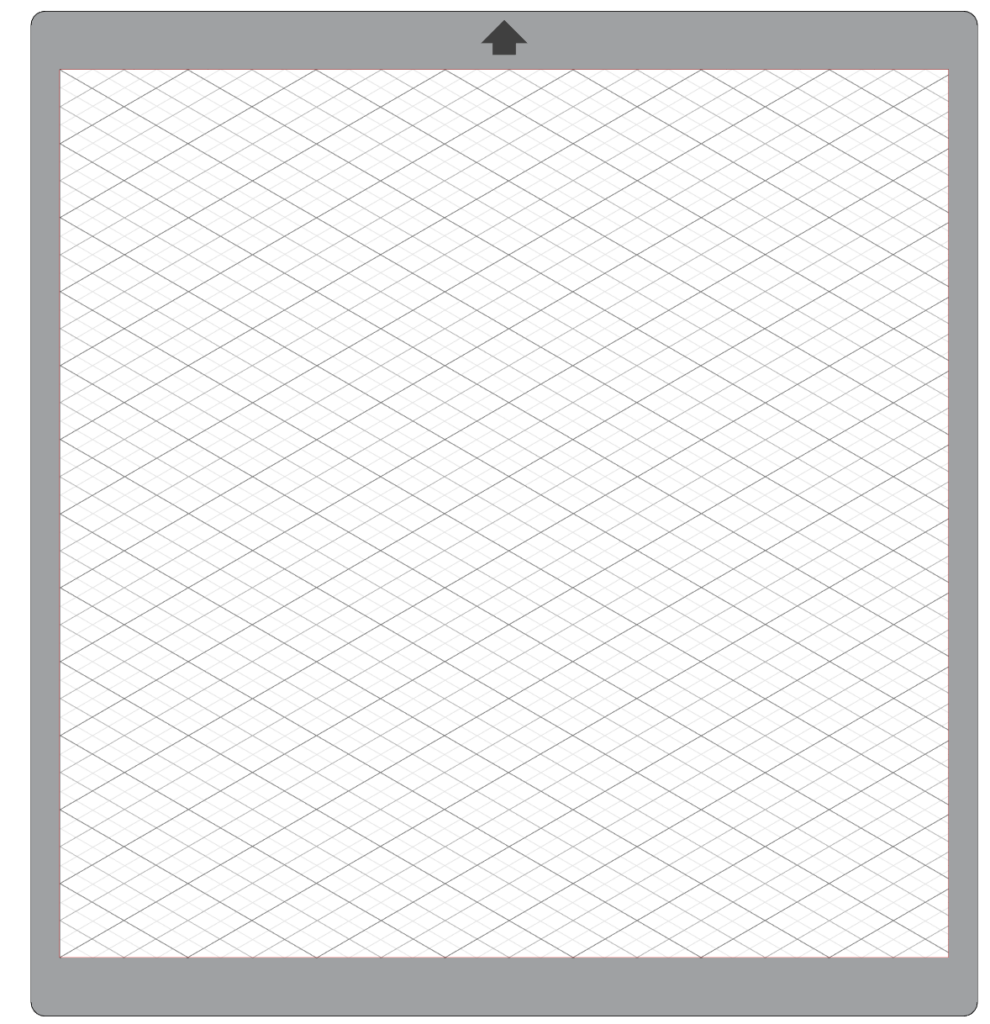
The other thing you can control in this section is the style of the grid. You can set it to the conventional Square setting that will mimic your mat, or use the Isometric setting. This can be useful when creating your own designs. I have not used this setting much, but can see where there would be times it be useful if I was a better artist and did more drawing in my software.
Last but not least in this panel is the Line color of the grid lines. You can adjust the color of both the primary and the secondary lines. Make sure you have the correct tab selected when making changes to the colors. You can use either the quick color picker, the hex value or the color selector to pick your colors.
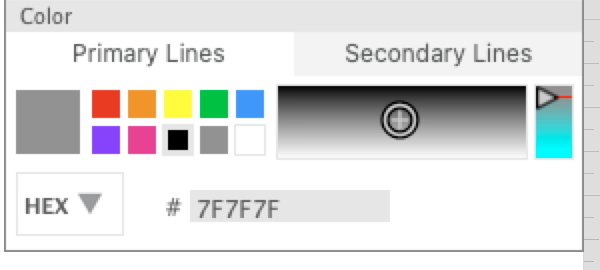
Here I have changed my primary lines to red and left the secondary lines a dark grey so you could see how it looks when you make a change.
And there you have it!! All the ways you can use the Grid Settings Tab in the Page Setup Panel to customize your workspace. I hope you found this information helpful and will take time to check out the settings and how they can be changed so you can customize your workspace to it works best for you!
If you enjoyed these tips, please join my Facebook groups … Libby’s Silhouette Group — Tips, Tricks, Tutorials and Projects, Libby’s Craft and Sewing Group and Running With Sisers – Juliet and Romeo. You can also find me on FB at Libby’s Loft.com. Please join and feel free to ask questions and share your creations! I look forward to seeing you there!!
Until Next Time,
Happy Crafting!!
Disclaimer: Posts on this site may contain affiliate links. Clicking on one of these links or making purchases at linked sites does not mean you pay more for your purchases. It means I may receive a small commission on your purchase. This commission helps defray the costs of this site and enables me to continue to provide you with new and exciting content.