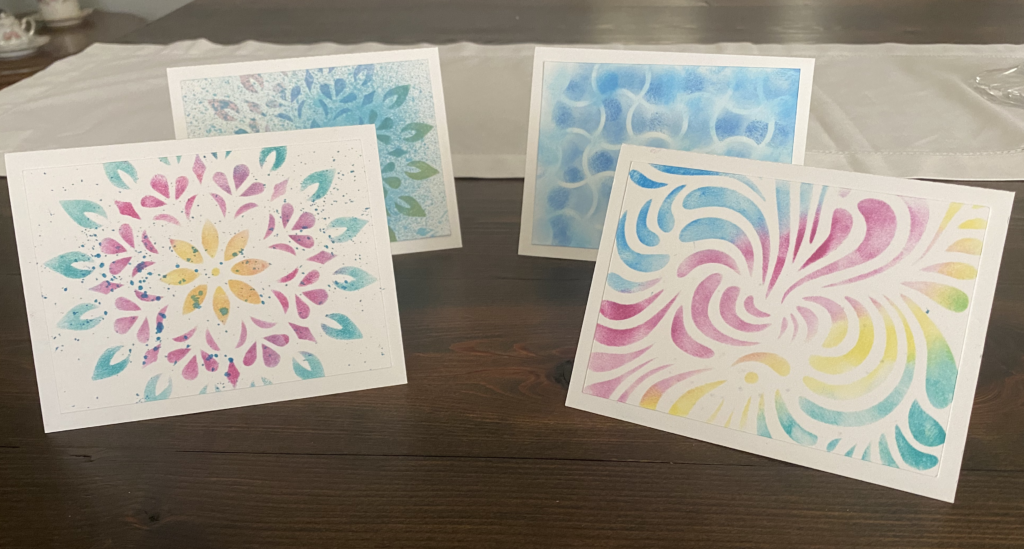
I love using stencils to create exciting paper projects. But sometimes I cannot find “just the right stencil”. So I decided to create my own! Here’s a few card backgrounds I made while experimenting with creating my own stencils.
To get started, I used Silhouette Studio. I tested the cutting with the Silhouette Cameo 4, the Brother Scan n Cut and the Siser Juliet and we’ll talk about some of the things I encountered with each machine in just a bit. I used Silhouette Studio Business Edition because it allows me to create and save files as SVG files so I can use them with all three machines.
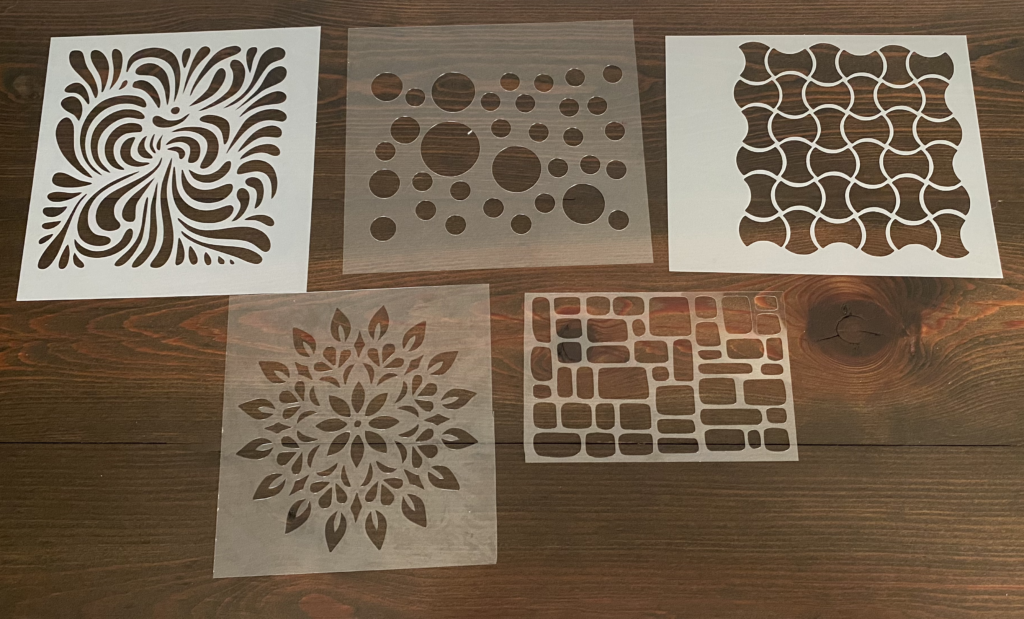
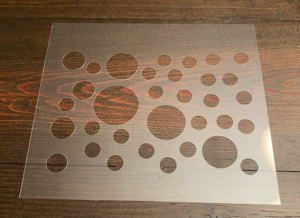
I looked for designs in the Silhouette Design store and Creative Fabrics. First I searched on “stencil” and found lots of choices. Then I also searched on “backgrounds” and found even more choices. I selected several and opened them in the software. I found two types of designs. The first had a border around them like these.
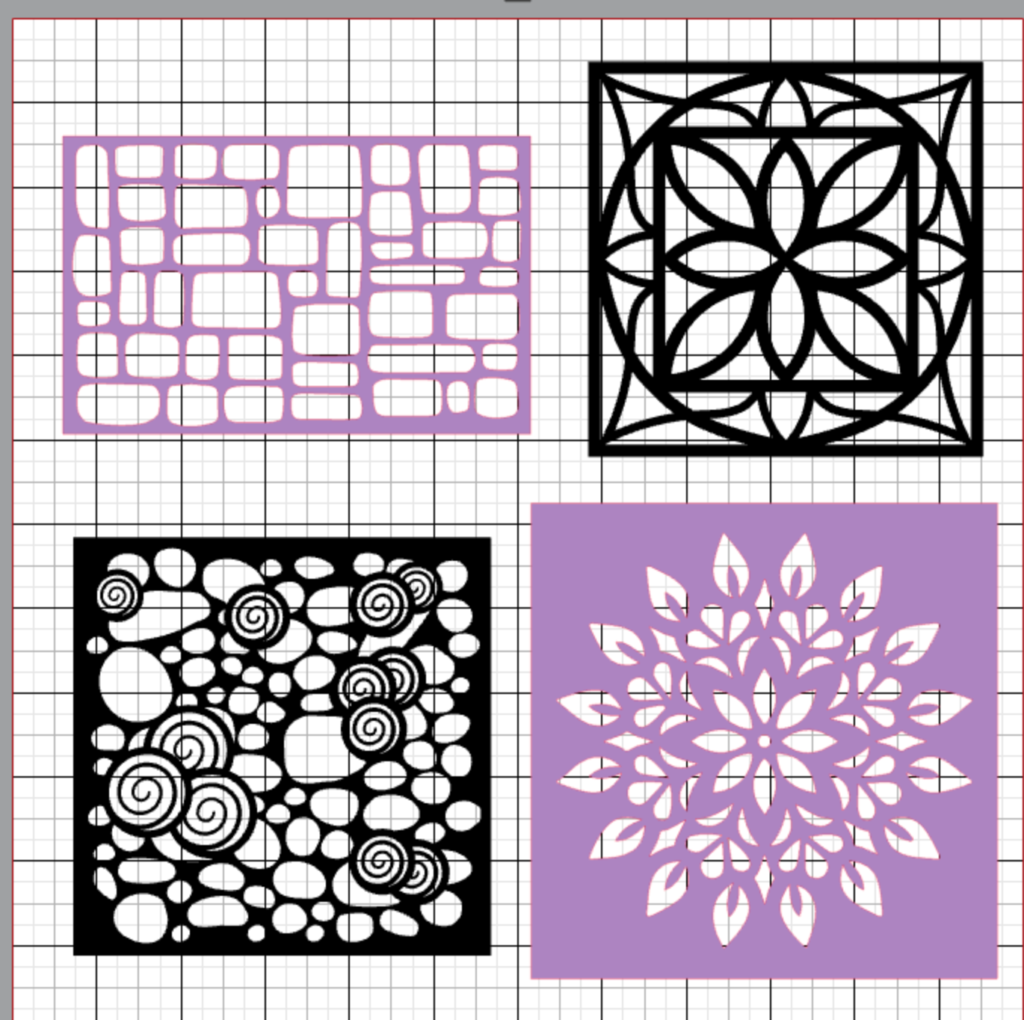
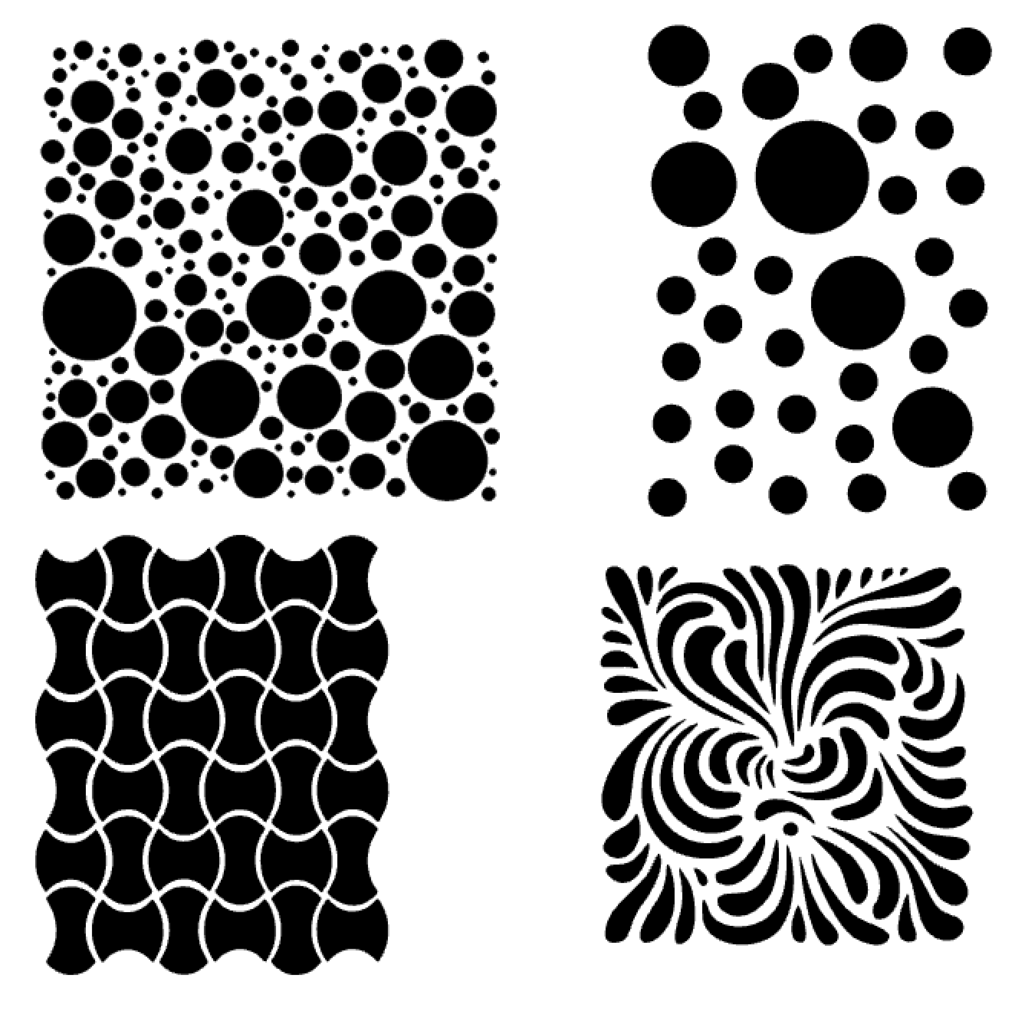
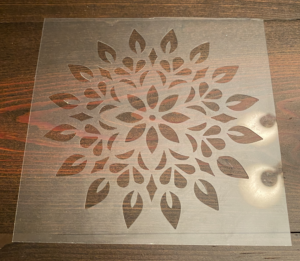
I found that these cut just fine on all three cutters. The next group did not have a defined border.

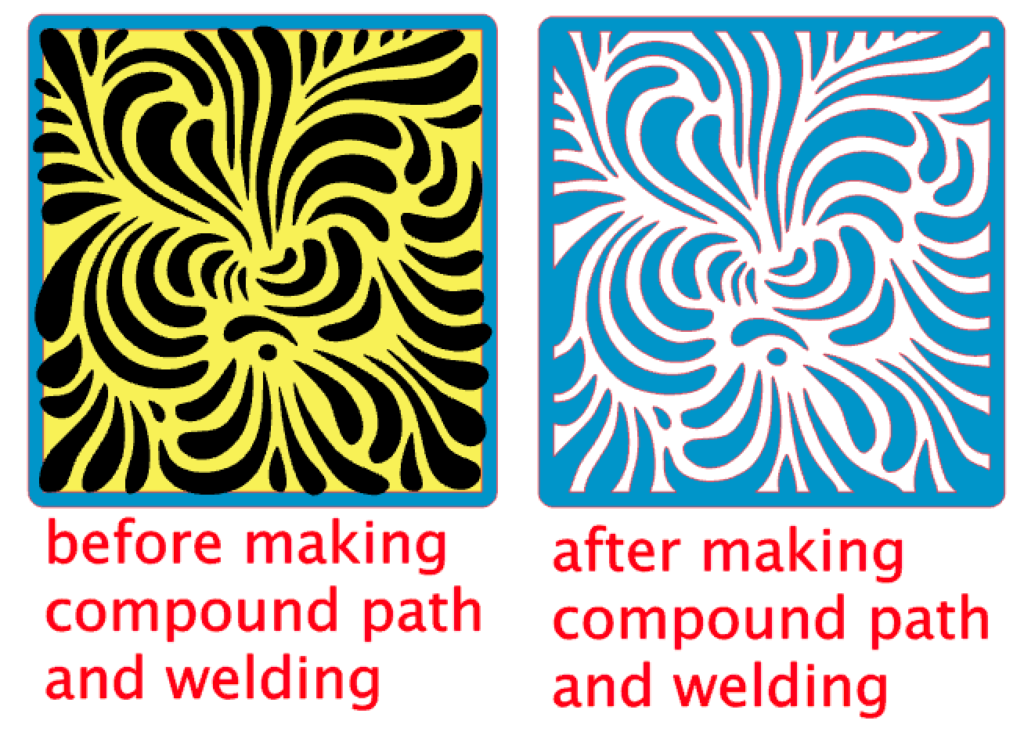
I tried adding a border to them by creating two squares, then making a compound path and welding the border to the background. The image on the left iswhat it looked like with the squares created before I make the compound path and welded and the one on the right is what it looked like after those steps.
I was now ready to cut the stencils. First I used Graphix Craft Plastic 0.007″. It is pretty thin but all the cutters were able to cut it with no problems.
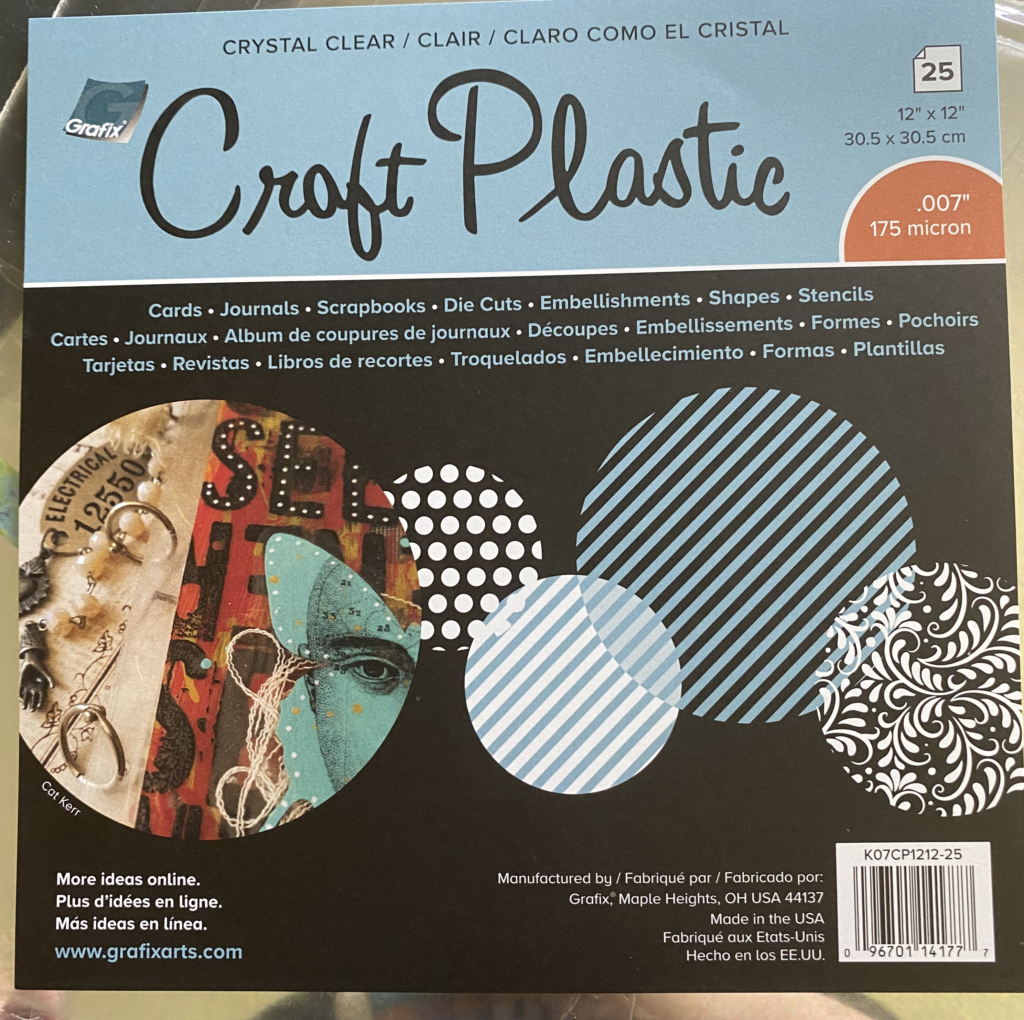
Next I tried Graphix Craft Plastic 0.005″. It is thicker and cut better. I did have to use two passes on the Silhouette to get it to cut through completely. I used the Stencil preset, increasing the blade depth by 1.

You can see the difference in the two types of plastic here. The 0.005″ plastic is frosted and the 0.007″ plastic is clear. The color did not matter as much as the thickness of the plastic.
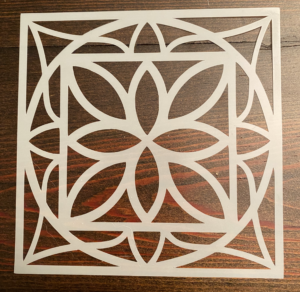
You will notice that some of the stencils above have even borders all around. I discovered that if I added a border (as detailed above) or even just a box around the images and cut them with the Scan n Cut, it cut the box/border first and then the inside. This did not cause a problem when using the thicker plastic. But when I used the thinner plastic (even with a new Standard tack mat), the shape moved and the inside did not cut well. I tried this four different times, with four different designs and it happened every time. So going forward, if using the Scan ‘n Cut, I would just place the images on the mat and not worry about a border. You can always trim it with a rotary blade and ruler.
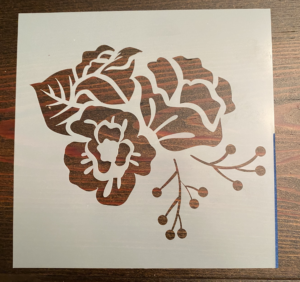
I used a test cut before I cut each material on each cutter. Using a test cut was very helpful for determining the settings for each material on each machine. I recommend that you use a capital “B” to check your settings on the plastics because it has curves and straight lines. (Thanks EllyMae Habets with Silhouette Secrets + for this tip about using the capital B for test cuts.) I have already mentioned the changes I made to the cut settings when using the Silhouette and the problems I encountered with some files on the Scan n Cut. I had no problems whatsoever when cutting on Siser Juliet. Once I adjusted my settings, Juliet cut the material like butter. Here are more of my new stencils.
Once the stencils were cut, I used them to create card backgrounds. I placed my card stock on a silicon mat so it would not move. Then I taped the stencil over the card stock using Washi tape. Then I used blender brushes and Distress Ink stamp pads to color the card stock.
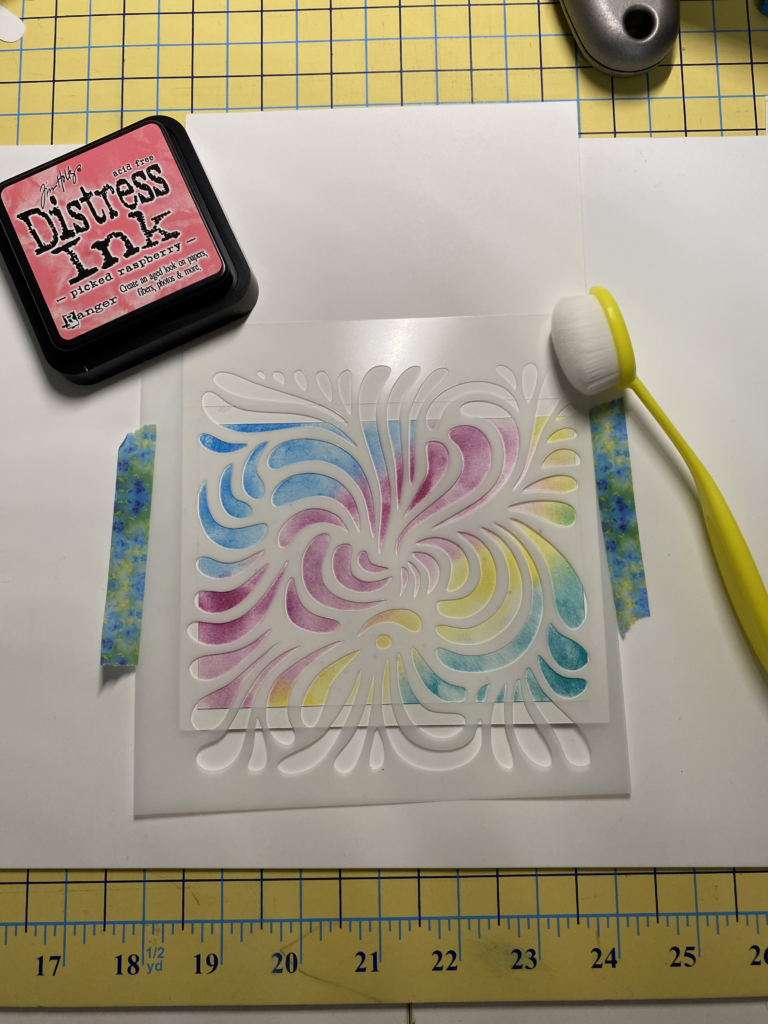
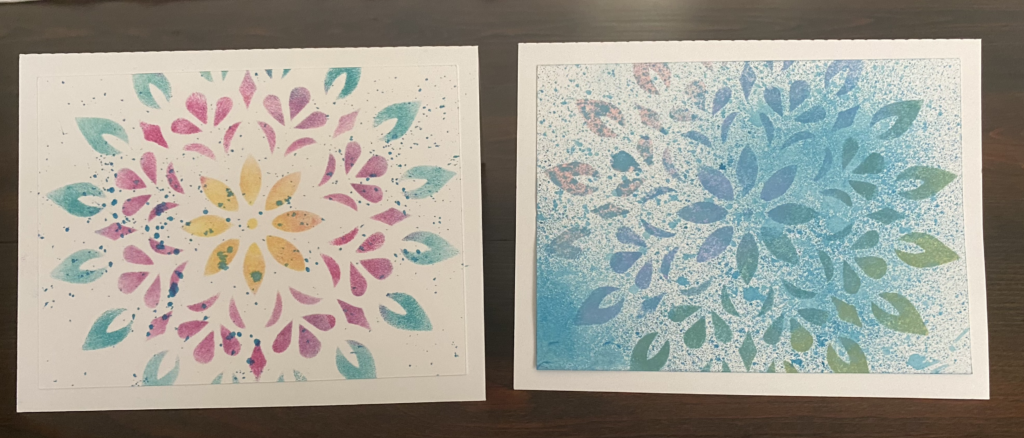
These are some of the card bases I created using my stencils. I must say that I prefer the thickness of the 0.005″ stencils to the 0.007″ stencils which are a bit flimsy. That being said, both thicknesses worked with my blending brushes with no problems.

On these, I sprayed a little Distress Spray Stain onto my work surface. I dipped a paintbrush into the sprayed stain and then “flicked” the paintbrush to get the spattered effect. On the card on the right, I colored the stencil, added color to the entire background, then added the flicks of stain.
I hope you will try making stencils! I cannot wait to make more stencils and use them for a variety of mixed media projects!
If you enjoyed these tips, please join my Facebook groups … Libby’s Silhouette Group — Tips, Tricks, Tutorials and Projects, Libby’s Craft and Sewing Group and Running With Sisers – Juliet and Romeo. You can also find me on FB at Libby’s Loft.com. Please join and feel free to ask questions and share your creations! I look forward to seeing you there!!
Until Next Time,
Happy Crafting!!
Disclaimer: Posts on this site may contain affiliate links. Clicking on one of these links or making purchases at linked sites does not mean you pay more for your purchases. It means I may receive a small commission on your purchase. This commission helps defray the costs of this site and enables me to continue to provide you with new and exciting content.
Thanks for the great blog info.