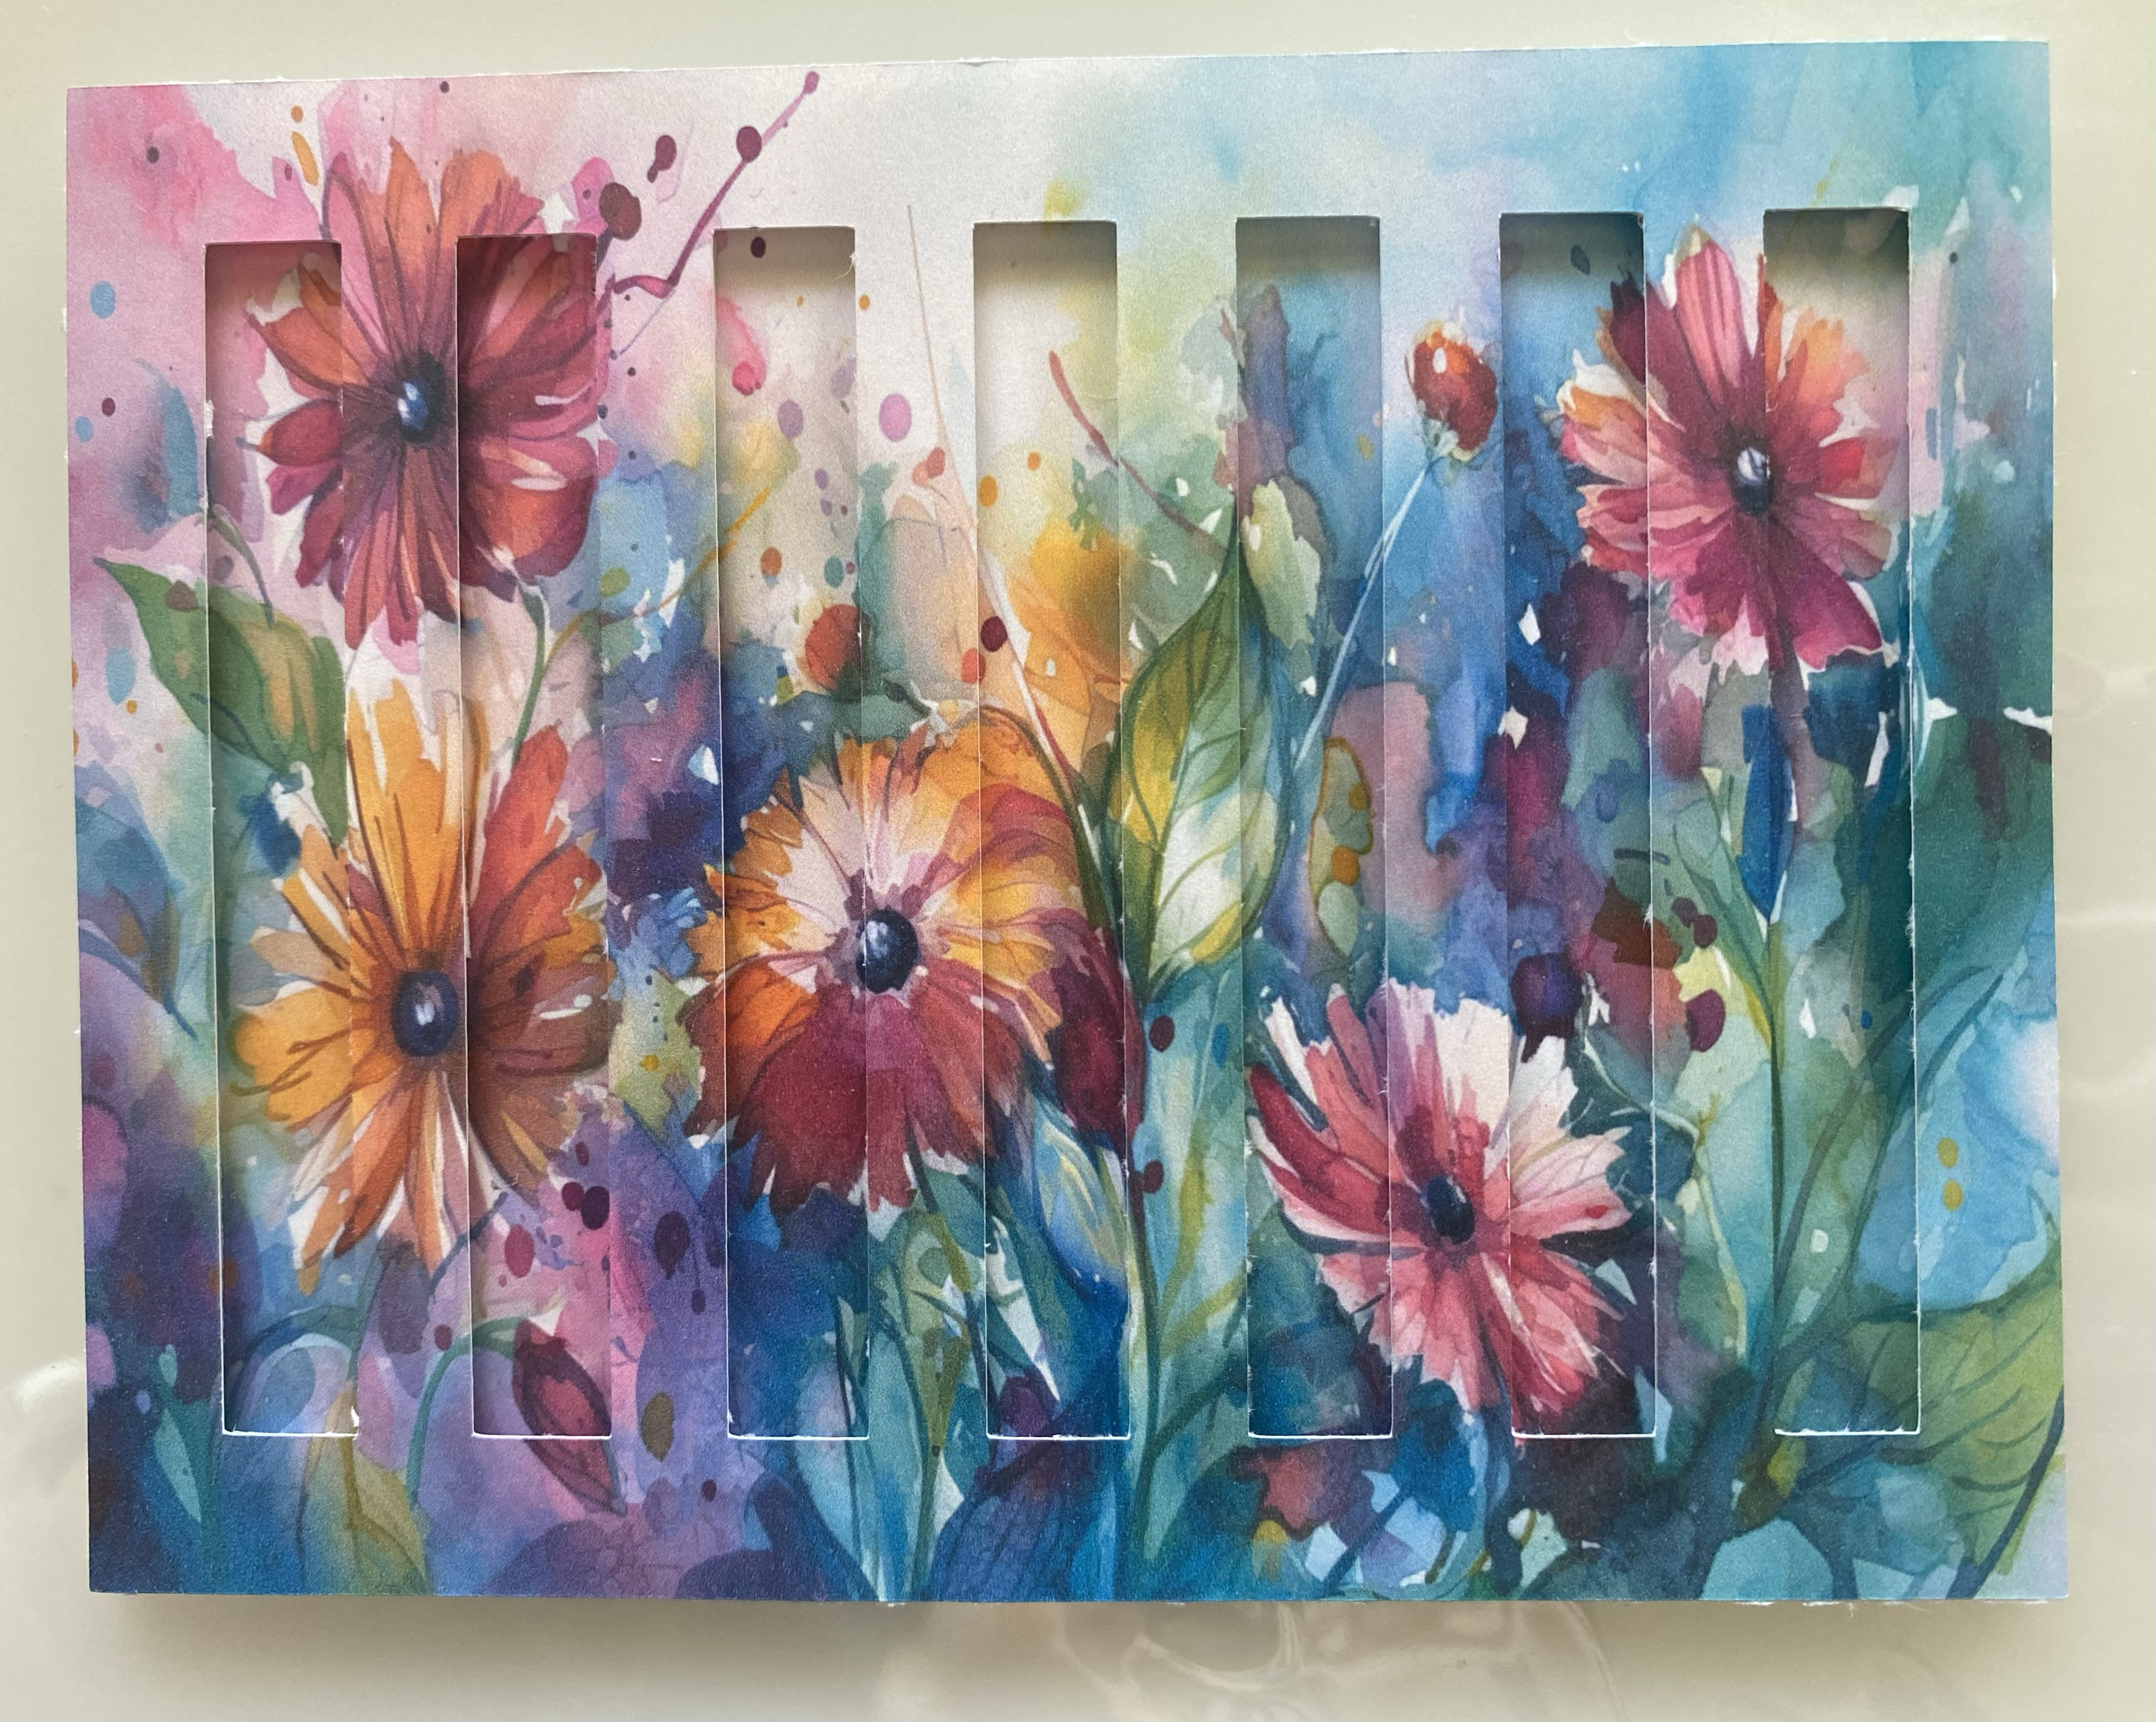
Eclipse cards are very popular right now and after creating one, I can see why! They are easy to make and so pretty!!
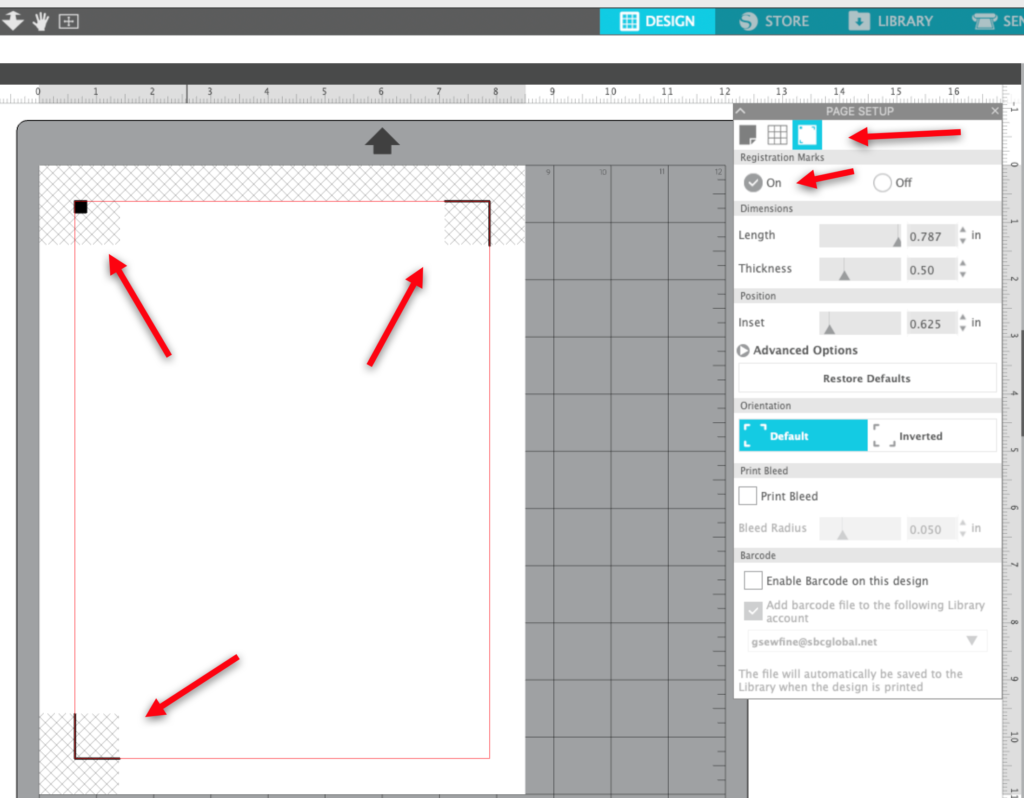
Let’s use Silhouette Studio to make our template for these cards. Open Silhouette Studio and set your media size for letter size paper (or whatever size you are using). This will be a print and cut project so keep that in mind when setting up your workspace — your printer has to be able to handle the paper you select! Since it is a print and cut project, you will also need to turn on your registration marks. To turn on your registration marks, you can either press “m” on your keyboard or go to the Registration marks tab in the Page Setup panel.
Now you need to create your card. Using the Rectangle from the Draw tools in the left toolbar, move the cursor into the workspace and left click and drag to create a rectangle. Don’t worry about the size. Once your rectangle has been drawn, click on the Transform tab in the right toolbar and select the Scale menu. Set the width of the card to 5.5″ and the height to 4.25″. Click Apply.

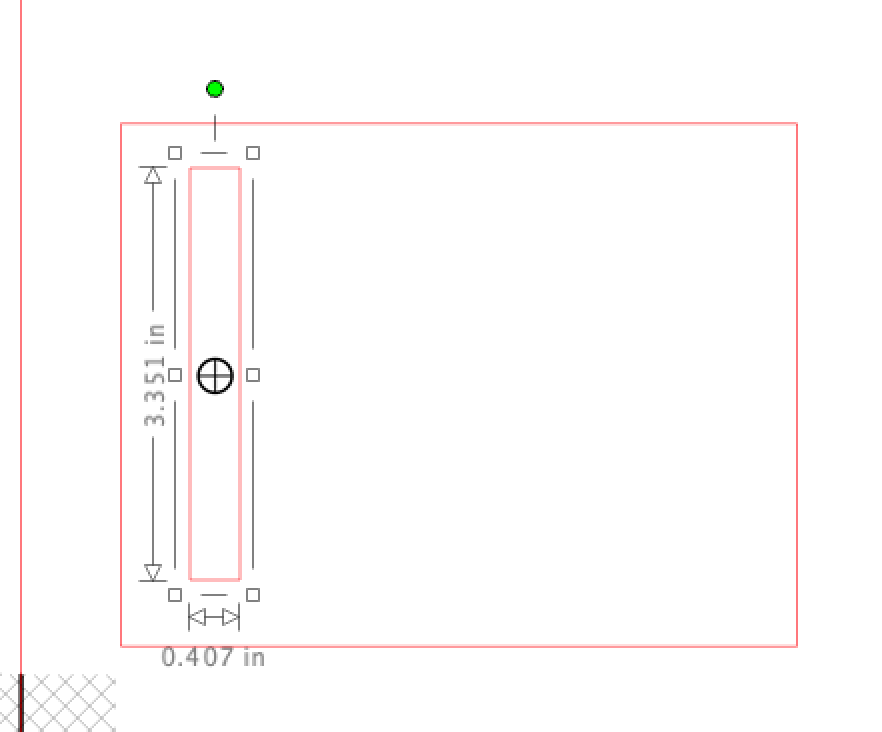
Next you need to add the cut outs that will create the eclipse effect. Let’s start with the most common setup — a series of rectangles. Use the rectangle tool and left click and drag to drag a rectangle in the workspace. Line it up inside the rectangle, leaving space at the top and bottom of the original rectangle. When sizing and placing these rectangles, you need to leave space for the foam tape you will be using to create dimension when you put the card together. I left a little extra room to allow for easy placement of the foam tape. I did not worry about exact measurements at this point — I just eyeballed it!
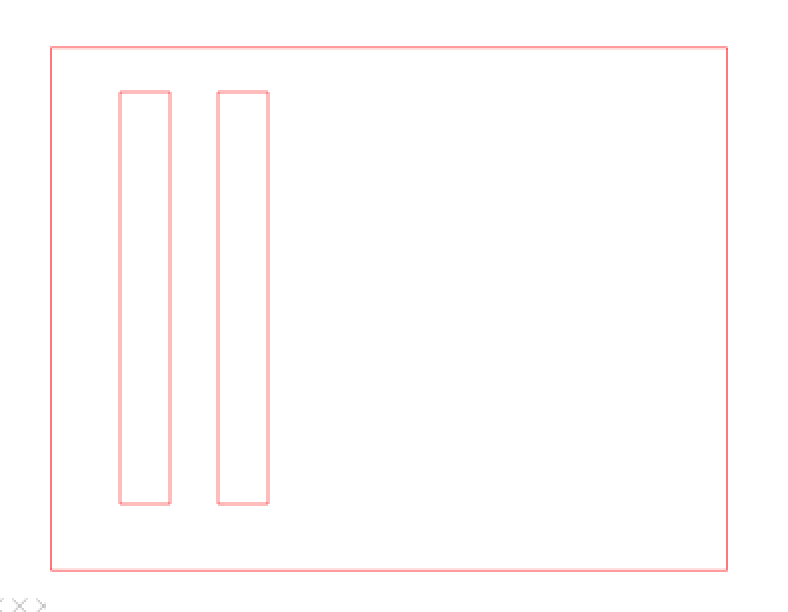
We need to add more of the small rectangles. There are lots of ways to duplicate things. You can use Copy/Paste or the Duplicate command. You can also hold the ALT/Option key down and left click and drag a copy.
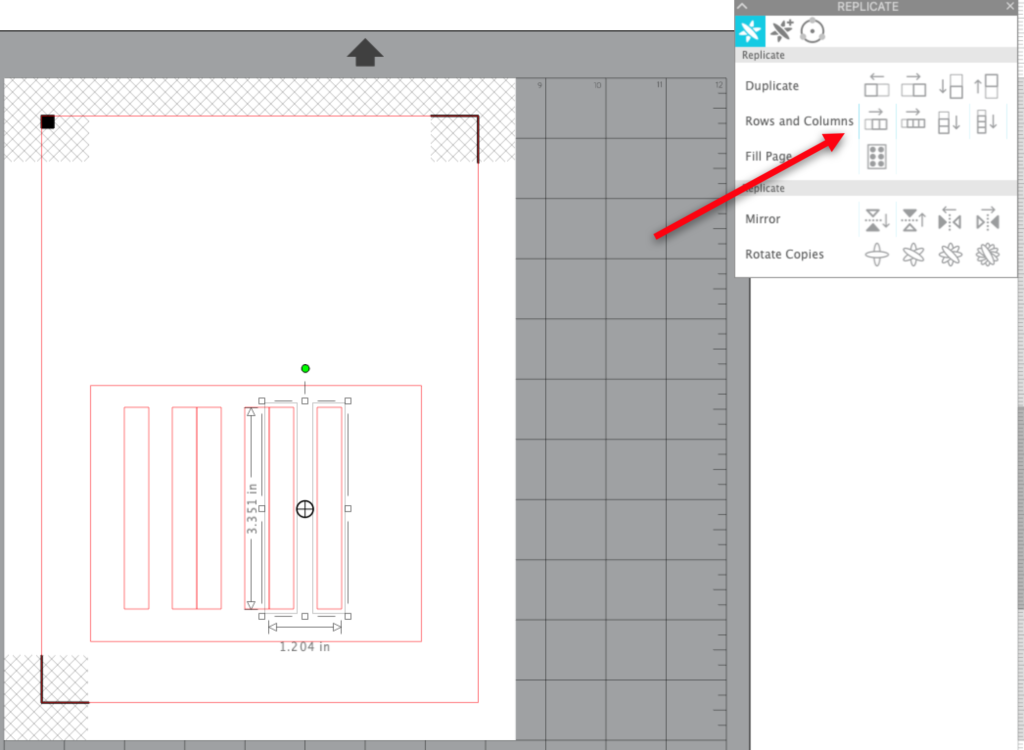
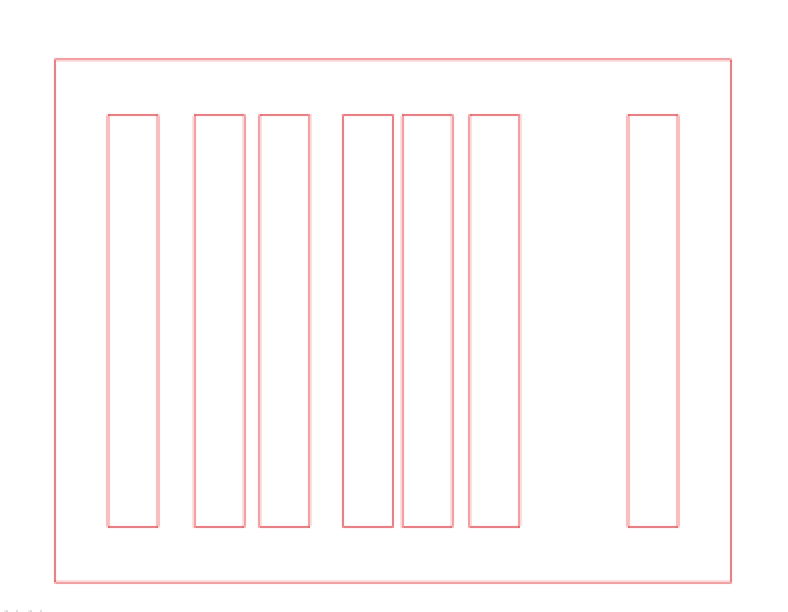
To get more small rectangles, you can select both of the ones you already have and use one of the options above. You can also use the Replicate panel and use the Rows/Columns command to add several rectangles at one time. I wound up with a total of 7 small rectangles.
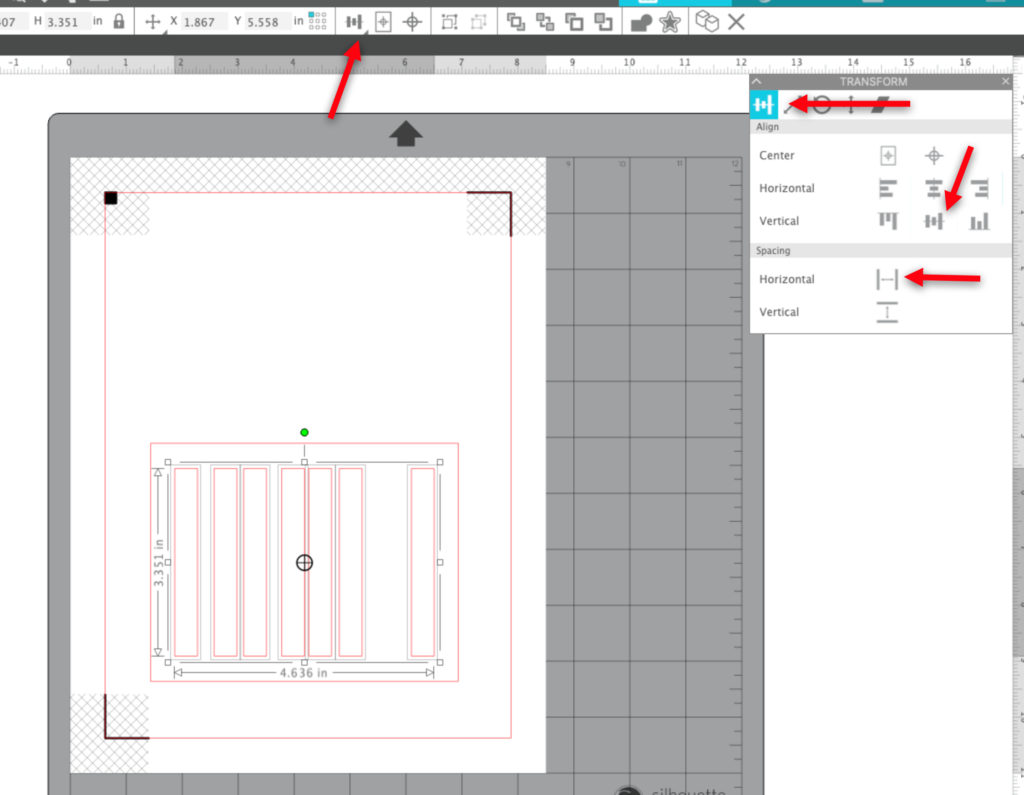
To get these rectangles evenly spaced, position the first one where you want it to be on your card (don’t forget to leave at least 1/4″). Move the last one over to the right where you want it to be (again, don’t forget to leave that 1/4″).
With the rectangles selected, click on the Transform panel. In the Align tab, select the Distribute Horizontal icon. You can also use the Distribute Horizontal icon in the Align icon in the Quick Access Toolbar. Select Align Middle from the Quick Access Toolbar or from the Align tab in the Transform panel.
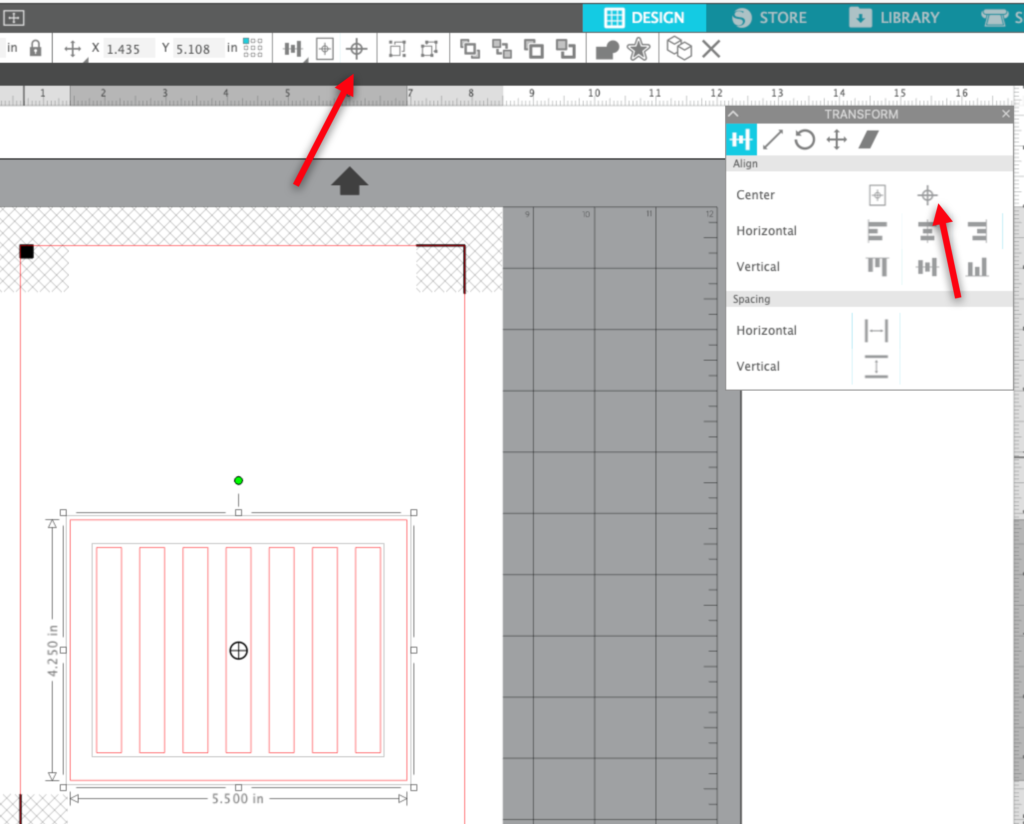
Group these rectangles. I use the keyboard shortcut Ctrl/CMD+G. You can also right click and select Group or select the group icon in the Quick Access Toolbar. Shift+left click on the large rectangle to select the base. Select Center from the Quick Access Toolbar or from the Align tab in the Transform panel.
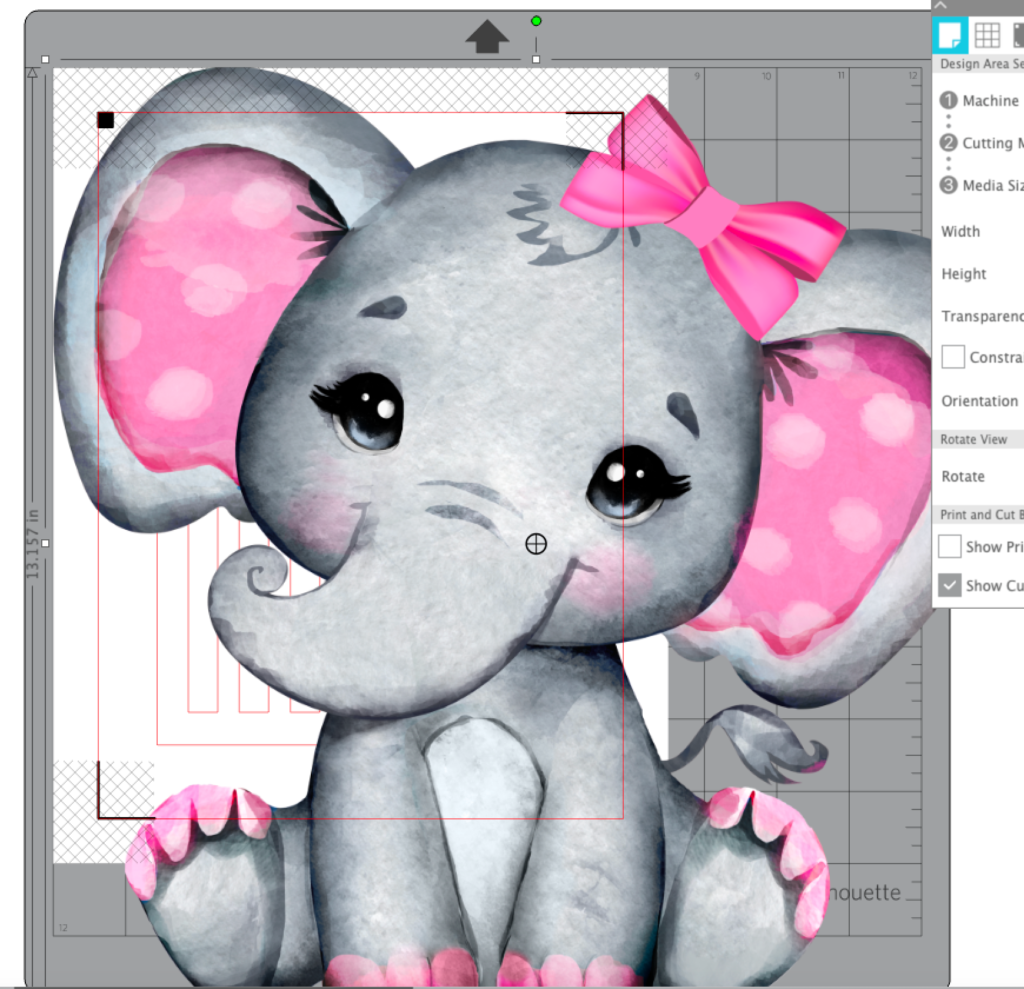
Before you go any farther, you might want to go ahead and save this as a template. I used the Save As command in the file menu and saved the design directly to my hard drive. I also duplicated the design and put it off the mat to the side, just in case I needed it later. Now it’s time for the fun part! Adding your image!! I selected an image from Creativefabrica.com called Pink Girl Elephant. It will be perfect for the baby shower I am attending in a couple weeks! I used File>Merge to bring the design into the workspace.
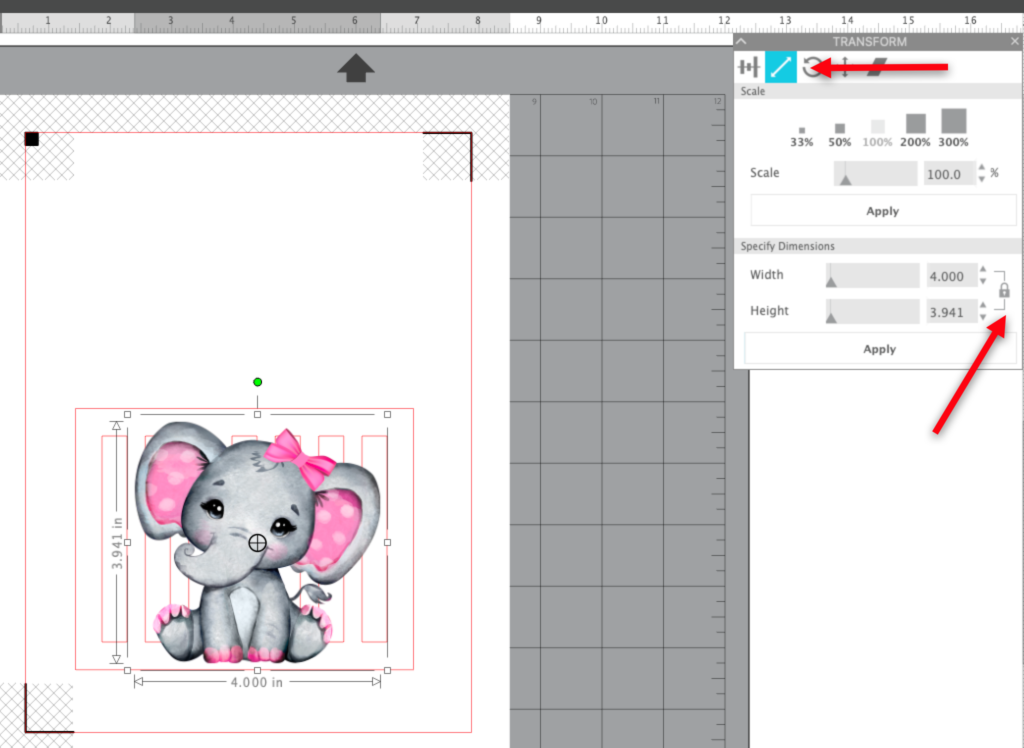
It is too large when it comes into Studio. So select the design and either use the handles to size it or go to the Transform window and select the Scale tab. Then you can enter the size you want it to be. I decided to size it to 4 inches wide. Because the padlock in the Specify Dimensions area is closed, changing just one dimension changes the other and maintains the proportion for the design.
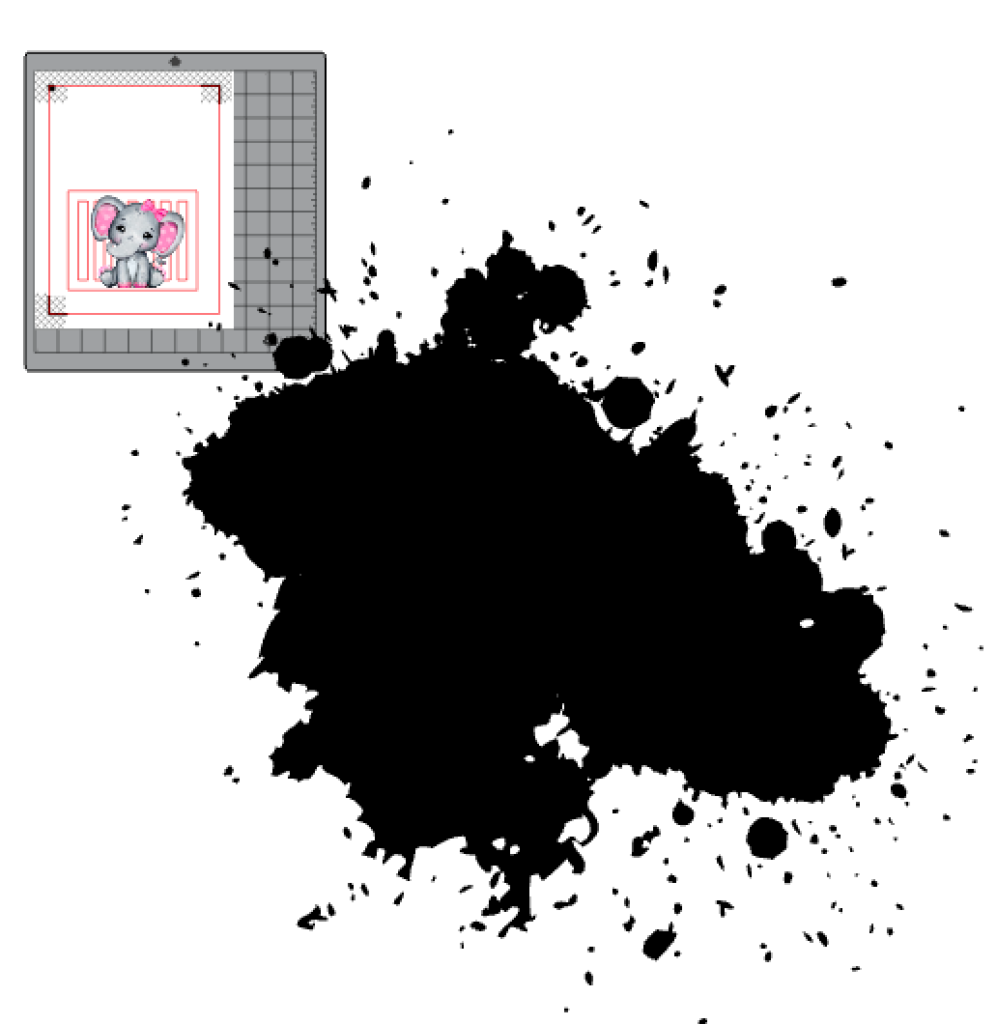
Looking at this I decided it was a little bland, even with the dimension that would be created by the cut-outs in the final card. I merged in another design from CreativeFabrica.com, called Paint Splatter Silhouette. It also came into the software much larger than I needed. In fact, to see it, I had to zoom way out!
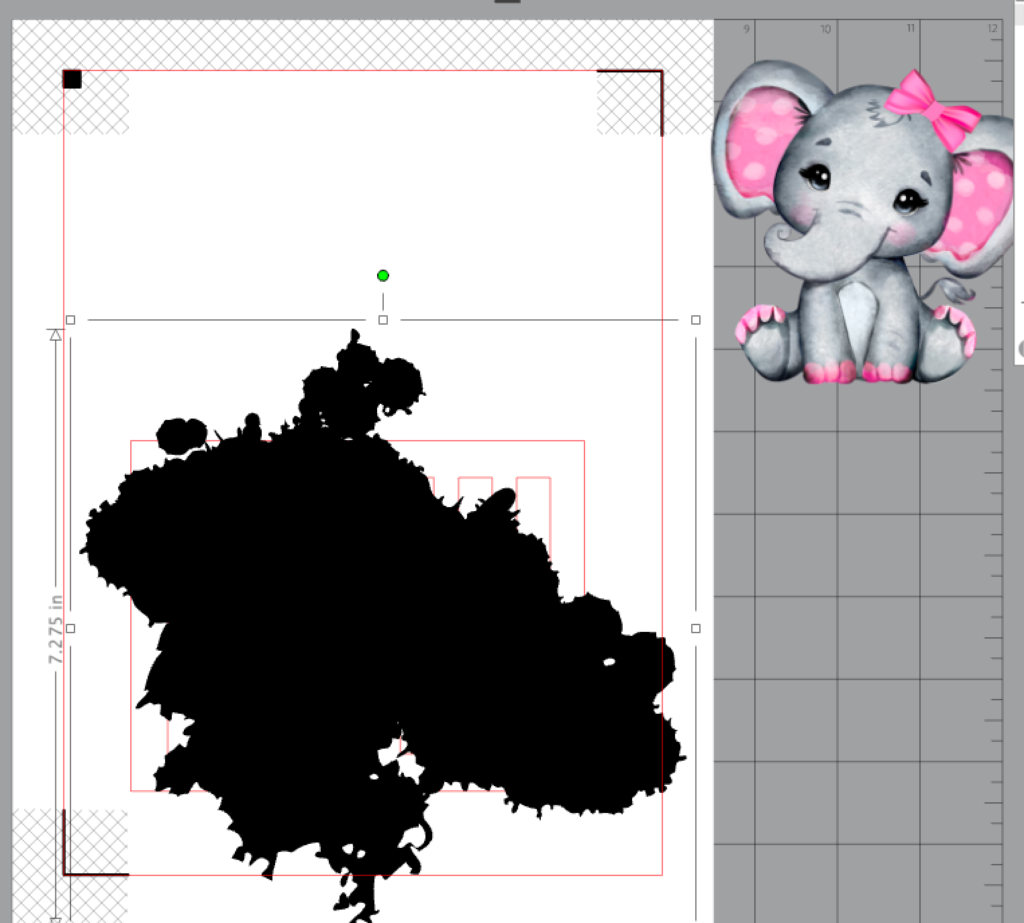
I opened the SVG file and when I clicked on it to select it, I discovered that it was lots of individual pieces! I really only needed the large center for the design I am working on, so I selected that and moved it to the side. Then I left clicked and dragged a box around the rest of the design parts and pressed the Delete key on the keyboard. I had do to this in several steps in order to make sure I did not accidentally include my card in the deleting! I used the handles to size the design down so it fit over my card base.
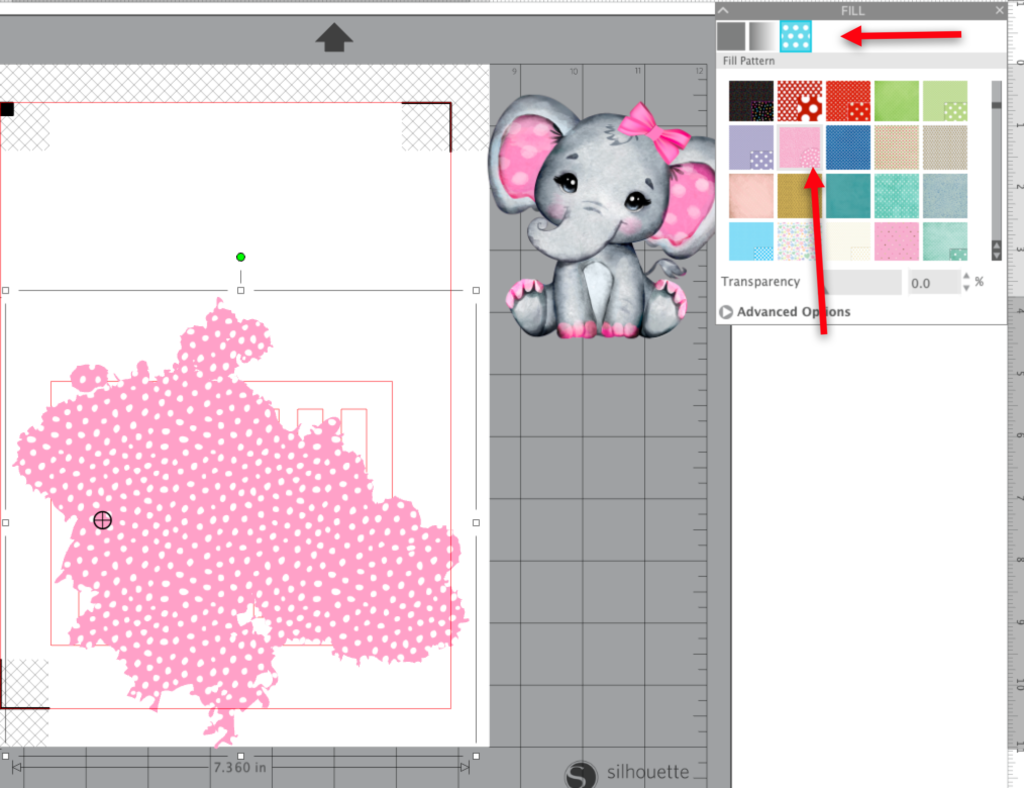
I also moved my elephant out of the way so I did not accidentally grab it. I selected the paint splatter and went to the Fill Panel in the right toolbar and selected the Pattern Fill tab. I found a pink dot fill I wanted to use and applied it to the paint splatter.
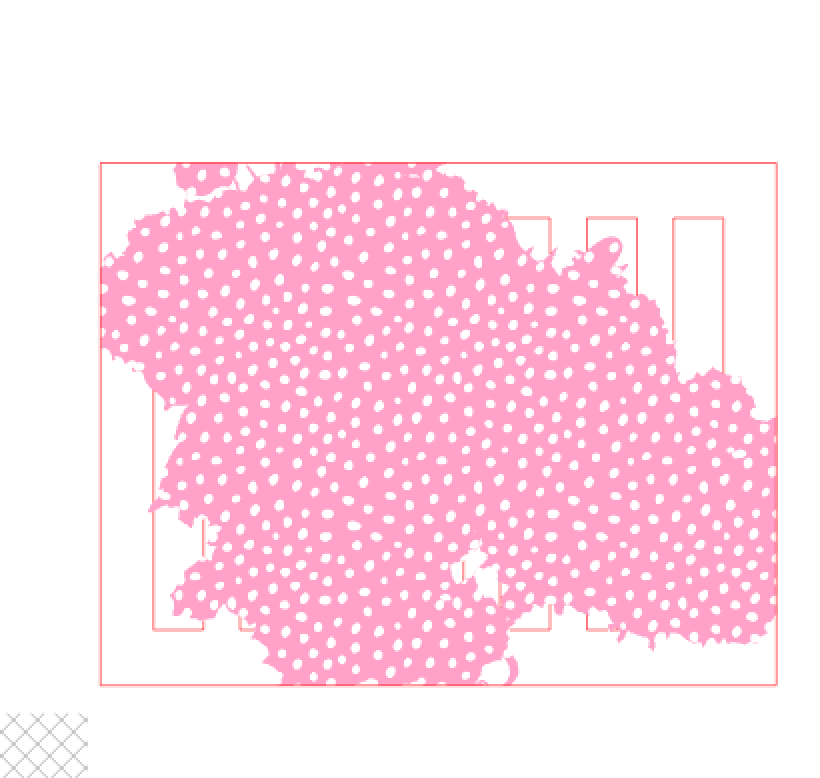
Click on the large rectangle card base. Right click and select Copy. We will use this copy in a minute. Now with the rectangle selected, shift click on the paint splatter so they are both selected. Select Crop in the Modify panel from the right toolbar. Right click and select Paste to place the card base back in your workspace. If necessary, select the group of small rectangles, the card base and the paint splatter and select Center from the Quick Access Toolbar.
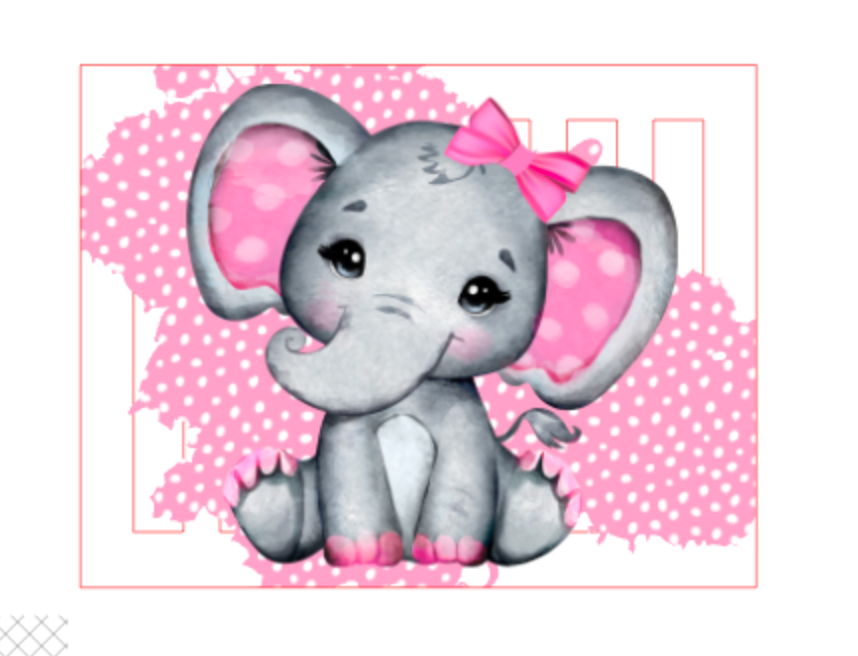
Select the card base and the group of rectangles and right click and select Group. Add the design you plan to use onto the workspace and position it in a pleasing manner. If necessary, right click on the image and select Bring to Front.
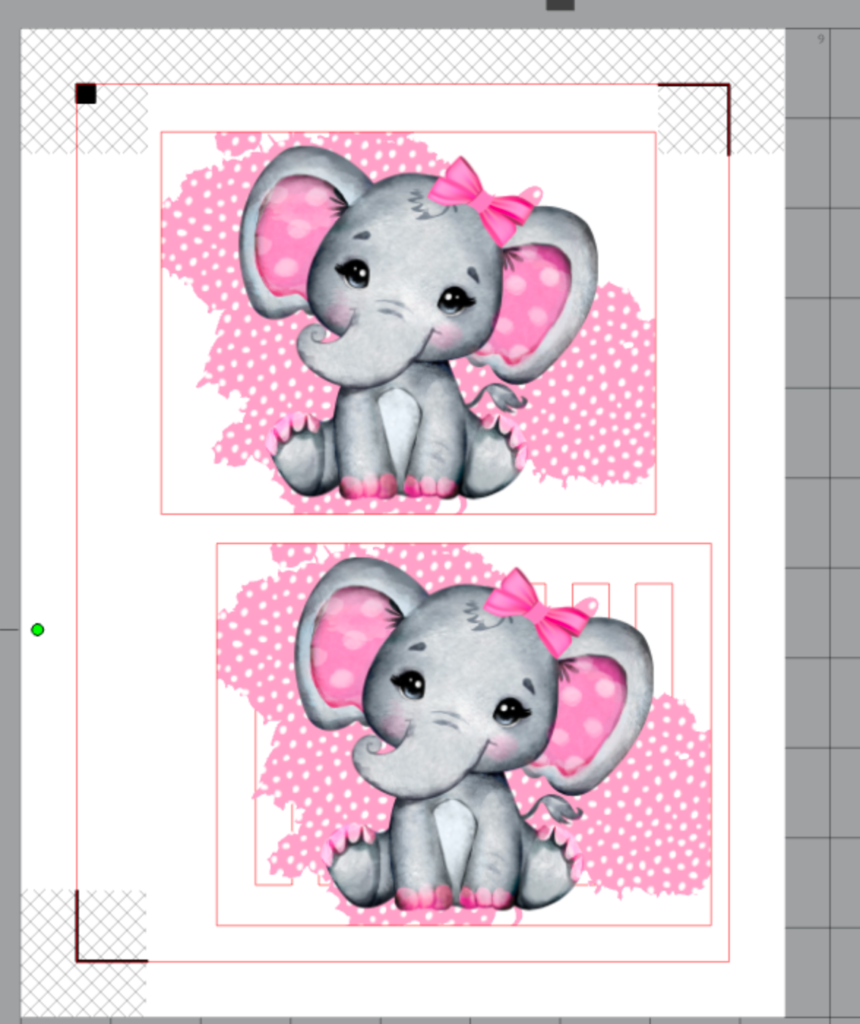
Select all the elements and Group them together so that when you move them, nothing shifts. Once they are grouped, right click and select Duplicate. Move this group up in the workspace, being careful to position it within the registration marks.
In the top image group, you need to delete the small rectangles. Ungroup the image group and carefully click on the rectangle group. Make sure you don’t move any of the design elements or your card won’t look right when you put it together.
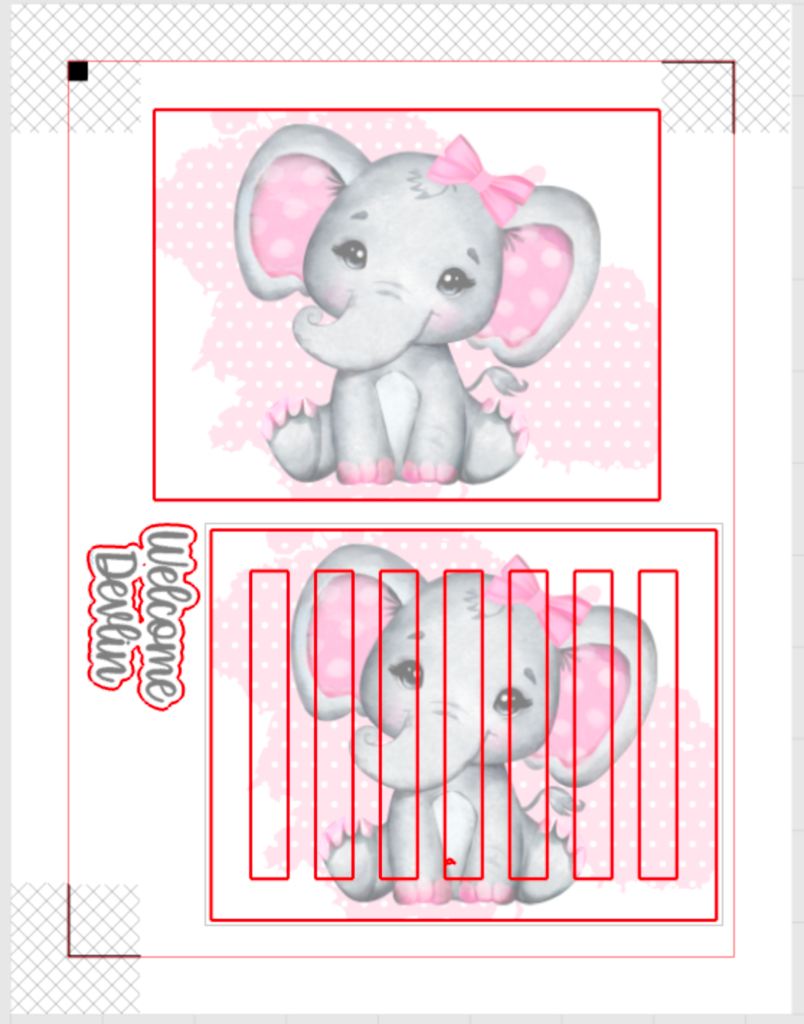
I wanted to add a sentiment to my card, so I selected a font and added the sentiment to the page to print. With the letters selected, I went to the Send panel and set the text to No Cut. Then I went back to the Design page and added an offset around the text so it would cut as one piece. That’s when I discovered that I had not set the splatter design to No Cut. I set the top one to No cut in this photo so you can see the difference. Remember to set it to No cut on both images.
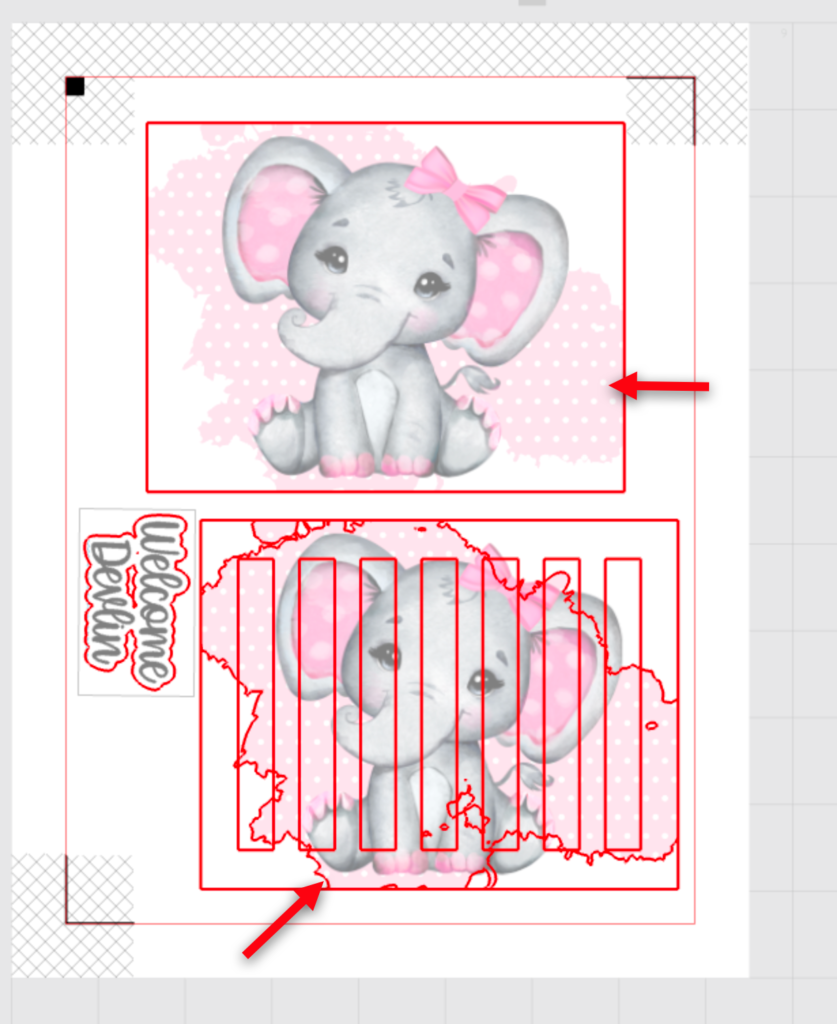
This is how it needs to look when you are ready to cut the cards. I have an offset around the words and only the card base and the card with the rectangles will cut. All the other elements have been set to No cut and will print but not cut.
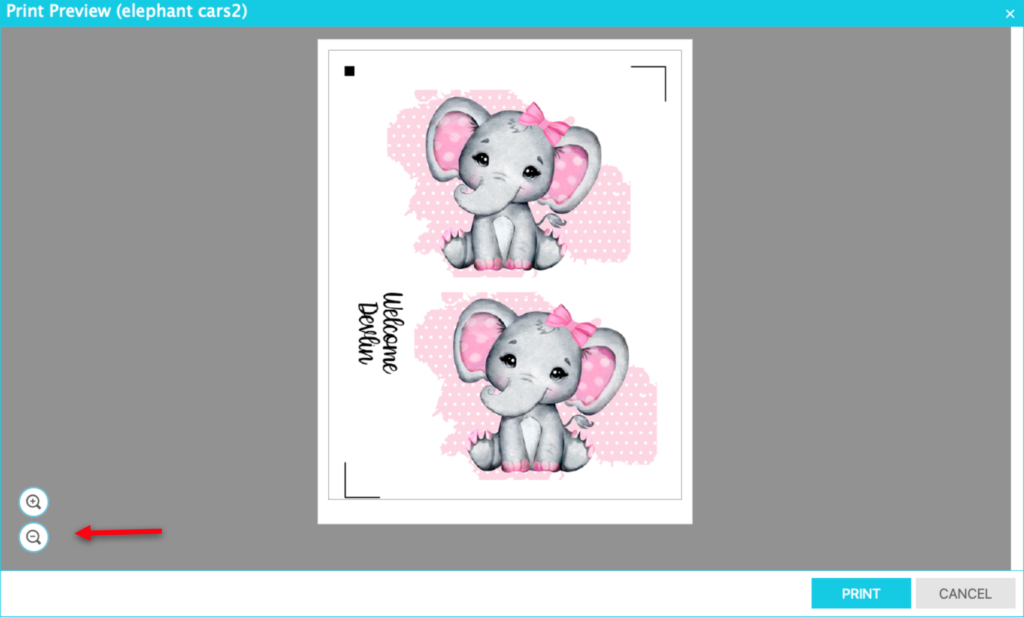
This is a good time to save your design. Return to the Design page. Now you are ready to print. Select Print from the File menu and, depending on your software version, you may see the Print preview box. This is a good time to check everything to make sure it fits on your page. You can use the + or – icons on the lower left to zoom in and out to see the entire page as needed.
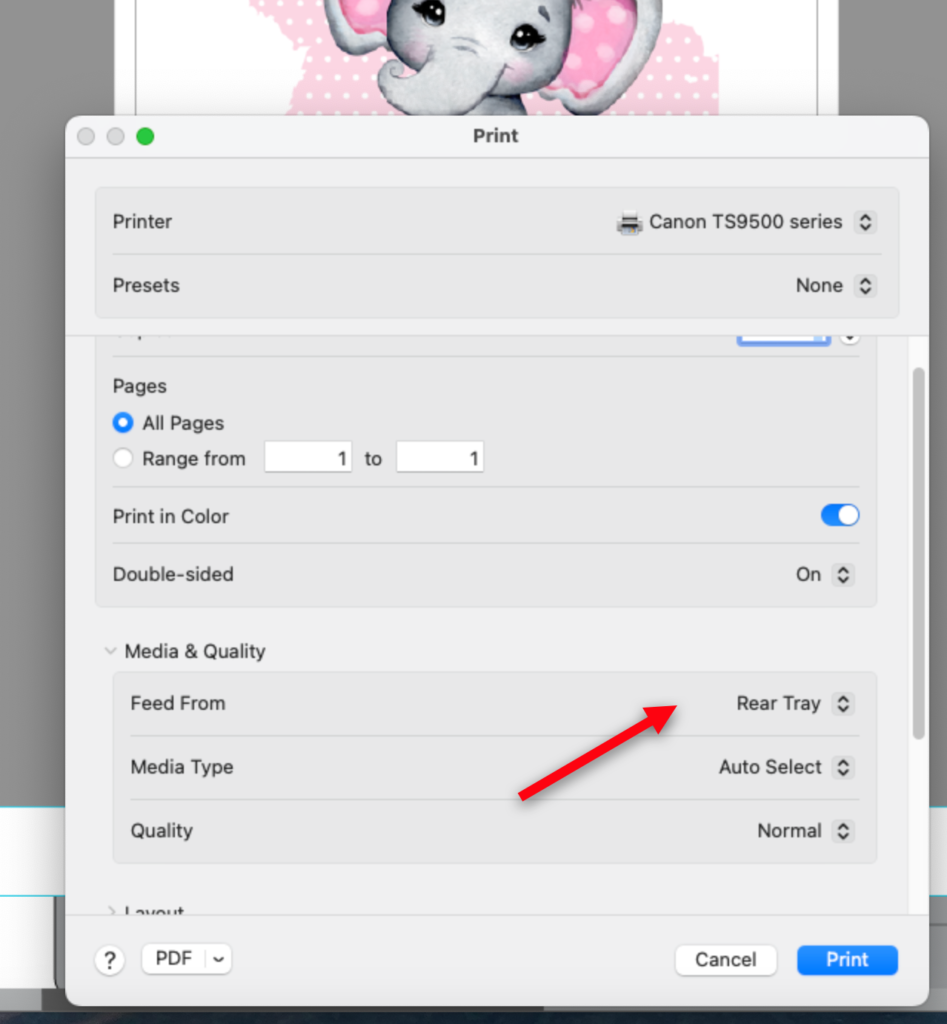
Because I am using card stock, I set my printer to use the Rear Tray. If you have this option, I recommend it when using card stock and specialty papers.
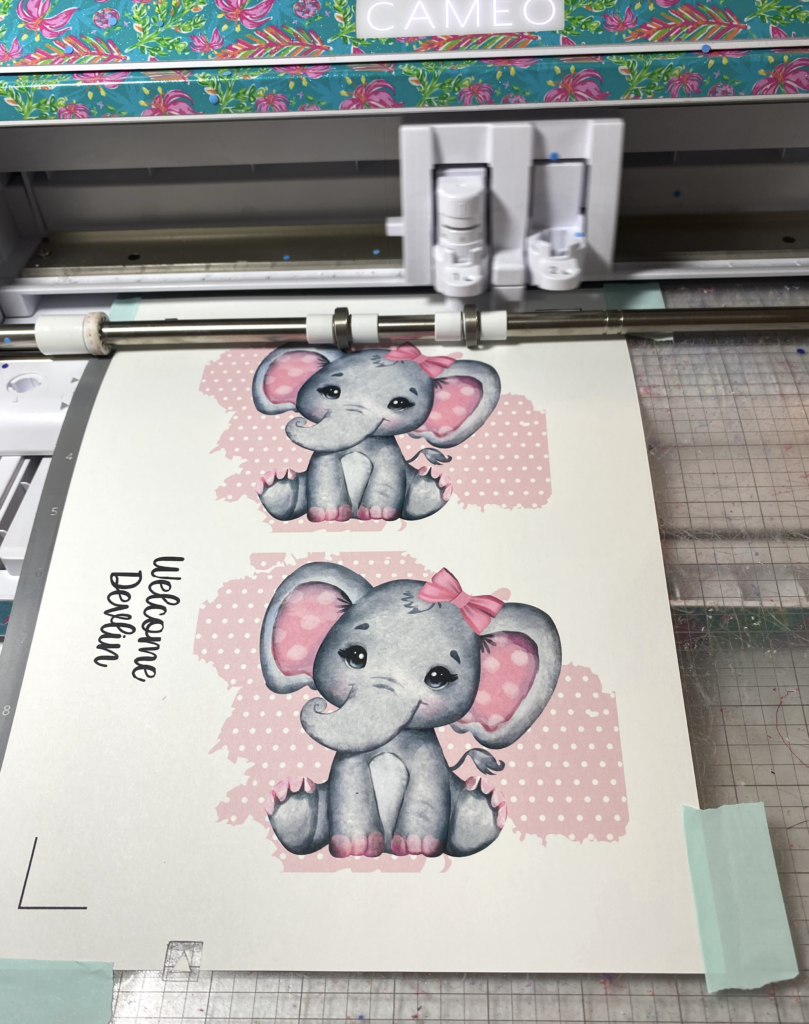
Here is my printed page. The registration marks are clearly printed on my page. I keep my registration marks set to the default settings because I find that I have fewer problems when I do this.
Place your printed page on the mat with the edges of the page just barely covering the grid lines. This helps keep them from interfering with the optical eye when it reads the registration marks. I also did a test cut down at the very bottom of the page. Moving the test cut instead of using the default location keeps it from interfering with the optical eye reading the registration marks.
Once you have finished cutting, remove the page from your machine and remove the cut pieces from the mat. I turn the mat over and remove the mat from the cut pieces because this helps minimize the curling effect that you get when you remove the paper from the mat. (Yes, my mat is very “well-used” — that’s why I used the mint tape shown in the photo above to help hold the paper in place.)

Here are all my cut pieces, ready for assembly. I won’t need the small rectangles for this version of the card, but there are other versions where you do use those. Keep them in the correct order if you plan on using them.

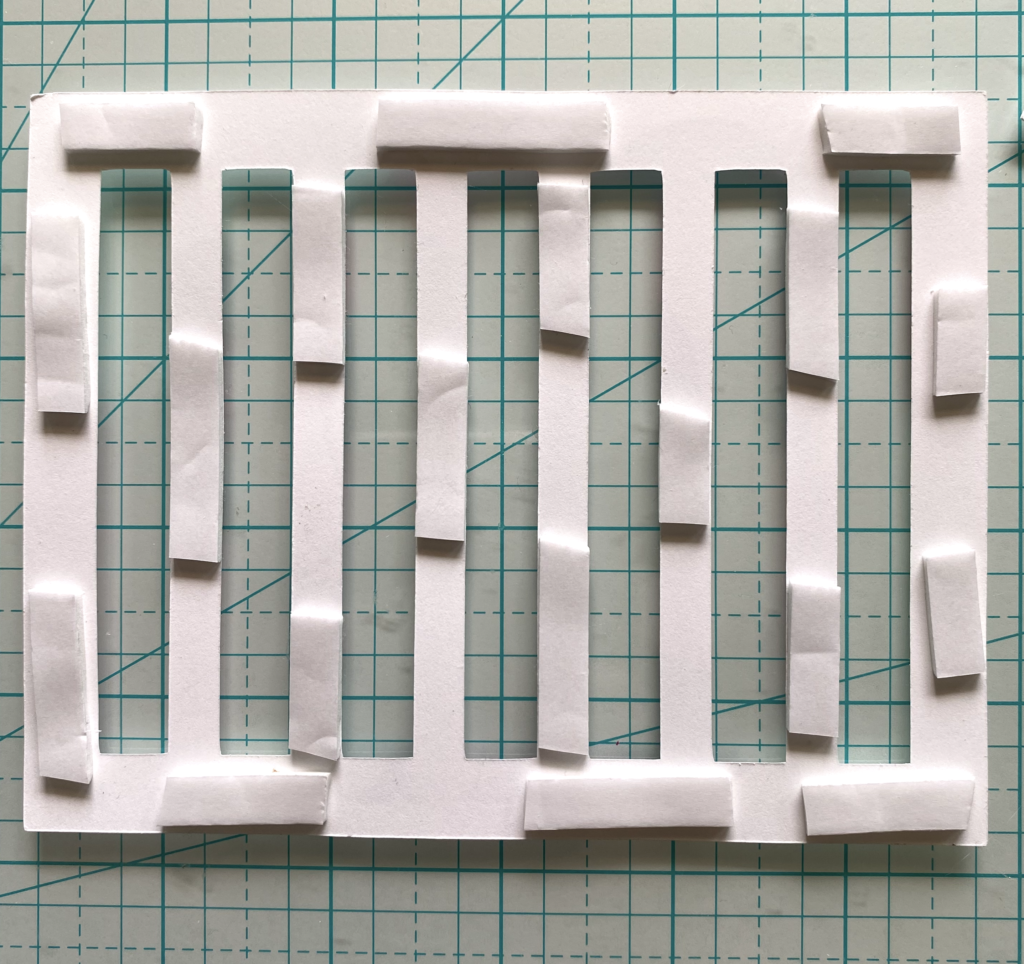
I used 1/4″ foam tape when assembling the card. It comes in a variety of sizes and is great for adding dimension to your projects. I placed pieces of foam tape around the perimeter and also on the areas between the small rectangles to keep these from sinking down into the card.
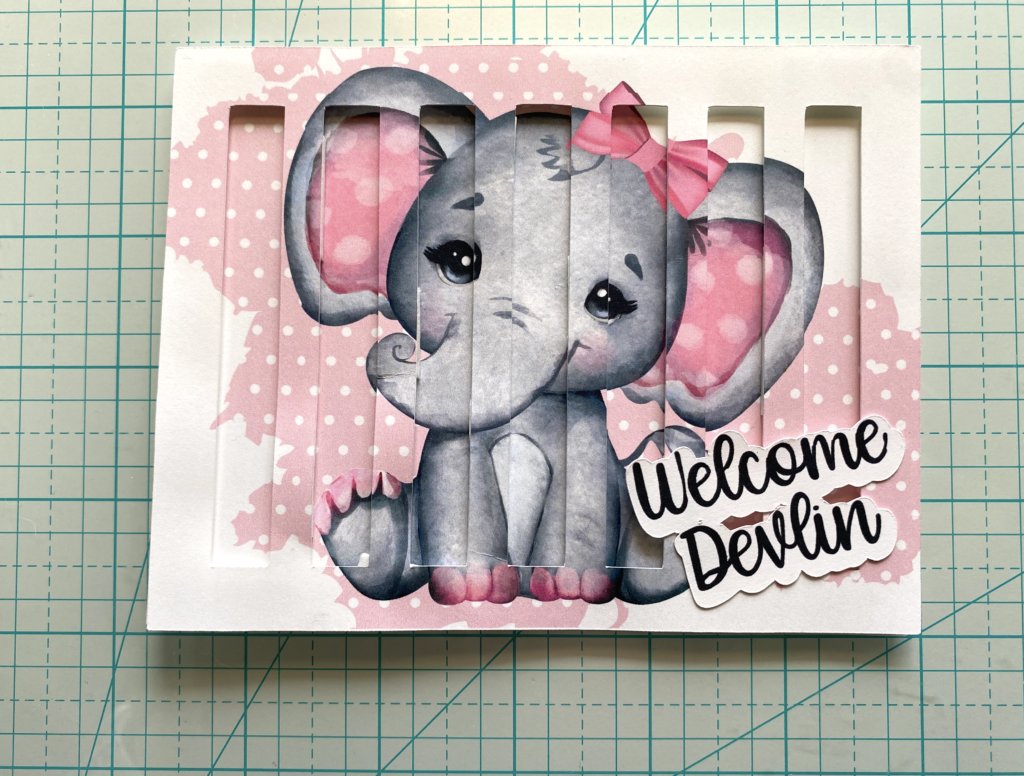
After removing the backing from the double sided tape, carefully line it up on the card base. Make sure you have it going in the right direction … ask me how I know! My design is just a little bit off on the top right, but I am hopeful the new mom will be so excited by the card that matches the nursery theme that she won’t notice!
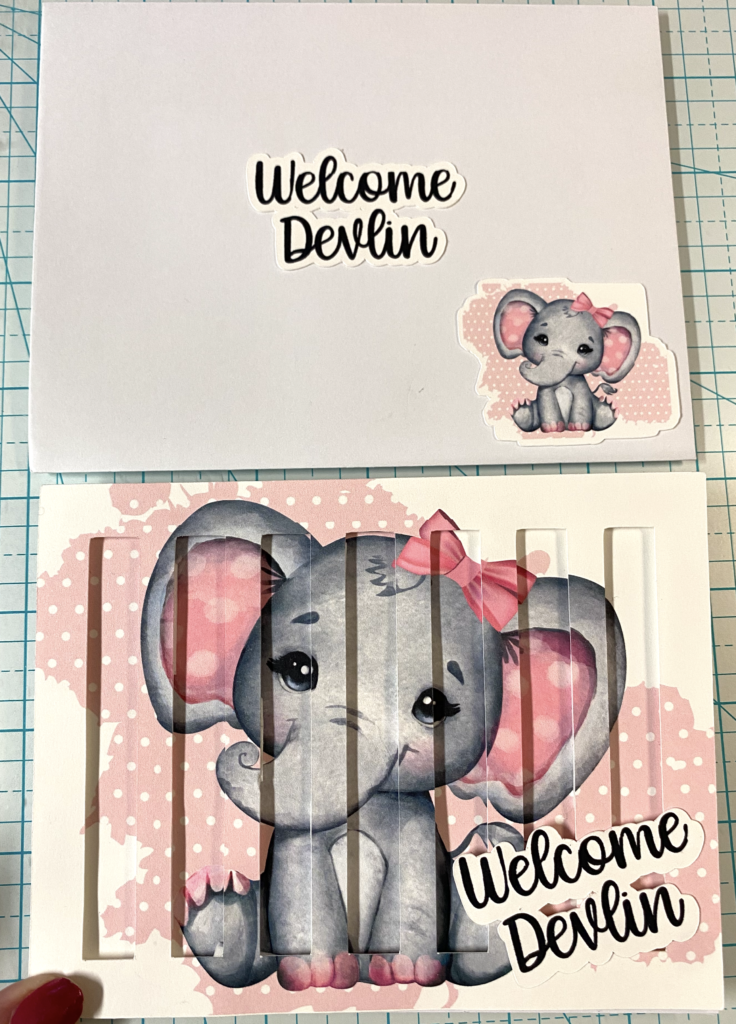
The last step is to adhere the completed card to a purchased card base and it’s is ready for the baby shower! I printed the sentiment again and added a smaller elephant to add to the envelope. Here’s the finished project.
There are lots of other ways to create eclipse cards — this is just the beginning! I hope this post will help you see the possibilities and spark your imagination!
If you enjoyed these tips, please join my Facebook groups … Libby’s Silhouette Group — Tips, Tricks, Tutorials and Projects, Libby’s Craft and Sewing Group and Running With Sisers – Juliet and Romeo. You can also find me on FB at Libby’s Loft.com. Please join and feel free to ask questions and share your creations! I look forward to seeing you there!!
Until Next Time,
Happy Crafting!!
Disclaimer: Posts on this site may contain affiliate links. Clicking on one of these links or making purchases at linked sites does not mean you pay more for your purchases. It means I may receive a small commission on your purchase. This commission helps defray the costs of this site and enables me to continue to provide you with new and exciting content.