
Offsets are a great way to add color and dimension to words and images. In this post we’ll explore using offsets to add color to text in a variety of fun ways! Let’s get started!
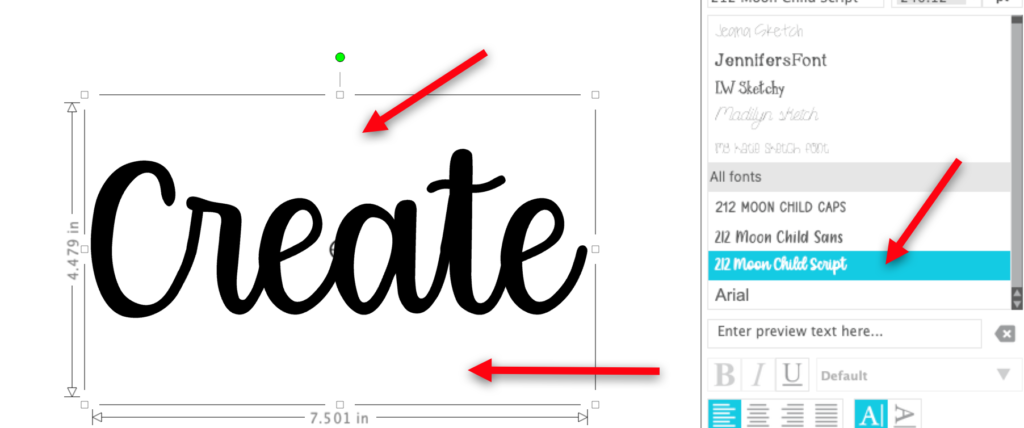
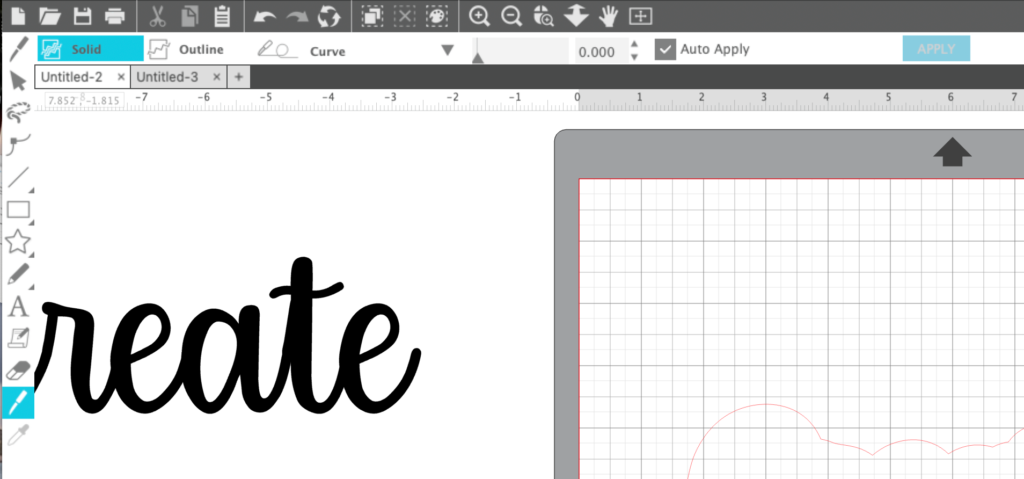
In Silhouette Studio, click on the text tool in the left toolbar. Bring the cursor into the workspace and left click to get the blinking cursor. Type the word “Create”. Click off the word and then click on it to select it so you can change the font. I chose the font called Moon Child, available in the Silhouette Design Store. (When this installs, it will install as 212 Moon Child Caps, Sans and Script. I used the script font.) Notice that because it is still text, there is space at the top and bottom of the bounding box for ascending and descending parts of letters.
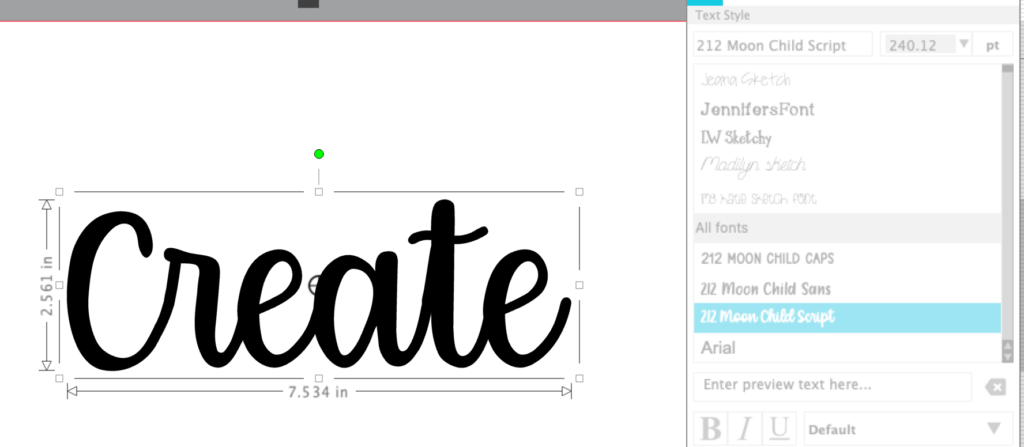
Left click and drag one of the bounding boxes to make the word larger. Mine is about 4.5″ tall and about 7.5″ wide. Make a copy of the word and move it to the left, off the mat. This will allow you to change or edit the text if necessary. Right click on the word in the mat and select Convert to path. Notice that now the bounding box is snugged right up against the text. The Text panel on the right is also greyed out because the word on the virtual mat is no longer text.
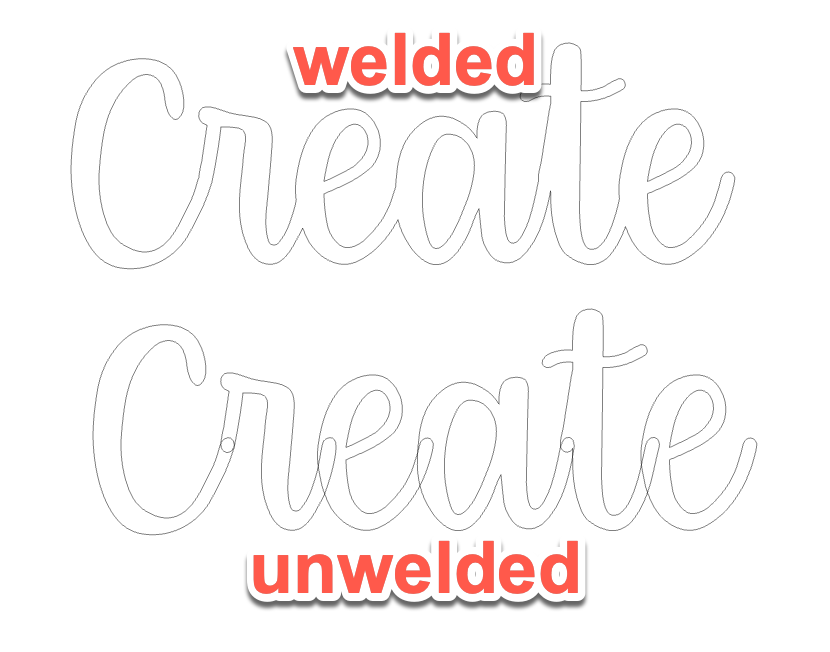
Select weld to weld the letters together so you don’t wind up with extra cuts where the letters join together. Even though you have converted the text to a path, the extra cuts remain unless you weld them together.
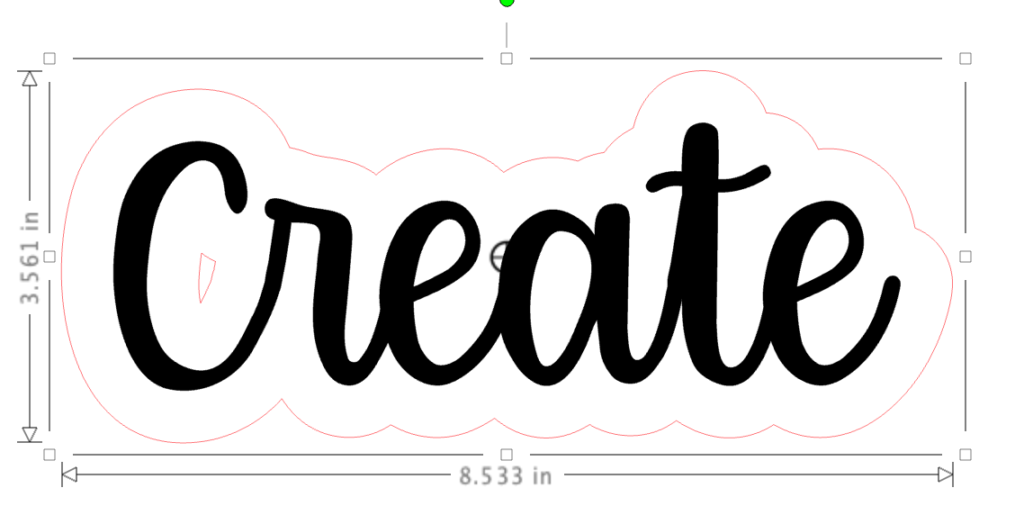
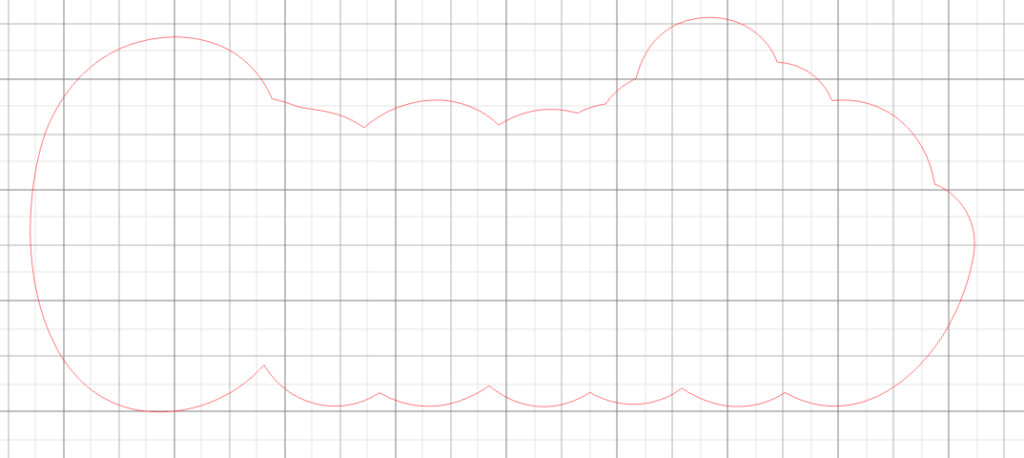
With the word selected, click on the Offset icon in the right toolbar. In the Offset panel, click on Offset. Set the distance to 0.50 and click Apply. You will now see an offset around the word.
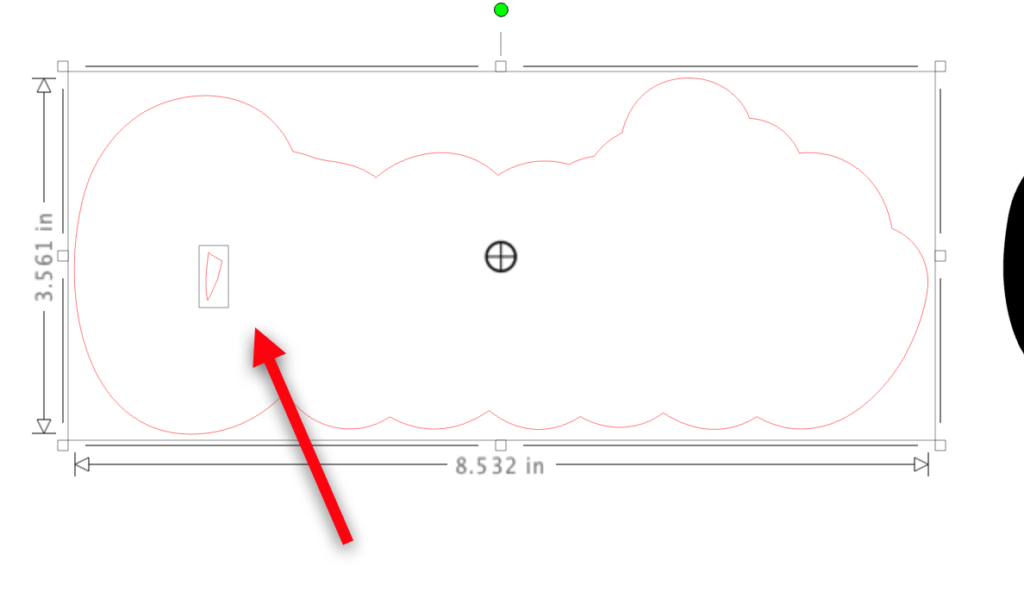
Left click on the original word and move it to the right for a minute. Now click on the offset to select it. Right click and select Release Compound Path. Click off the offset to deselect it. Then remove any of the small parts that were created by your offset.
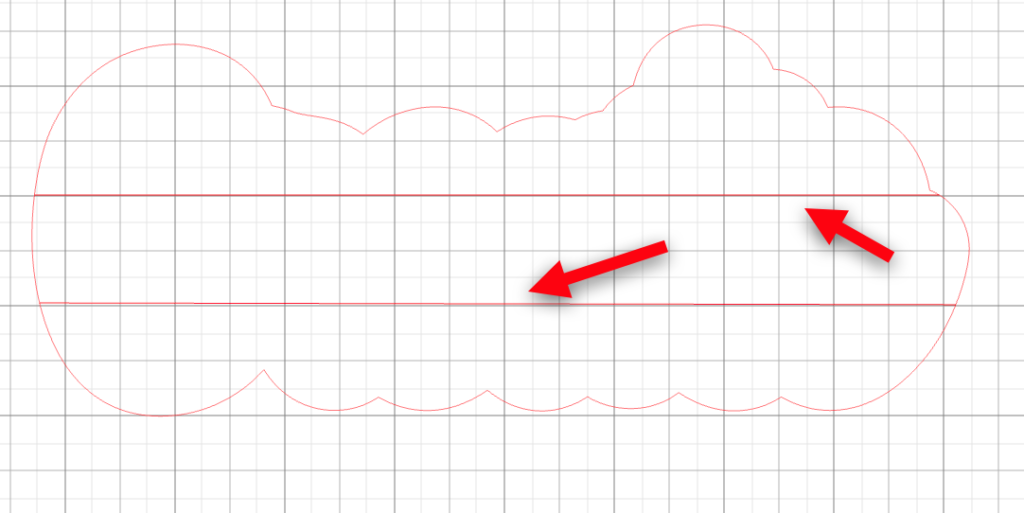
Line the offset up with a grid line on the virtual mat. To turn the grid on, you can use the keyboard shortcut “g” or you can go to the Grid Settings tab in the Page Setup panel from the right toolbar and turn on Show Grid.
Select the knife tool. In the Quick Access Toolbar, check to see that Solid is selected. This will create each side of the cut as a closed shape. Selecting Outline will not close the object. In this case, I selected Auto Apply so that it applies the cut as soon as I finish placing the knife points. Unchecking this allows you to verify your cut line before you push the Apply button.
With the knife tool selected, click on the grid line at the left of the offset one inch from the bottom. Left click to place a point. Hold the shift key down to create a straight line and move to the right side of the offset and click again. In some versions of the software, your line is now created. In other versions, you have to double click to stop placing points and apply the cut. Repeat this one inch up from this cut.
Select each portion of the offset and apply a color using the Fill icon in the Quick Access toolbar. Once each section has color, select the three portions of the offset and Group them together. Move the original word back into the workspace. Select the word and the offset and select the Center icon in the Quick Access Toolbar.

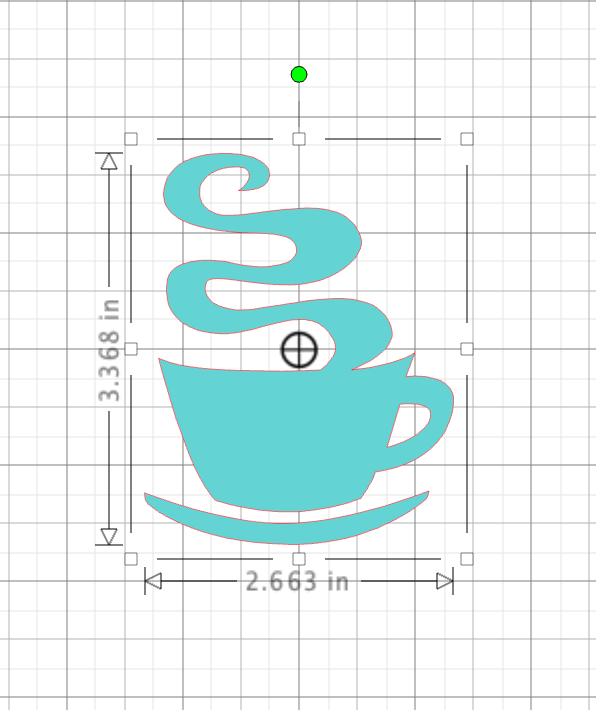
Now let’s make a frame for a design. First select a design — I selected #16078 (coffee mug) from the Silhouette Design store. Center the design in the workspace using the Center to Page icon in the Quick Access Toolbar.
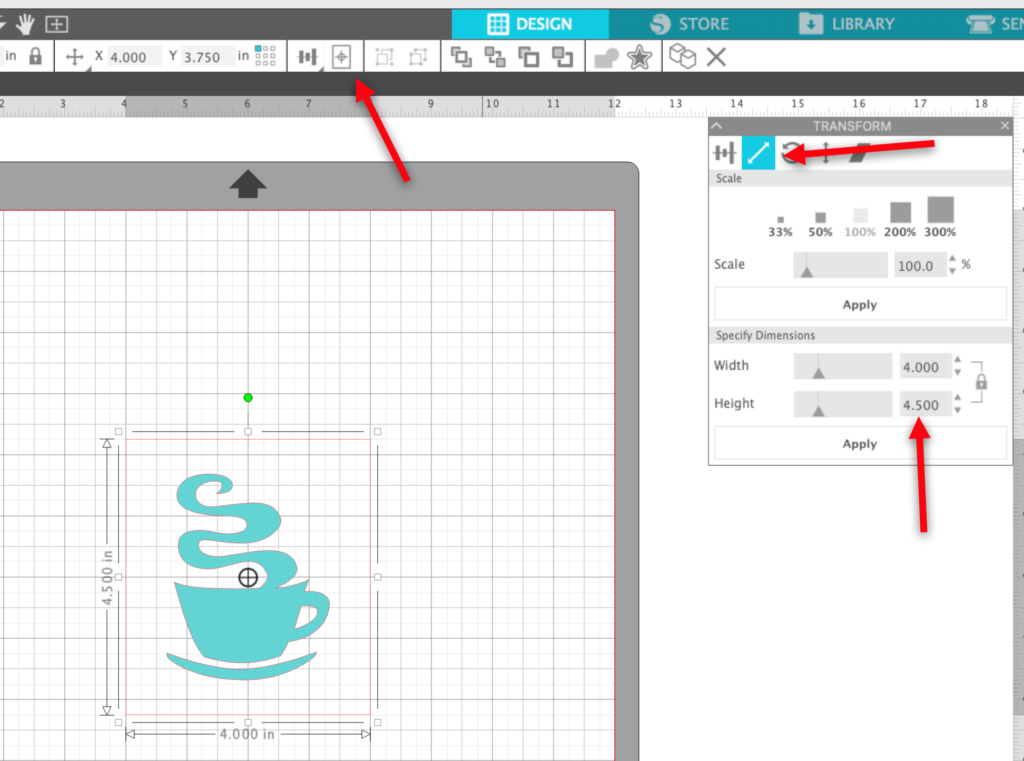
Using the Draw tools in the left toolbar, select the rectangle tool. Bring the cursor into the workspace and left click and drag to create a rectangle around the design. In the Transform Panel, select the Scale tab and set the size of the rectangle to 4.0 wide x 4.5 high. Click on the Center to Page icon to center the shape on the page.
With the frame selected, click on the Offset icon in the right toolbar. Set the distance to 0.25″ and click Apply. Click Offset 3 more times.

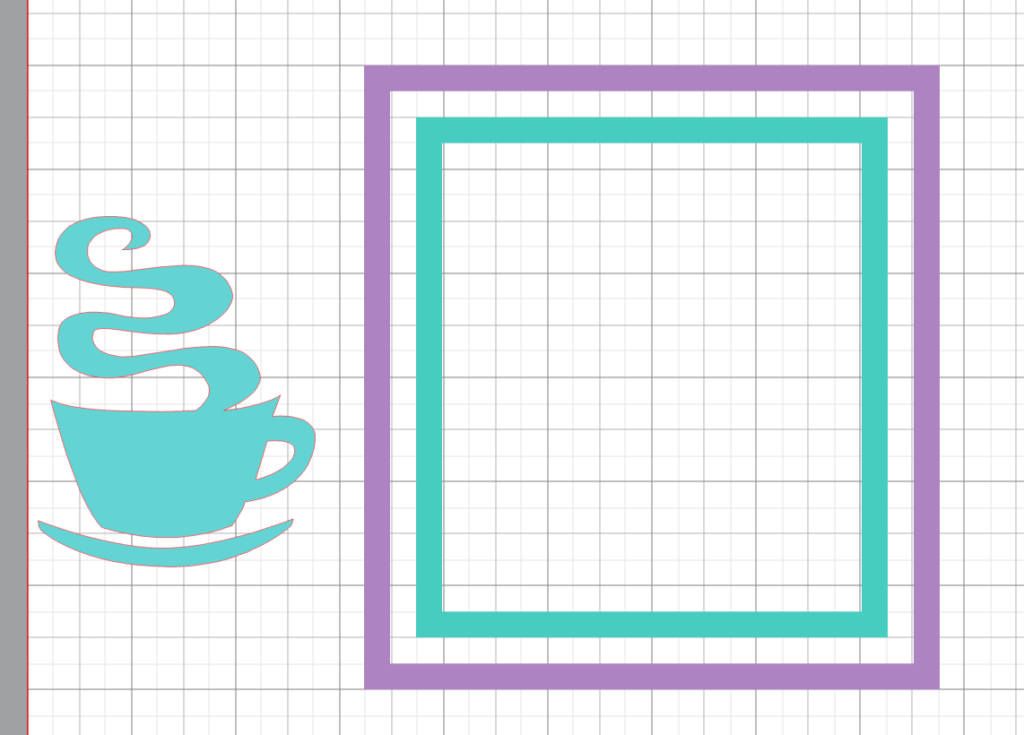
Left click on the coffee mug and drag it to the right outside the rectangles. Select the outer two rectangles. Right click and select Make Compound Path. Repeat for the inner two rectangles. Add color to the two frame shapes. Left click and drag the coffee mug off to the side, outside the rectangles.
Use the knife tool and draw lines across the rectangles. Start at the left side of the frame and go up to the top of the frame. Repeat until you have gone down the left side. Then repeat starting at the bottom of the frame and up the right side. You won’t be able to see the cuts on your design. I changed the line color to black so you could see the cuts.
Select the second segment in the purple frame and change the color to teal. Select the teal segment to purple.
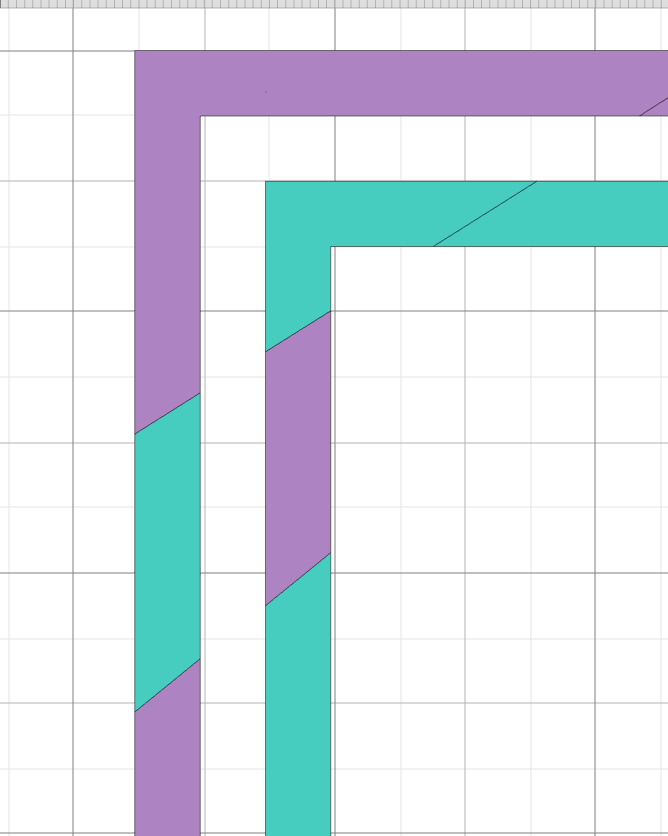
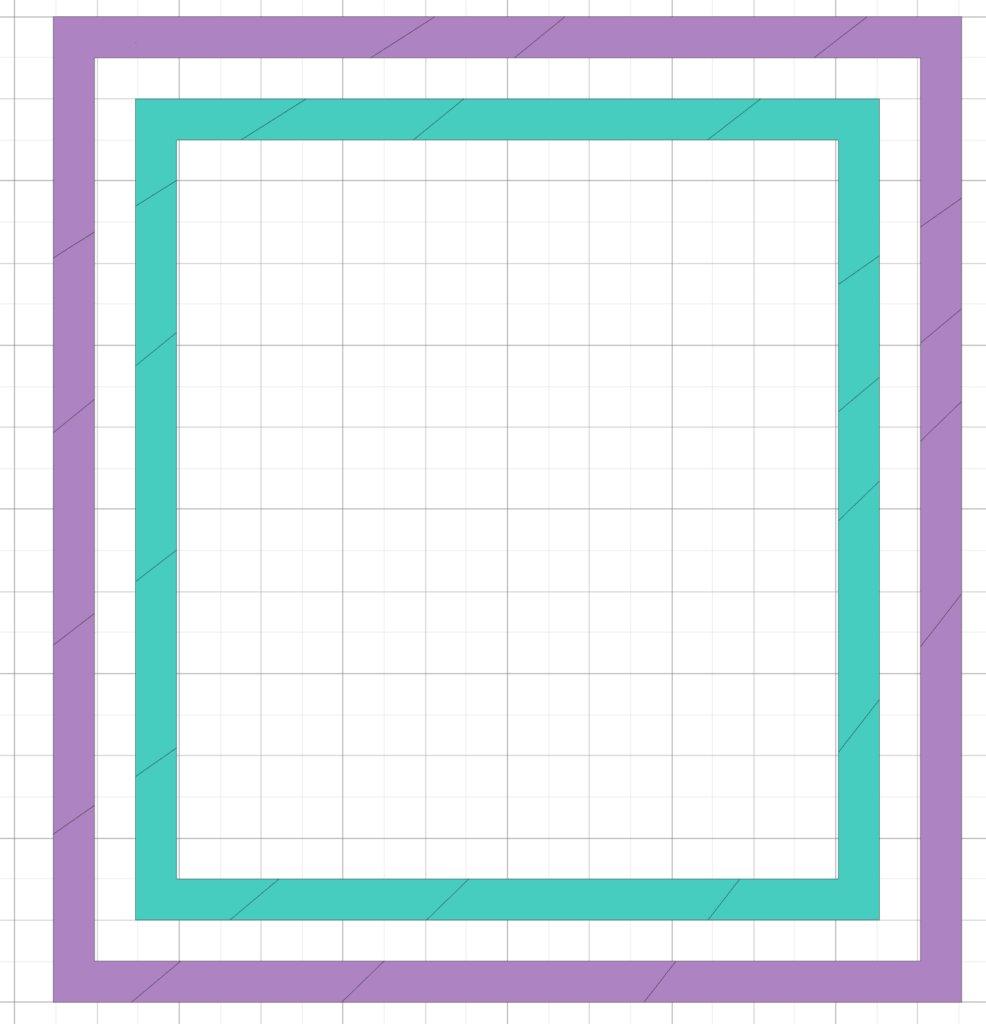
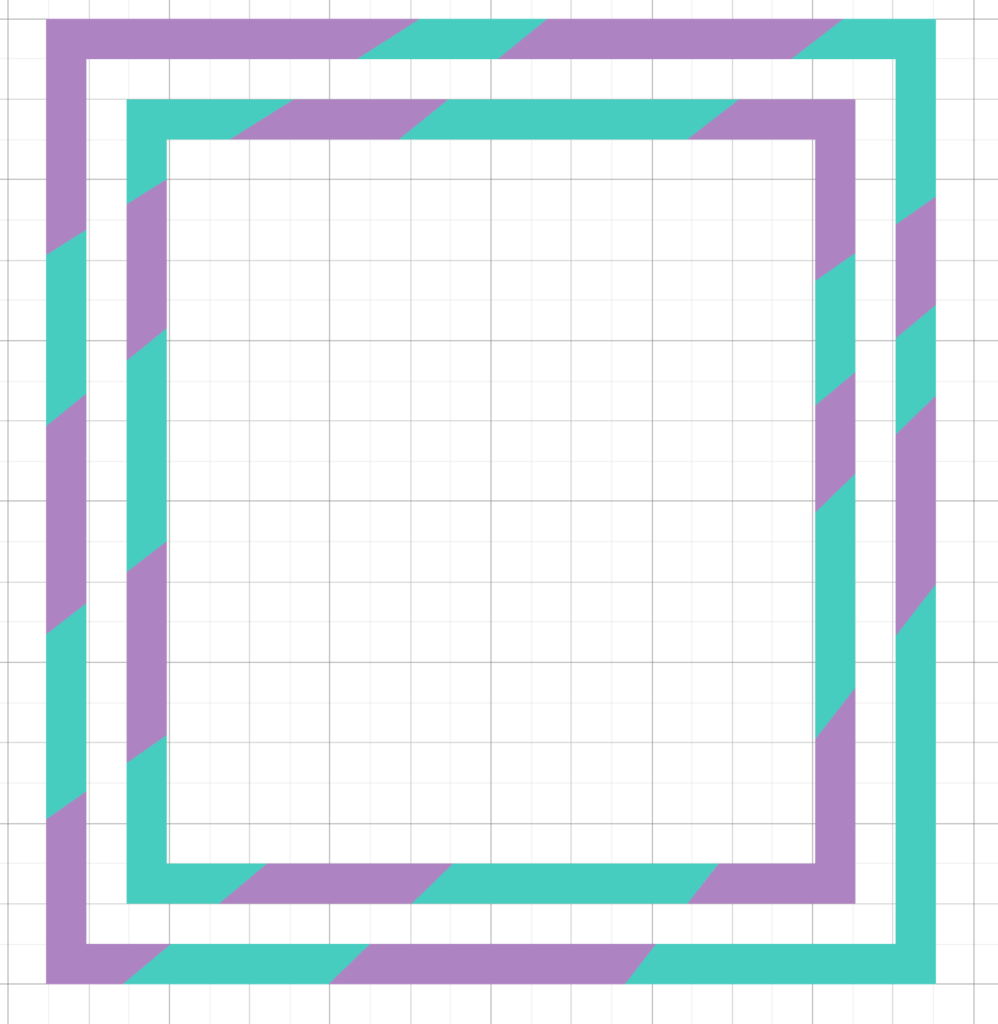
Repeat, alternating the colors, working your way around the frame. When you have finished, your frame will look like this. I changed my line color from black to transparent.
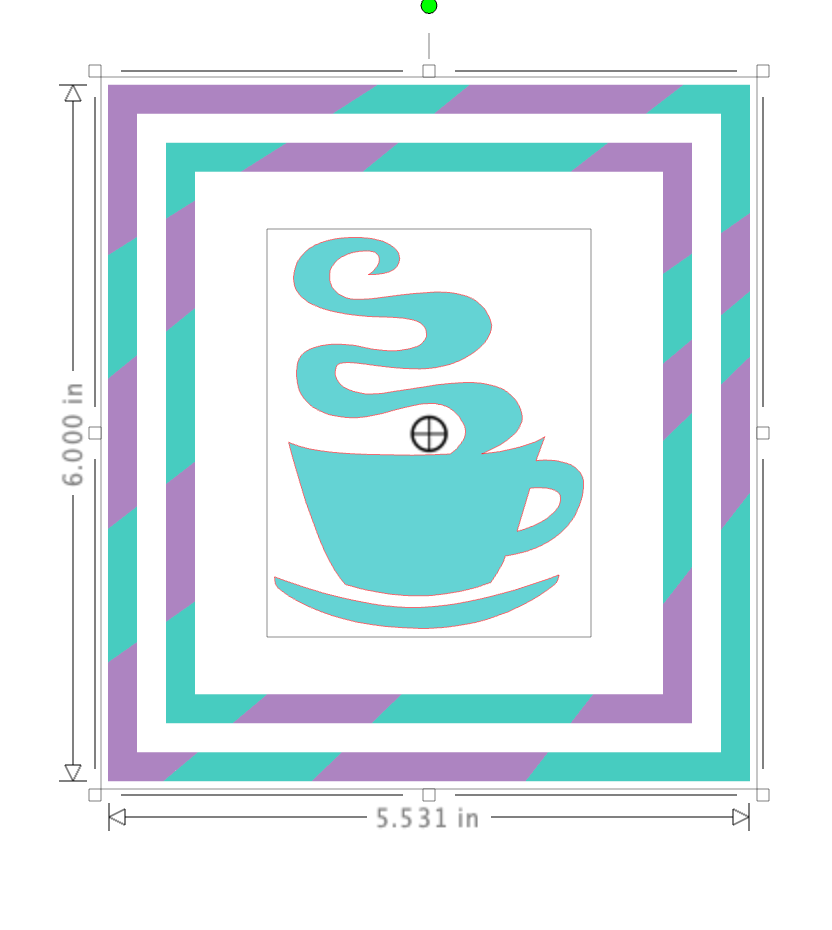
Select all the pieces of the frame by left clicking and dragging a box around them. Group the pieces together so they won’t move individually. Then move the coffee mug back into the center of the frame. Left click and drag both the grouped frame and the coffee mug and select Center from the Quick Access Toolbar.
You can also use patterns to fill the segments of the frame. This whimsical design and the polka dot pattern fill is so cute!

Using just the offset and knife tools, you can create colorful frames and backgrounds for your designs that will set them apart from all the others! I hope you will try using these tools! Be sure to post photos of your creations in the FB groups!
If you enjoyed these tips, please join my Facebook groups … Libby’s Silhouette Group — Tips, Tricks, Tutorials and Projects, Libby’s Craft and Sewing Group and Running With Sisers – Juliet and Romeo. You can also find me on FB at Libby’s Loft.com. Please join and feel free to ask questions and share your creations! I look forward to seeing you there!!
Until Next Time,
Happy Crafting!!
Disclaimer: Posts on this site may contain affiliate links. Clicking on one of these links or making purchases at linked sites does not mean you pay more for your purchases. It means I may receive a small commission on your purchase. This commission helps defray the costs of this site and enables me to continue to provide you with new and exciting content.