Disclaimer: Posts on this site may contain affiliate links. Clicking on one of these links or making purchases at linked sites does not mean you pay more for your purchases. It means I may receive a small commission on your purchase. This commission helps defray the costs of this site and enables me to continue to provide you with new and exciting content.
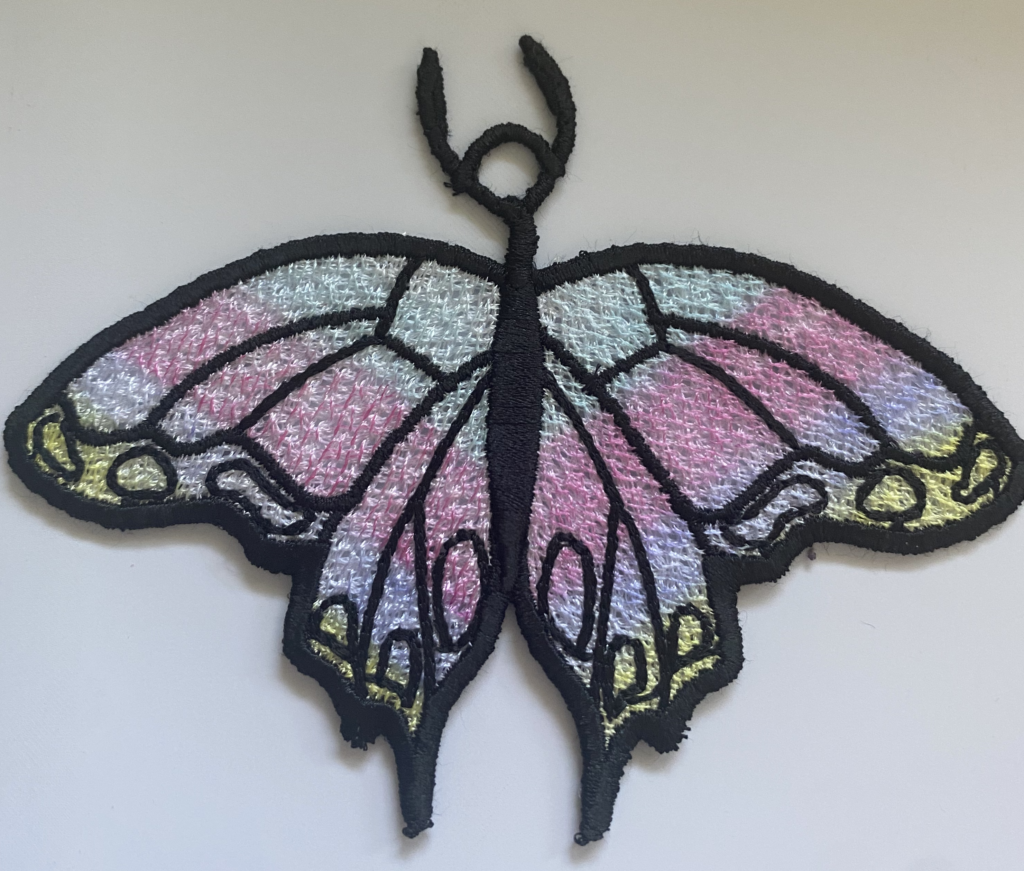
Don’t you love this butterfly!! Last week at Appliqué Getaway in Texas, my friends Nicky (the Sassy Subber) and Sheila (Designs by Babymoon) experimented using Artesprix Sublimation Markers, a heat press and lace embroidery machine to create this awesome butterfly! Here’s how I did it.
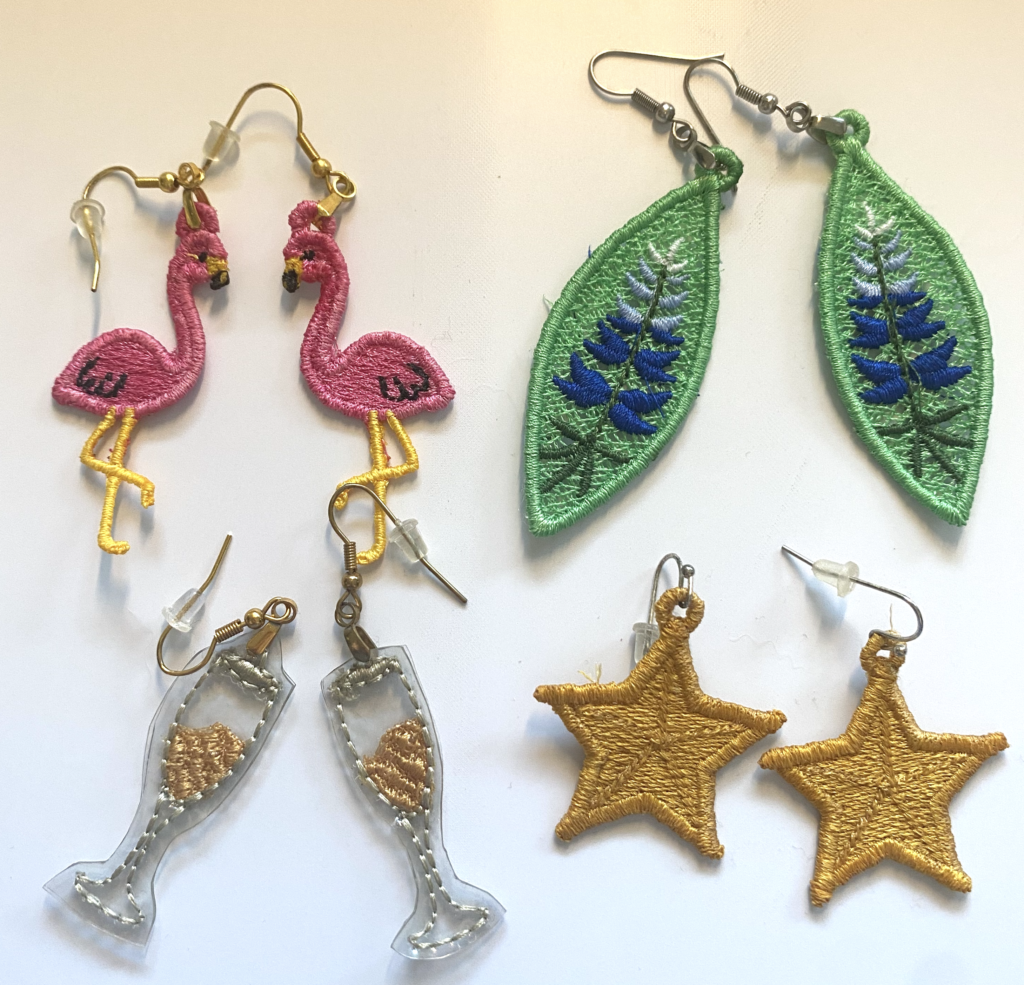
First, I got this cute butterfly design from my friend Sheila Ryan over at Designs by Babymoon! Sheila has the most amazing embroidery designs, including some super fun earrings! Here are just a few of the cute earrings she has available. Aren’t they cute!!
This design uses just two colors, black and white. I used 100% poly thread (I used Floriani thread) and 100% poly bobbin thread. Because the design is free standing lace, I used two bobbins — one white and one black. I loaded by design into my machine and copied it so I could stitch two designs per hooping. Notice that I did NOT do any color sorting. I wanted each butterfly to stitch completely before stitching the second one. Yes, it meant that I had to change the bobbin and the thread more times, but it also meant I could be sure there was no puckering of the stabilizer that might cause the design to stitch improperly.
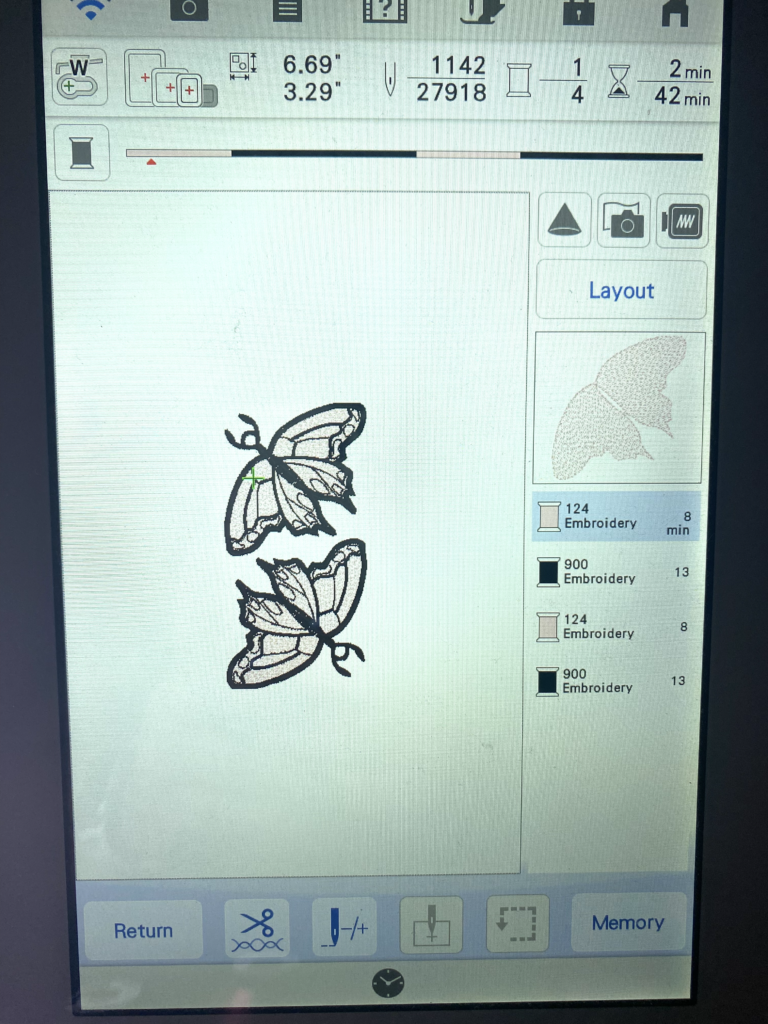
I hooped two layers of water soluble stabilizer (the kind that looks like fabric, not the thin water soluble topper) and stitched the designs. Remember, don’t color sort — change that thread and bobbin for each color change.
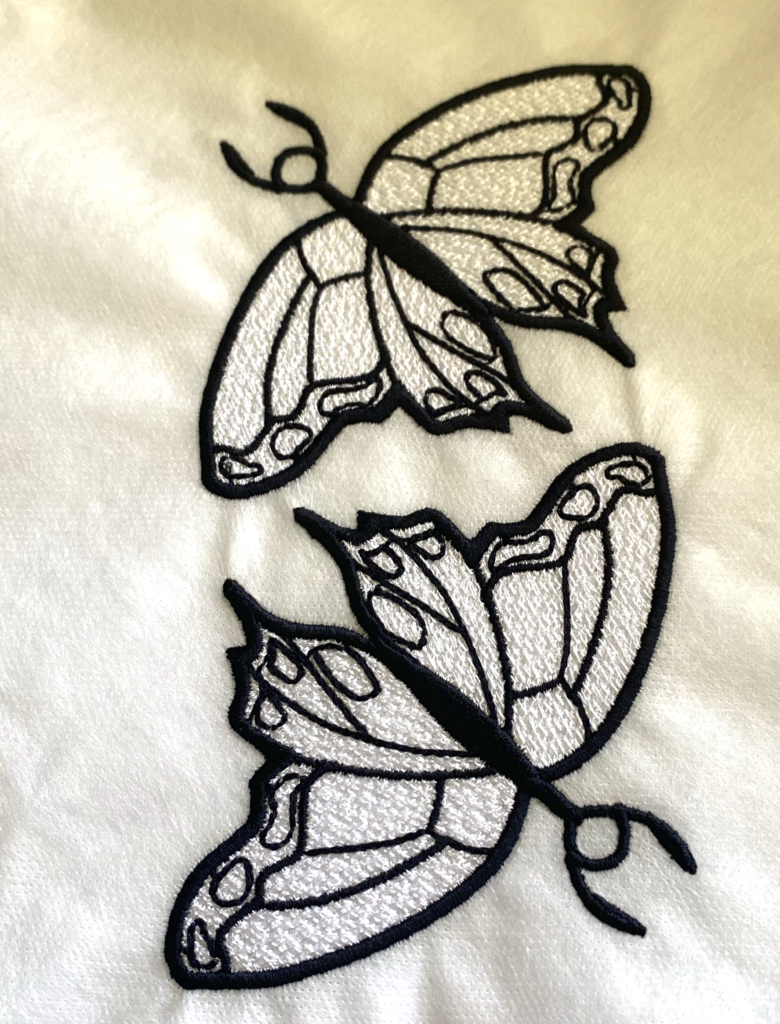
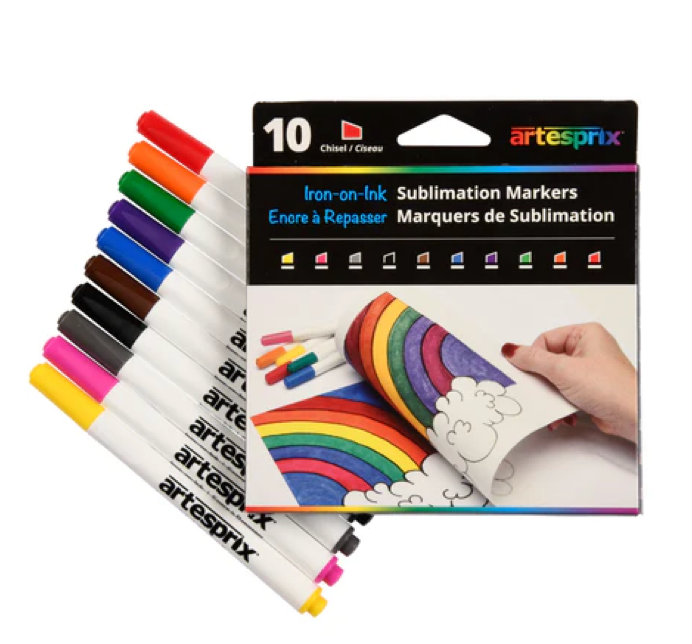
Once the embroidery was finished, I trimmed away the excess stabilizer. Then I washed away the remainder of the stabilizer. First, I held it under running water and gently rubbed to get rid of most of the stabilizer. Then I let it soak for a couple hours in the sink. Finally, I let it soak again just to make sure all the stabilizer was all gone. I let them air dry. While the designs were soaking and drying, I got out my Artesprix markers and copy paper. You can use copy paper or multi-media paper.
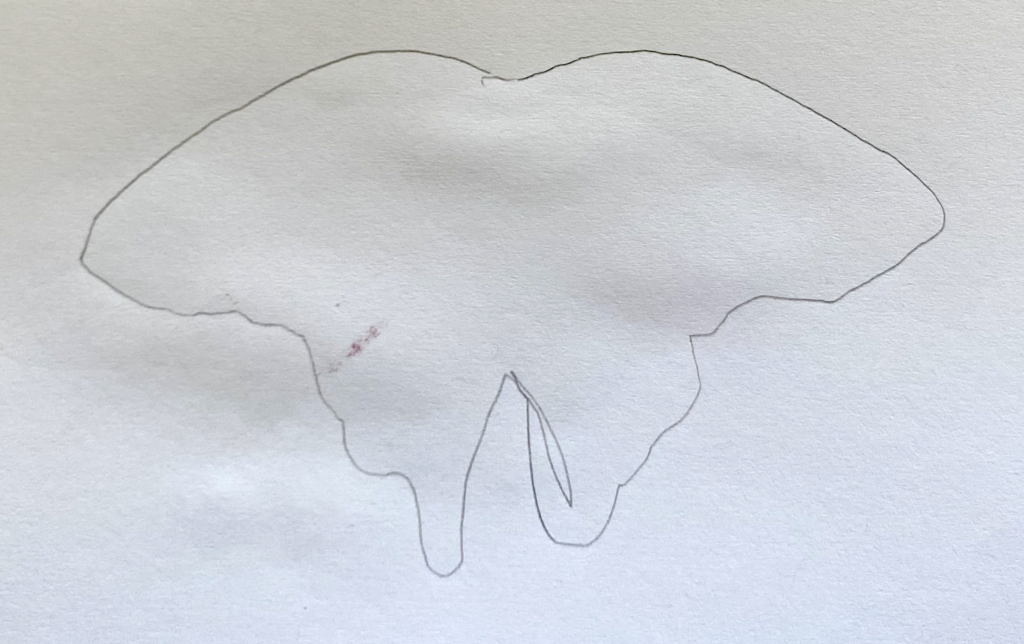
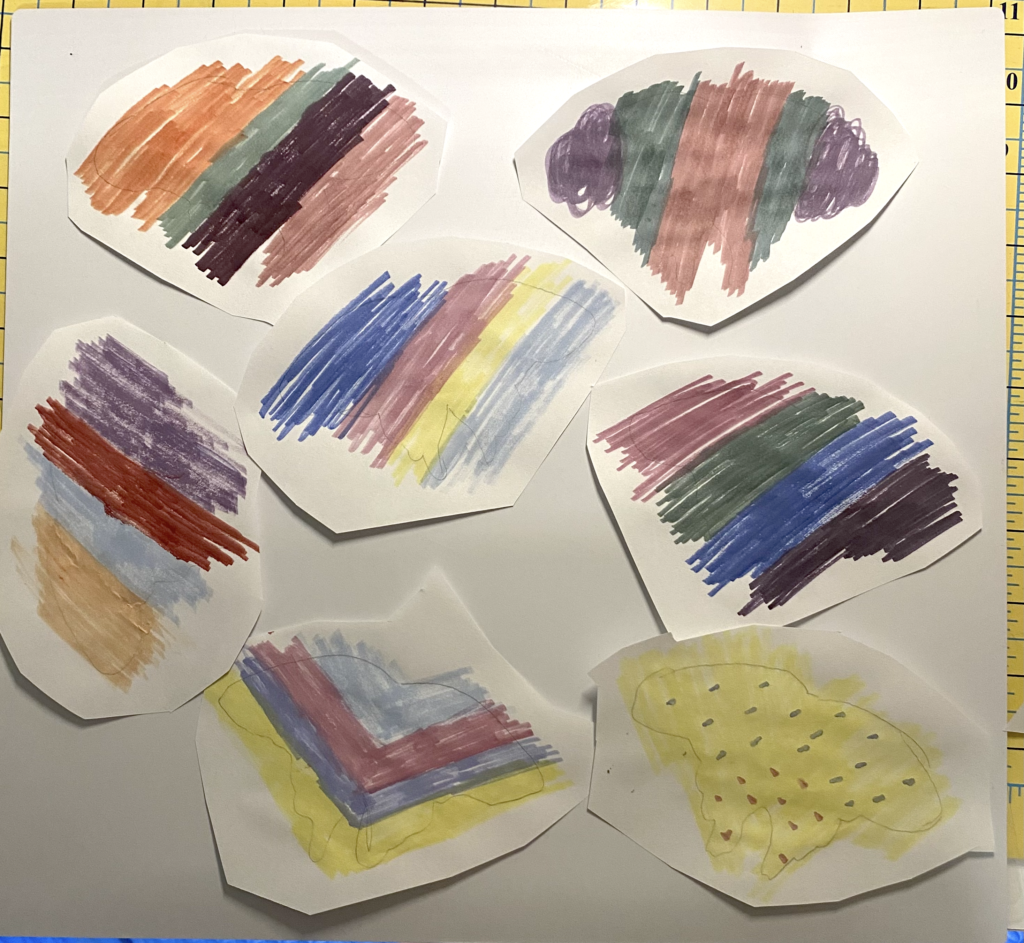
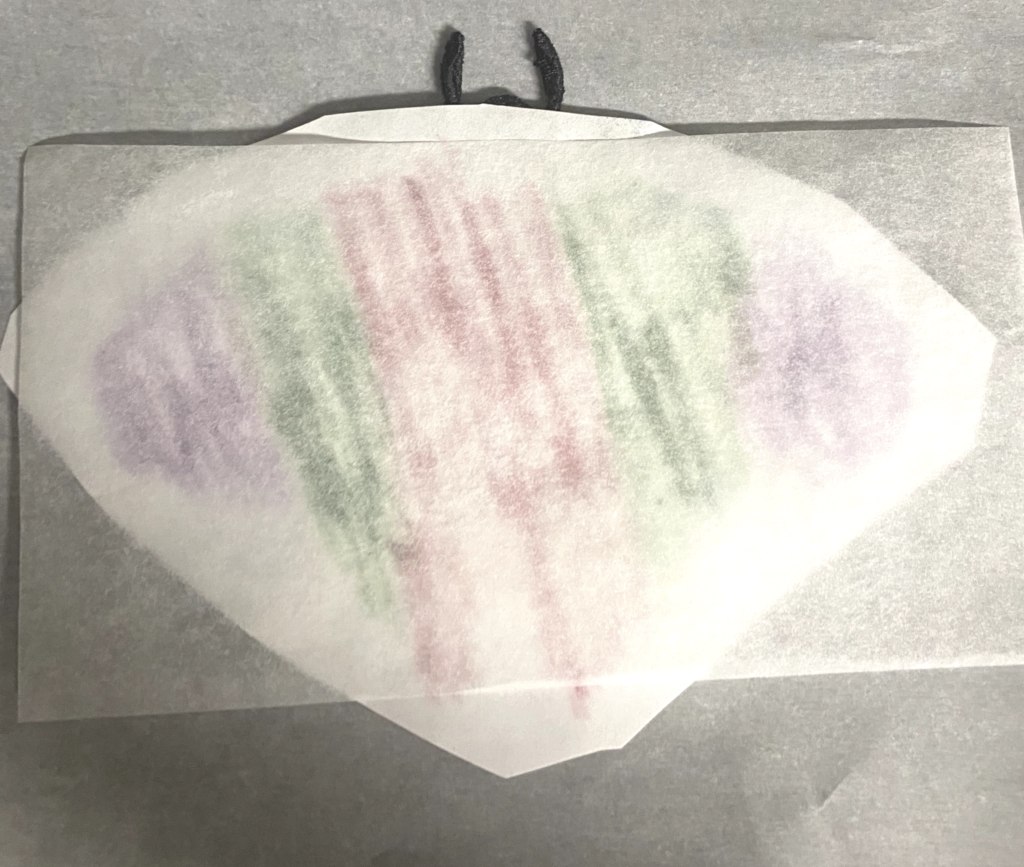
I traced around one of the butterflies with a pencil to give myself a guide for where to use the markers. We use pencil to create this outline because it does not sublimate or in any way interfere with the sublimation process. Notice that I was not very exact because I knew I was going to color “outside the lines” so I did not have to worry about placement.
Then I took my markers and colored on the copy paper over the traced designs. I used a variety of colors and directions when I colored. I tried a variety of colors and directions. I knew that the color would sublimate onto the white thread and that the black thread would not sublimate.
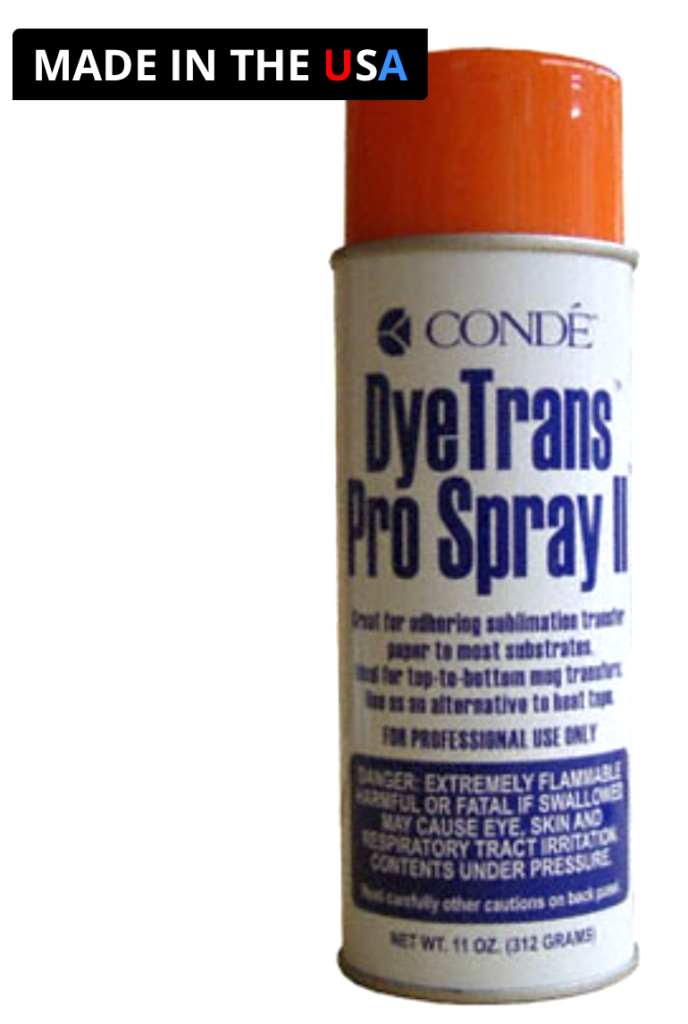
Once I was sure the embroidery was dry, I was ready to sublimate. Instead of heat resistant tape, I used DyeTrans Pro Spray II from Conde and sprayed the colored designs and adhered them to the front of each of the butterflies. You can also use heat resistant tape if you don’t have the spray.
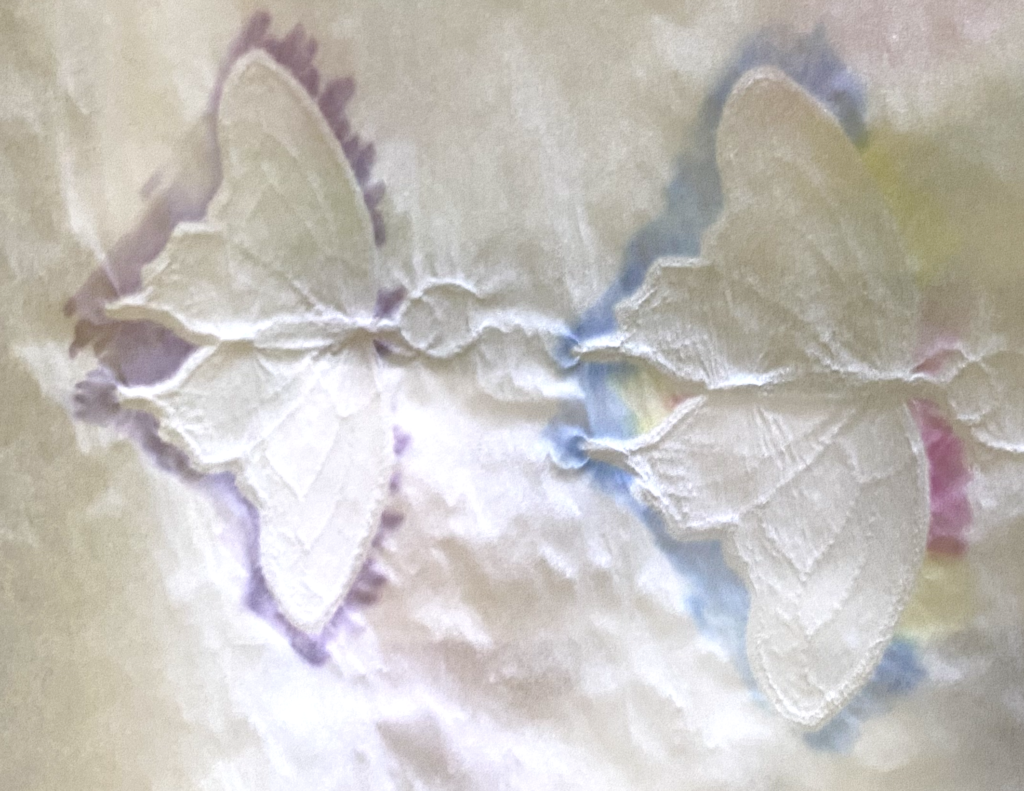
I created a sublimation sandwich — a piece of protective paper on the bottom, the embroidered butterfly, the colored sublimation design face down on the embroidery, and another piece of sublimation paper.
The protective paper is sooo important. It helps protect your press from “off-gassing”. Because the ink forms a gas when heated, it can get onto your press if you don’t protect the press. Then the colors would remain on the press until you press again — and then they will be on the new project! It also helps protect those spots where I colored outside the lines! Here’s what my protective paper looked like after pressing. You can see the extra ink that was outside my embroidery.
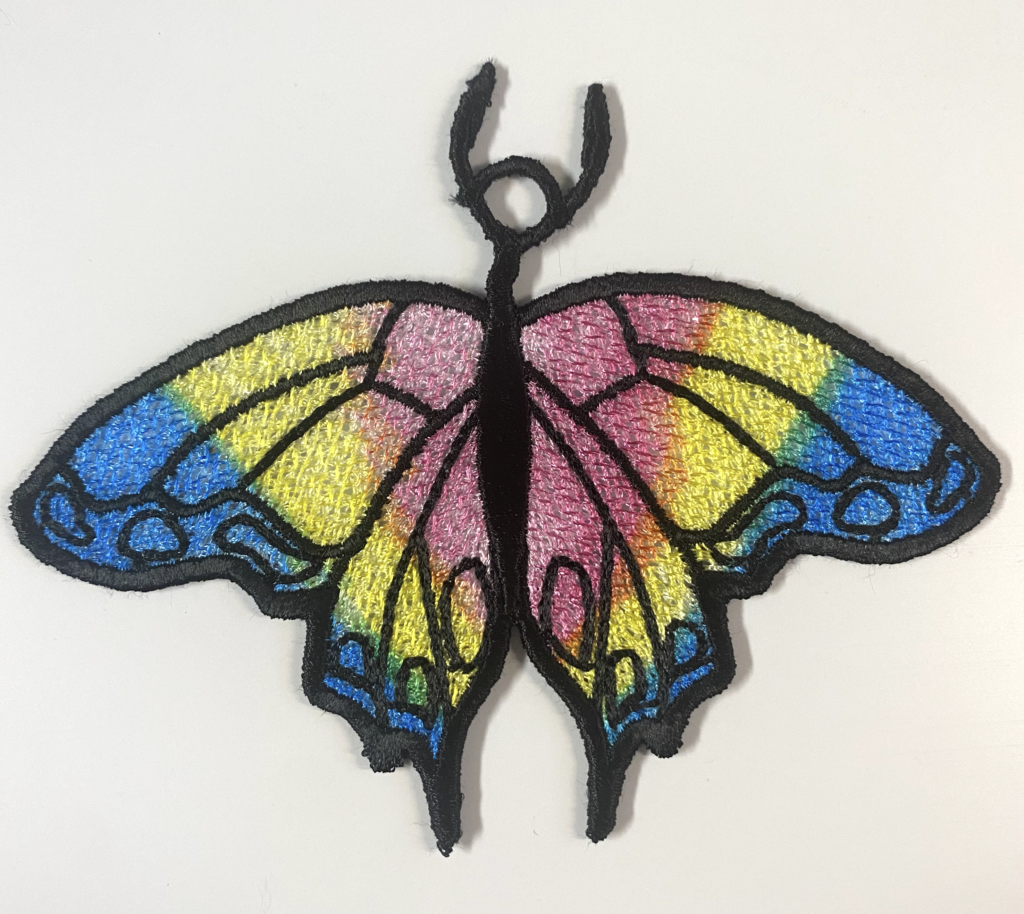
I pressed my designs at 380 degrees F for 45-60 seconds. Check your progress after 45 seconds to see if you need more time. I also used a medium pressure. I used a heat press, not an iron even though you can use an iron with Artesprix markers. Here’s what my kaleidoscope of butterflies (that is really what a group of butterflies is called) looks like – I am pretty excited with the results!
Aren’t they beautiful!! Grab your Artesprix markers, some free standing lace and get coloring! You will have your own beautiful kaleidoscope of butterflies before you know it!
If you enjoyed these tips, please join my Facebook groups … Libby’s Silhouette Group — Tips, Tricks, Tutorials and Projects, Libby’s Craft and Sewing Group and Running With Sisers – Juliet and Romeo. You can also find me on FB at Libby’s Loft.com. Please join and feel free to ask questions and share your creations! I look forward to seeing you there!!
Until Next Time,
Happy Crafting!!
Disclaimer: Posts on this site may contain affiliate links. Clicking on one of these links or making purchases at linked sites does not mean you pay more for your purchases. It means I may receive a small commission on your purchase. This commission helps defray the costs of this site and enables me to continue to provide you with new and exciting content.