I have been using Siser’s EasyColor DTV for a while now and am still loving it! I wanted to show you some new projects I have completed and also give you some tips on using DTV. To see my step-by-step instructions for using DTV, you can click here and check out my original post.
Affiliate links may be present in this post. As an affiliate, I earn a small commission when you purchase using these links.
I created some new shirts using designs from Creative Fabrica and Design Bundles. I selected designs that were listed as “sublimation” files because I wanted brightly colored files. You can print these files directly from Silhouette Studio or Leonardo Design Studio so they were perfect for these shirts for a weekend event.
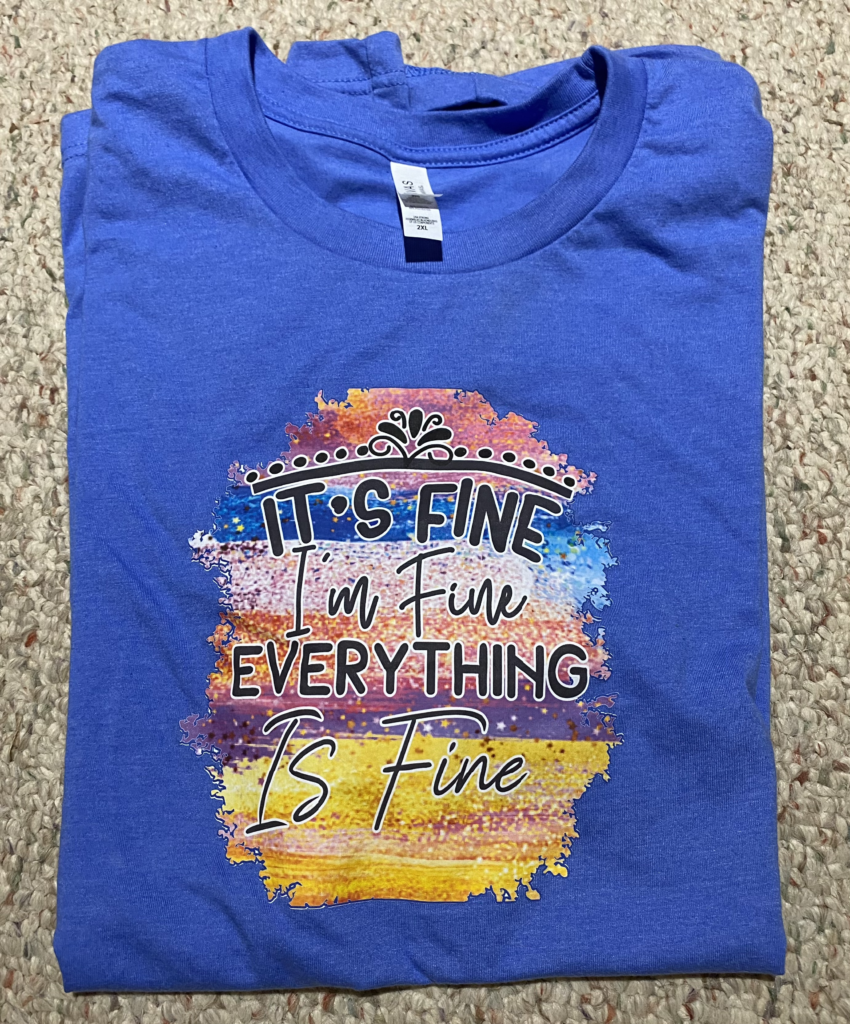

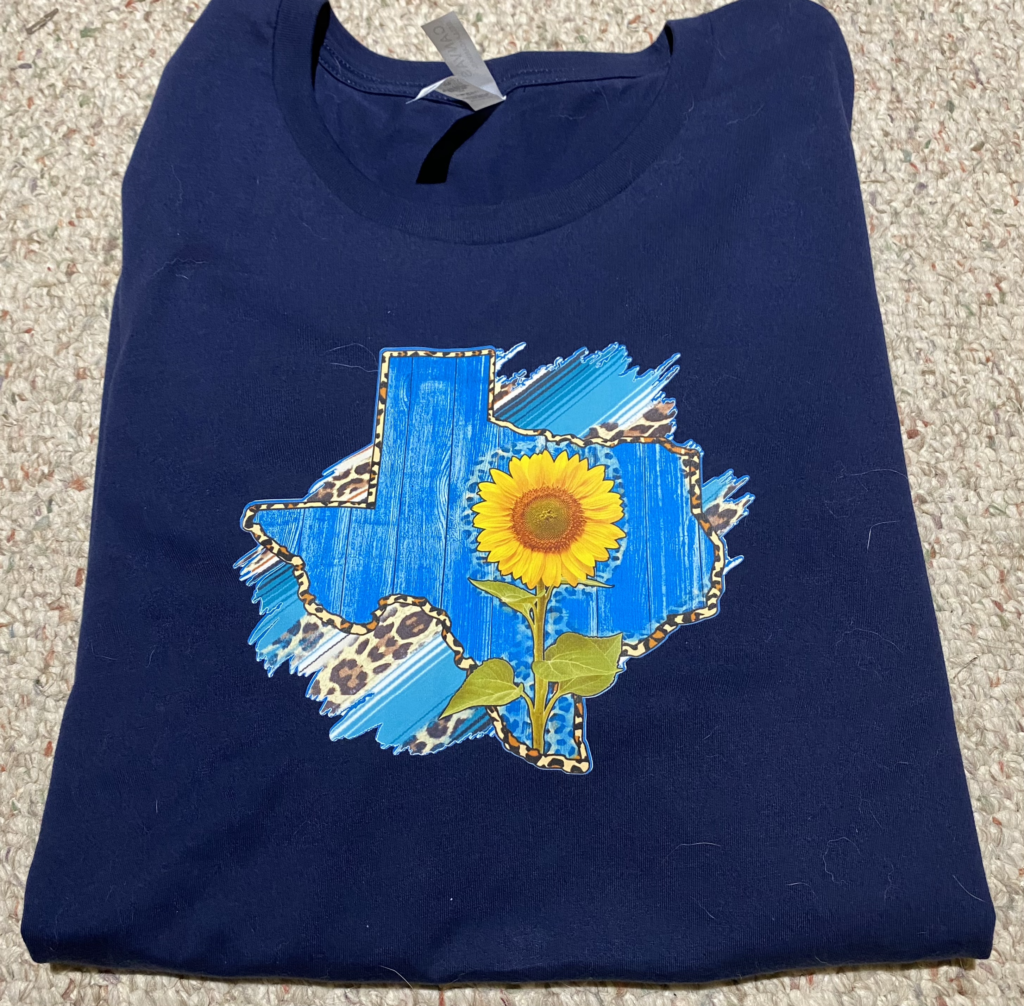
Once you have selected your design and have it ready to print, there are a few things you can do to help ensure success.
Printing Tips:
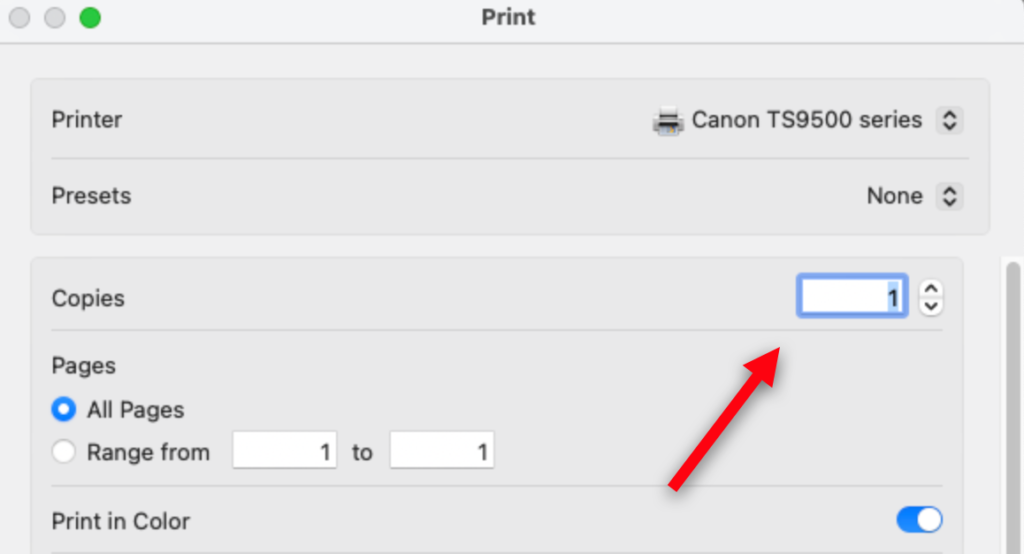
Make sure you are using the “normal” paper setting on your ink jet printer. This will put just the right amount of ink on your paper. Using enhanced settings places more ink on your paper than can be absorbed by the paper and can result in some of the ink bleeding when washed.
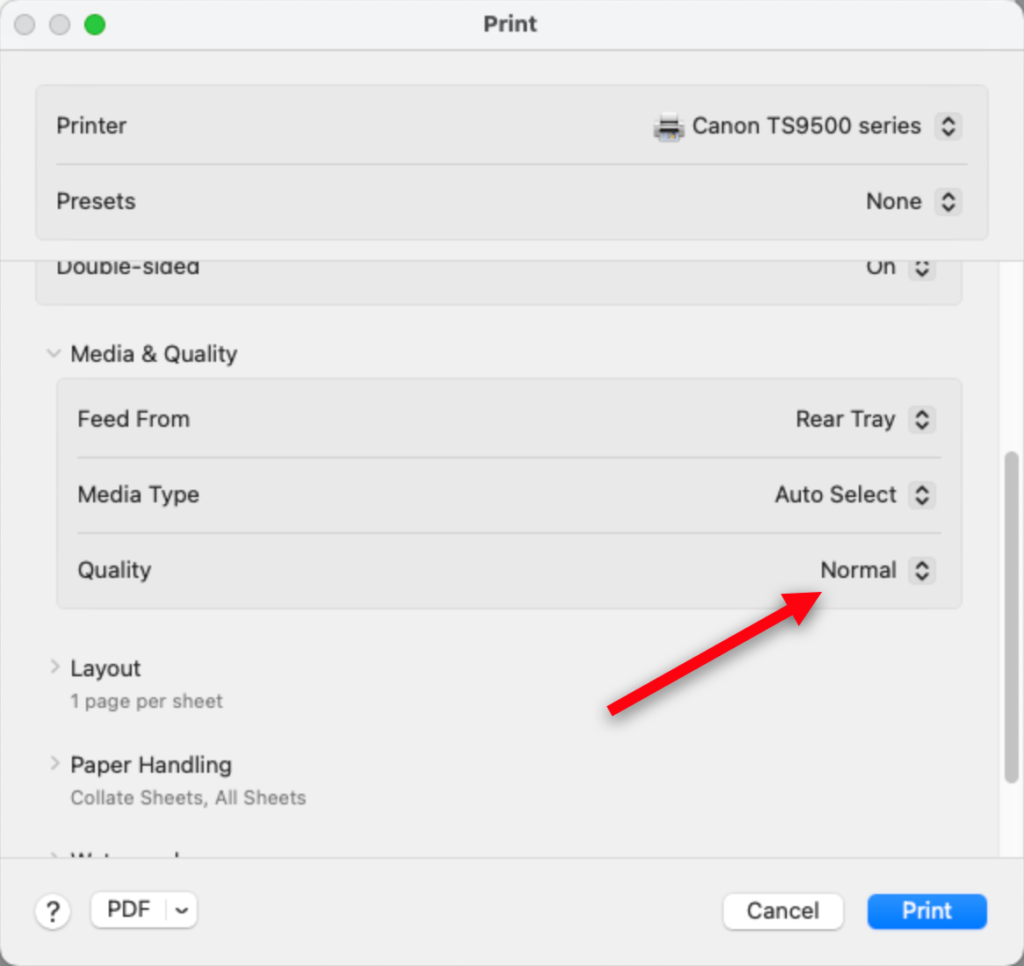
If you are having trouble with your registration marks, use the rear feed tray, if available. Send multiple print jobs one at a time to help ensure that the paper is fed correctly. I know it seems like a pain, but it really does work.
Tip for using Mask
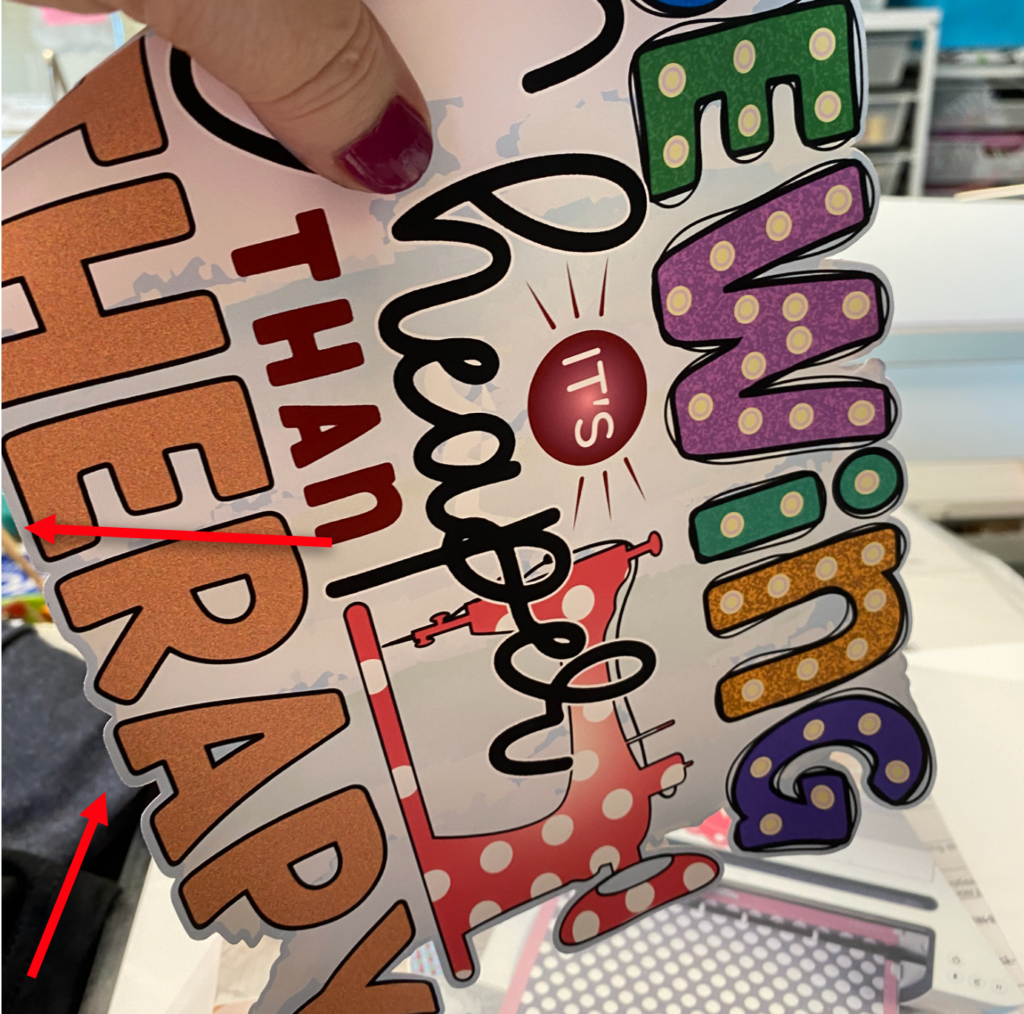
If you are using mask, the Siser TTD EasyMask is the recommended mask. You only need the mask if your design is in multiple parts. If it is in one part, you do not need the mask. You can just gently remove it from the carrier sheet and press it.
When using a mask, it is recommended that you wait 24 hours from the time you print to the time you use the mask and press. If you aren’t using mask, the waiting period is not necessary.
Often I put an offset around the entire design and add a color from the design so I don’t have to use a mask or wait the 24 hours …. I know, I am impatient.
Washing Tip
Siser recommends that you wash your garment before wearing to remove any excess ink that is on the garment. For best results, wait at least 24 hours before washing after applying your DTV and then wash in cold water. If you wear the garment before washing and it comes in contact with water, you could get spots in any excess ink.
If you wash your garment and it has some excess ink spots, try washing it again. I had one shirt that had some excess ink after the first wash, but after the second wash, the excess ink was gone and the design looked perfect.
Siser recommends that you use a mild detergent and that you wash the completed garments inside out. Fabric softener is not recommended.
Some of my DTV shirts have been washed over 25 times and still look like new — my husband (who does the laundry) assures me he does not do anything special when he washes them.
Big News!!!
The big news is that Siser is now making the DVT in larger sizes and in rolls!! You can now get rolls up to 20″ wide!! This means that we can print using our large format printers!!! Mine is currently on order and I cannot wait. I have printers that will use these new sizes and am already planning what I will create! You will find all the sizes (and the transfer tape) here! Get yours today and be sure to post photos of what you create!!
More than just fabric
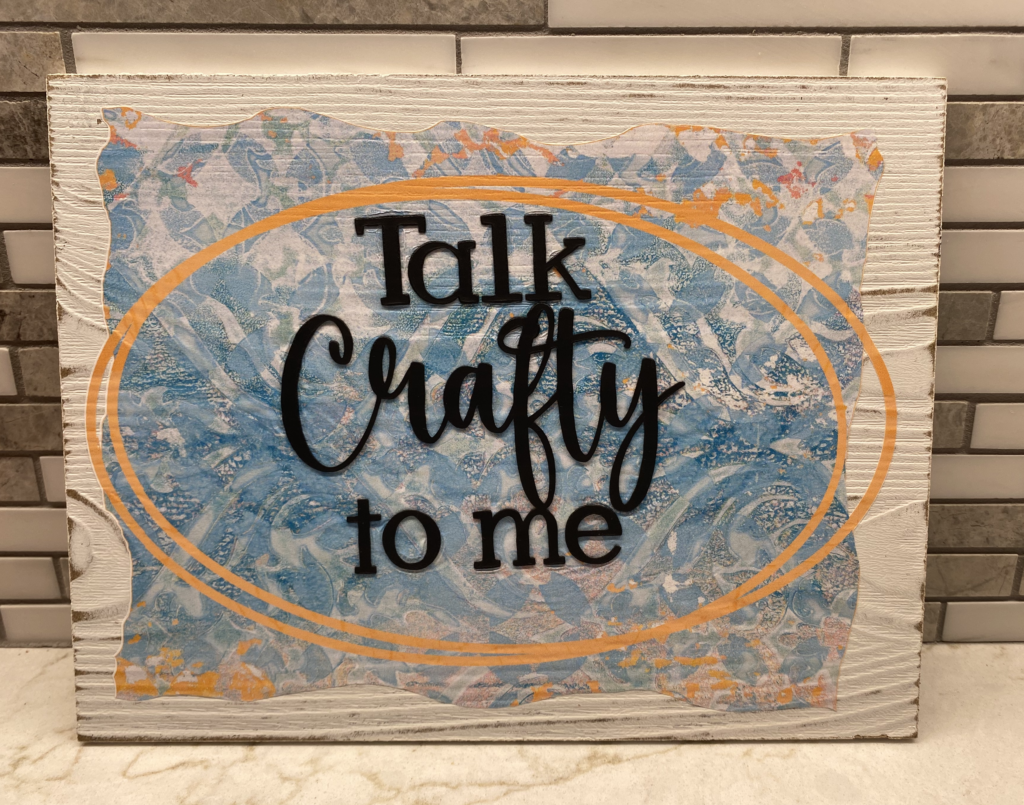
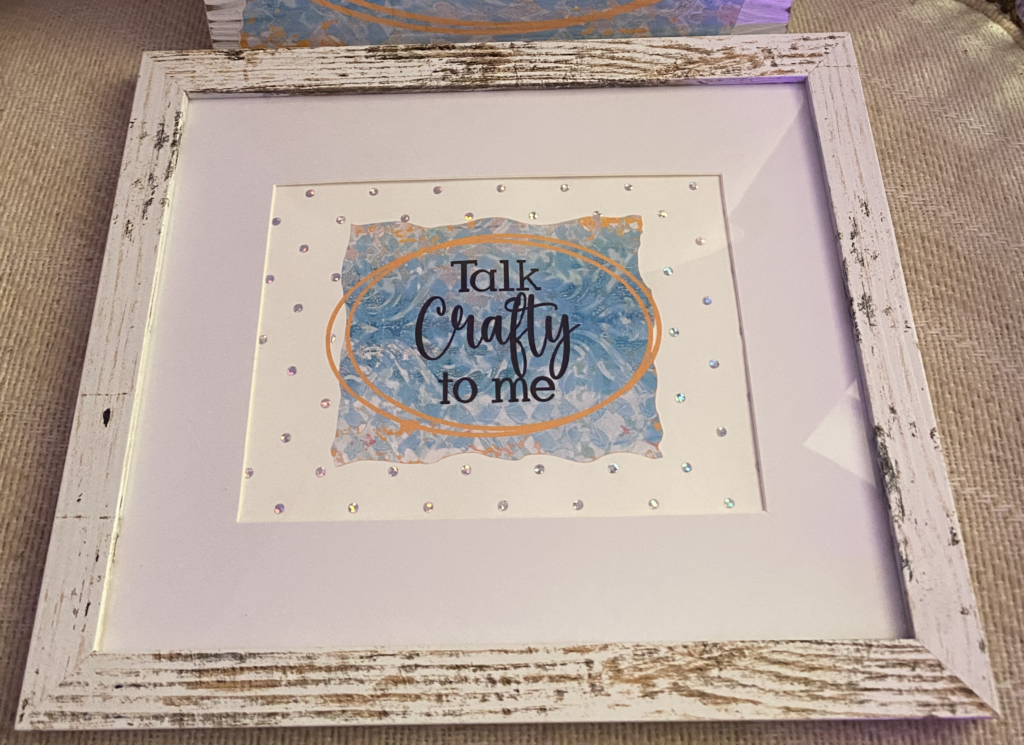
I created some projects for a class that used DTV but did not just use fabric. I pressed it onto wood and also onto paper. So, think outside the box when using this new product!!
In this project, I used DTV and pressed it onto wood. I added Siser Stripflock for the words for added dimension.
For this project, I printed the entire phrase on DTV. Then I used holographic vinyl to create faux rhinestones and pressed both onto paper and placed it in a frame.
I hope that you are using EasyColor DTV and having lots of fun. If you are not, I hope this will inspire you to give it a try! Be sure to post photos in my FB groups so we can all enjoy your creativity!!
If you enjoyed these tips, please join my Facebook groups … Libby’s Silhouette Group — Tips, Tricks, Tutorials and Projects, Libby’s Craft and Sewing Group and Running With Sisers – Juliet and Romeo. You can also find me on FB at Libby’s Loft.com. Please join and feel free to ask questions and share your creations! I look forward to seeing you there!!
Until Next Time,
Happy Crafting!!
Disclaimer: Posts on this site may contain affiliate links. Clicking on one of these links or making purchases at linked sites does not mean you pay more for your purchases. It means I may receive a small commission on your purchase. This commission helps defray the costs of this site and enables me to continue to provide you with new and exciting content.
Disclaimer: Posts on this site may contain affiliate links. Clicking on one of these links or making purchases at linked sites does not mean you pay more for your purchases. It means I may receive a small commission on your purchase. This commission helps defray the costs of this site and enables me to continue to provide you with new and exciting content.