It’s no secret … I love the beach almost as much as I love rhinestones! What better way to combine both of those than to create a cute blinged out beach tote!! I found a cute design at The Rhinestone World that will look great on a canvas tote.

Let’s get started!!
Open the design in your Silhouette Studio.
The design has 3 colors of rhinestones. When you open the file, you see the entire design, and then the templates for each of the colors of stones. You will want to cut the yellow template area when you cut each of the parts of the design because this is how you will line up the design elements.
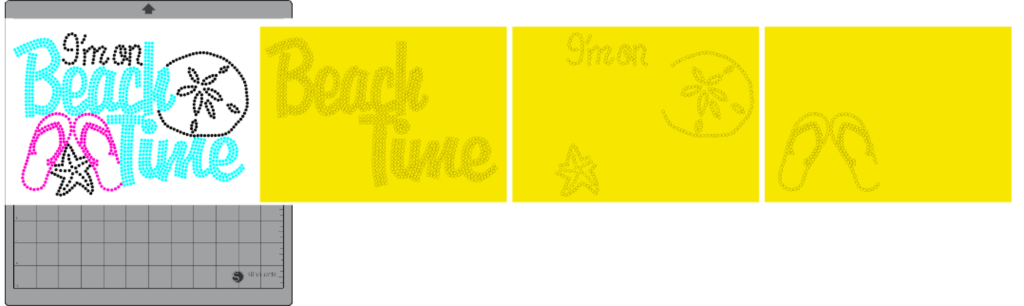
Left click and drag a box around the yellow box and the rhinestone part of each of the 3 templates. Right click and select Group. Repeat this for the entire design part. You will now have 4 groups. Left click and drag the full color group to the left, off the mat. Position one of the yellow box-rhinestone template groups in the mat area.
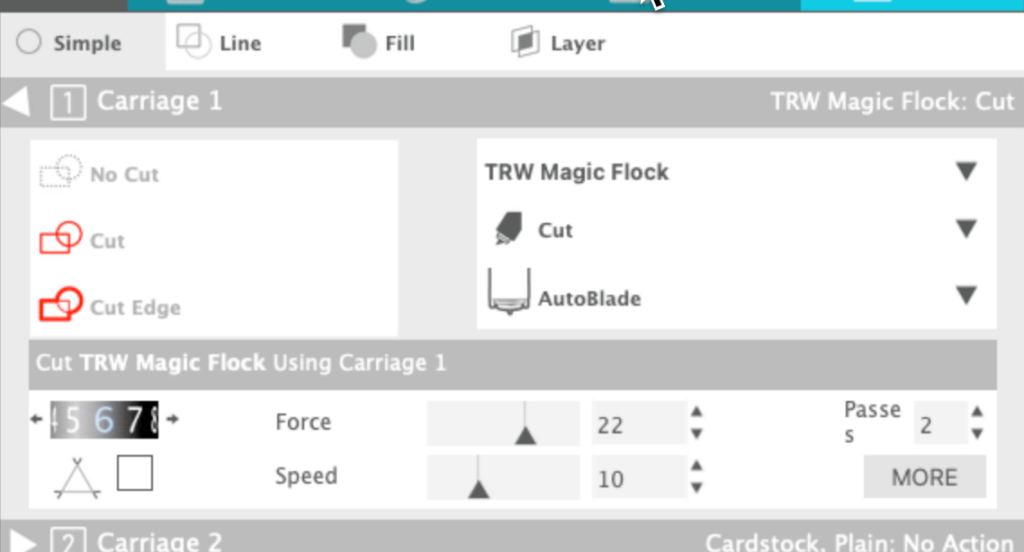
In the Send tab, select either the Rhinestone Flock pre-set or the TRW Magic Flock pre-set if you have created one. I use the settings recommended by The Rhinestone World — a blade depth of 6, a Force of 22 and a Speed of 10 with 2 passes. Be sure to do a test cut …. I have found that I have to increase the blade depth by 1 for most materials at this time.
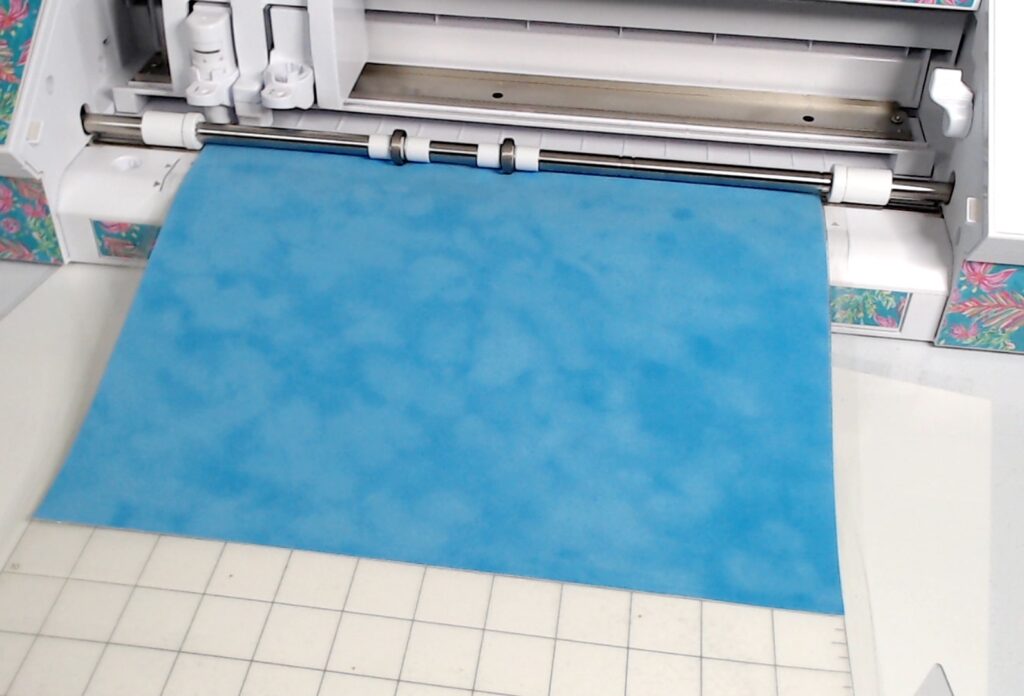
Place your flock on the mat with the backing on the mat and the flock side up.
Perform a test cut to check your settings and adjust your settings if needed.
Cut the first template. Remove the flock from the mat. Place another piece of flock on the mat and cut the second design. Repeat for the third part of the design.
Add the Rhinestones to the Flock
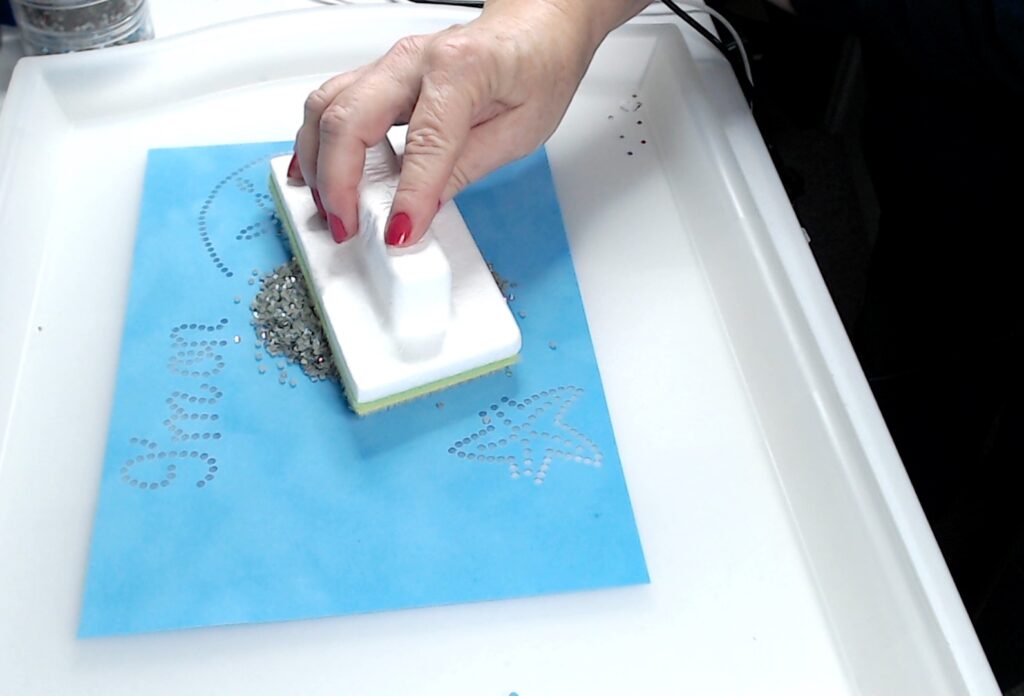
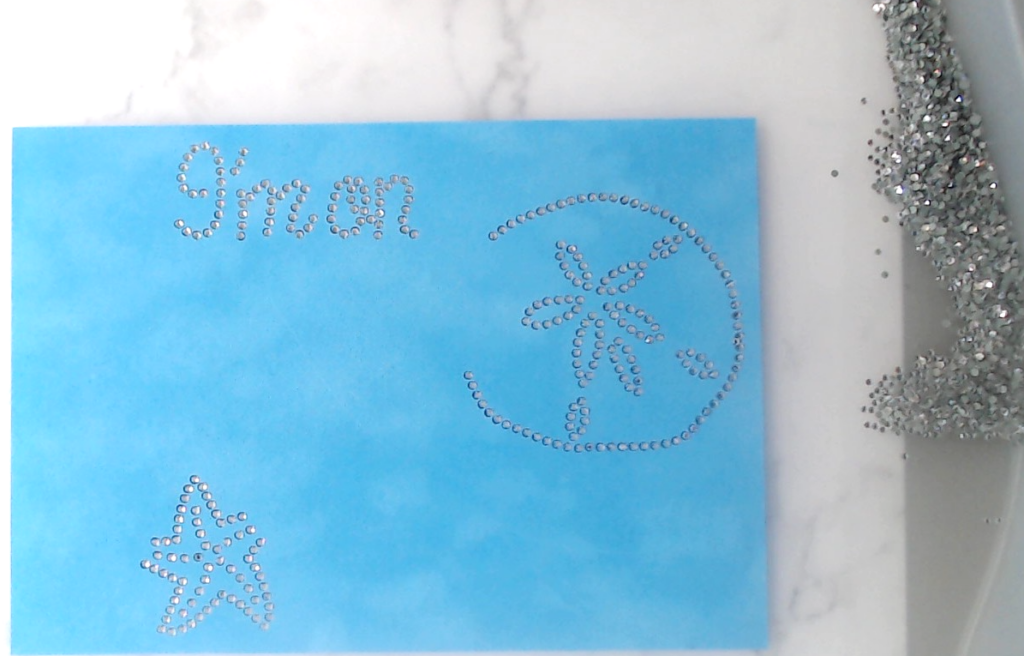
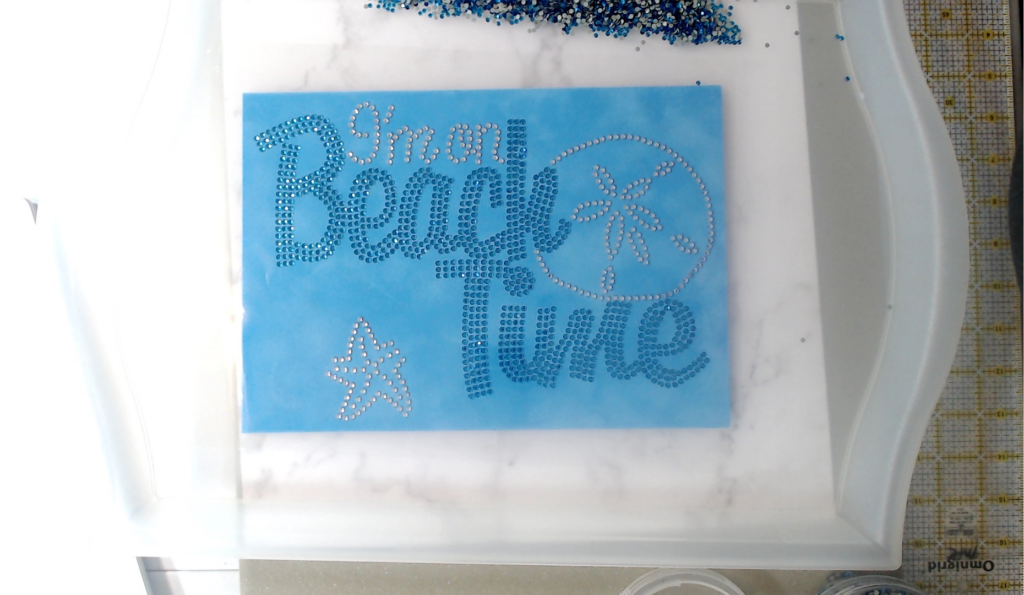
Position your first template in your rhinestone tray. Pour rhinestones over the template. Brush the correct color stones into the holes using a gentle circular motion.
Move all the excess stones out of the way. Position the rhinestone transfer tape so part of it is on your tray to the left of the filled template. Put the transfer tape down on the filled template. Gently rub the transfer tape over the stones to be sure they are securely on the tape.
Lift the tape up off the template, making sure to keep the left edge still firmly on the tray. Fold it gently out of the way.
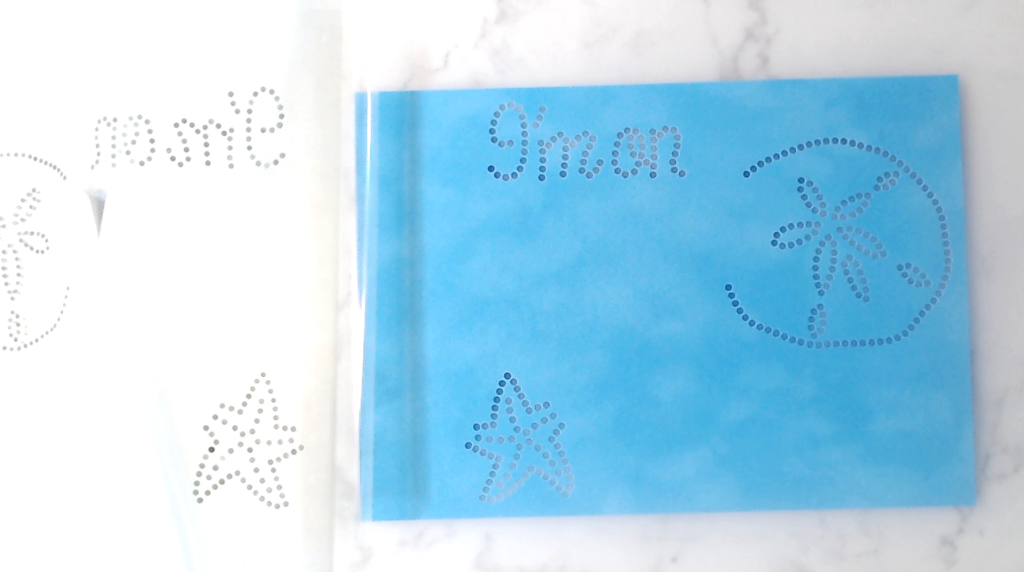
Position the second template on top of the first. The yellow boxes around each part of the design will fit each other exactly so the design will line up.
Brush your second color stones in the template material.
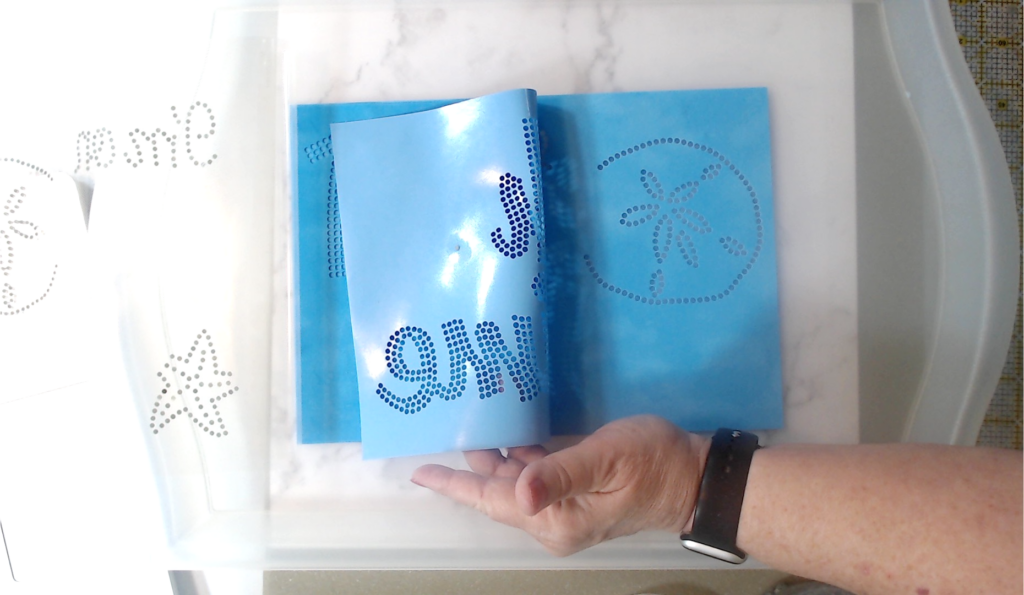
Pull the transfer tape back over the template and gently rub the tape over these stones.
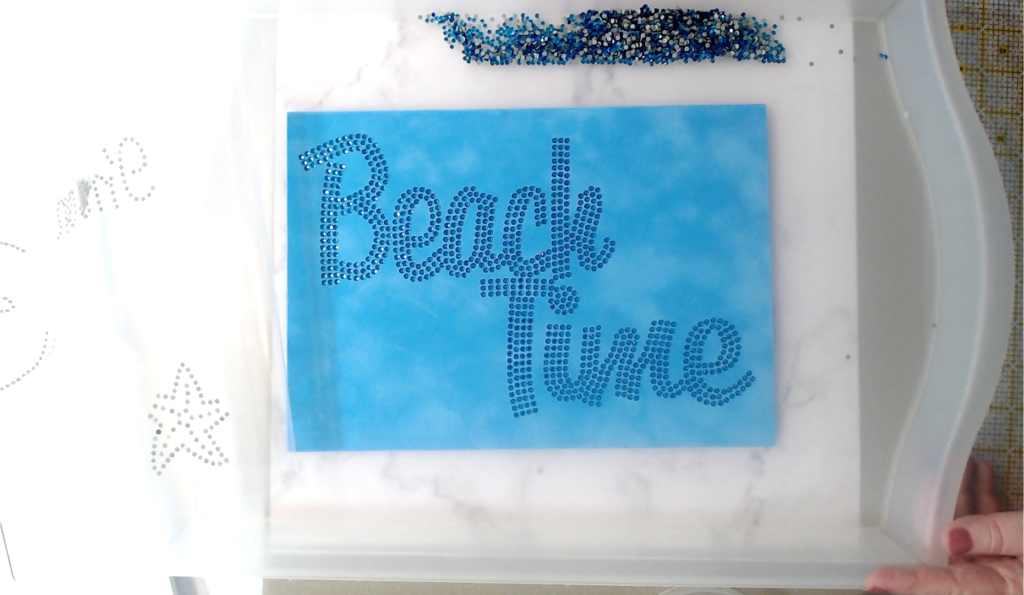
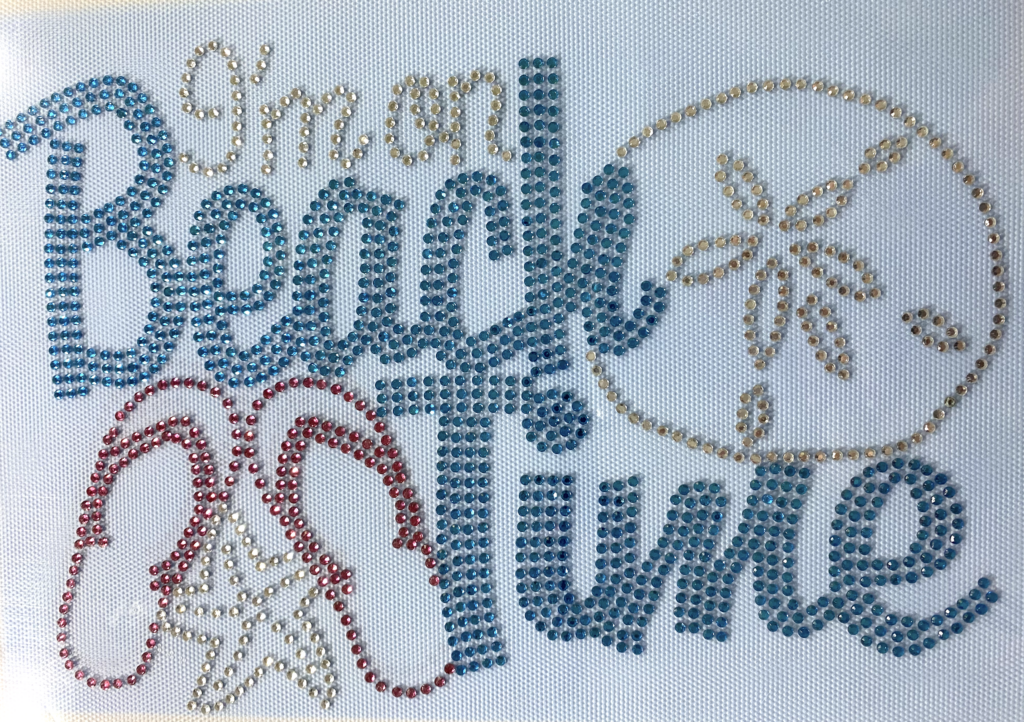
Pull the transfer tape back off to the left so it is out of the way. Position the last template over the other two. Pour your stones onto the template and brush them into position. Pull the tape back over the template and gently rub the tape over the stones. Pull the transfer tape off the template.
Apply Rhinestones to the Tote Bag
Press your tote bag for 2-3 seconds to remove the moisture. If needed, use your press pillows to offset any seams or straps so you get even pressure when pressing your stones onto the tote bag. Position your transfer tape with the rhinestones on the tote bag. Press for Press at 335 degrees for 15 seconds. Remove the transfer tape.
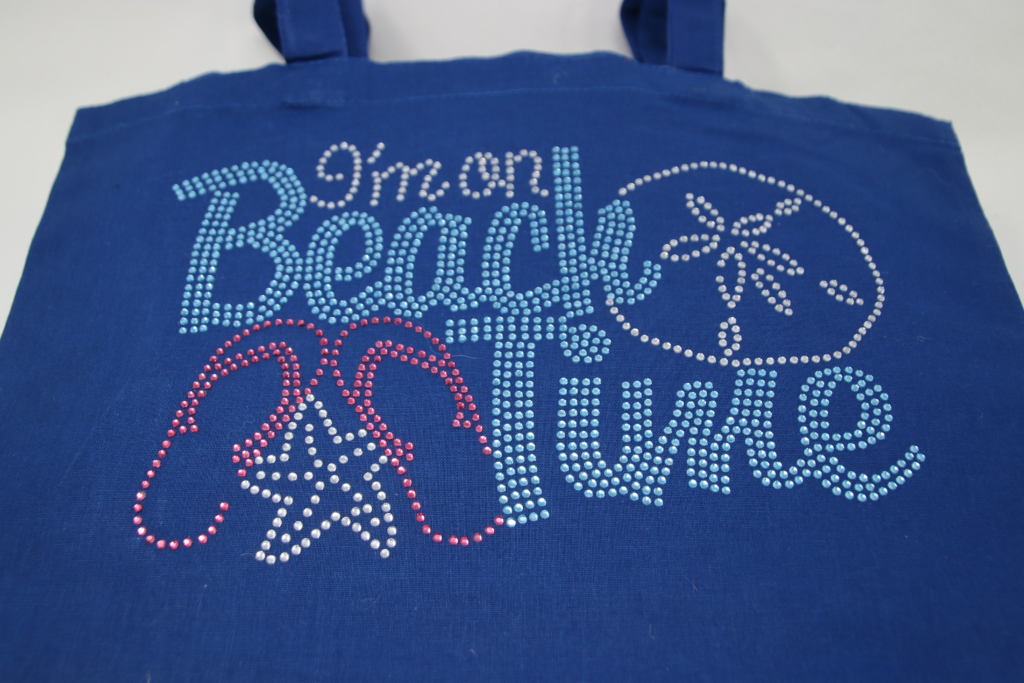
And there you go!! That’s how easy it is to create a rhinestone design with more than one color! I hope you will give it a try.
If you enjoyed these tips, please join my Facebook groups … Libby’s Silhouette Group — Tips, Tricks, Tutorials and Projects, Libby’s Craft and Sewing Group and Running With Sisers – Juliet and Romeo. You can also find me on FB at Libby’s Loft.com. Please join and feel free to ask questions and share your creations! I look forward to seeing you there!!
Until Next Time,
Happy Crafting!!
Disclaimer: Posts on this site may contain affiliate links. Clicking on one of these links or making purchases at linked sites does not mean you pay more for your purchases. It means I may receive a small commission on your purchase. This commission helps defray the costs of this site and enables me to continue to provide you with new and exciting content.
Until Next time,
Happy Crafting!!
Disclaimer: Posts on this site may contain affiliate links. Clicking on one of these links or making purchases at linked sites does not mean you pay more for your purchases. It means I may receive a small commission on your purchase. This commission helps defray the costs of this site and enables me to continue to provide you with new and exciting content.