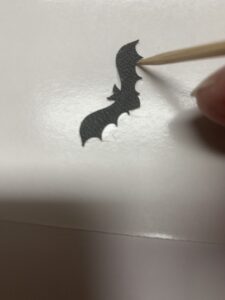
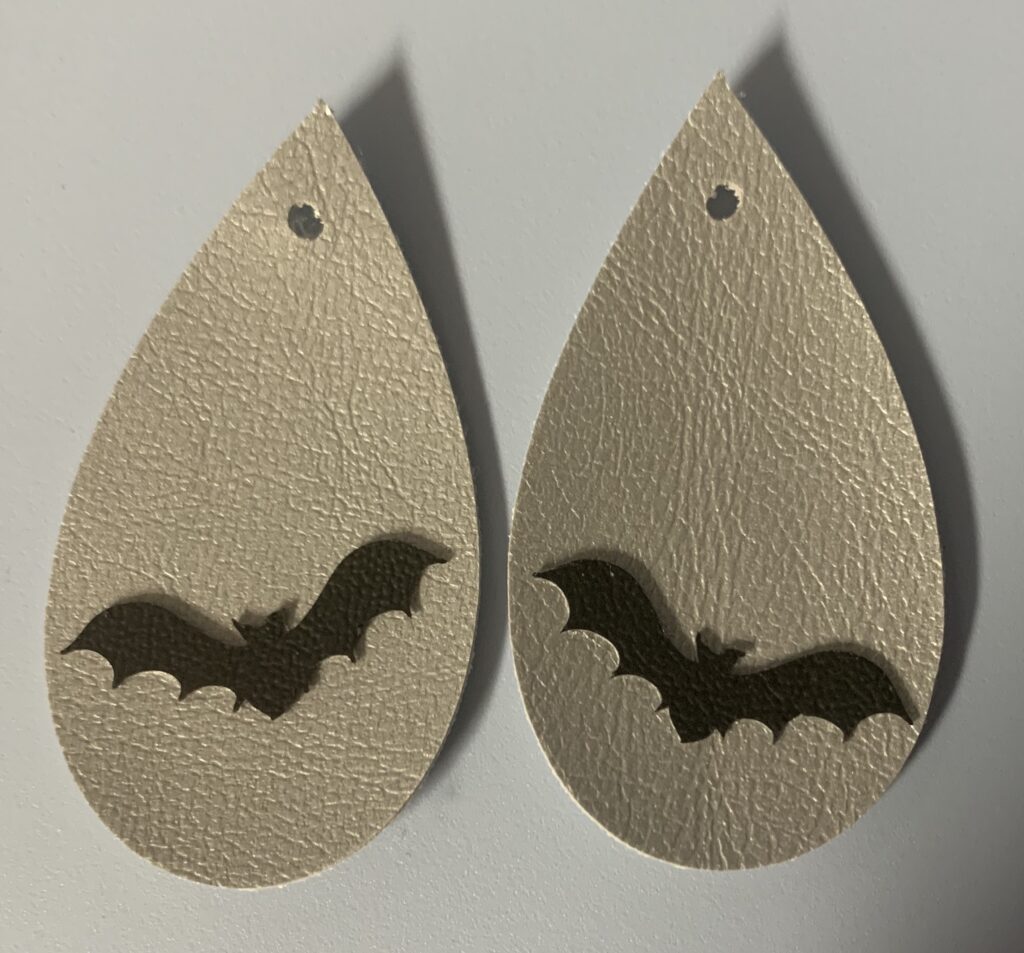
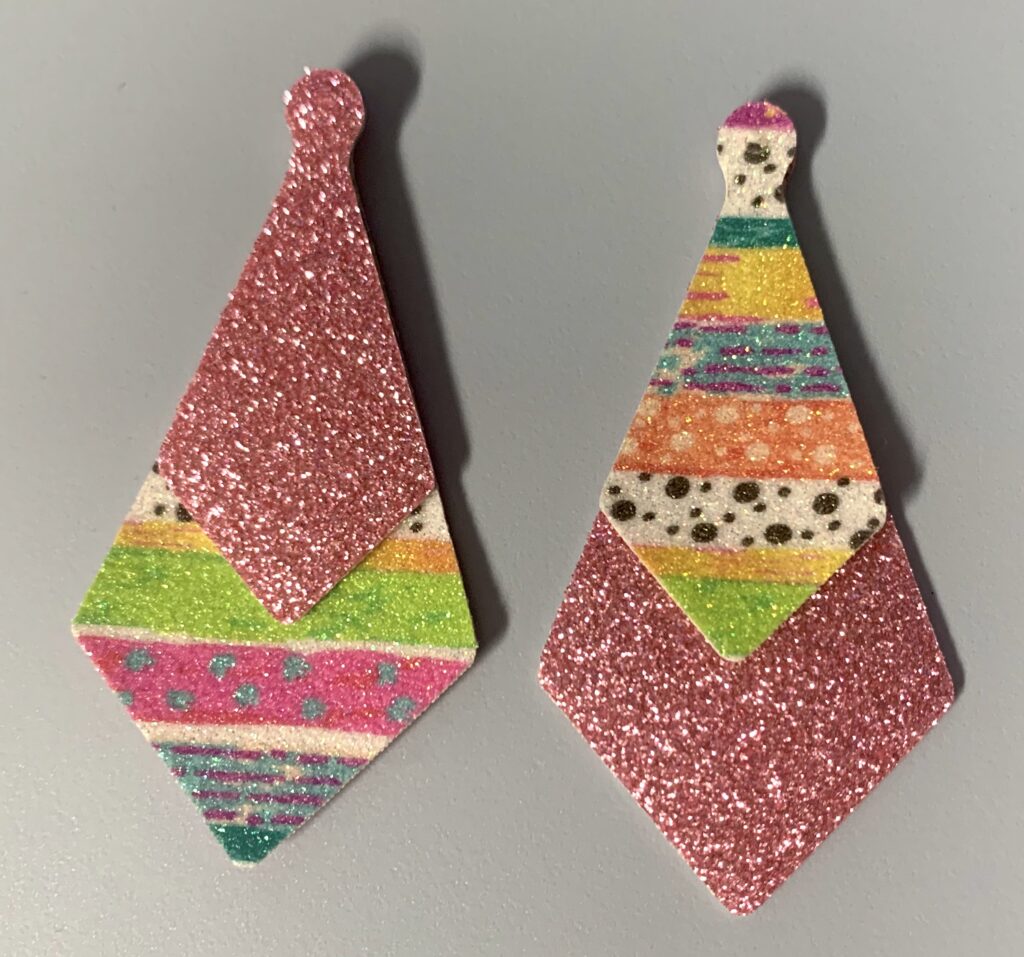
Today was earring day in the craft room! I needed a pair of earrings for a class sample so I had some leatherette out on the worktable. I knew I needed to create the sample but wanted to use this fun patterned leatherette to create a pair to wear to my grandson’s birthday party!
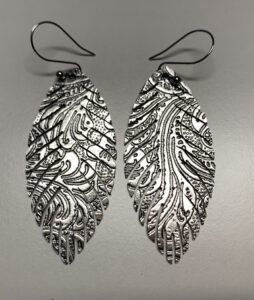
This design is from the Silhouette Design Store (design #273509 by Sweet Elsie). I used leatherette from Craft Chameleon for the party earrings. I cut these earrings on my Silhouette Cameo 4. I used the Leatherette pre-set but after a test cut found I had to increase my blade depth to 9 to get a clean cut.
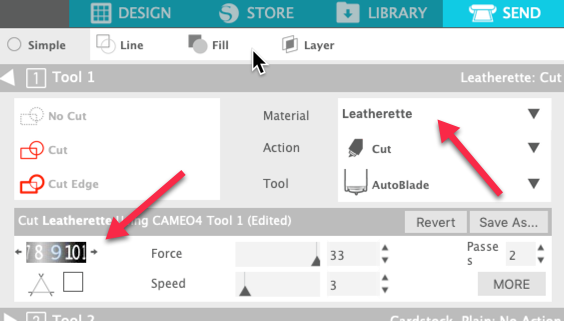
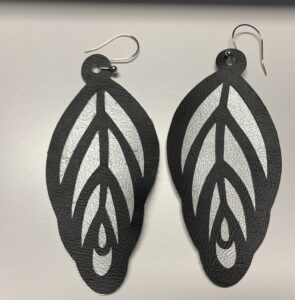
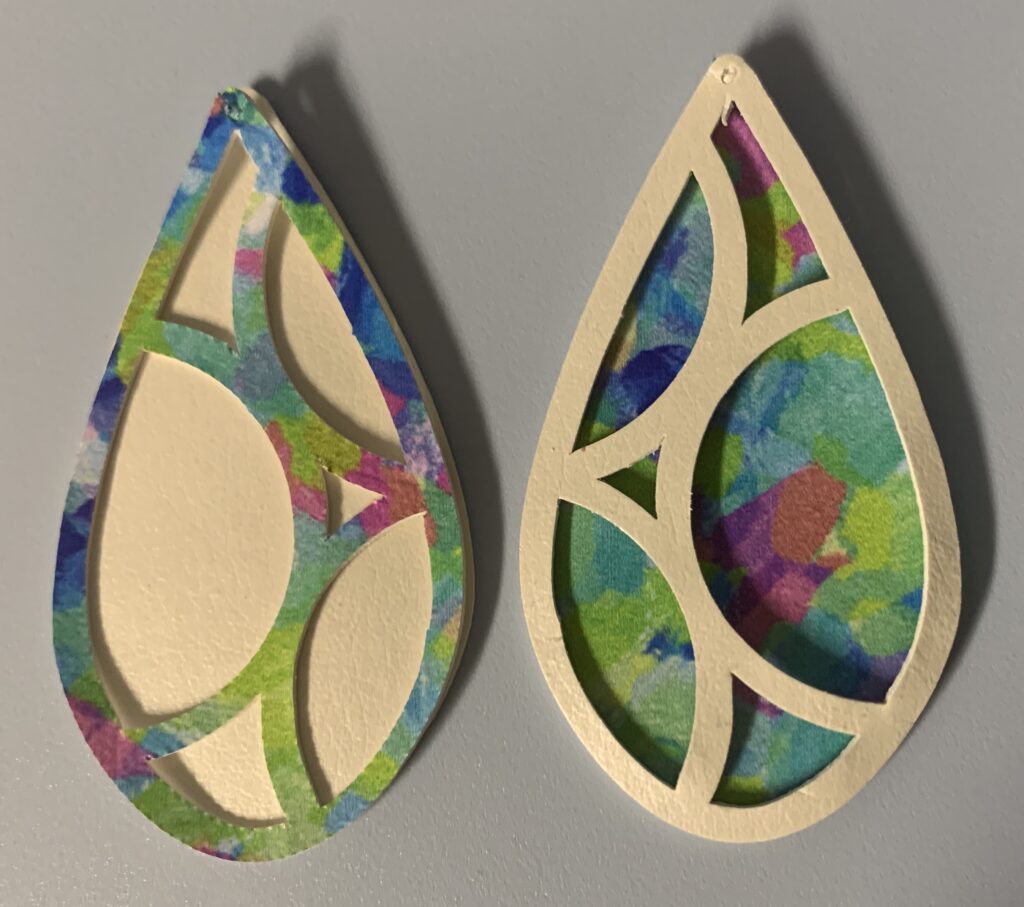
Then it was back to work! I needed to cut earrings for an upcoming class that will have both Silhouette Cameo users and Scan ‘n Cut users.
For these earrings, I used more of the leatherette from Craft Chameleon. I found that on the Scan ‘n Cut SDX225, I had to decrease the cutting pressure to -1 to get a good cut. On the Silhouette Cameo 4, I again started with Leatherette and did test cuts to get the right settings. Again, I had to increase my blade depth to 9 to get a good cut. With both machines, I used a new mat to make sure the leatherette was adhered well. Those of you who know me know that I often use painter’s tape to hold the edges of materials … just securing the edges is not enough when cutting leatherette.
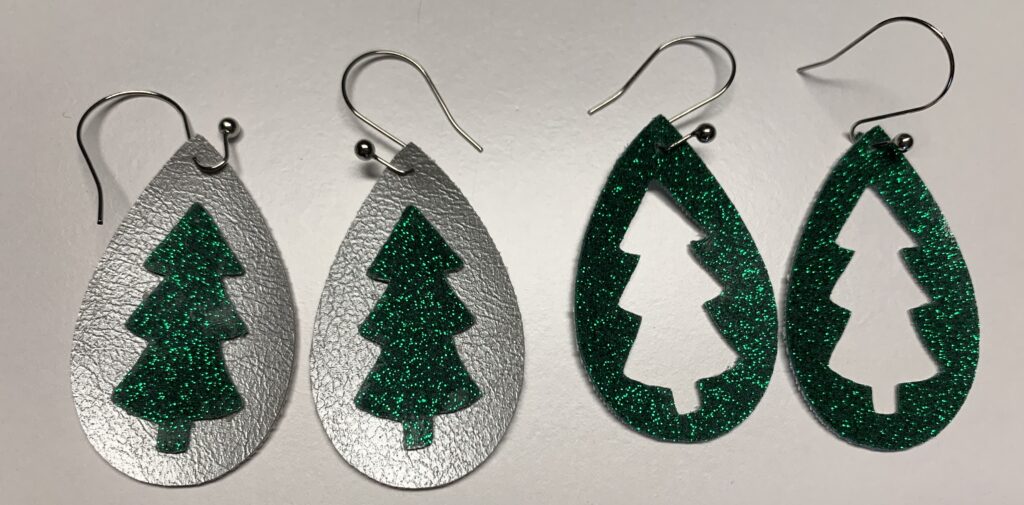
The silver leatherette cut well with the silver side facing up. The green has a shiny covering and I found it cut better pretty side down.
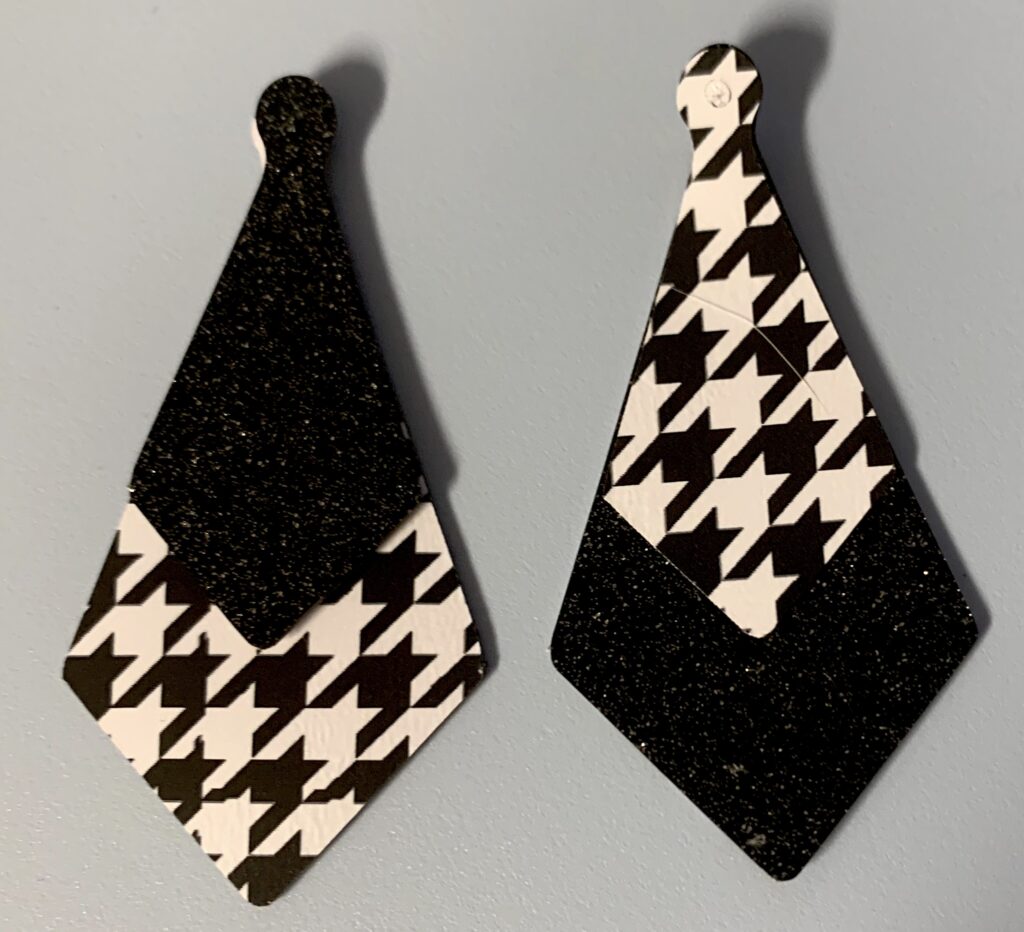
Once I cut these two sets of earrings, I used my Xyron Create a Sticker machine to add adhesive to the back of the accent pieces. Mine is an older model, but it works the same.
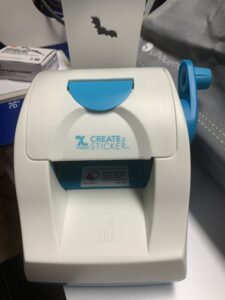
Place the top part of the earring on the Xyron and roll it thru. Adhesive is placed on the leatherette so you can assemble your earrings. Before you remove the leatherette from the backing, run a stiletto around the edge of the design to help cleanly release it from the backer paper (thanks to my friend Lycia Evanoff of Caught by Design for this tip). Gently remove the top parts of your earrings from the backer paper and position them on the base. Press gently.

Then because I wanted more variety and color, I decided to press Sparkleberry HTV to the back side of the leatherette. This served two purposes. It created a pretty back and made them reversible so I had twice as many earrings. I did have to increase the blade depth by 1 to cut these earrings.
I had so much fun creating all these earring variations! I have ordered more leatherette and marine vinyl so will let you all know how it goes with those products. I’ll also let you know how things go with the new Kraft Blade for the Cameo 4 when I get one! (I hear they will be shipping in November.)
I hope this has inspired you to try your hand at creating earrings!
If you enjoyed these tips, please join my Facebook groups … Libby’s Silhouette Group — Tips, Tricks, Tutorials and Projects, Libby’s Craft and Sewing Group and Running With Sisers – Juliet and Romeo. You can also find me on FB at Libby’s Loft.com. Please join and feel free to ask questions and share your creations! I look forward to seeing you there!!
Until Next Time,
Happy Crafting!!
Disclaimer: Posts on this site may contain affiliate links. Clicking on one of these links or making purchases at linked sites does not mean you pay more for your purchases. It means I may receive a small commission on your purchase. This commission helps defray the costs of this site and enables me to continue to provide you with new and exciting content.
Until Next time,
Happy Crafting!
Disclaimer: Posts on this site may contain affiliate links. Clicking on one of these links or making purchases at linked sites does not mean you pay more for your purchases. It means I may receive a small commission on your purchase. This commission helps defray the costs of this site and enables me to continue to provide you with new and exciting content.