Have you wanted to create two lines of curved text? It’s easy in your Silhouette Studio Software!

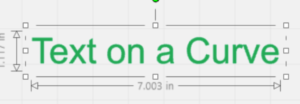
Let’s start with a basic curve. In your Silhouette Studio software, click on the Text tool in the left toolbar. Move your cursor into the work space and left click. This creates a text placeholder with a blinking cursor. Type your word.
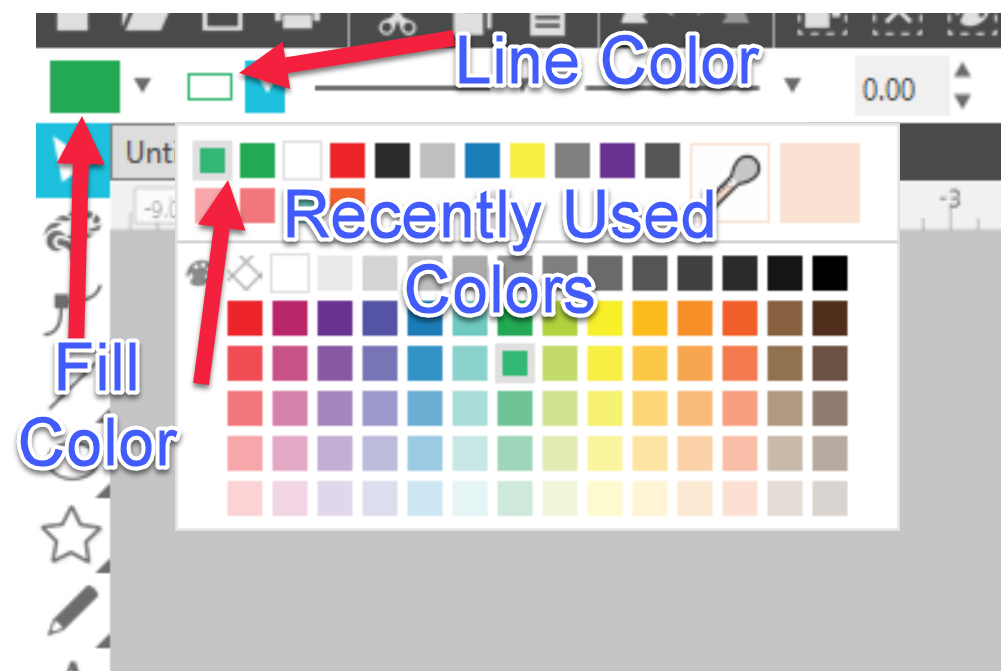
I added color to my text and changed the line color to match. Remember, you can use the Fill Color and Line color tools in the Quick Access Toolbar to quickly add or change colors. Once you have selected the color for either the fill or the lines, then when you open the other panel, the last used color is the first one shown so there is no guessing about which color chip you selected.
Click on the Draw tools in the left toolbar. Bring your cursor into the work space. Left click and drag to create an ellipse. If you want a circle, remember to hold down the SHIFT key as you drag. (Be sure to release the mouse button before you release the shift key or your circle will become an elllipse!)

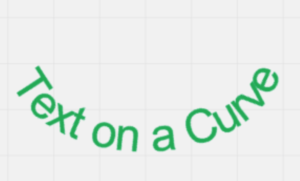
Double click on the text. You are now back in “Text” mode. You should see a circle with cross-hairs down in the lower left corner of the text. Left click and drag that circle over the ellipse. It will snap to the ellipse. You can then move it around to get it into position on your ellipse. You can move the text around on the ellipse, as well as inside or outside the ellipse.
Once you have your text positioned the way you want it, (and spelled correctly), right click and select Convert to Path. The text is no longer editable text. You can now click on the ellipse and delete it.
Super simple so far! Now let’s take it to the next level. How about curved text at the top and bottom of a circle. There are lots of ways to do this … this is just the way I like to do it. Let’s start with a fresh work space. Create two individual lines of text. Next create a circle. With the circle selected, hold the CTRL/CMD key and press the left arrow key on the keyboard. You should now have an exact copy of the original circle.
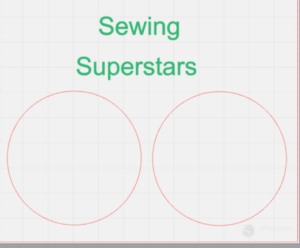
Double click on the word “sewing”. Left click and drag it down onto one circle. Repeat for the word “superstars.”
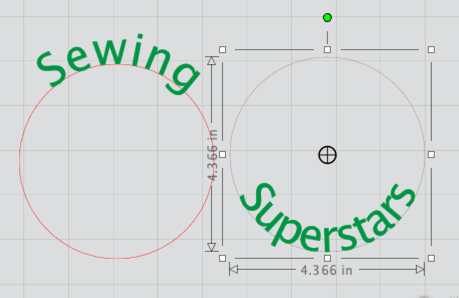
Now left click and drag the second circle over the first. Notice that the words come along with the circle. Line them up on top of each other. Double click on the lower words to go back to text mode. Use the slider to move the words below the line.
Once you have the words lined up the way you want them, click on the top word to select it. Right click and select Convert to Path. Repeat for the other words. Now you can select each of the circles and press the delete key on the keyboard to remove them.

But what if you want two lines of text at the top of the circle? Click on the Text tool. Bring the cursor into the work space. Left click and add the words you want in the first line. Click again on the Text tool. Bring the cursor into the work space and left click. Add the second line of words. Click on the Draw tools and select the ellipse. Move the cursor to the work space. Hold down the shift key and left click and drag to create a circle. With the circle selected, click on the Offset icon. Select Create an Offset and set the spacing to .75.Click apply.
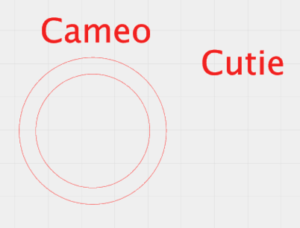
Double click on the top words to enter text mode. Left click and drag them onto the outer circle. Repeat for the other text, dragging it onto the inner offset circle.
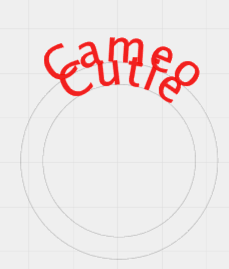
My words wound up touching each other. To fix this, you can click on the circle and left click and drag one of the handles to enlarge the circle. You can also double click on the words on the top circle. Use the slider to move the words slightly above the circle so the two sets of words are no longer touching.
Once you have the words positioned the way you want them, you can select the top word. Right click and select Convert to Path. Repeat for the second word. Click on each of the circles and press the delete key on the keyboard.

And that’s it! Super easy, right?! There are as many ways to do things in Studio as there are people using the software, so if you have a method for creating two line curved text that is different from mine, please feel free to share it!
If you enjoyed these tips, please join my Facebook groups … Libby’s Silhouette Group — Tips, Tricks, Tutorials and Projects, Libby’s Craft and Sewing Group and Running With Sisers – Juliet and Romeo. You can also find me on FB at Libby’s Loft.com. Please join and feel free to ask questions and share your creations! I look forward to seeing you there!!
Until Next Time,
Happy Crafting!!
Disclaimer: Posts on this site may contain affiliate links. Clicking on one of these links or making purchases at linked sites does not mean you pay more for your purchases. It means I may receive a small commission on your purchase. This commission helps defray the costs of this site and enables me to continue to provide you with new and exciting content.
Until next time
Happy Crafting!!
Disclaimer: Posts on this site may contain affiliate links. Clicking on one of these links or making purchases at linked sites does not mean you pay more for your purchases. It means I may receive a small commission on your purchase. This commission helps defray the costs of this site and enables me to continue to provide you with new and exciting content.