I love that I can use the drawing tools in Silhouette Studio to create my own designs! I created this cute bunny in just a few minutes and you can too!! Let’s get started.
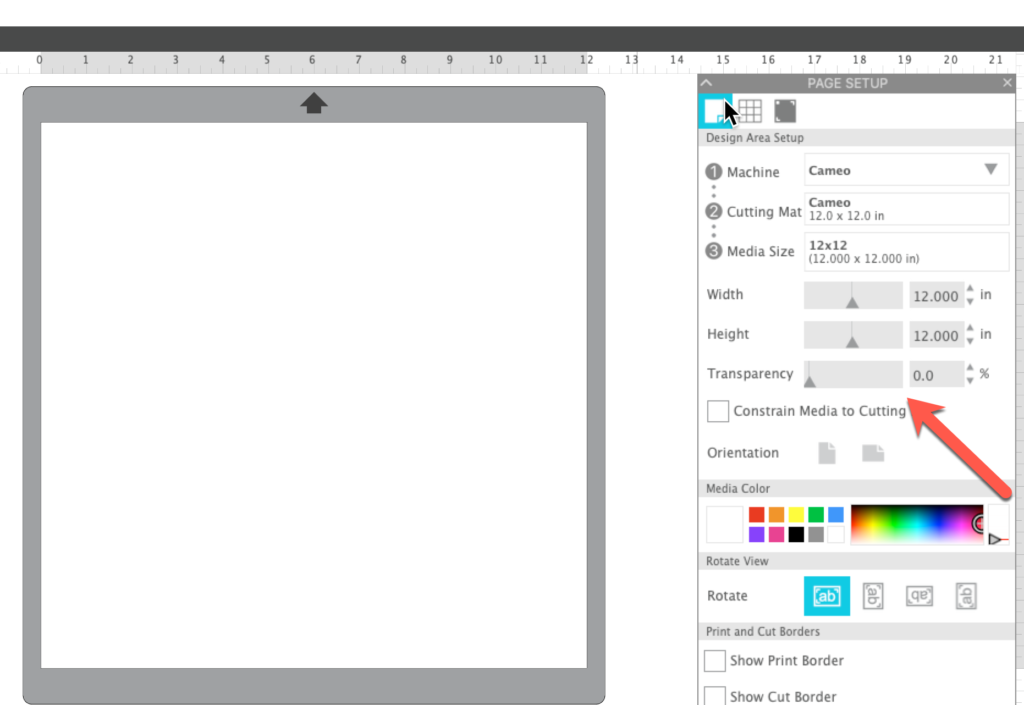
To get started, Open a new workspace in Silhouette Studio. Check the Page Setup Panel to be sure that all your settings were correct. I selected the Cameo 4, Cameo 4 Cutting mat and a media size of 12×12. Then I slid the Transparency Slider all the way to the left so the workspace would be white and none of the mat would show. This gives me a blank canvas.
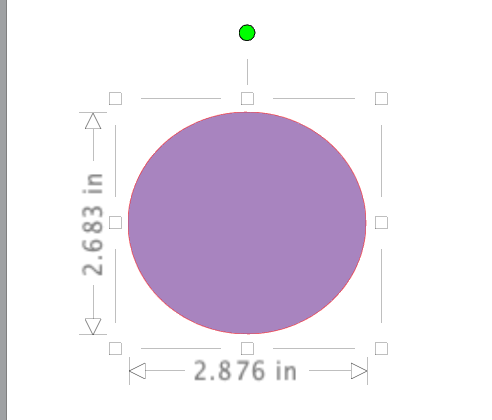
Select the Draw tools in the left toolbar. From the flyout menu, select the ellipse and moved the cursor into the workspace. Left click and drew an ellipse approximately 2.6″ tall and 2.8″ wide. This will be the body of your bunny. Fill the ellipse with color using the Fill icon in the Quick Access toolbar.
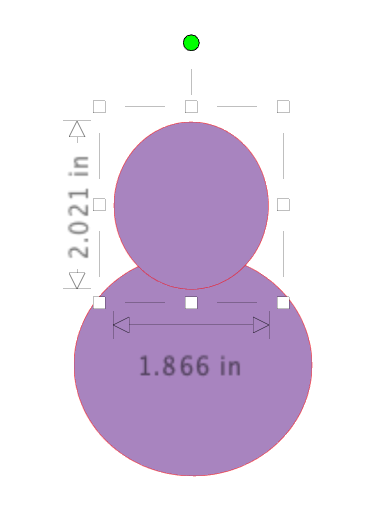
Now, right clicked on the ellipse and select Duplicate. This is going to be the head of the bunny. Because you used the Duplicate feature, the new ellipse already had color added. Move the new shape up to the top of the body. Use the corner scale handle on the bounding box to adjust the size of the new ellipse to about 2″ tall and about 1.8″ wide.
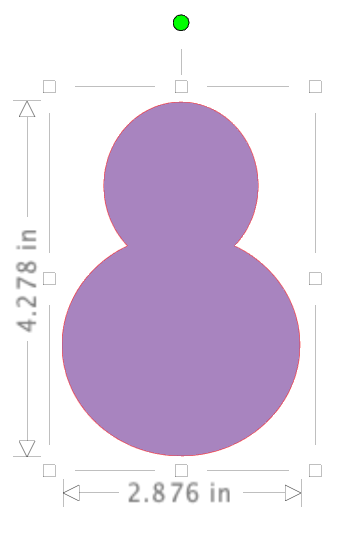
Select both the ellipses and align them by using the Align Center icon in the Align area of the Quick Access toolbar. Next, right click and select Weld to make both the shapes into one shape.
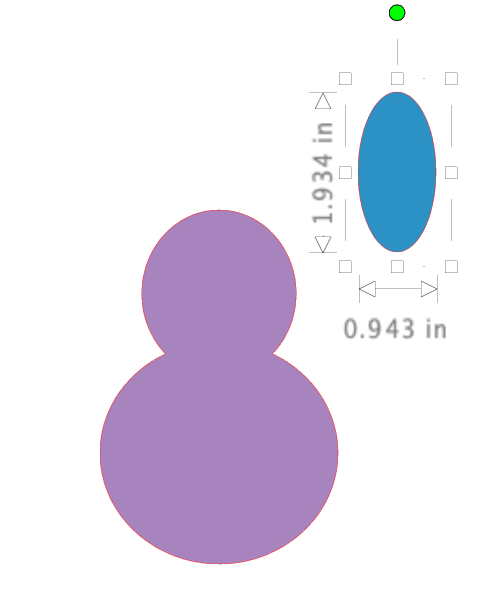
Now it’s time to create the ears. Select the ellipse tool from the Draw tools. Move the cursor into the workspace and draw an ellipse. Use the scale handles to make the ellipse about 1″ wide and 2″ tall. Fill the ellipse with color.
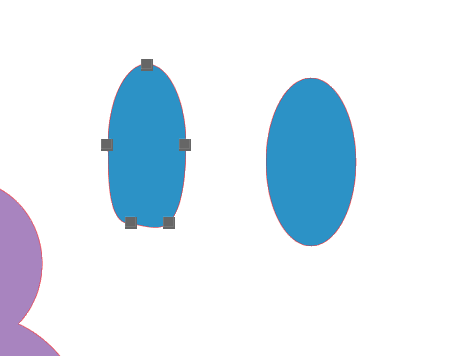
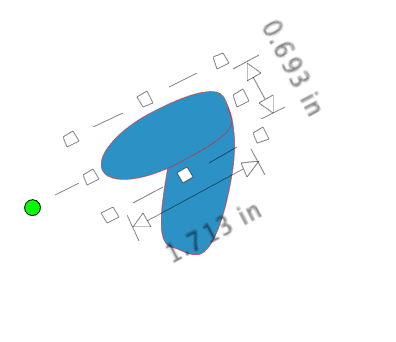
Double click on the ellipse to enter Edit Points mode. Click on the bottom edit point and move it slightly to the left. Click on the right bottom side of the ellipse and click to place another point. Use the edit points to make the bottom of the ellipse flatter. (I made a second ellipse so you could see the flatter bottom.)
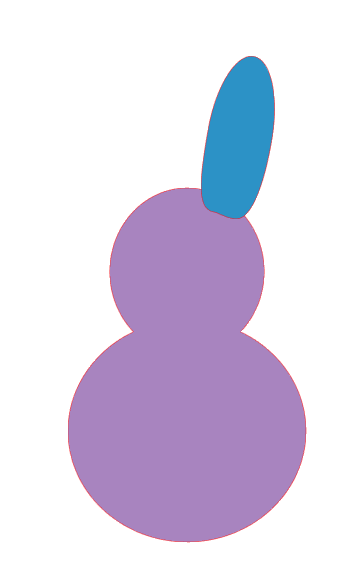
Use the edit points to adjust the shape of the ear. Once it is the shape you want, move the ear over the head. Use the rotate handle (green handle) to rotate the ear so the placement looks pleasing to you.
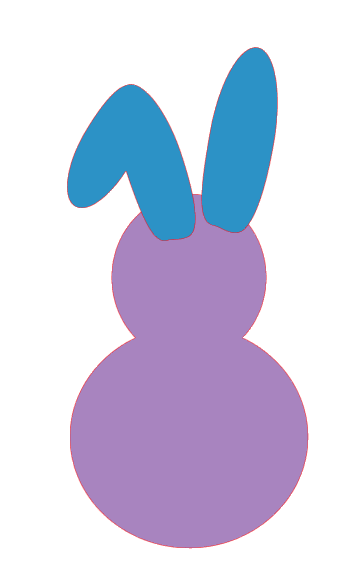
Now duplicate the ear two more times. Working with just these two duplicates of the ear, take one duplicate ear and rotate it so it is on top of the other one, at an angle. Adjust the size so it is not as long and a bit narrower.
Once you have the two ear parts the way you want them, right click and select Weld. This will join the two parts together and they will become one. Move this ear over the head and position it. Use the rotate handle (green circle) to rotate the ear so it fits nicely on the head.
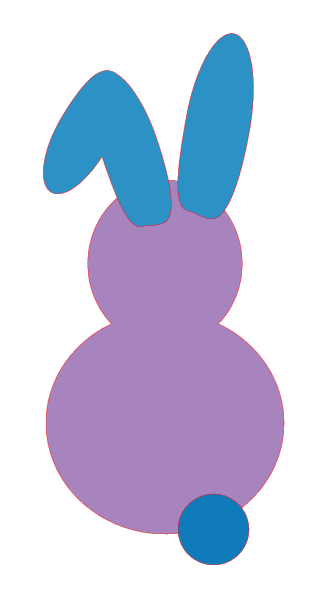
You are almost finished creating the bunny! Click on the Draw tool and select the Ellipse tool one more time. Move to the workspace. Hold down the Shift key and left click and drag to draw a small circle. (I made mine about 0.8″ tall and wide.) Release the Shift key and add some color to the circle. Move it into position at the bottom right side of the bunny — this is the tail.
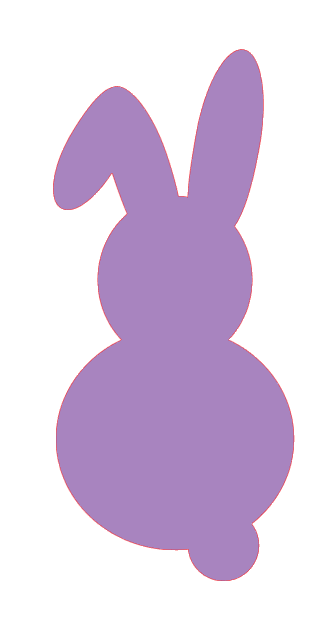
Select all the objects in the workspace by using CTRL/CMD+A or just left click and drag a box around all the elements. Right click and select Weld. Make a duplicate of the bunny and move it to the left off the workspace “just in case” we need it.
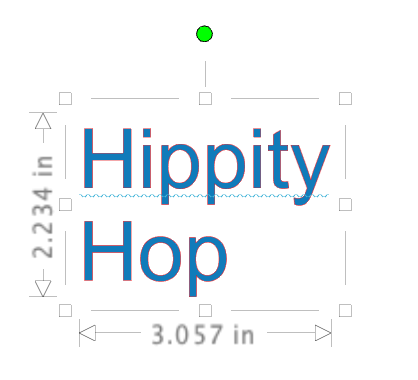
Now let’s add some text. I used 212 Moon Child Script but you can use any font you like. If you choose the same font I did, you will need to install it on your computer prior to use. Remember to restart Silhouette Studio after you install the font. Select the Text tool from the left toolbar and click in the workspace. You will see a blinking cursor. Enter the word “Hippity”, press the Enter key, and enter the word “Hop”. Click off the text to exit the text entry mode and add color to the text.
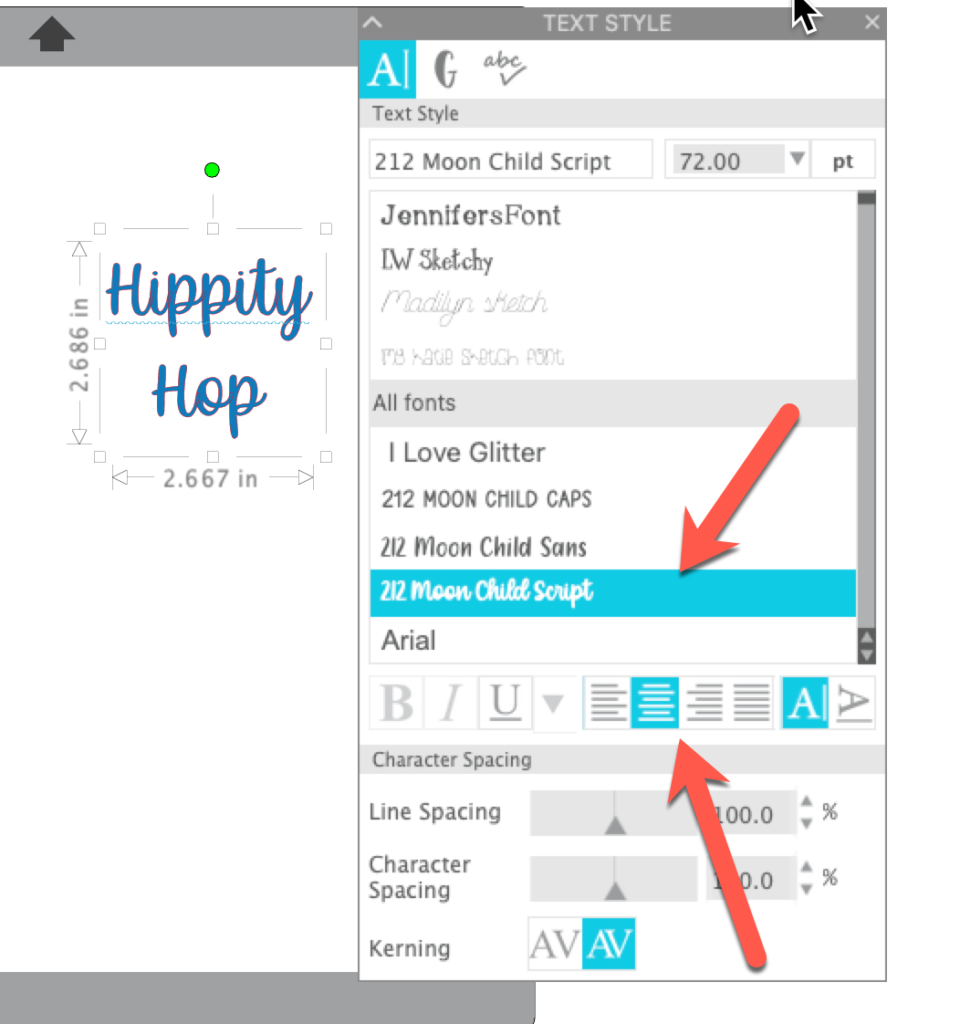
Click on the Text panel in the right toolbar. With the text selected, click on 212 Moon Child Script (or the font of your choice) to change the font. Then click on the Justify Center tool.
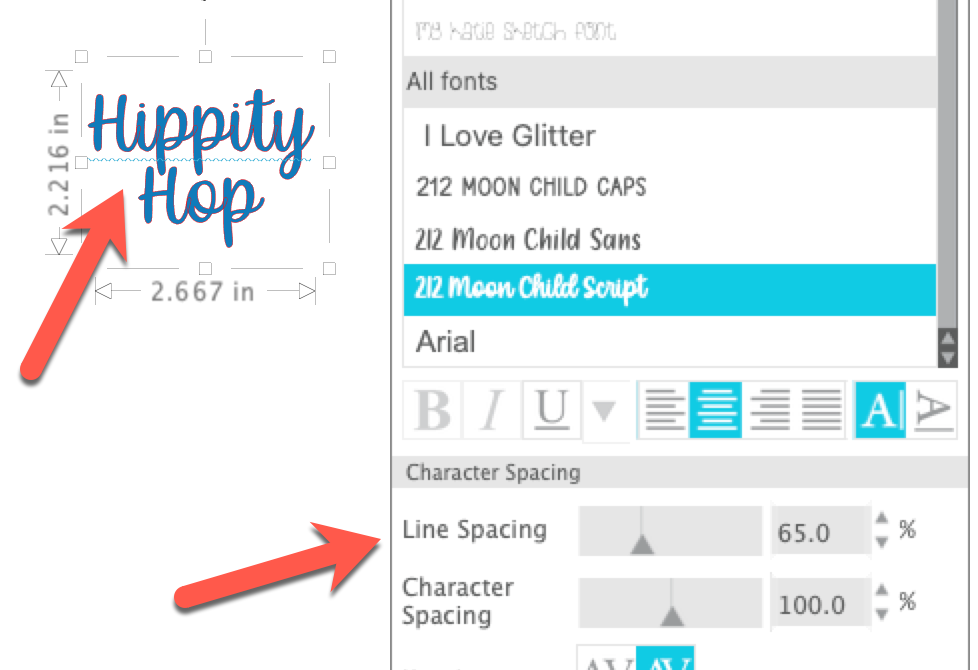
Now use the Line Spacing tool to bring the two lines of text closer together. Click on the Line Spacing slider and move the slider toward the left to decrease the spacing between the words.
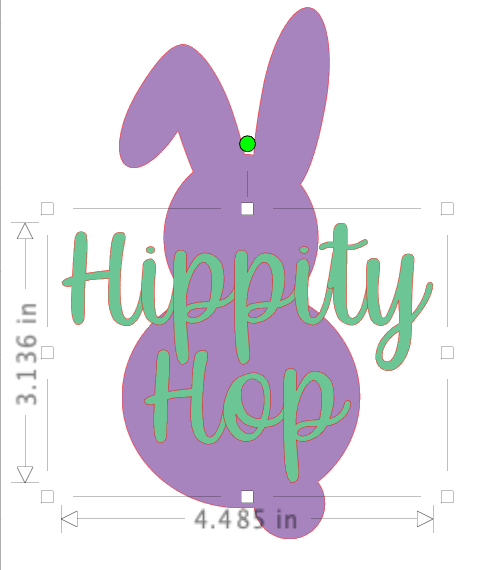
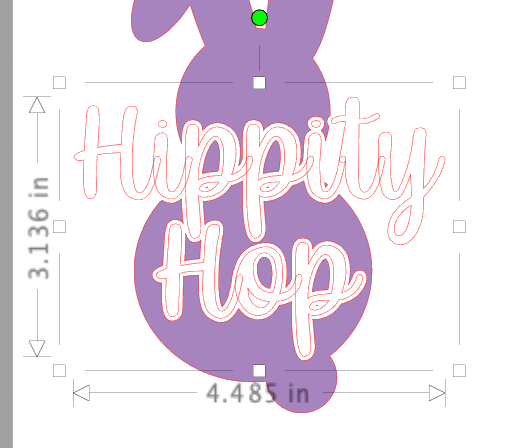
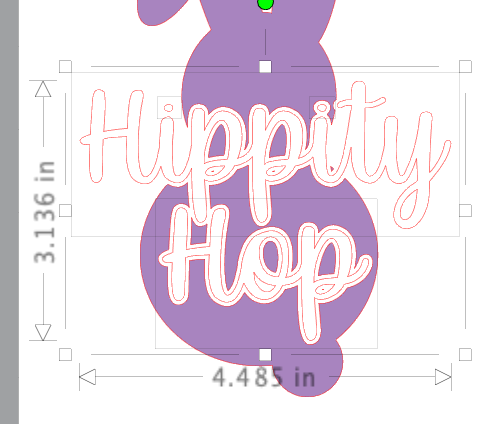
Move the words over the bunny and adjust the size using the scale handles. Select the words and make duplicate and move them off the mat, again, “just in case.” Back in the workspace, right click on the word and select Convert to Path. This text is now an object and cannot be edited — that’s why we made the copy. Adjust the size of the text so it is pleasing to you. I made mine about 3.1″ tall by 4.4″ wide — wide enough so that “Hop” pretty much fills the bunny body.
With the lettering selected, click on the Offset Panel in the right toolbar. Click on Offset and set the distance to 0.05″ and click Apply. Add color to the offset so you can check it.

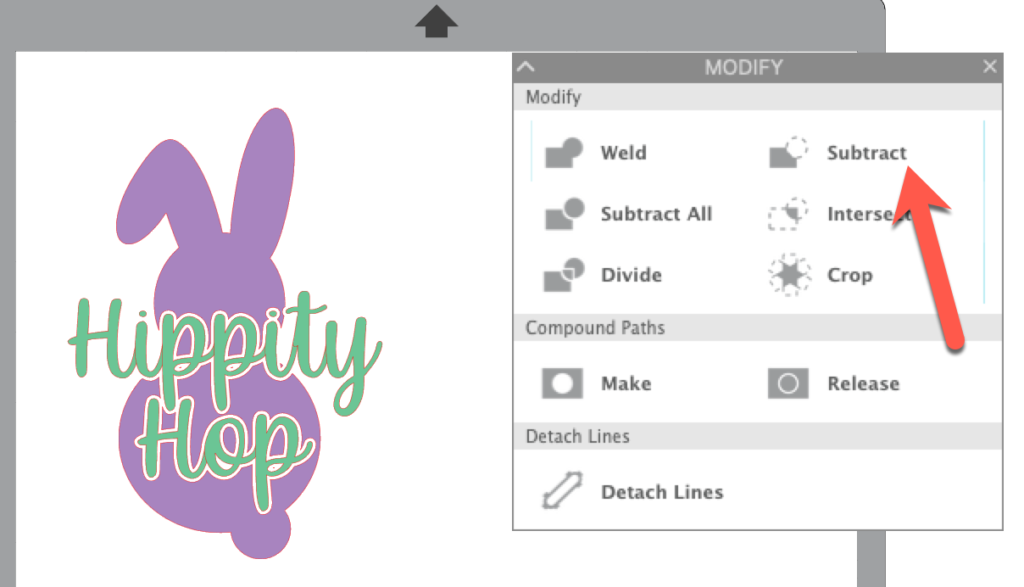
With the offset still selected, hold down the Shift key and click on the bunny. Click on the Modify panel in the right toolbar. Select Subtract. The offset will be subtracted from the bunny.
Because the text is a script font the letters will overlap and will cut that way. I took the color out of the text to show you what I mean. See how the letters overlap at each place they join. Your Silhouette will cut those little spots unless we fix it.
One way to fix this is to select the letters, right click and select Weld. The letters will then be joined and the overlaps will disappear.
Select the lettering and the bunny. Right click and select Group or use the keyboard shortcut CTRL/CMD+G. Change the color so it is all one color, if desired. (You can cut the letters from a different color if you prefer.)

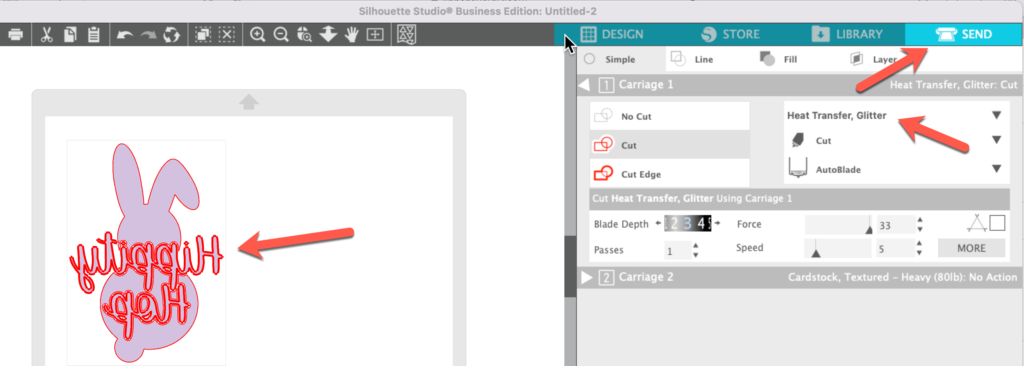
If you are cutting this design from Heat Transfer Vinyl, you will need to select the entire design and mirror it. To do this, select Flip Horizontal from the right click menu. This will ensure that your bunny will cut right for applying to fabric. If you are using adhesive vinyl or a printed HTV, you do not need to mirror your design.

Once you have flipped your design, click on the Send tab. Check to be sure your entire design is highlighted in red (that means it will cut). Check the settings to be sure you have the correct material selected — I used Heat Transfer – Glitter because I was cutting white glitter. If you are using a Cameo 4, you might need to increase the blade depth by 1 for a good cut.
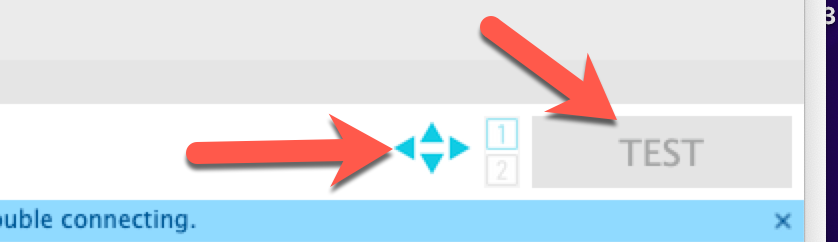
Do a test cut before you send the entire design to cut. This will tell you whether or not your settings are correct. A good cut for heat transfer vinyl is one that cuts the vinyl but does not cut the carrier sheet. If your test cut is good, cut your vinyl. If it is not, use the scoocher buttons to the left of the Test button to move the test cut to a new location. Change your settings ad try your test again. When you get a clean test cut, go ahead and press send to send your design to cut.
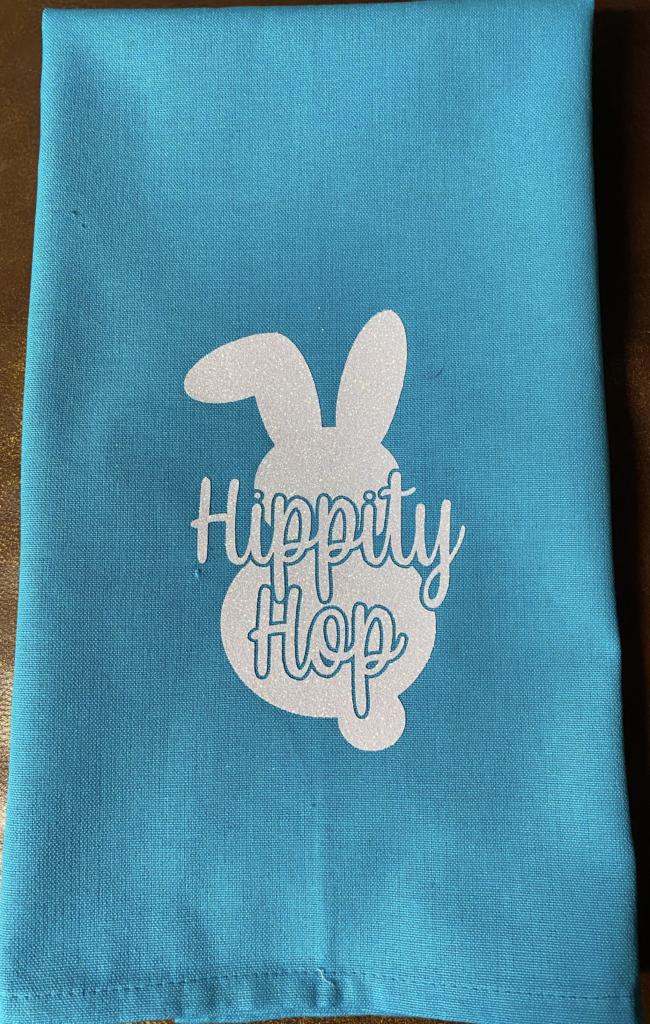
Once the design is cut and weeded, you are ready to press your design onto your blank. I used a tea towel. Set the heat press to 305 degrees. Press the blank for few seconds to remove any moisture. Position the HTV on the blank and press for 15 seconds. Peel warm.
If desired, save the design to your hard drive by selecting File>Save As>Save to hard drive. Then enjoy your towel (or whatever you have put your design on).
If you enjoyed these tips, please join my Facebook groups … Libby’s Silhouette Group — Tips, Tricks, Tutorials and Projects, Libby’s Craft and Sewing Group and Running With Sisers – Juliet and Romeo. You can also find me on FB at Libby’s Loft.com. Please join and feel free to ask questions and share your creations! I look forward to seeing you there!!
Until Next Time,
Happy Crafting!!
Disclaimer: Posts on this site may contain affiliate links. Clicking on one of these links or making purchases at linked sites does not mean you pay more for your purchases. It means I may receive a small commission on your purchase. This commission helps defray the costs of this site and enables me to continue to provide you with new and exciting content.
Until next time,
Happy Crafting
Disclaimer: Posts on this site may contain affiliate links. Clicking on one of these links or making purchases at linked sites does not mean you pay more for your purchases. It means I may receive a small commission on your purchase. This commission helps defray the costs of this site and enables me to continue to provide you with new and exciting content.