Several months ago, I purchased an Epson F170 sublimation printer. Unfortunately, it sat in the box until just last week! I finally unboxed it and wanted to share some of my thoughts about this printer with you.
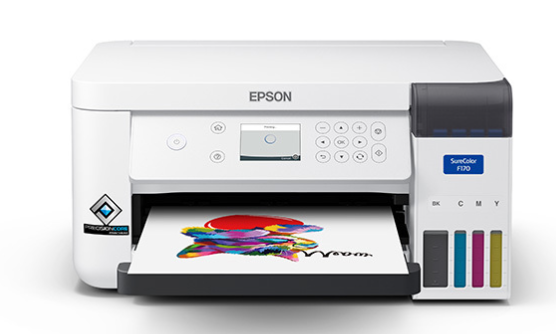
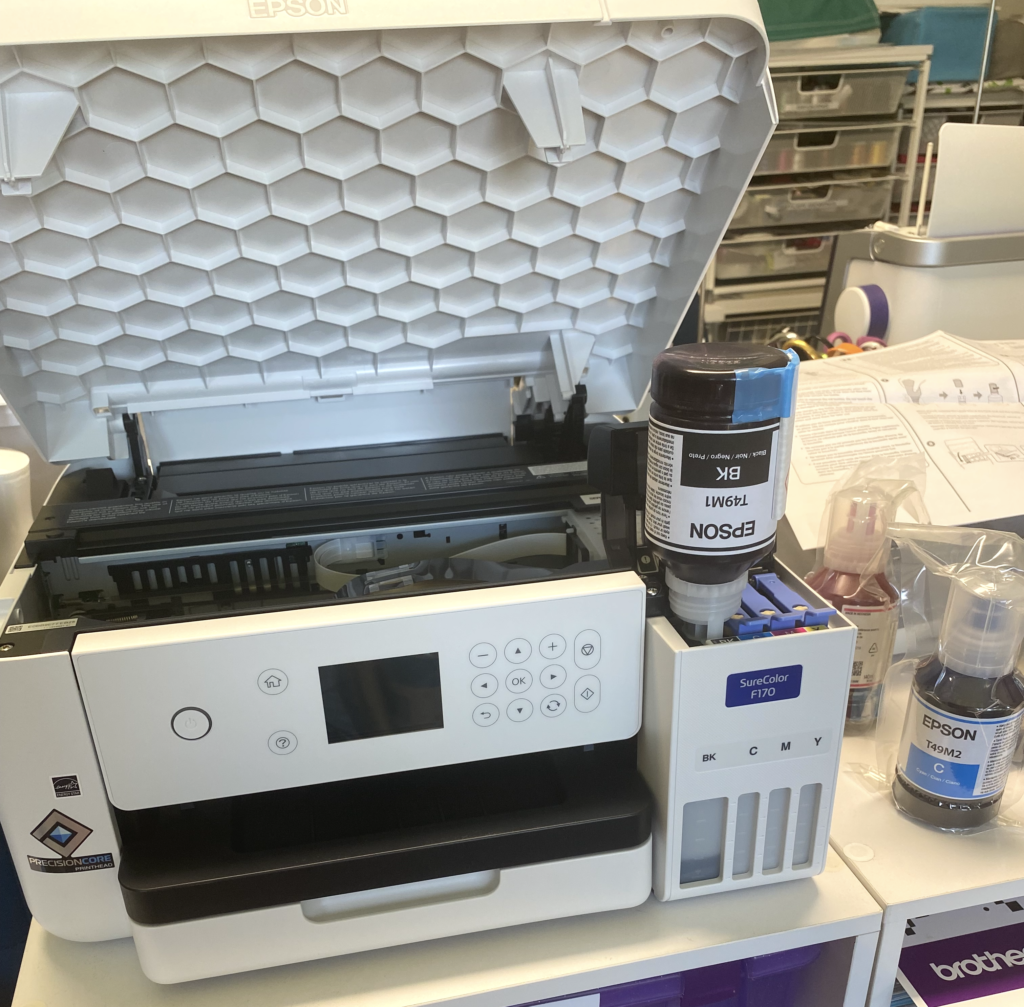
This is a “true” sublimation printer … meaning it was designed to use with sublimation inks; it is not a converted printer. It was so easy to set this printer up! I took it out of the box and started with the “Getting Started” handout. Took off all the tape and was ready to add the ink. The ink comes in individual sealed bottles. Each color has a slot that the bottle fits into.
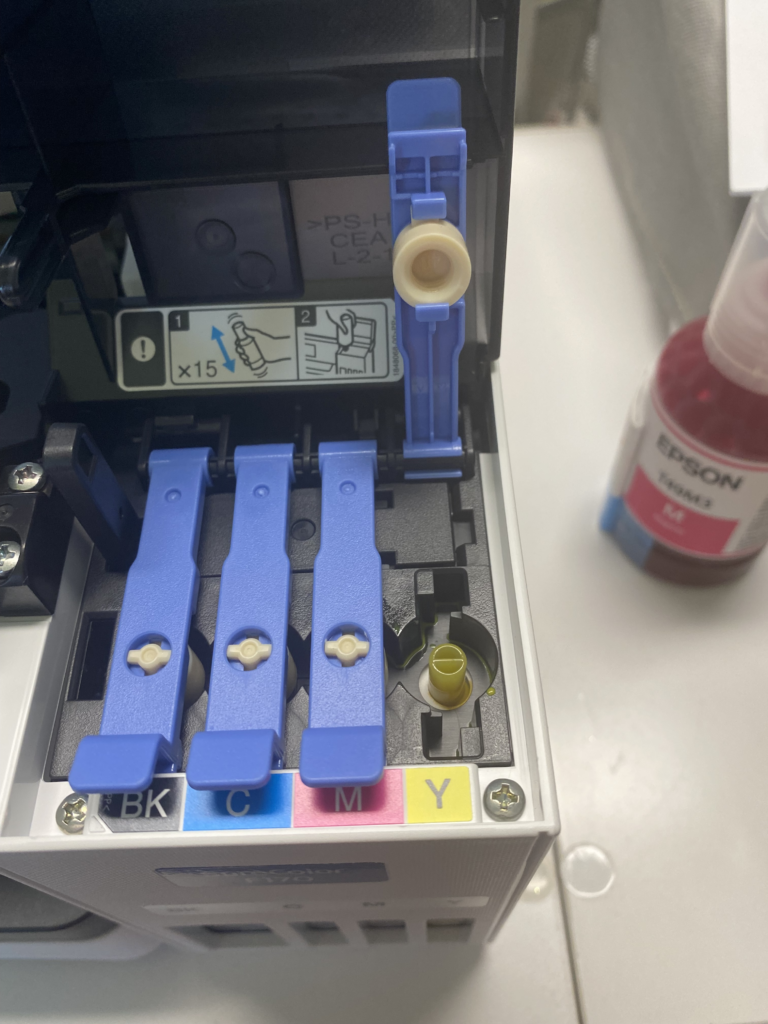
Simply remove the plastic and turn the bottle over. It fits in the slot for that color ink. It will stop when the tank is full. The starter ink bottles did not completely empty when I filled the tanks originally. But don’t throw them away …. after the printer “charges the ink” and sets itself up, you will be prompted to continue filling the tanks. (This happens after all the tanks are filled initially.)
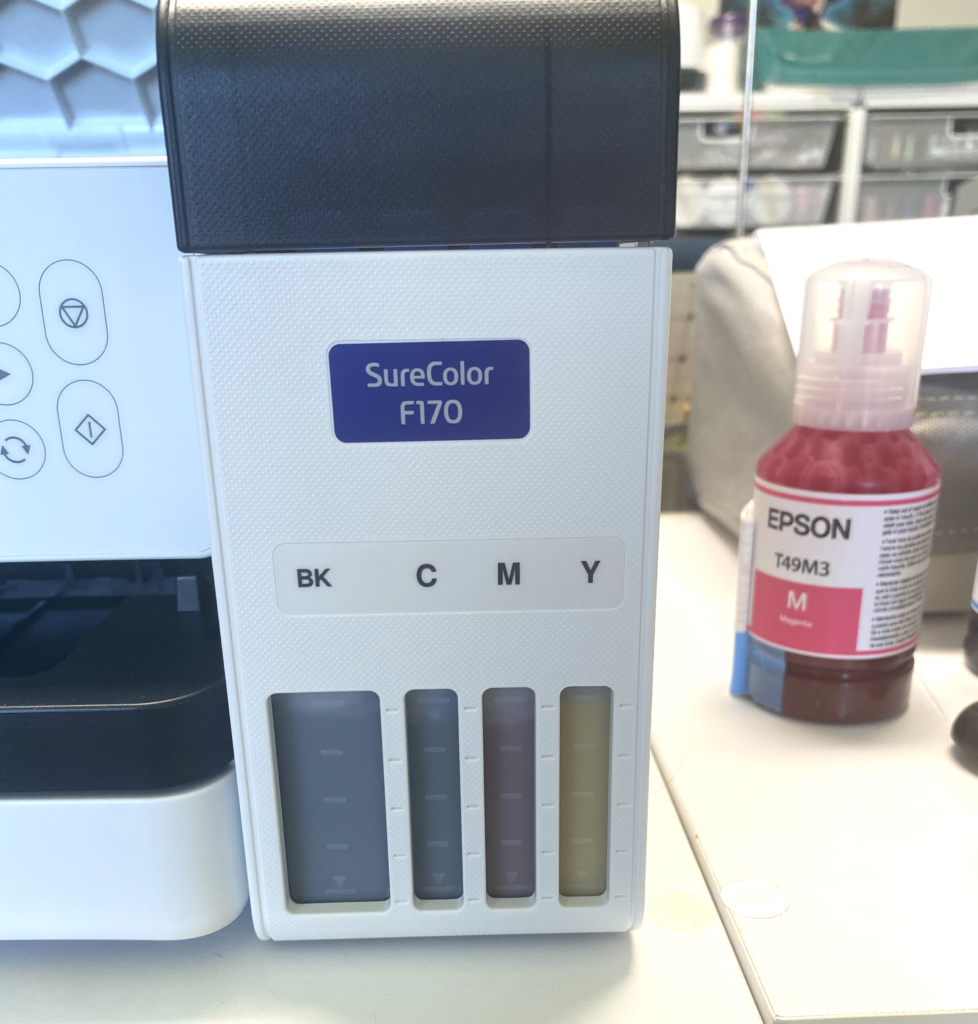
One of the great things about this printer is that you can see how much ink is left — the tank fill indicators are right on the front!
Once the installation was complete (and it only took a few minutes for the entire process), I was ready to print. My printer came with some sublimation paper. I used Silhouette Studio to open a couple of PNG files and sized them to fit the sublimation blanks I had on hand.
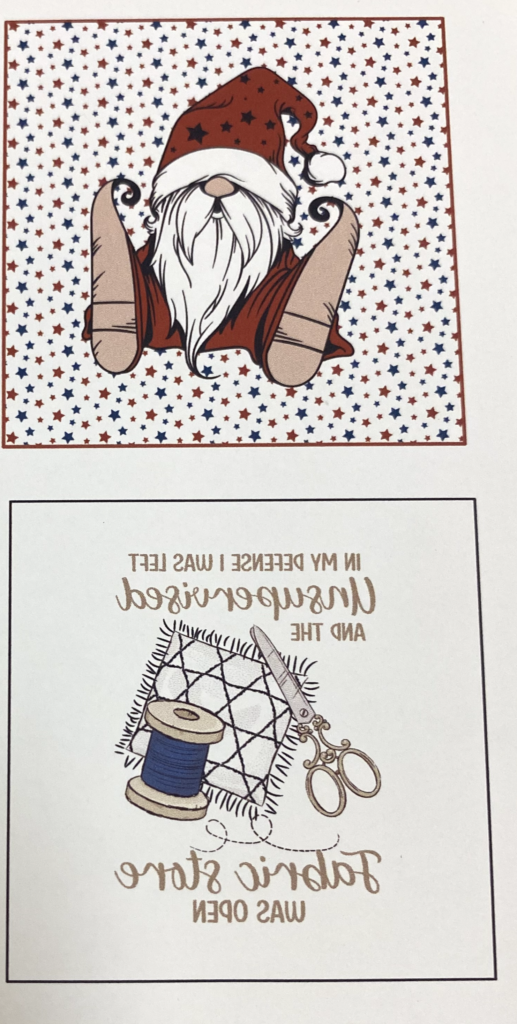
I specifically chose one design that had writing because I wanted to see how the printer driver would handle mirroring the design. So I did not mirror in Silhouette Studio.

I was able to select my new printer right in Silhouette Studio — no need to go to another software!
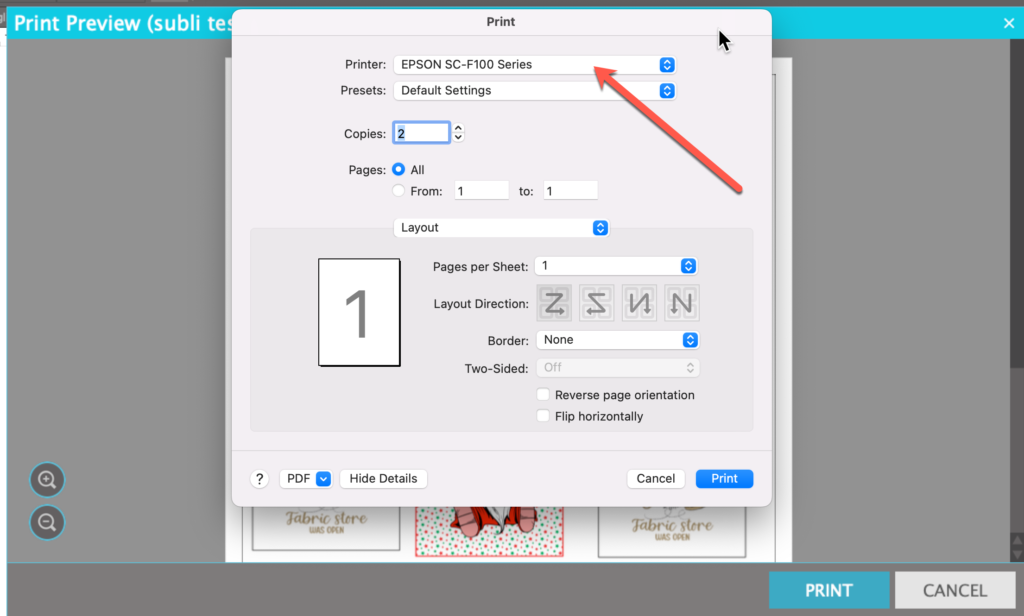
As you can see, the printer driver automatically mirrored my objects so I did not have to do so! What a relief for all those times I get in a hurry and forget to mirror!! As you can see, tho, it also mirrored my gnome, so if the direction of the print matters, you need to handle it on your own.
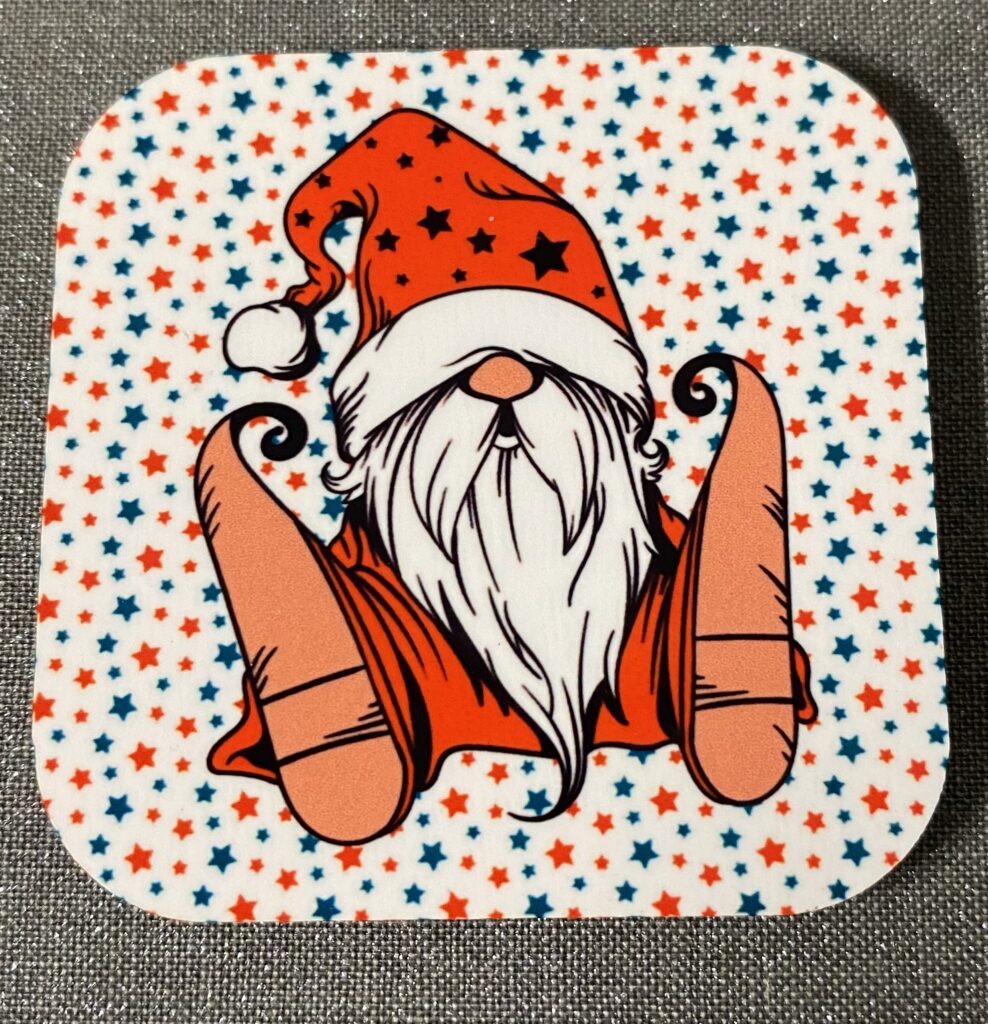
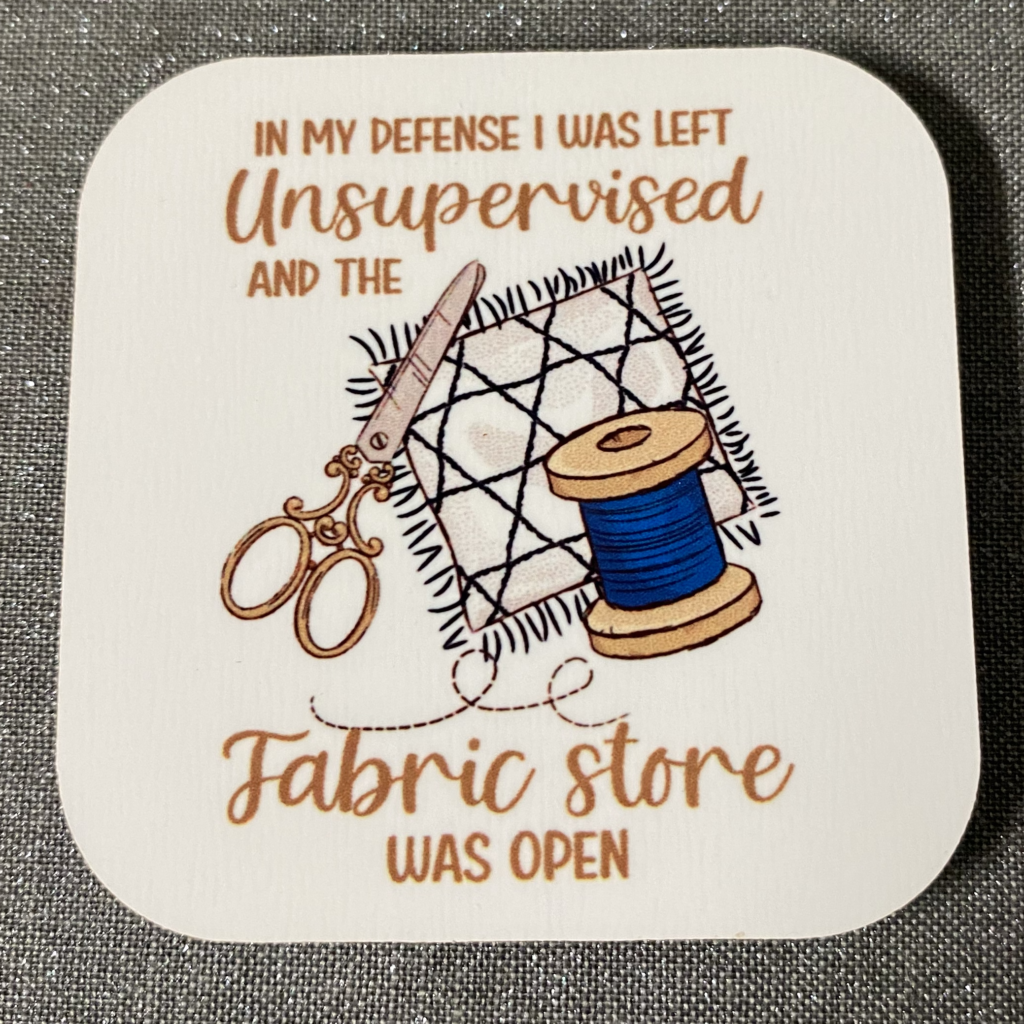
Once the page was printed, I used my Silhouette to cut around the shapes using Print and Cut technology. Here are the printed magnets. The color looks great!!
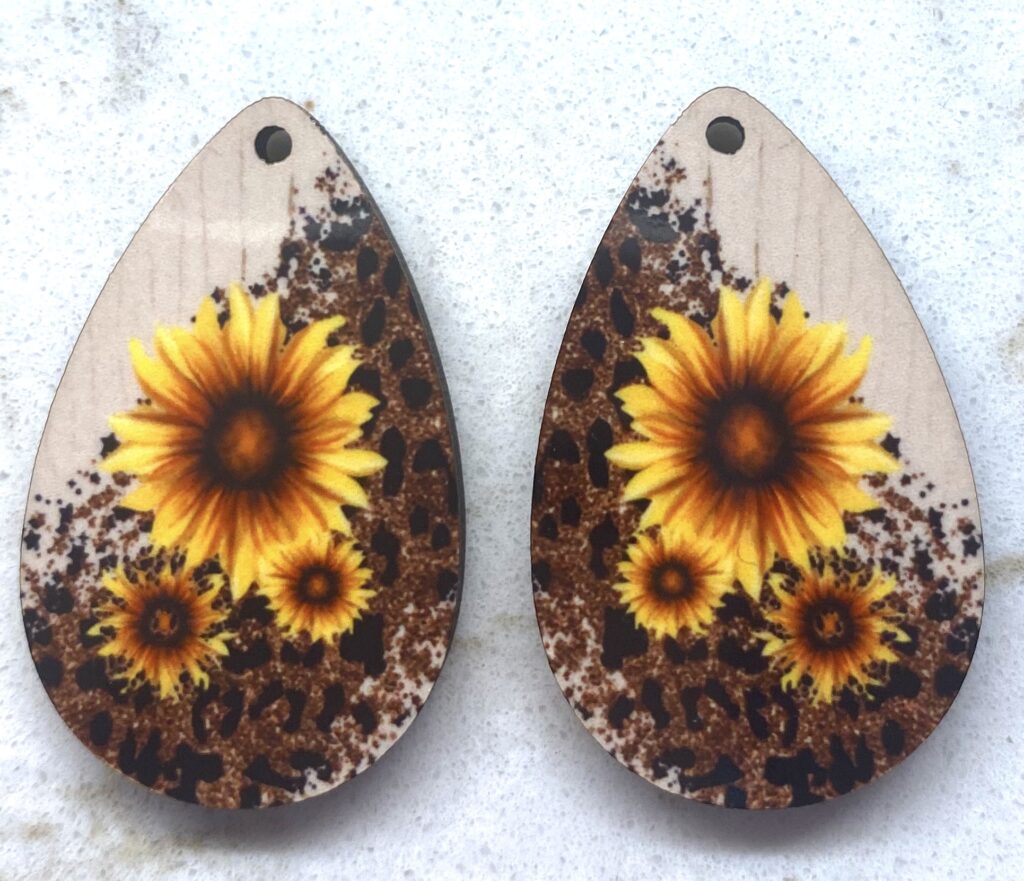
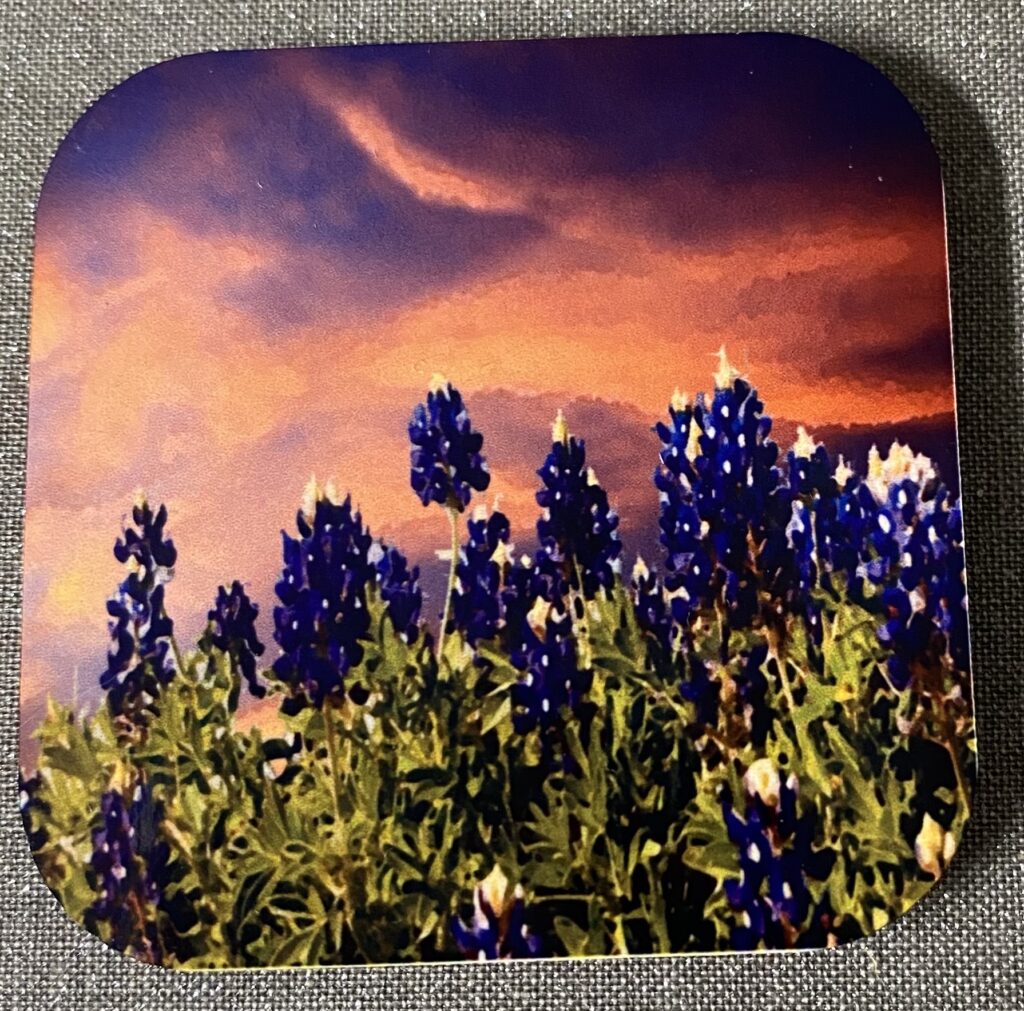
I love this printer and am so glad I finally got it opened up! Here are a few more of the things I created the day I finally opened the box!
I can’t wait to do more sublimation work … as soon as I finish some other things on my “to do” list! What do you think of this printer? Let me know! And keep watching this blog and the FB groups for more info on sublimation and using this printer!
Until Next Time,
Happy Crafting
If you enjoyed these tips, please join my Facebook groups … Libby’s Silhouette Group — Tips, Tricks, Tutorials and Projects, Libby’s Craft and Sewing Group and Running With Sisers – Juliet and Romeo. You can also find me on FB at Libby’s Loft.com. Please join and feel free to ask questions and share your creations! I look forward to seeing you there!!
Until Next Time,
Happy Crafting!!
Disclaimer: Posts on this site may contain affiliate links. Clicking on one of these links or making purchases at linked sites does not mean you pay more for your purchases. It means I may receive a small commission on your purchase. This commission helps defray the costs of this site and enables me to continue to provide you with new and exciting content.
Disclaimer: Posts on this site may contain affiliate links. Clicking on one of these links or making purchases at linked sites does not mean you pay more for your purchases. It means I may receive a small commission on your purchase. This commission helps defray the costs of this site and enables me to continue to provide you with new and exciting content.