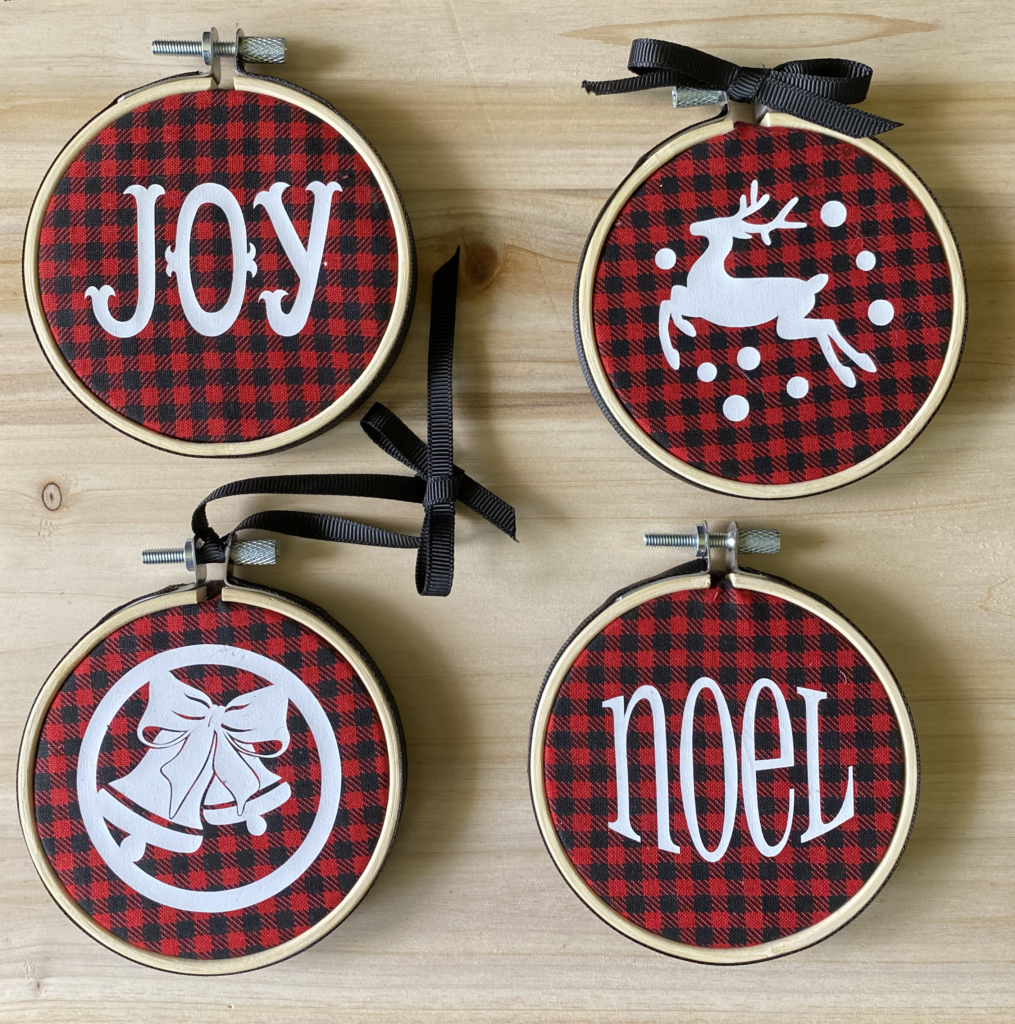
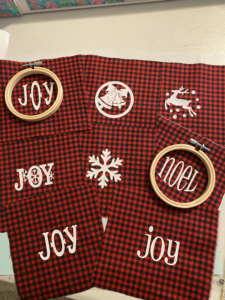
Recently I posted a picture of embroidery frame ornaments in my Facebook group and had some questions so I thought I would take a few minutes and answer them all here in one place.

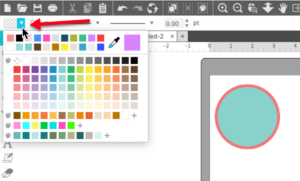
I created these in Silhouette Studio but you could also do the same thing in Brother CanvasWorkspace. To get started, I created a 3″ circle in the workspace because I am using 3″ embroidery frames for this this project. I then added another circle that was 2.75″ because I knew I did not want my designs to fill the entire frame. I added color to each using the Fill icon in the Quick Access Toolbar.
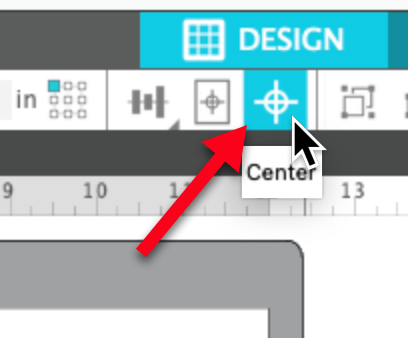
I then selected both the circles and clicked on the Center icon in the Quick Access toolbar (QAT). This made sure that the circles were centered on each other. Finally, I used the keyboard shortcut CTRL/CMD+G to group the circles.
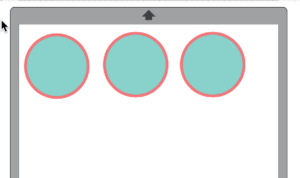
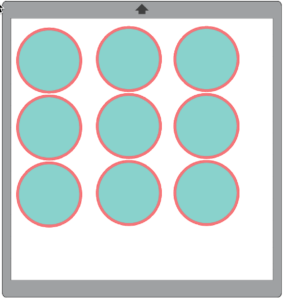
I knew I was going to make 9 different ornaments, so I used the keyboard shortcut CTRL/CMD+right arrow to add two more circle sets to the row. I then moved the circle sets so there was a little white space between them. You do not have to do this, but I like to do it.
I then selected all three circle sets by left clicking and dragging a box around them. I then used the CMD/CTRL+down arrow to get another row of circle sets. I repeated this again so I had 9 circle sets.
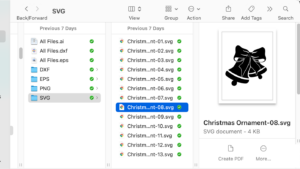
Some of the designs I used came from Creative Fabrica. You can find them here. I also created different words using the fonts I have in Silhouette Studio. To get started, I used File>Merge to locate the ornament files from Creative Fabrica and selected one of the files. The files are available in DXF format (these are cut files and do not have to be traced) if you have not upgraded to Designer Edition. Because I have Business Edition, I opened the SVG files, selected the first file and added it to the workspace.
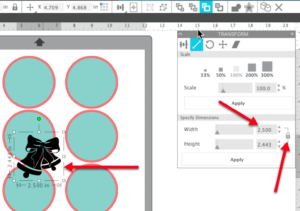
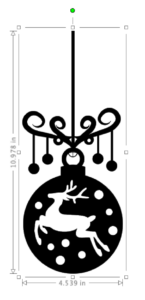
The design was large when it opened it the workspace. I could left clicked and dragged one of the corner handles to change the size but decided to use the Scale tab in the Transform panel. I closed the padlock to lock the perspective so I did not skew the design. Then I entered the desired size, 2.5″, in the width box. I changed the width because it was the larger of the dimensions and changing it would ensure that the design would fit in my 2.75″ circle.
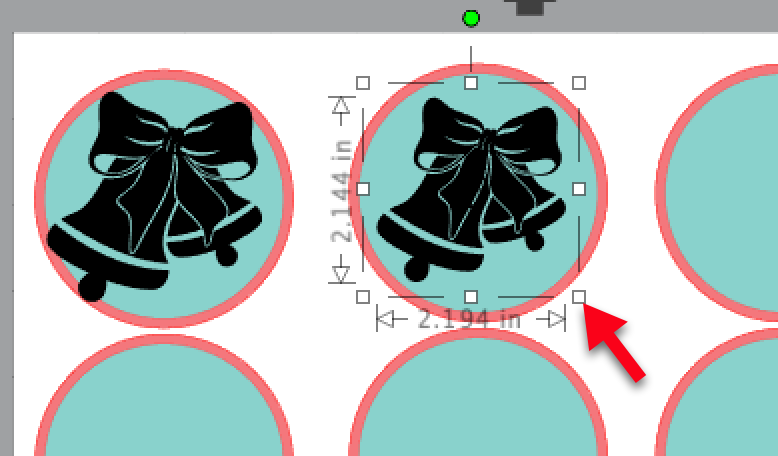
I then left clicked and dragged the bells into one of the circle sets. The bell was too large for my circles. To adjust the size I used the lower right corner handle to adjust the size visually so it fit nicely in the circle set.
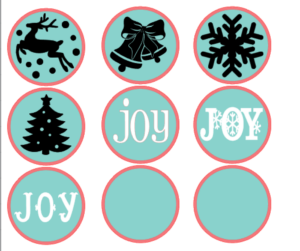
I then added the other images I wanted to use from another Creative Fabrica set. These designs were already inside ornaments.
To get just the reindeer and the snow, I right clicked and selected Release Compound Path. This can look a little scary because everything is now black. But if you look closely, you can see the bounding boxes for the different parts of the design.
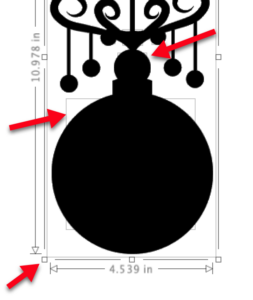
I knew I wanted to get rid of the large ornament, so I left clicked to select it and dragged it away from the rest of the design. I could then see the smaller parts of the design.
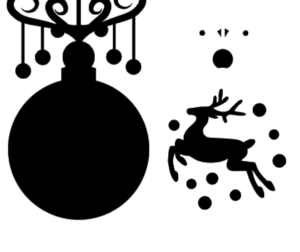
I was then able to drag a box around the reindeer and the snow circles. I right clicked and grouped them and then moved the group over a circle set. I adjusted the size using the corner handle on the bounding box. I then deleted the extra parts of the design.

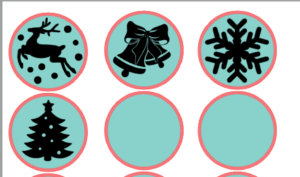
I then repeated the process for the snowflake and the tree designs. I did have to select the tree and the small circles in the tree and make a compound path to get them to punch thru the tree.
Then I decided to add some words to my designs. I auditioned a variety of fonts, finally settling on Phamacy, LW Snow, and LW Tis the Season. The Lori Whitlock fonts are available in the Silhouette Design Store.
Then I wanted used the warp tool to warp the text for a different look. I turned on the grid by pressing “g” on the keyboard so I could use it while warping the text. With the text selected, make a copy of the text and move it to the side off the mat. Once you use the warp tool, you will not be able to edit the text any longer and making the copy will help you out if you want to know or modify the font later. Click on the Warp tool and use the handles to adjust the warp to fit the circle set. I used the grid lines so I could move the handles to approximately the same place to create a pleasing look.
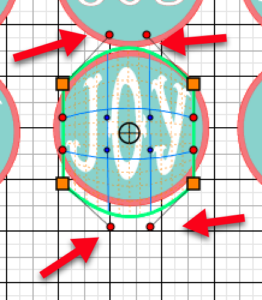
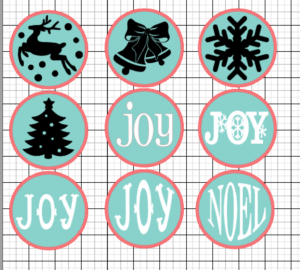
I repeated this with the another word to fill the final circle set. Once I warped the text, I clicked on Release Warp and then grouped the letters so I could move or adjust them as a group.
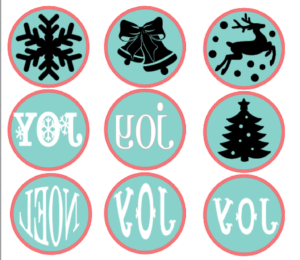
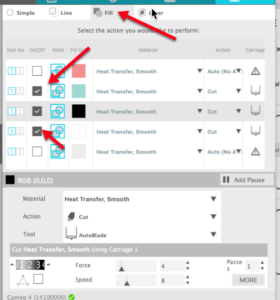
Now I was ready to cut. I selected all the circle sets and their designs. I right clicked and selected Flip Horizontal to mirror the text since I will be cutting from heat transfer vinyl.
In the Send panel, I clicked on the Fill tab so I could cut by color. I unchecked the coral outer ring because i did not need it. I left the teal circle and the designs for easy weeding. I was using Siser EasyWeed so I selected Heat Transfer – Smooth from the material type and did a test cut. The settings were correct, so I cut the vinyl.
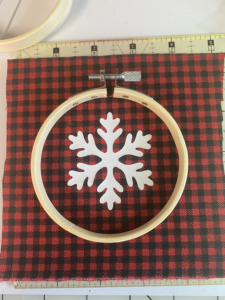
Once the vinyl was cut and weeded, I pressed it onto 5″ squares of fabric. I centered the design in the center of the square.
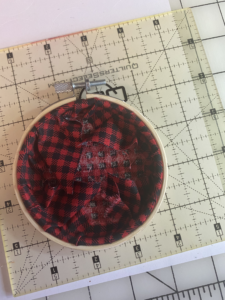
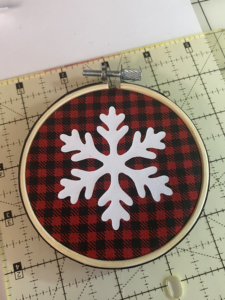
Now it’s time to put it all together. I centered the design in the outer hoop of the embroidery frame.
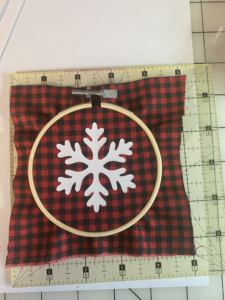
I gently lifted the fabric and outer hoop and positioned them over the inner hoop. I adjusted the fabric and pressed the outer hoop and fabric down on to the inner hoop and tightened the hoop screw.
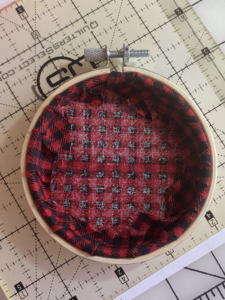
I then turned the hoop over. I cut a 9″ piece of double sided tape and pressed it into the inner hoop. I used 5mm double sided tape from Craft Chameleon.

After removing the paper from the tape, I wrapped the fabric around the inner frame, adhering it to the tape. Be careful not to stretch your fabric when doing this, but pull it tight.
Once the fabric was all wrapped around the hoop, I trimmed away the excess fabric. Because it is going to be covered, I just trimmed and did not try for precision.
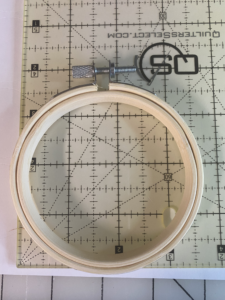
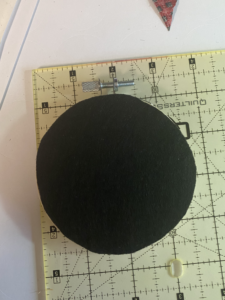
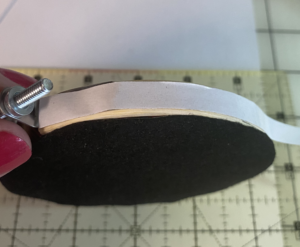
I then cut a 3.5″ circle from a felt adhesive square I purchased on Amazon. I originally purchased 3″ precut adhesive felt circles, but then I discovered that the inner hoop is 3″ and adding the outer hoop makes the entire hoop 3.5″. So the 3″ squares did not work. I just traced around the outside of the embroidery hoop and cut the circle.
I added the adhesive felt circle to the back of the frame to give it a finished look.
I then cut a piece of double sided tape 11″ long I placed this around the outside of the embroidery hoop.
After removing the paper backing from the adhesive, I pressed 3/8″ grosgrain ribbon around the edge of the embroidery frame. If desired, you can add a bow or hanging ribbon to the ornament. I used 1/4″ grosgrain ribbon for the bow and hanging ribbon. As the mom of boys, bows are not my best skill, so I did not put bows on all the ornaments!
And there you have it! Quick and easy ornaments … it will take you less time to create them than it did to read this blog post!! Be sure to slip over to the FB group and post pics of your ornaments!!
If you enjoyed these tips, please join my Facebook groups … Libby’s Silhouette Group — Tips, Tricks, Tutorials and Projects, Libby’s Craft and Sewing Group and Running With Sisers – Juliet and Romeo. You can also find me on FB at Libby’s Loft.com. Please join and feel free to ask questions and share your creations! I look forward to seeing you there!!
Until Next Time,
Happy Crafting!!
Disclaimer: Posts on this site may contain affiliate links. Clicking on one of these links or making purchases at linked sites does not mean you pay more for your purchases. It means I may receive a small commission on your purchase. This commission helps defray the costs of this site and enables me to continue to provide you with new and exciting content.
Until next time,
Happy Crafting!!
Disclaimer: Posts on this site may contain affiliate links. Clicking on one of these links or making purchases at linked sites does not mean you pay more for your purchases. It means I may receive a small commission on your purchase. This commission helps defray the costs of this site and enables me to continue to provide you with new and exciting content.