
Do you love the look of a double frame around a photo?? I do! It’s easy to create this look in your Silhouette Studio software. Let’s get started.
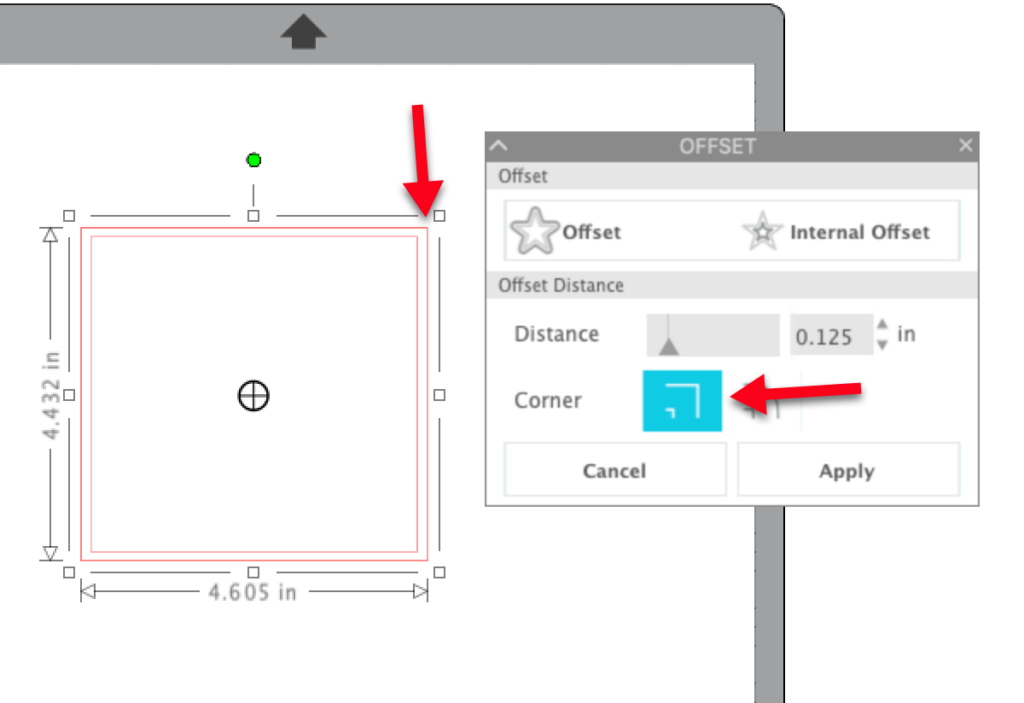
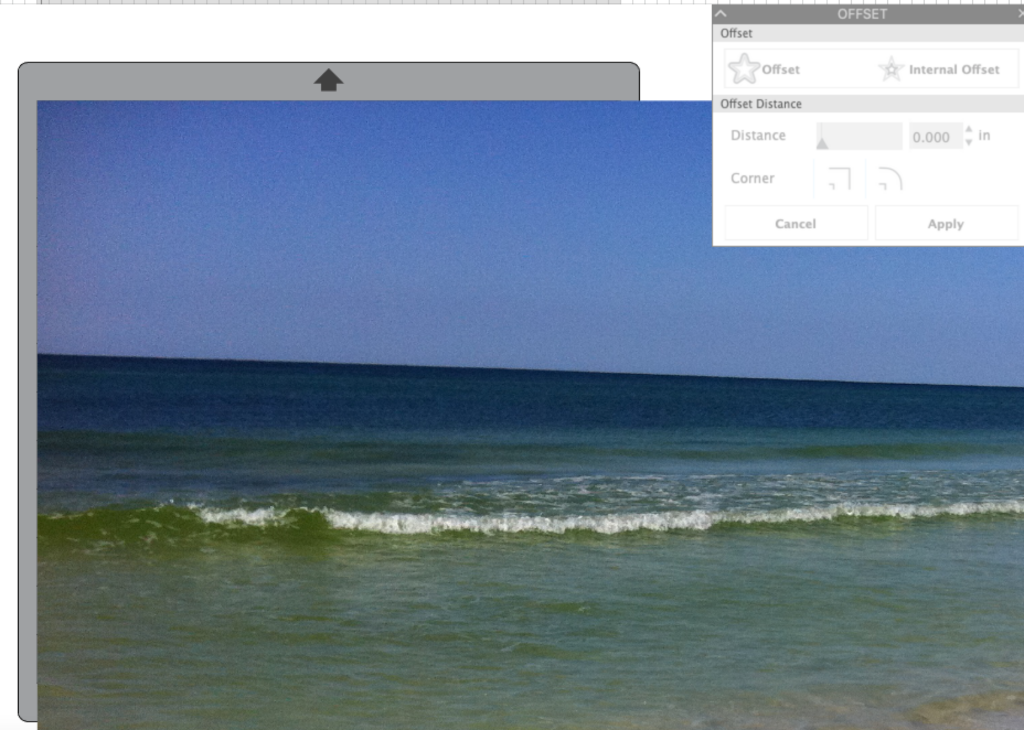
Use the Rectangle tool from the Draw tool flyout menu. Select the tool and bring the cursor into the workspace. Left click and drag to create a square. With the square selected, click on the Offset icon in the right toolbar. Select Offset. If desired, adjust the spacing. I left mine at the default for this example. Then click on the Square corners icon. You should see the changes take place, but if necessary, click Apply.
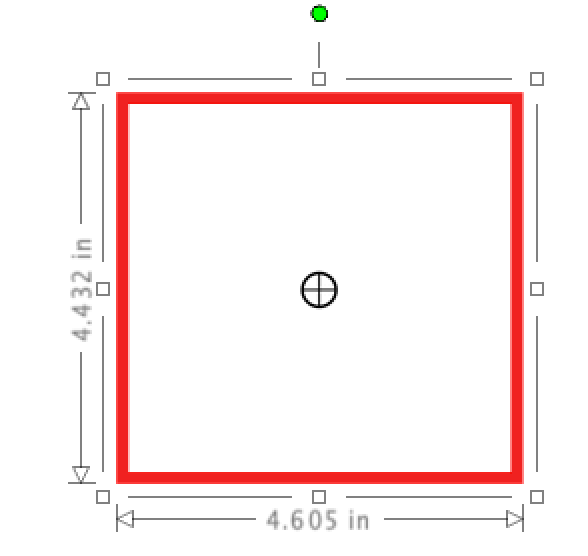
Left click and drag a box around both squares to select them both. Right click and select Make Compound Path. The two squares now create a frame. You can check this by adding color to your object. Use the Fill Color icon in the Quick Access toolbar to fill the frame with color.
Duplicate the square frame. You can do this by using CMD/CTRL +D, or right clicking and selecting Duplicate. This will place a second frame in the workspace.
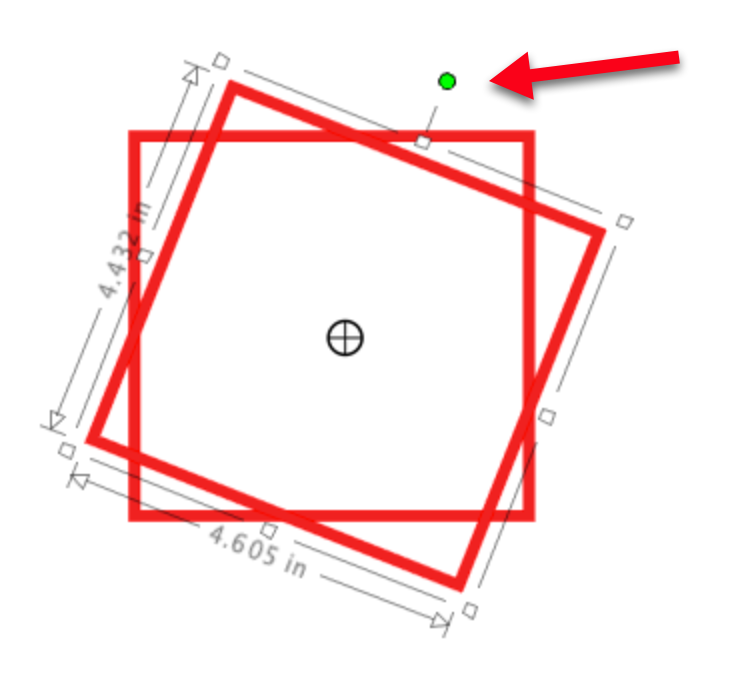
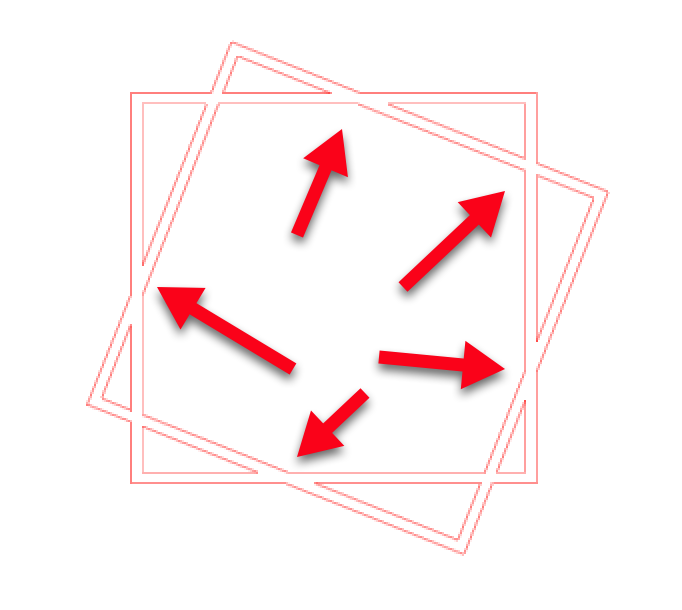
Left click and drag the green rotation handle to rotate the second frame. Left click and drag the second frame into position over the first in a pleasing manner.
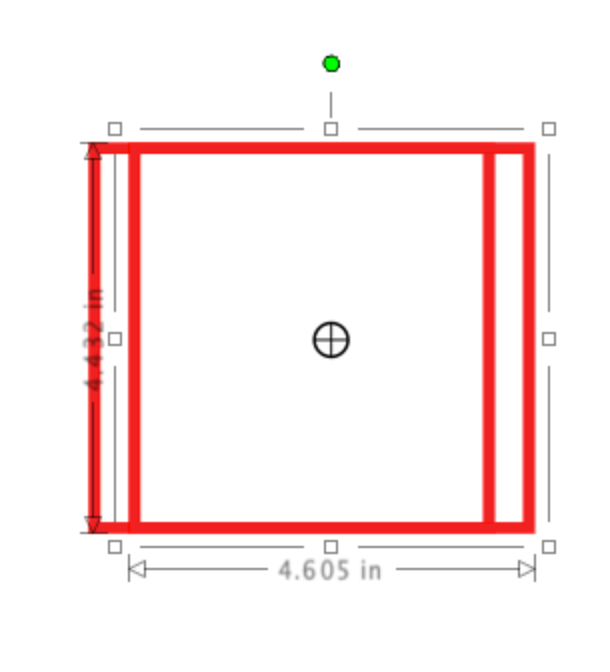
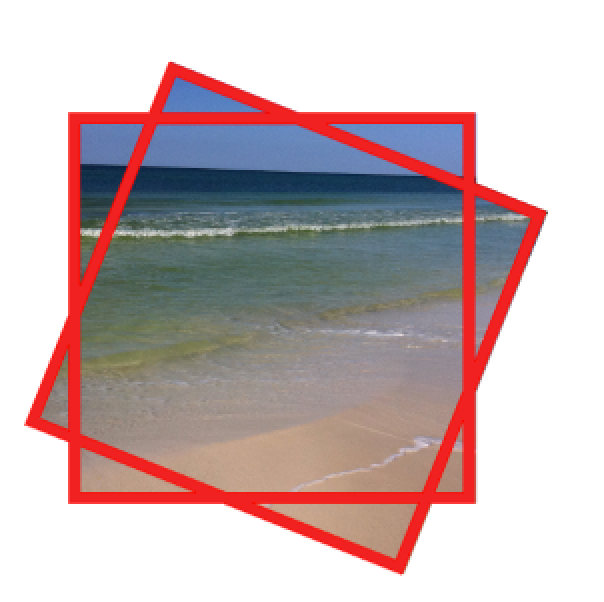
When filled with color, the frame looks “good to go” but if you remove the color, you will see that there are areas where the frames overlap that will cut if you don’t fix it.
To fix this, select both frames. Right click and select Weld. The two frames will now be welded together and the areas of overlap will cut properly.
Select this new double frame and use CTRL/CMD+C to copy the shape. We will need it in a few steps. If you like you can go ahead and paste it into the workspace and then just drag it off the mat. Or you can wait to paste it when we need it. Use File>Merge to bring your photo into the workspace.
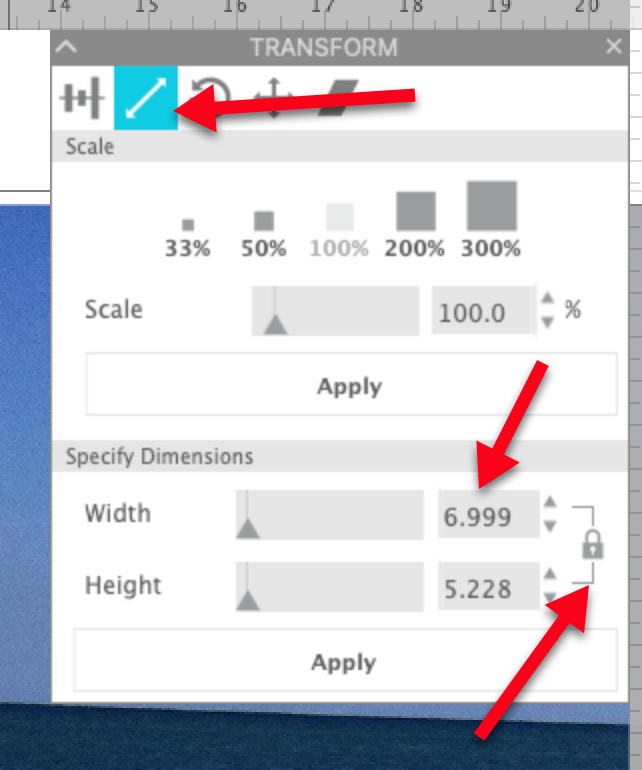
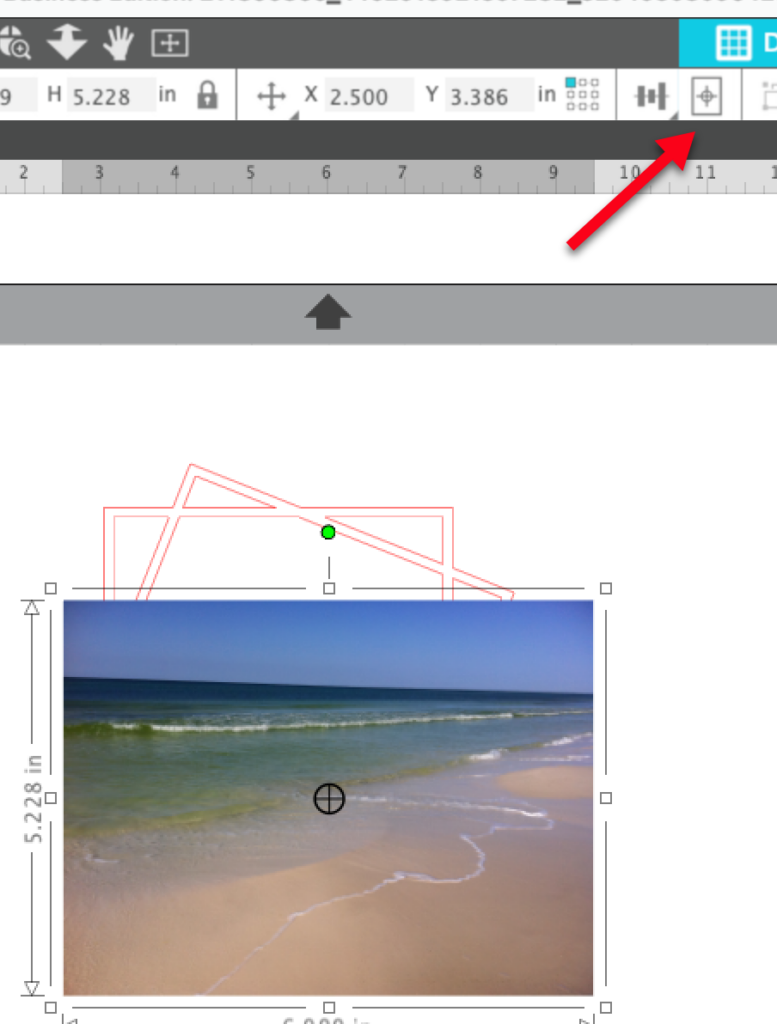
The photo will probably be too large, as mine is. To adjust the size, make sure the photo is selected. Click on the Transform panel in the right toolbar. Click on the Scale Tab. Make sure to click the padlock closed so your photo will remain in proportion when you size it. Change the largest dimension to a value larger than your frame. Click Apply. The photo will disappear from your screen, but don’t worry …. it is still there.
Without clicking on anything else (so the photo remains selected), click on the Center to Page icon in the Quick Access toolbar and the photo will be placed in the middle of the mat.
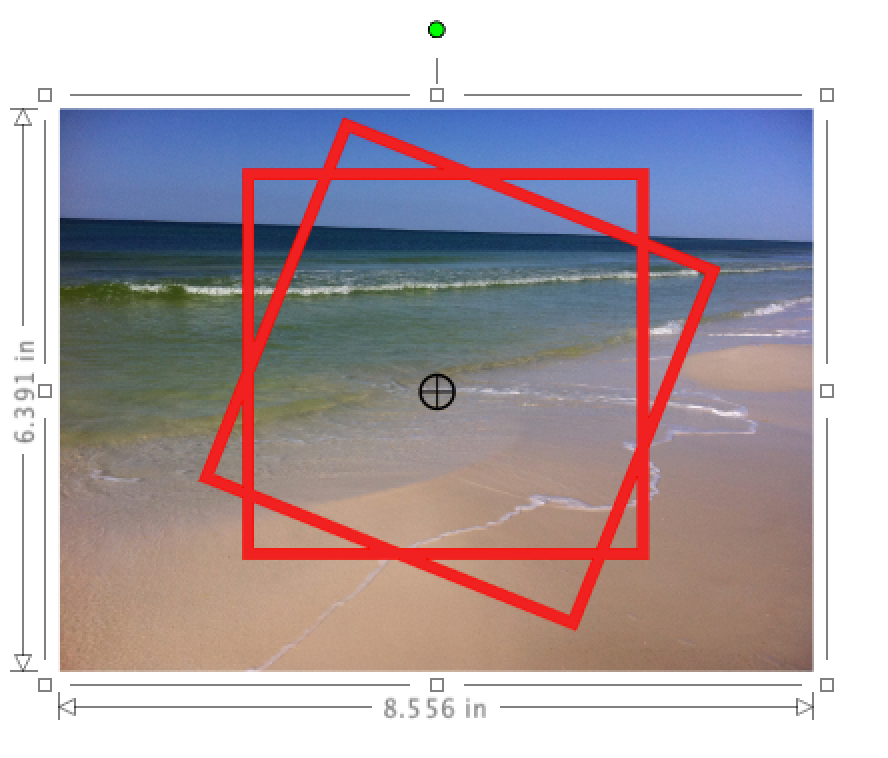
With the photo selected, right click and select Send to Back. Then move the photo into position under the frame. You can add color to the frame if it helps you see how to position the frame on the photo.
Right click on the frame and select Release Compound Path. The frame is now filled with color. Don’t worry. This is what we want to have happen.
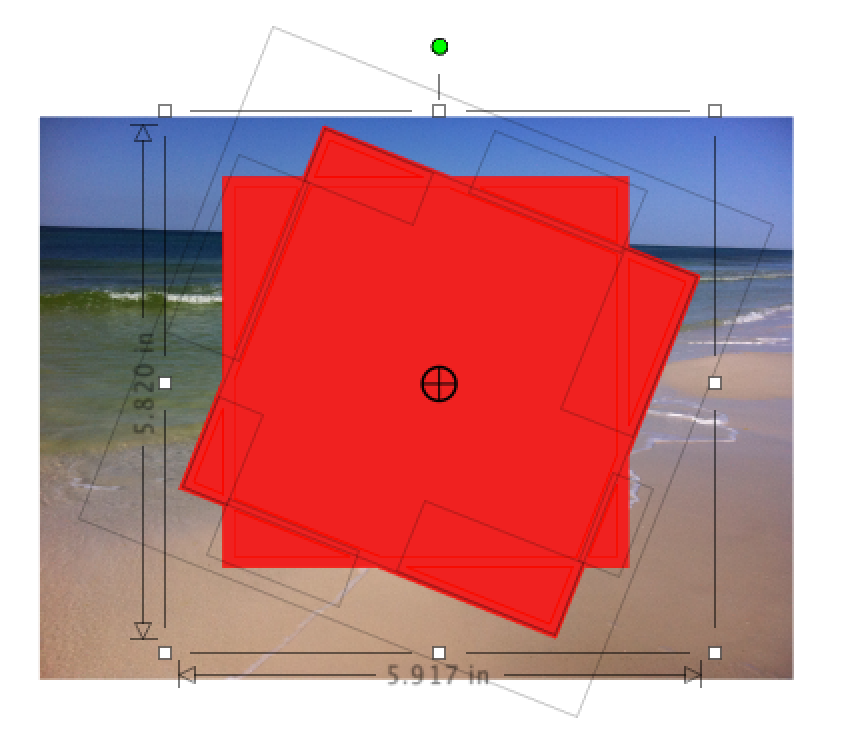
Now right click on the photo and select Bring to Front (or you can choose to send the frame to the back). The photo will now be on top of the frame shapes, completely hiding the frame from view.
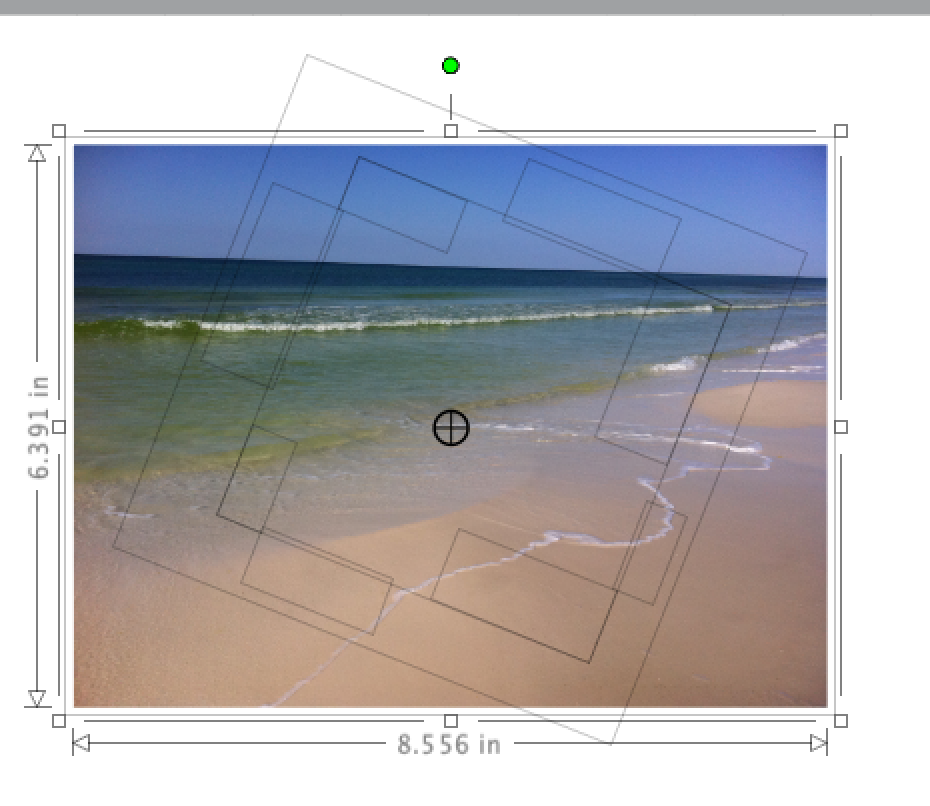
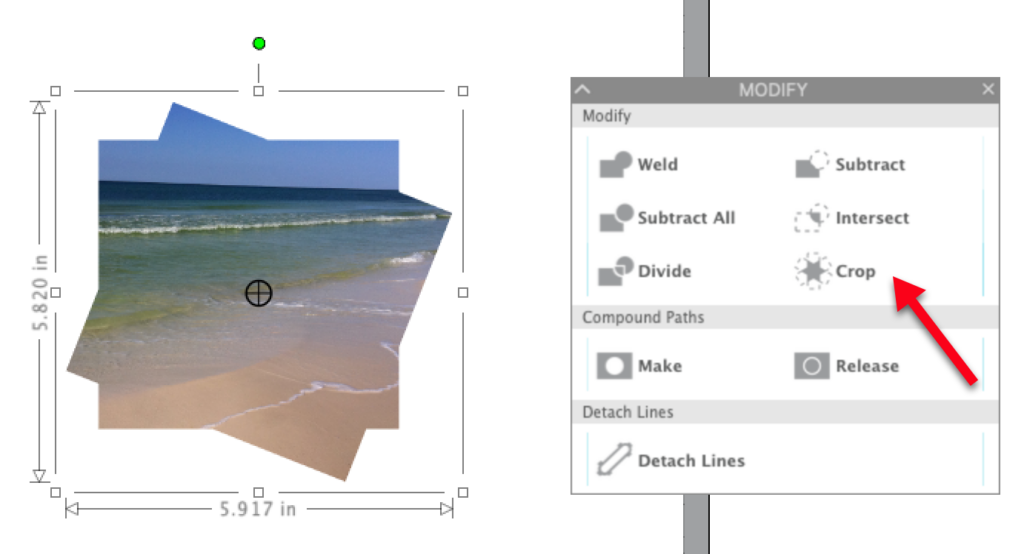
Make sure everything is selected. In the Modify panel, click on the Crop icon. The photo will now be cropped to the frame shape.
Right click and select Paste (or use CMD/CTRL+V) to paste the frame into the workspace. If you pasted it in the steps above, select the frame. Left click and drag it into position over the cropped photo.
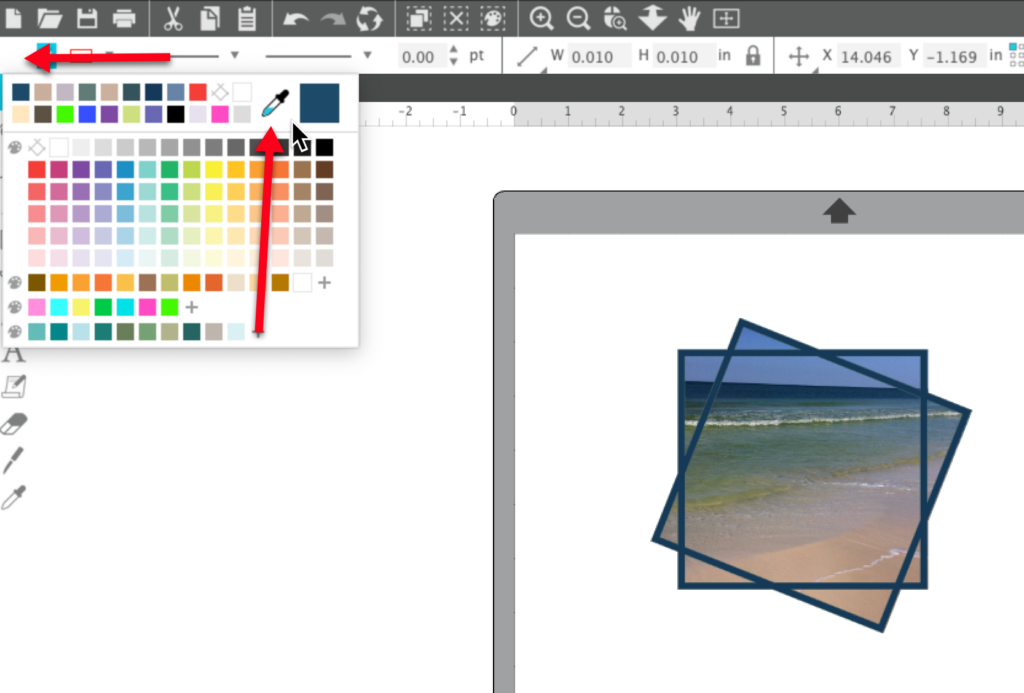
Change the color of your frame to something that looks better with your photo than the red I used while creating. I used the eyedropper in the Fill dropdown from the Quick Access Toolbar to select a dark blue from the photo for my frame. Once you have changed the color of the frame, you can also change the Line color to match (or to transparent).
And there you have it … but wait, there’s more … here’s another way you can use the frame. Create the frame just as you did above. When you bring the photo into the workspace and get it positioned the way you want, select the frame and the photo and make a copy. Move them to the side, off the mat. Make a copy of the frame and put it off the mat as well.
Crop the photo as we did above — release the compound path on the frame and send the pieces to the back. Select Crop from the Modify panel.
Select the second photo and frame. Select Subtract from the Modify panel. The frame is now subtracted from the photo. With all these elements selected, use CTRL/CMD+G to group the elements.
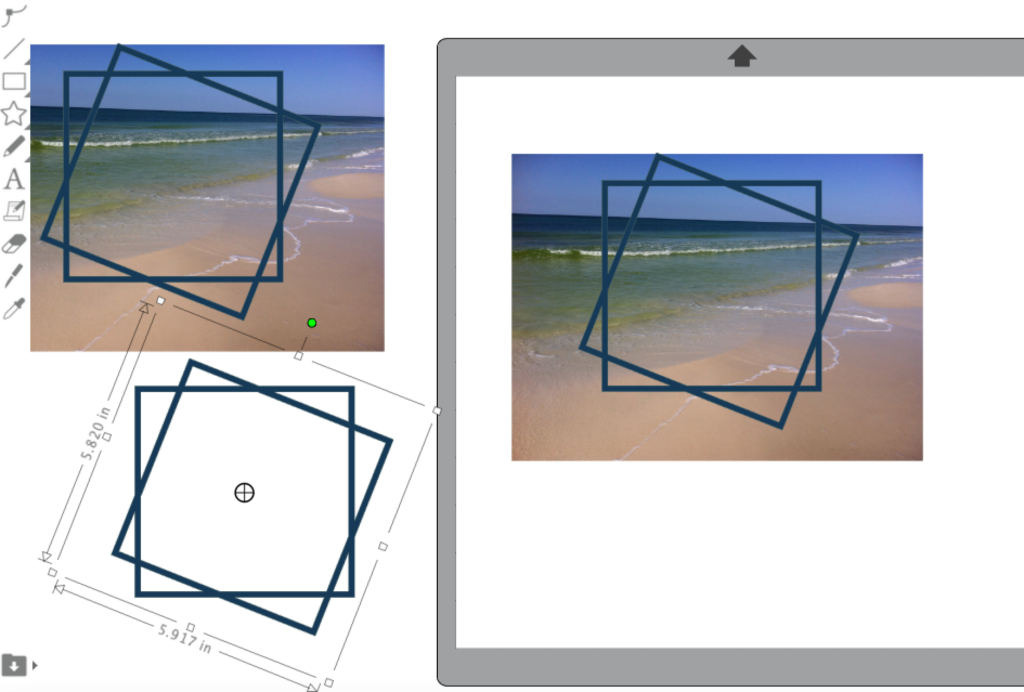
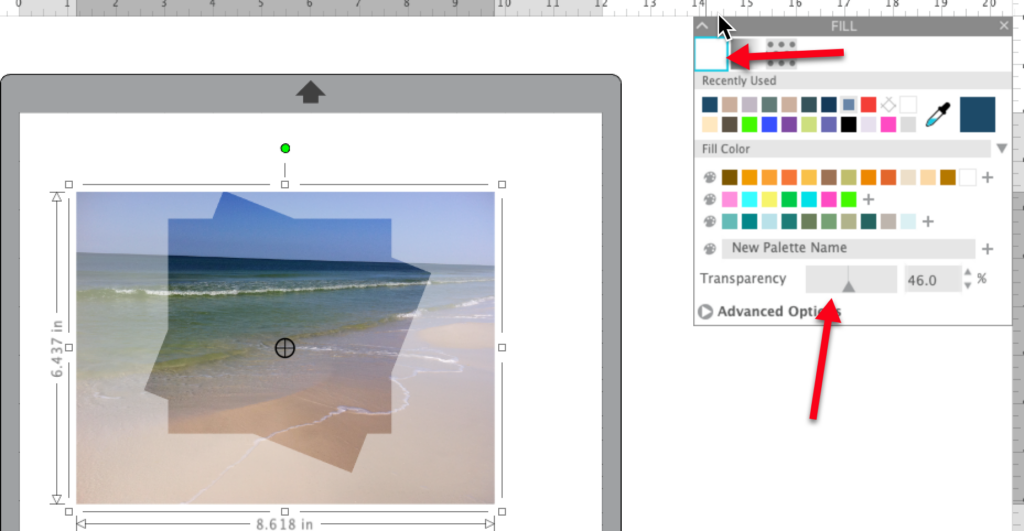
Now left click and drag this image over so it covers the cropped image. The reason we subtracted the frame was to help us in lining this image up with the previously cropped image. With this photo selected, click on the Fill icon in the right toolbar. Use the Transparency slider to increase the transparency of the larger image.
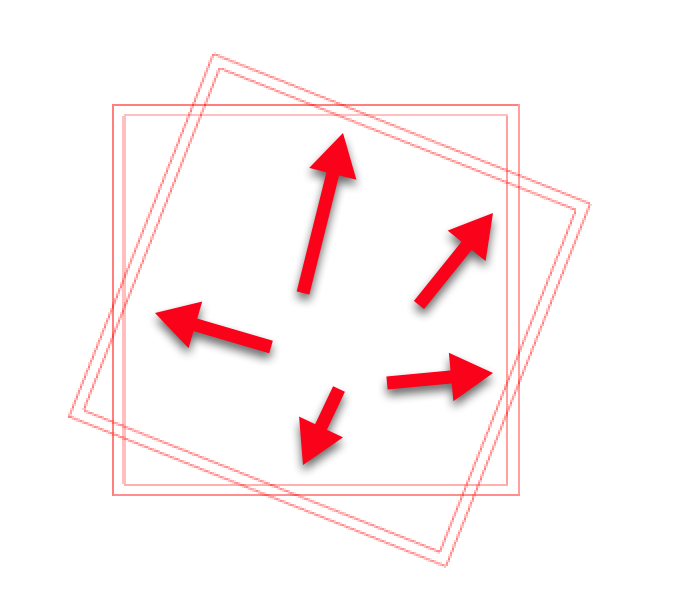
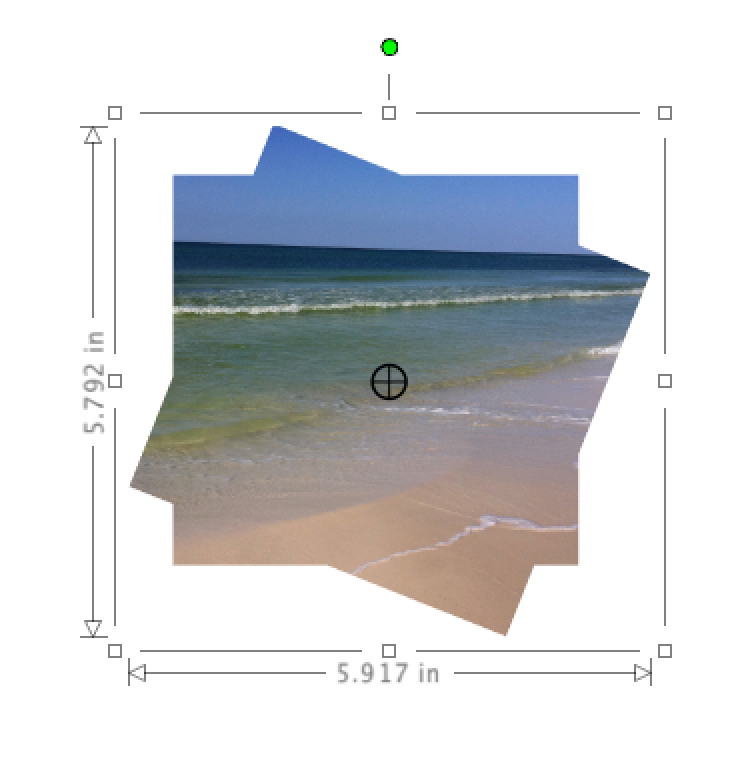
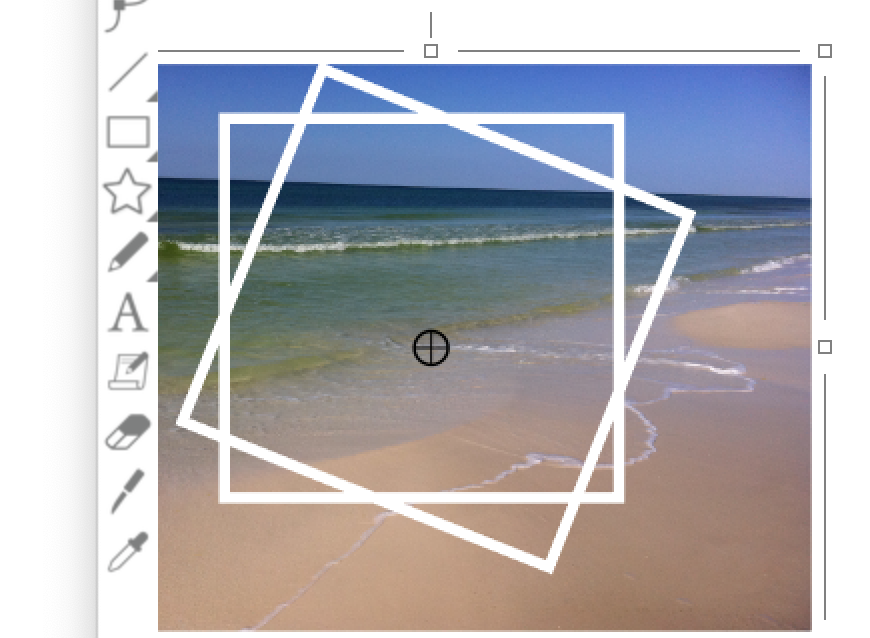
Right click on the larger photo and select Send to Back. Now drag the extra frame we copied over and use it to frame the cropped part of the photo. Change the frame to a color that you like — I selected white. Here are two options for frame color. In the top image, you can also see what happens if you are not careful when you position your frame …
Now you have two ways to use the double frame (or any frame) with a photo. I hope you will have fun with this technique and will come over to my FB group and post photos of your projects!
If you enjoyed these tips, please join my Facebook groups … Libby’s Silhouette Group — Tips, Tricks, Tutorials and Projects, Libby’s Craft and Sewing Group and Running With Sisers – Juliet and Romeo. You can also find me on FB at Libby’s Loft.com. Please join and feel free to ask questions and share your creations! I look forward to seeing you there!!
Until Next Time,
Happy Crafting!!
Disclaimer: Posts on this site may contain affiliate links. Clicking on one of these links or making purchases at linked sites does not mean you pay more for your purchases. It means I may receive a small commission on your purchase. This commission helps defray the costs of this site and enables me to continue to provide you with new and exciting content.