Do you love bling as much as I do?? Adding glitter HTV and rhinestones to embroidery designs is fun and easy!!
This cute table runner design is from Sweet Pea Designs. To add the rhinestones, I opened the designs in my Silhouette Studio Designer Edition Plus software.
In the Layers Panel, I turned off the “eyeball” in front of all the layers except the placement lines for the daisy, the daisy center and the quilting lines for the bottom part of the design. Turning the “eyeball” off just makes the layer invisible. It does not remove the design element.
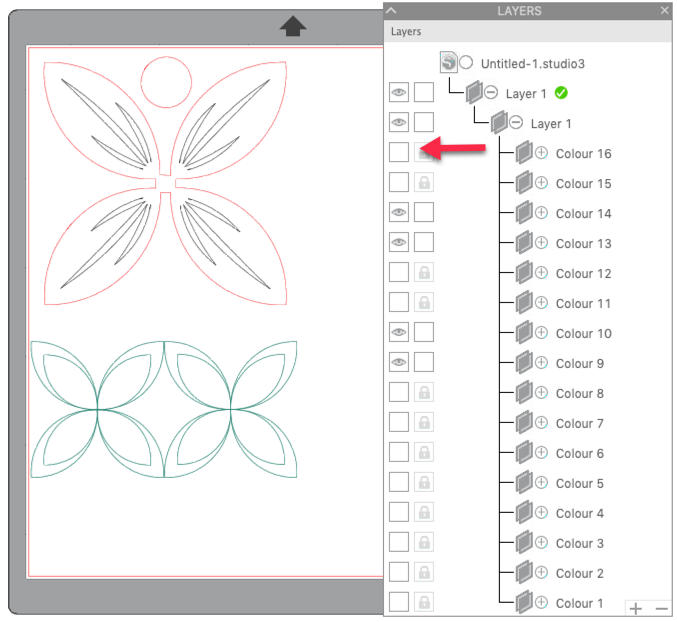
With all the unnecessary parts hidden so they are not distracting, I moved the daisy center up out of the way. The daisy and daisy center can be cut from fabric or HTV, depending on the look you want. More about this in a minute.
Click on the Rhinestone Panel in the right toolbar. This panel controls all the rhinestone creation functions. You can see a detailed breakdown of all the tools/functions in this panel in my post entitled Rhinestones Made Easy.
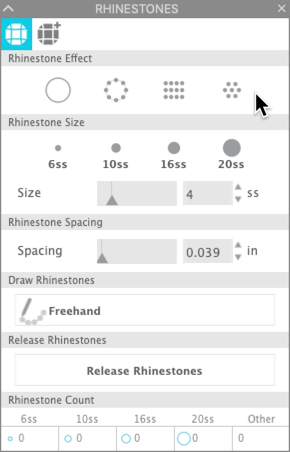
Select 10ss in the Rhinestone Size part of the panel. Leave the spacing set to the default. I always start with the default spacing. You need to make sure you have enough room between the stones so that the rhinestone flock will cut properly with the holes far enough apart to cut complete circles.
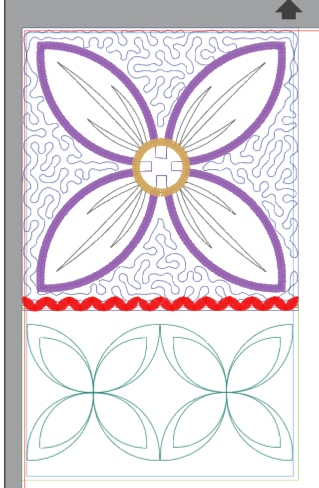
Now click on the Freehand button in the Draw Rhinestone Section of the panel. Move the cursor into the workspace and begin adding stones to the design. I added stones in the large daisy petals, inside the quilted petals and inside the center of the daisy. I did not use a one of the fill seletions for the center of the flowers because I wanted a completely random pattern so I placed the stones individually. Then I repeated the process for the border design.
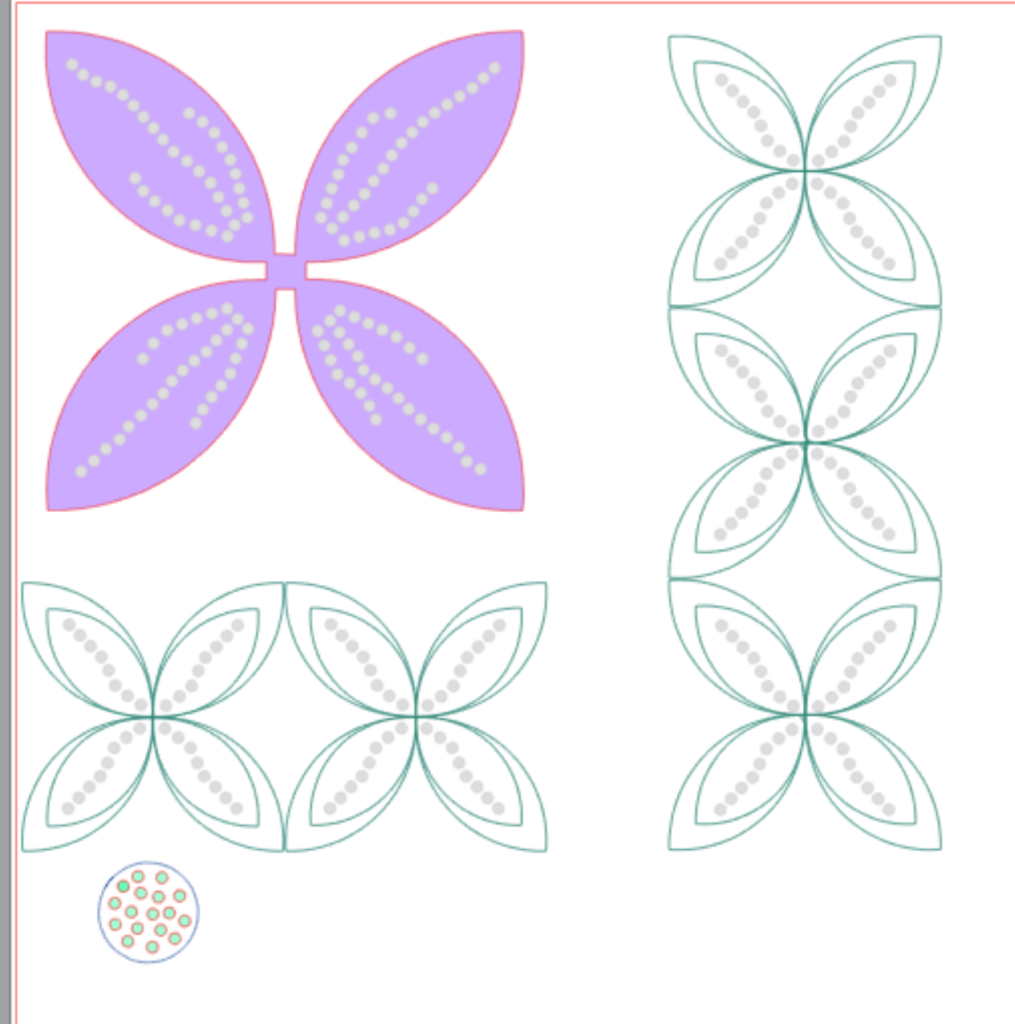
Next I added weeding boxes around each group of shapes. This will make it easy for me to cut all the rhinestone flock at the same time from one piece of flock.

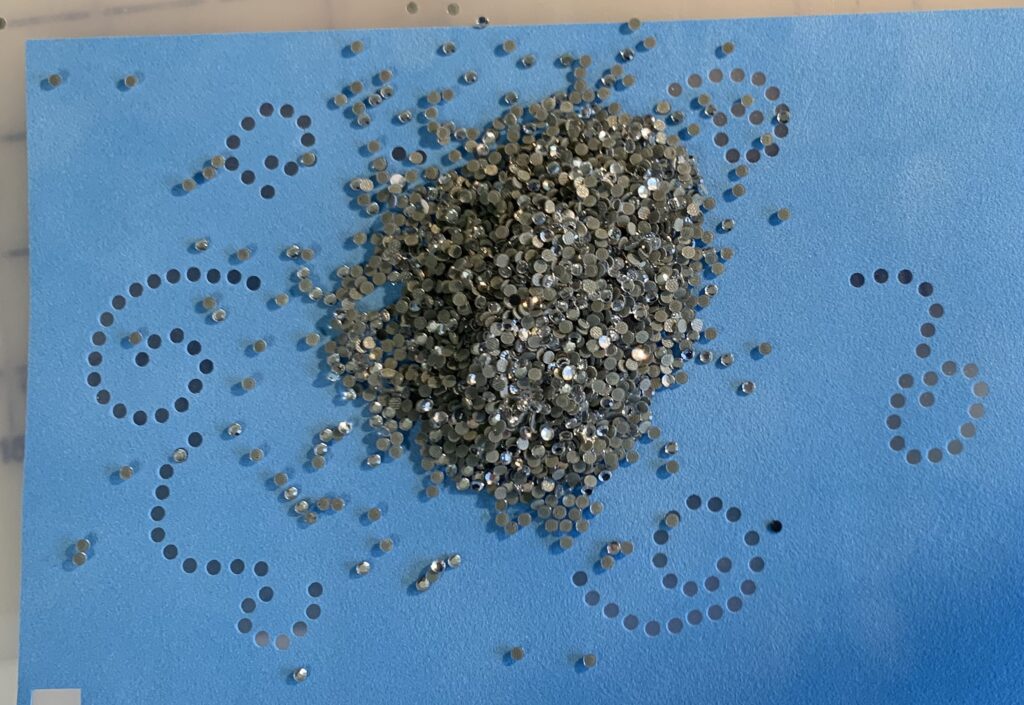
I use Magic Flock from The Rhinestone World. I used the recommended settings found on their website. For the Silhouette Cameo and Portrait, the recommended settings are: Blade depth 6, Speed 10, Force 22, Passes 2. It is important for your holes to release cleanly, so be sure to do a test cut. Remember you do NOT want to cut thru the backing!!
Once the flock is cut and weeded, it is ready for rhinestones! Pour out a bunch of stones — the more stones the better they fall in to the holes. They “push” each other in to the holes. Brush the stones into the holes in a gentle circular manner.
When all the stones are in the holes in the template material, cover with a piece of heat resistant transfer tape. DO NOT use the same transfer tape you use for adhesive vinyl … it will melt!!
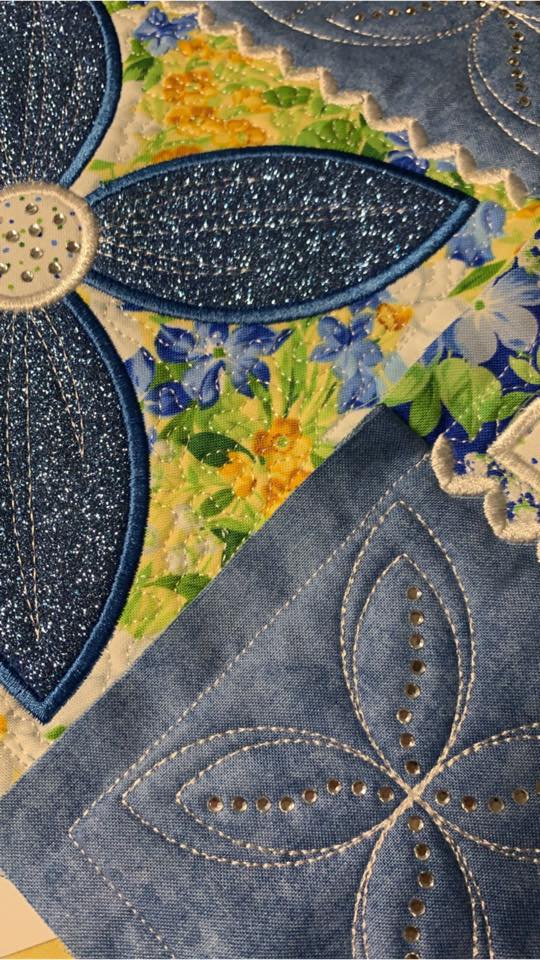
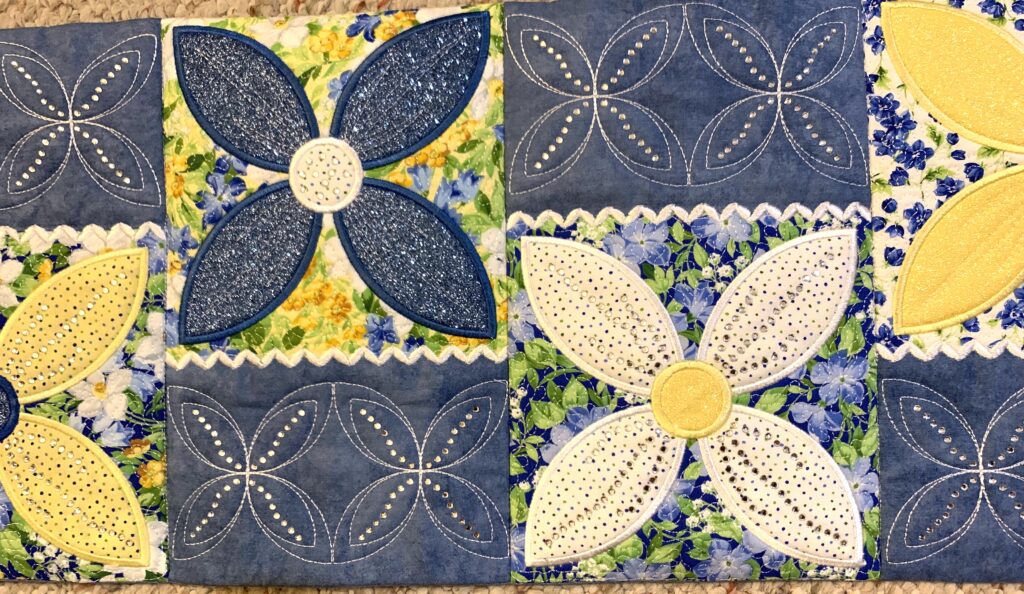
Lift your transfer tape off the backing and position it over the embroidered design. Press at 335 degrees for 15 seconds. Here’s the finished design!
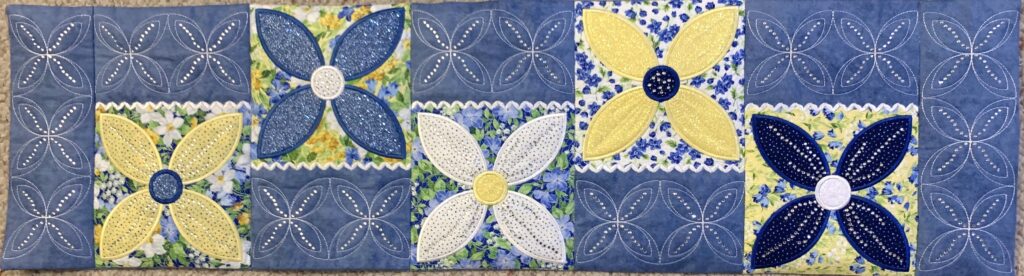
Here’s the finished table runner where I added glitter HTV for some of the appliqué flowers and then added rhinestones to add bling to the squares.
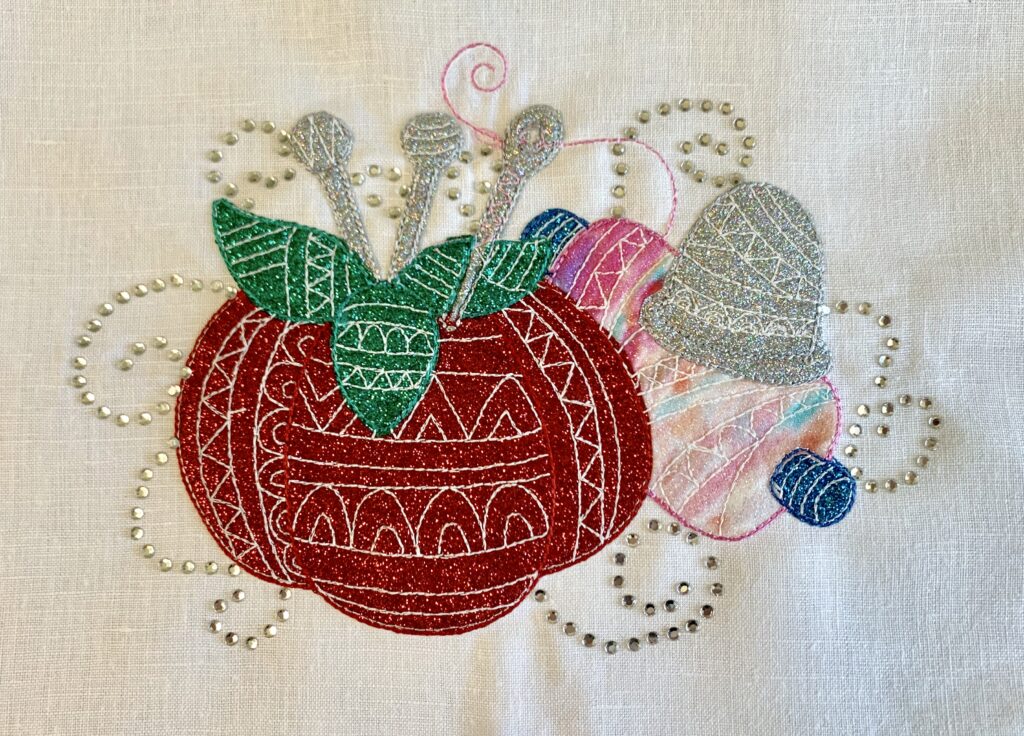
I also added rhinestones to this embroidery design from the Sew Brilliantly design group available at SnowLady Designs. Be sure to check out her web page for more cute designs!
I hope you will add bling to your embroidery designs. Be sure to join my FB groups, Libby’s Craft and Sewing Group, and Libby’s Silhouette Group and post pictures of your creations!
Until next time,
Happy Crafting!!
One thought on “Adding Bling to Embroidery Designs”
Comments are closed.