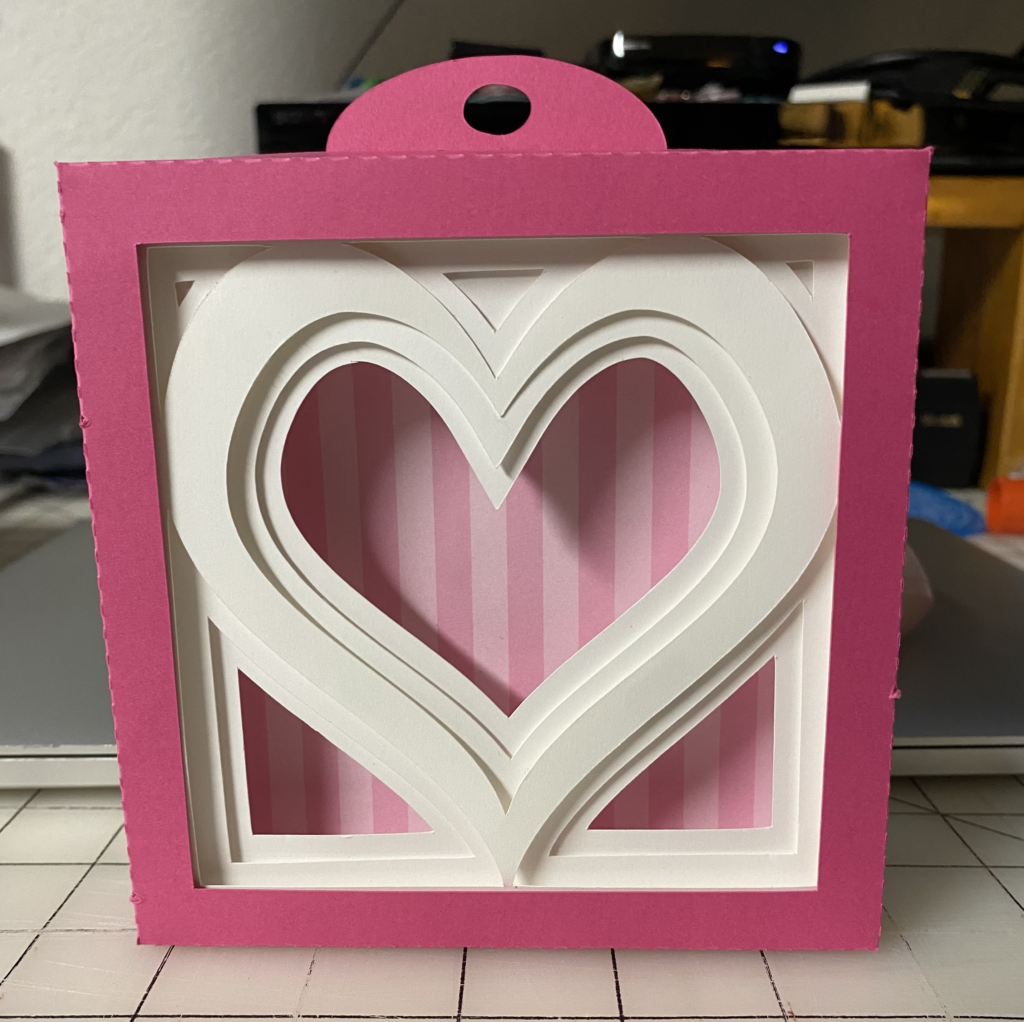
Recently I was testing a new design for a class — 3D Shadow boxes. And I loved it! It was so quick and easy to put together — so I had do do another one! I must say I think I am hooked.
Affiliate links may be used in the following blog post and as an Amazon Affiliate, I may earn a small commission from qualifying purchases.
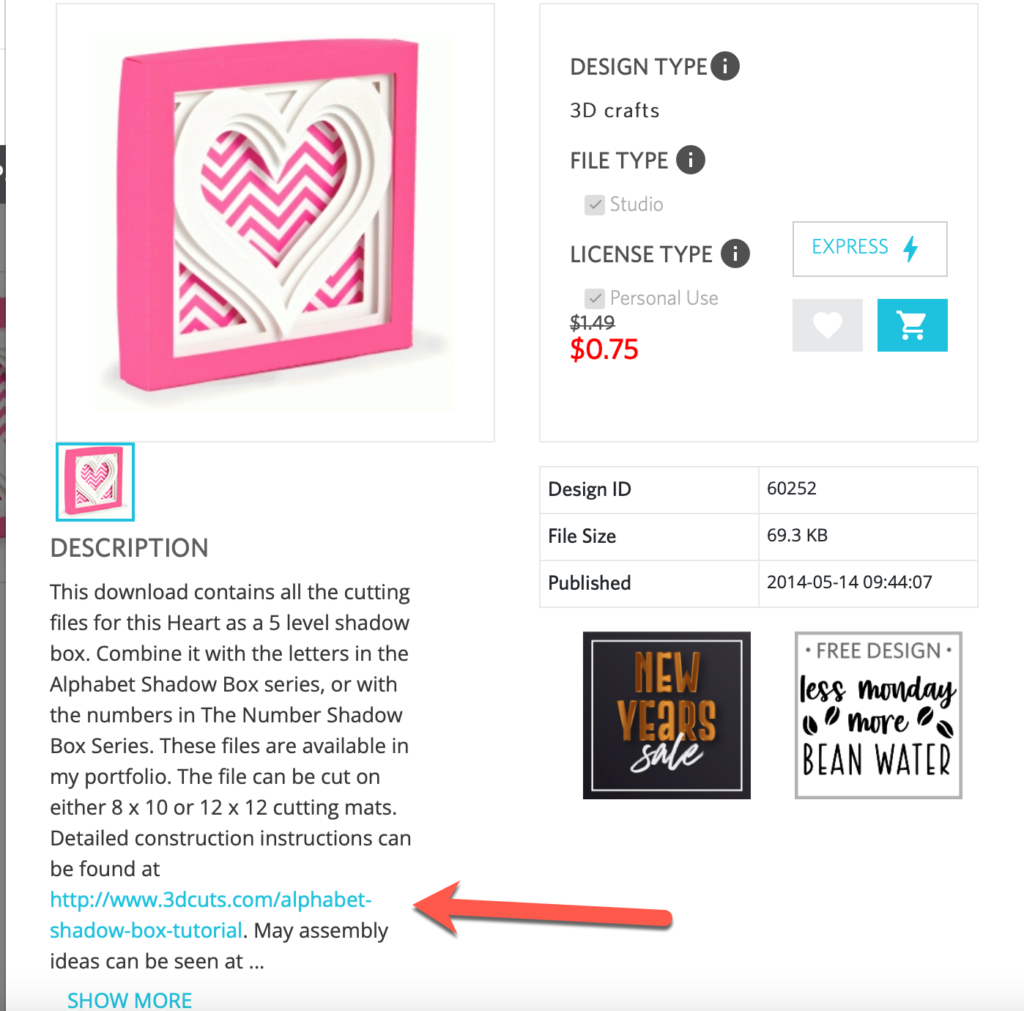
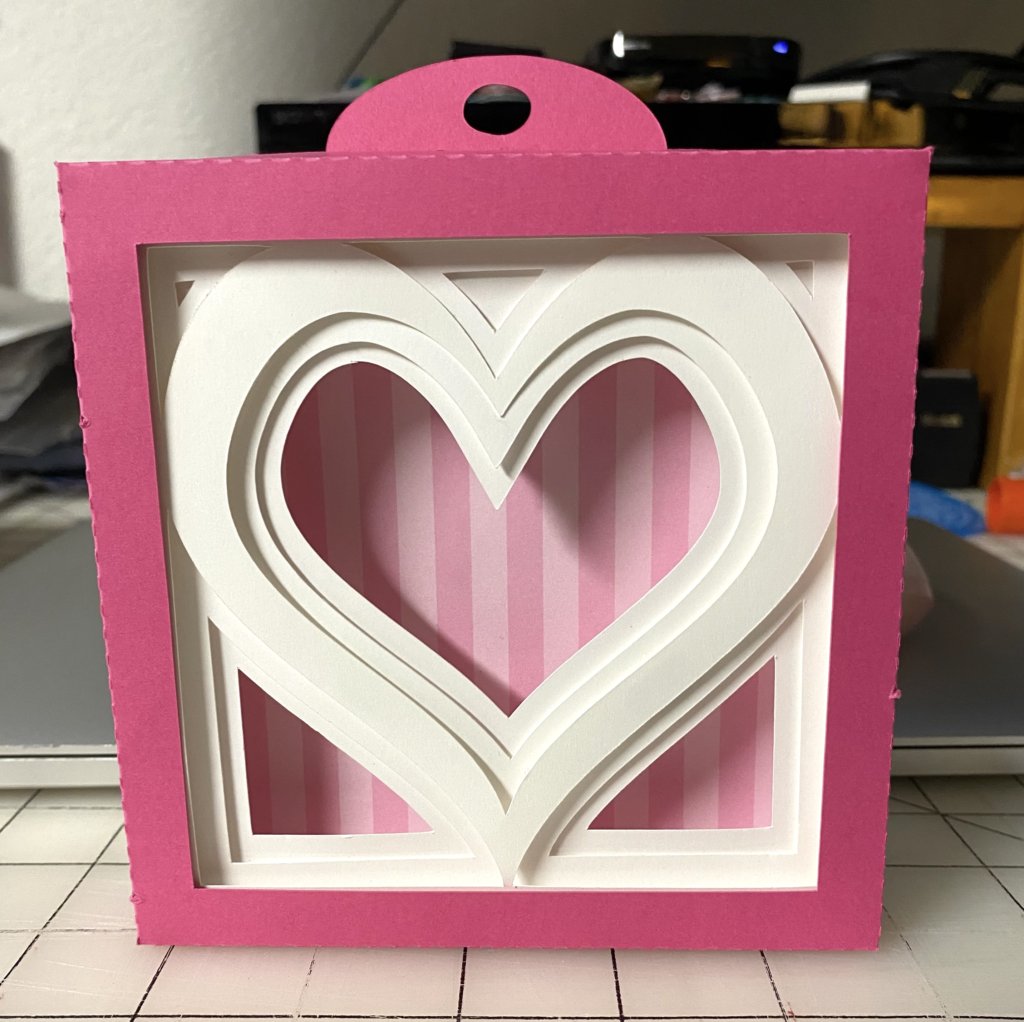
This design is from the Silhouette Design Store … Heart 3D Shadow Box Series (#60252). I started with this design. When you bring it in to your Silhouette software, it is a group of files that need to be cut. You will need to zoom out to see all the parts of the design.
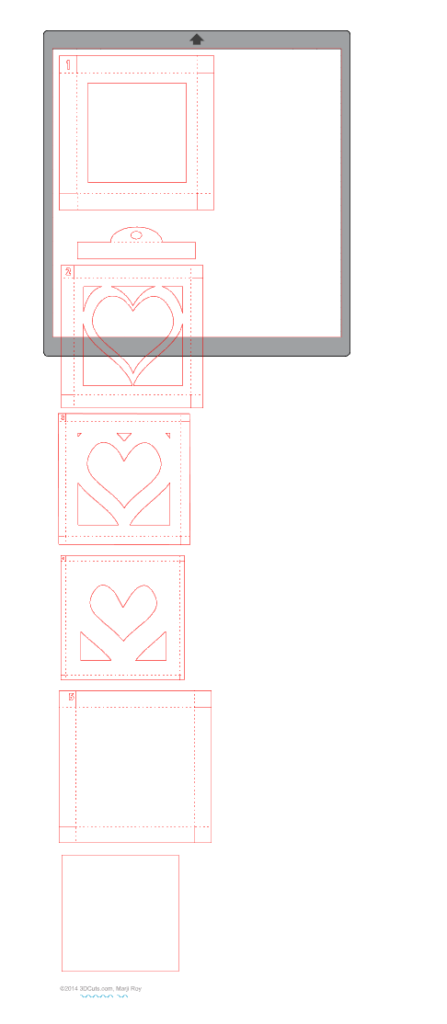
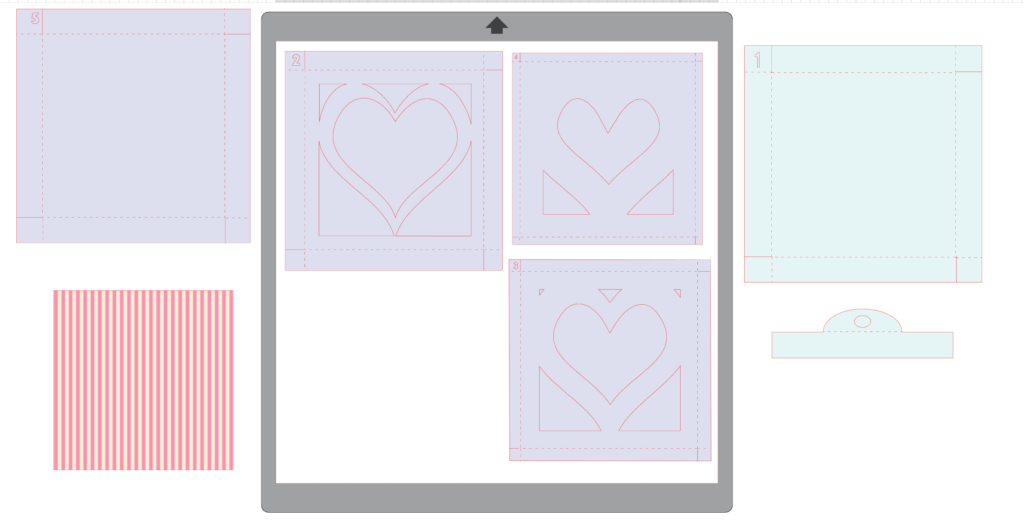
I moved all the parts up to the side of the mat so I could work with them more easily. Each part is numbered so it is easy to assemble. You will cut parts 2, 3, 4, and 5 from white cardstock. Part 1 will be cut from a colored cardstock and part 6 (the plain rectangle) is cut from a different colored cardstock (I used a stripe for mine.) I added color to mine to make it easy to tell which ones needed to be cut from each piece. I have some 12×12 cardstock so was able to load up my mat to cut three pieces (2, 3, and 4) at once.
For my shadow box I used 65lb Recollections paper from Michaels. I cut the first one and even though I did a test cut, I found that the sharp edges did not cut well. I had started with the Cardstock, Textured – Heavy setting but found that was not quite right. I cut them again, using the Overcut feature in the Send panel. I also adjusted my blade depth – increasing it by one. Notice that the software says Revert or Save As to remind me that I have adjusted the settings. I need save the settings, as each material is different.

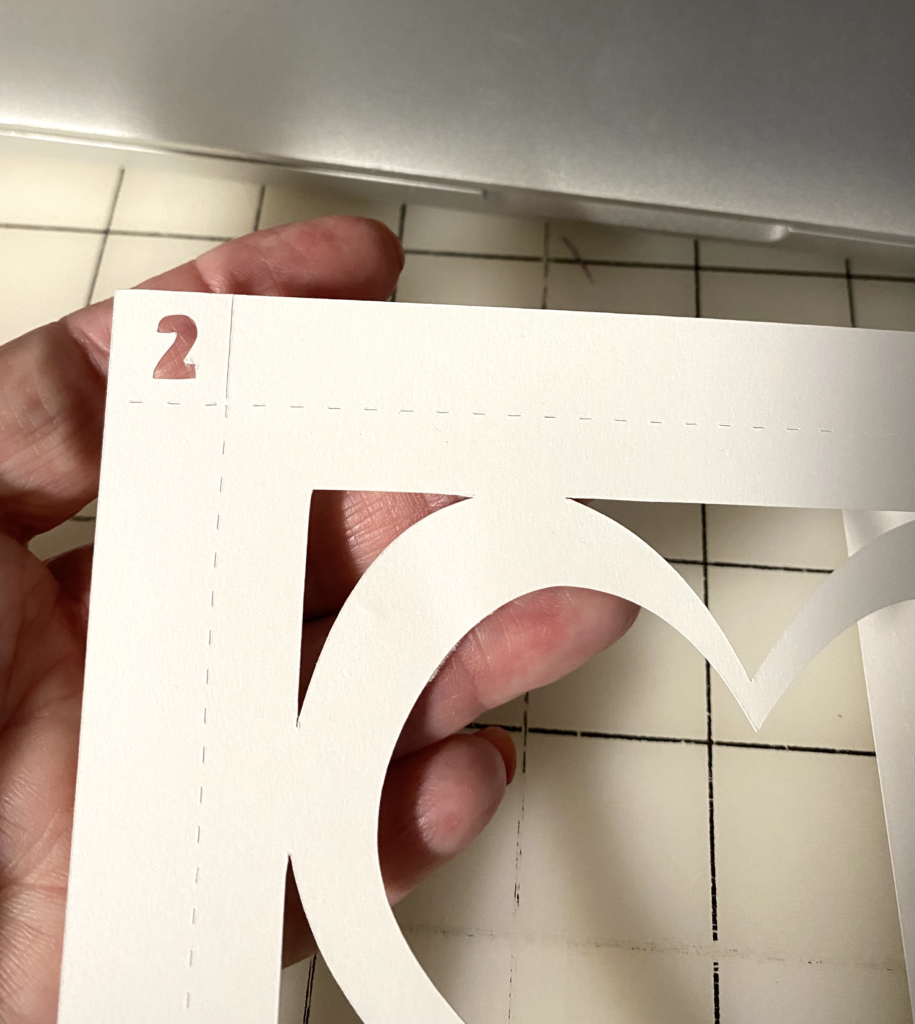
Here’s what my white pieces look like when cut. You can see that there is a number in the top left corner of each shape to help with the assembly.
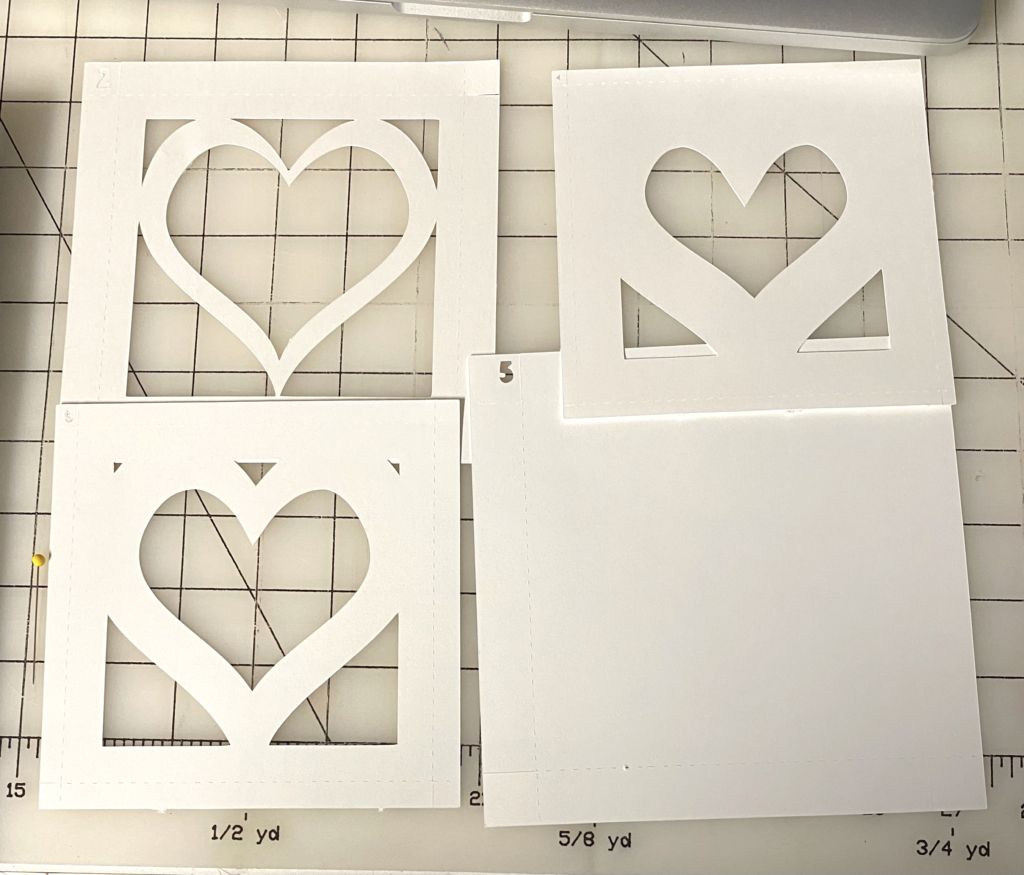
Here’s a close-up of the number in the top left corner. You will want to keep all the boxes oriented with the number in the top left corner to help ensure that they fit together when you are assembling the box.
Pay close attention to the directions for assembling the shadow box. You can download the instructions for assembly from the 3D Cuts website — the link is in the information about the design in the design store.
As you assemble the individual parts, be sure to fold the individual parts in the correct direction. Then glue the corners, making sure that the box remains square. I used Scotch Quick Dry glue and it worked great. I just put some glue on the small end piece and folded it in. I held each corner for just a few seconds and then went on to the next corner.
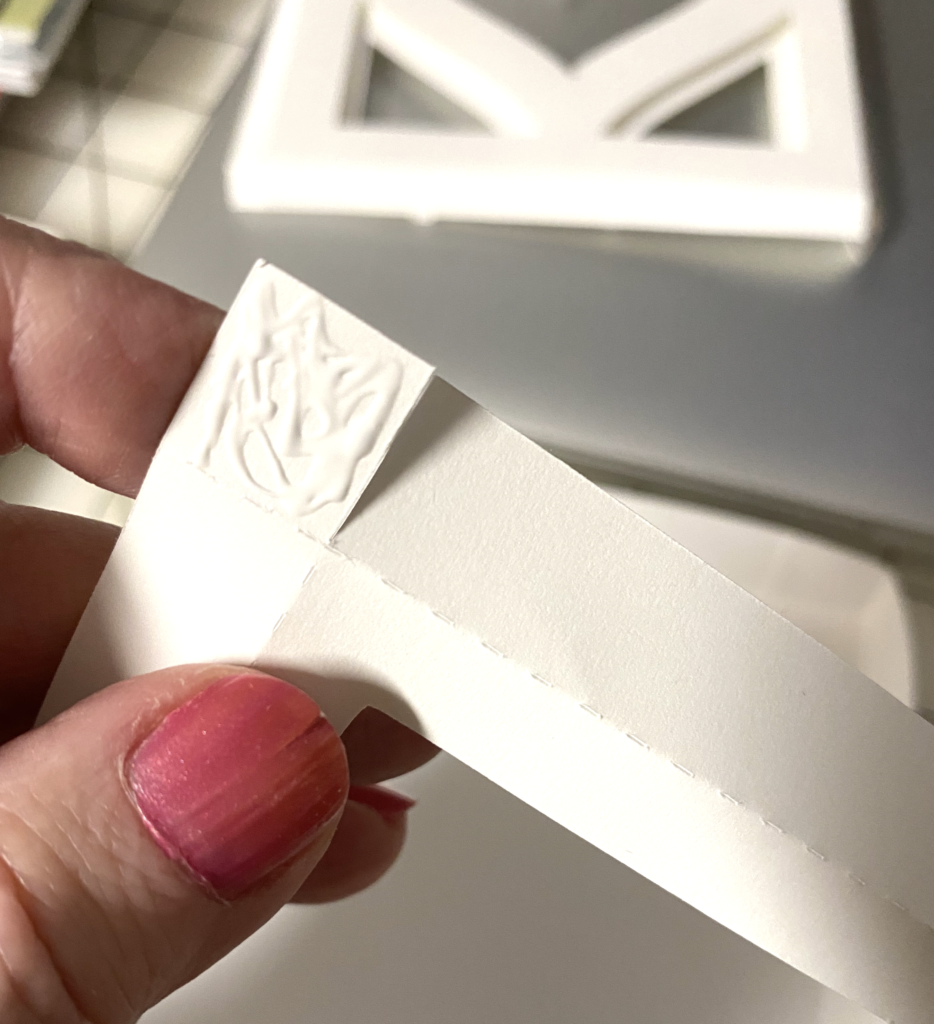
Pay close attention to the direction that you fold the pieces … piece number 5 gets folded toward you (and the rest get folded to the back. Place the printed cardstock inside piece number 5 and glue pin place.

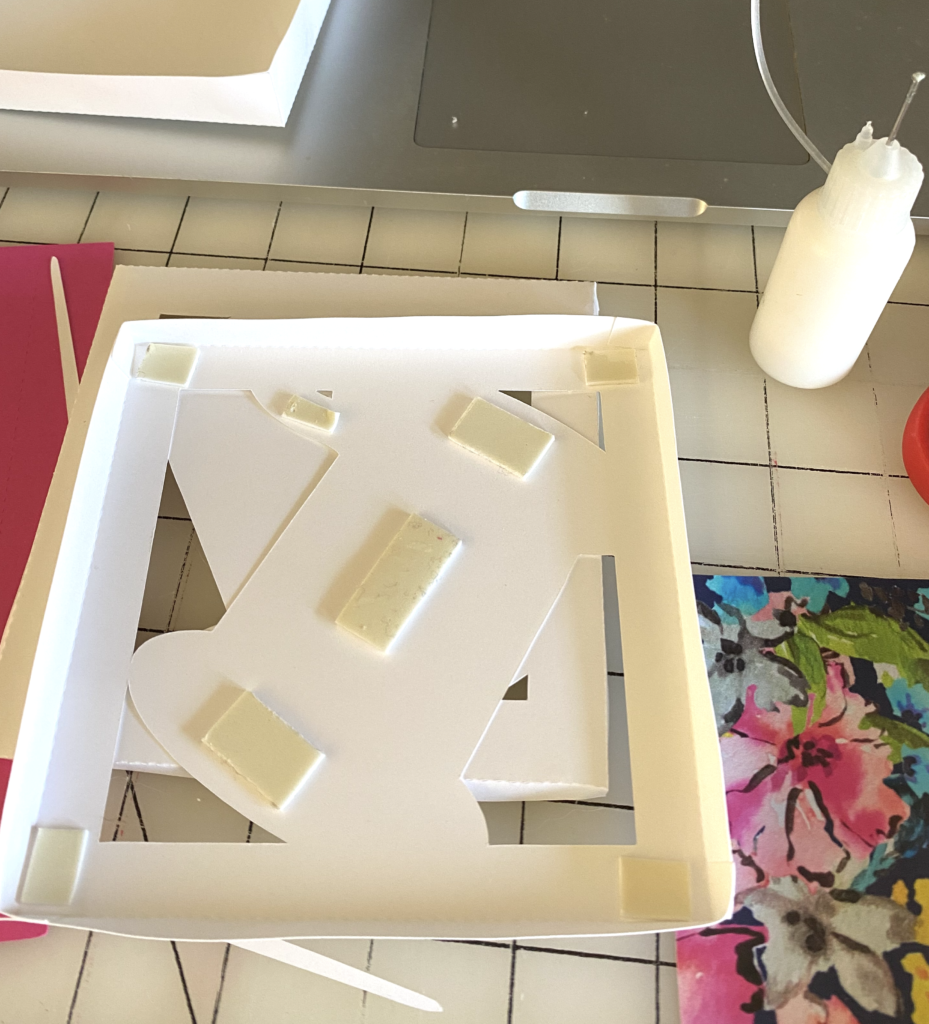
Assemble the box, making sure to keep the numbers in the top left corner and putting the pieces together in the correct order. When you are certain that all the pieces fit together, place small pieces of a 3D foam on the inside of each part to help them stand apart from each other.
If you are going to add a ribbon to your shadow box, be sure to put the ribbon guide inside piece number 1 before you put it on the rest of the design.
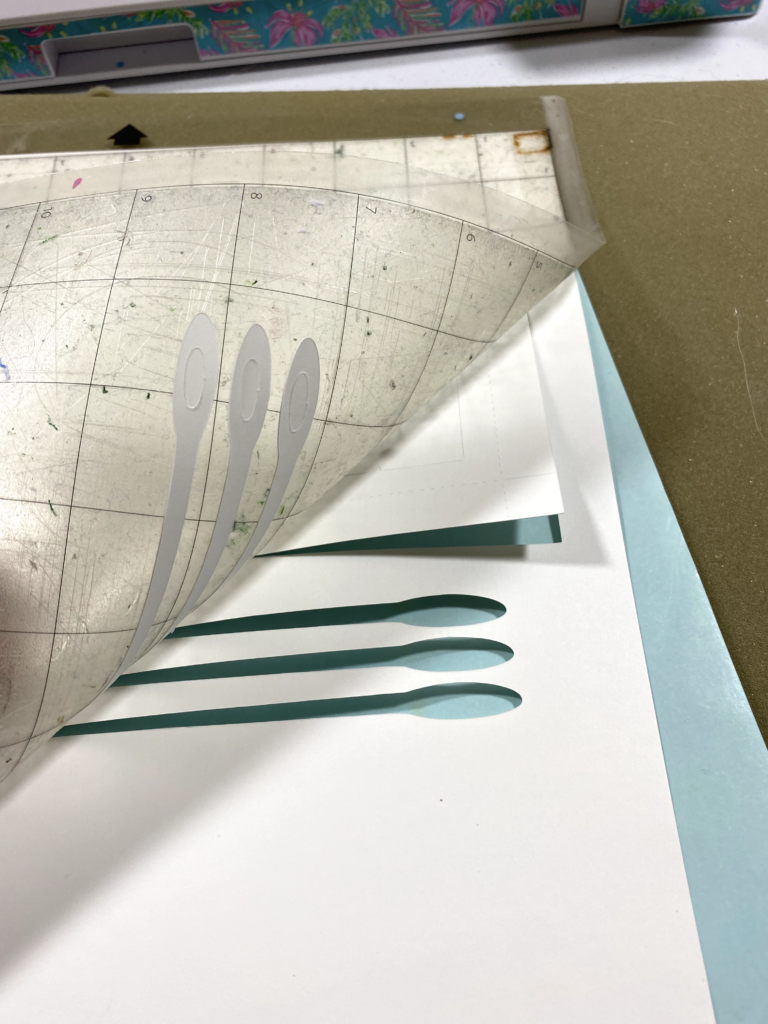
I had so much fun creating the first shadow box that I purchased another one from 3D Cuts. This time it was a sewing motif. As I created this one, I got a few more photos so I could share a few more tips … when removing the box elements from the mat, turn the mat over and remove the mat from the paper, not vice versa. This will help keep it from curling.
When I had all the pieces cut, I put them all together so I could make sure I had everything. Then I also tested the print fabric to be sure I liked it — it was too big a print and I would up using the same stripe I had used in the first shadow box.

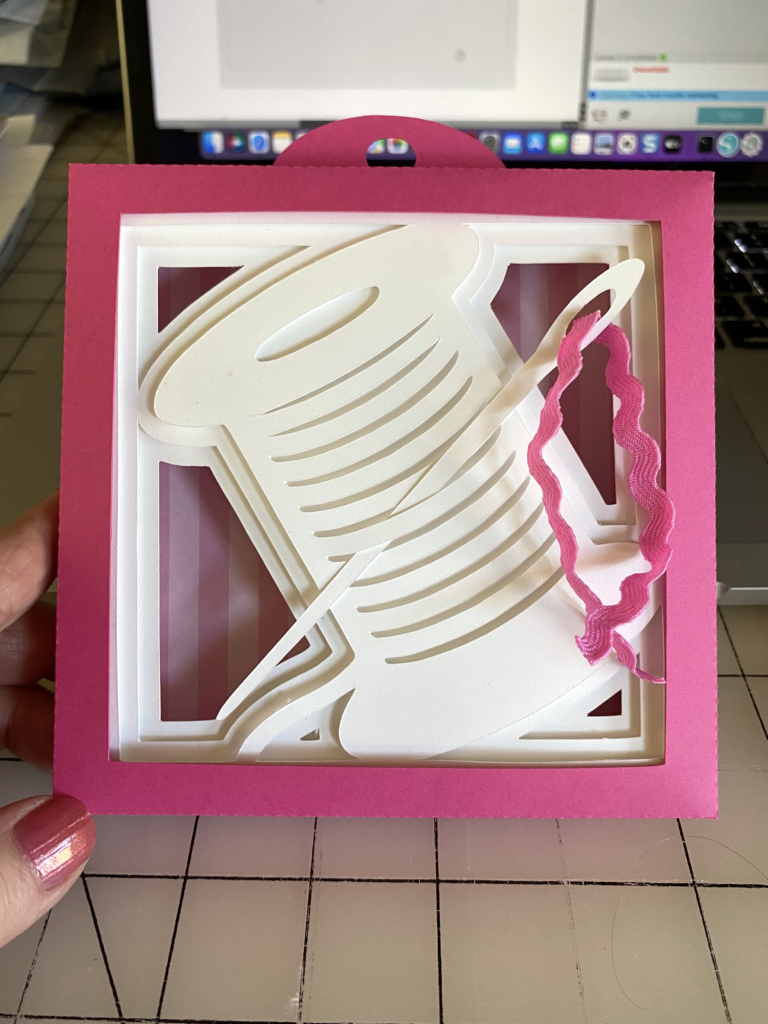
Here’s my second shadow box. I did not have any yarn handy, but I always have rick rack, so I used that for the thread.
And that’s it!! So easy and so much fun! I see a lot more shadow boxes in my future!! What ones will you create? Be sure to share photos in the FB groups!!
If you enjoyed these tips, please join my Facebook groups … Libby’s Silhouette Group — Tips, Tricks, Tutorials and Projects, Libby’s Craft and Sewing Group and Running With Sisers – Juliet and Romeo. You can also find me on FB at Libby’s Loft.com. Please join and feel free to ask questions and share your creations! I look forward to seeing you there!!
Until Next Time,
Happy Crafting!!
Disclaimer: Posts on this site may contain affiliate links. Clicking on one of these links or making purchases at linked sites does not mean you pay more for your purchases. It means I may receive a small commission on your purchase. This commission helps defray the costs of this site and enables me to continue to provide you with new and exciting content.