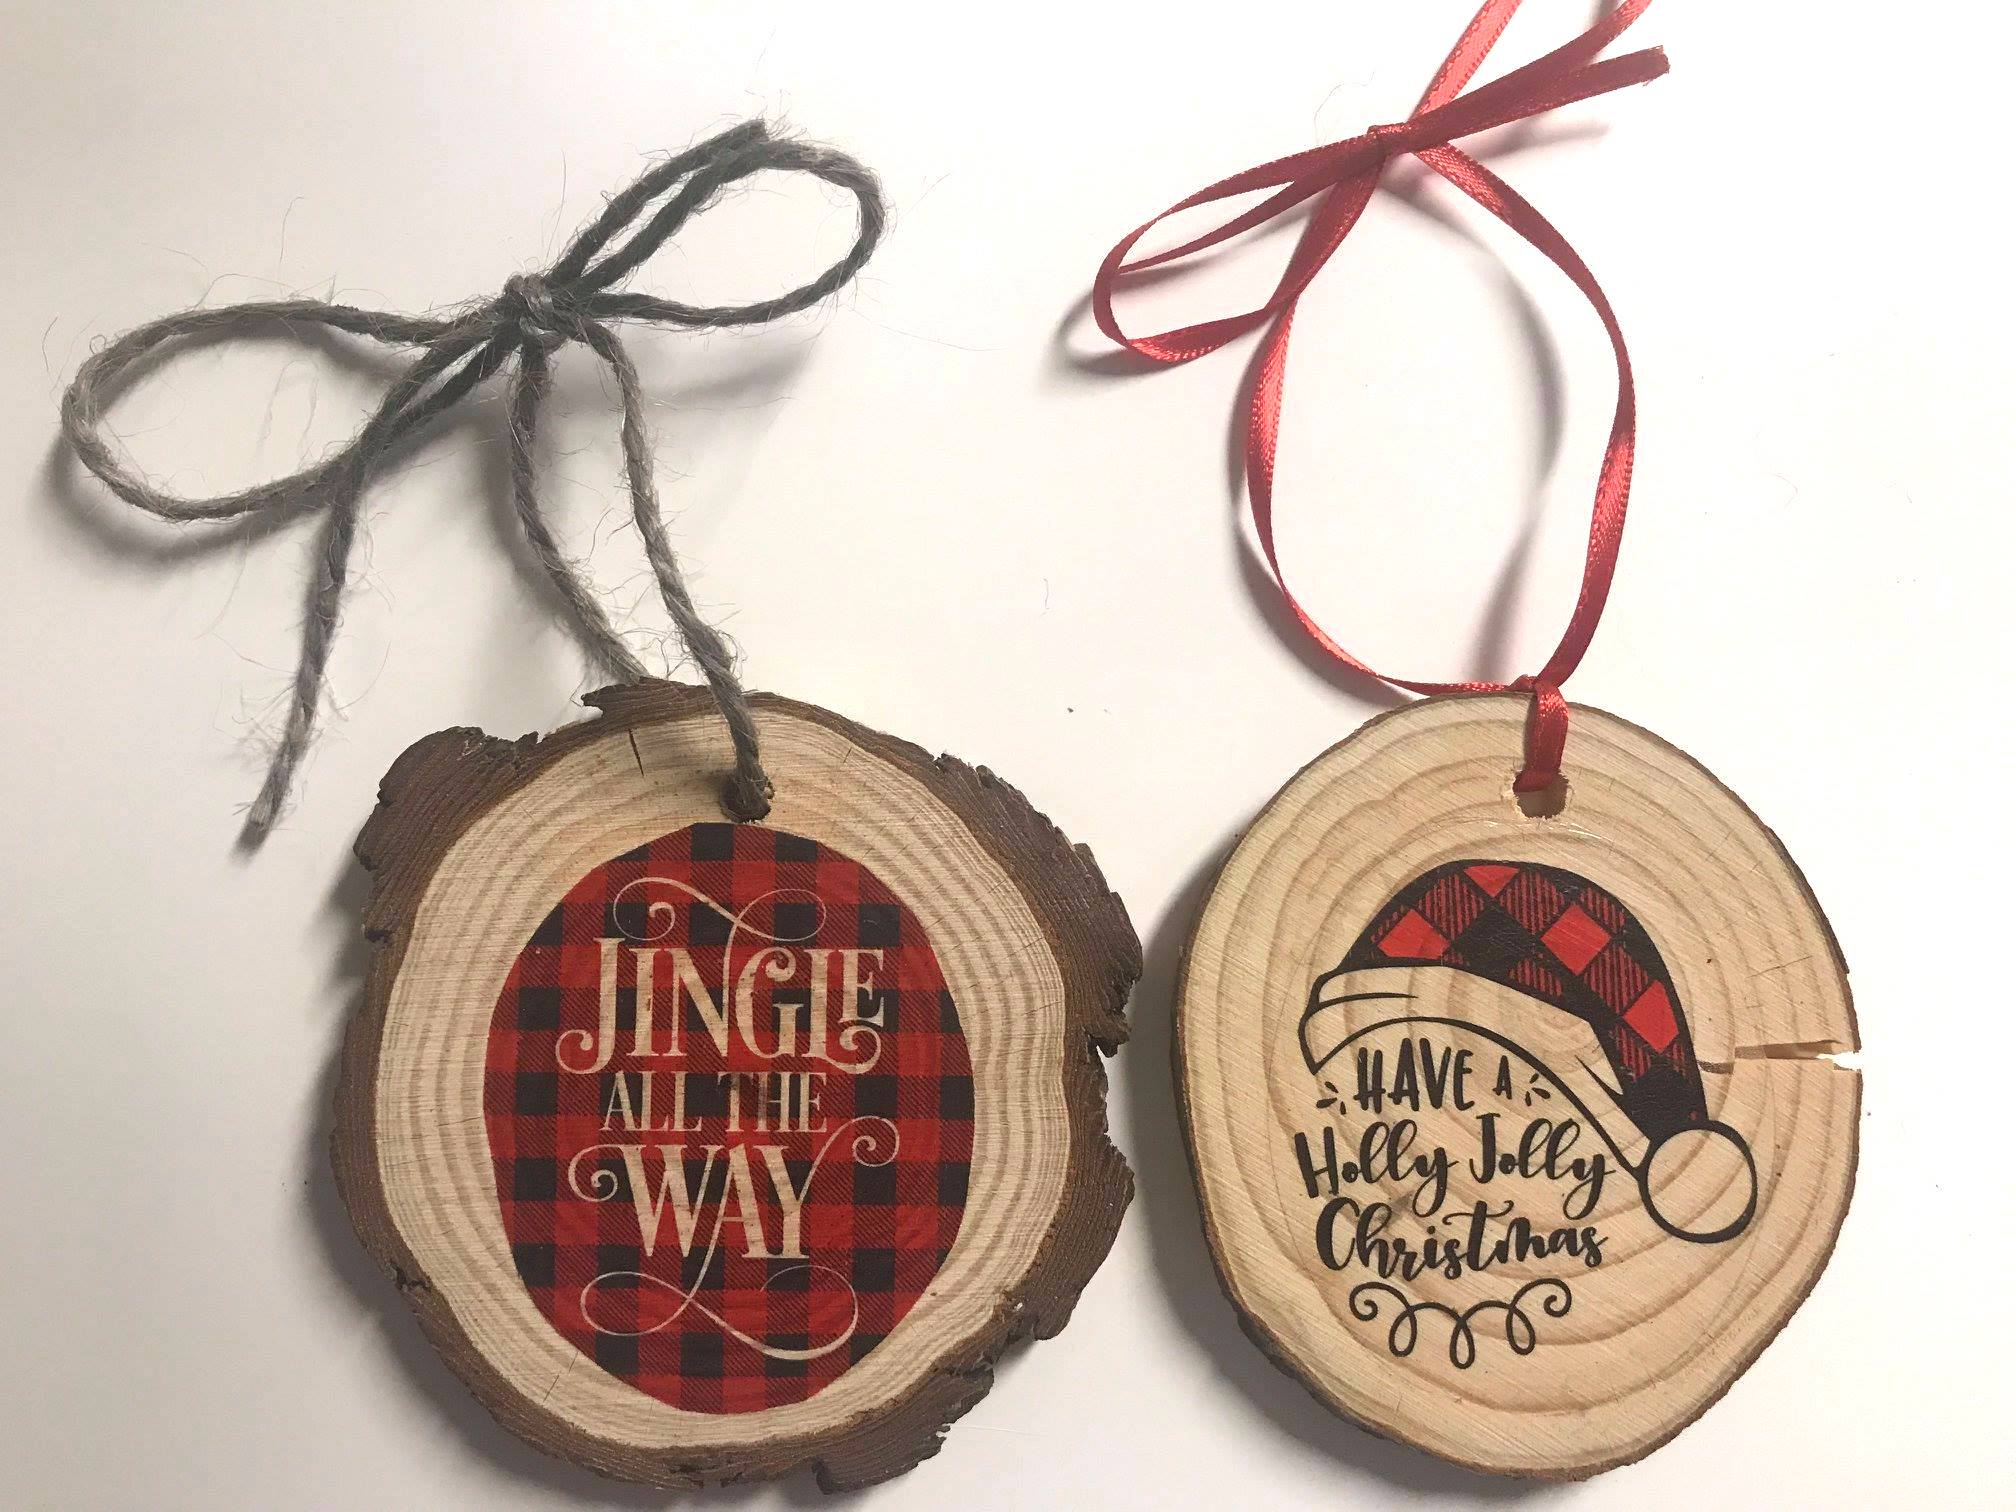
These wood slice ornaments are quick and easy to make! I used the Silhouette brand of temporary tattoo paper but you can use other similar products.
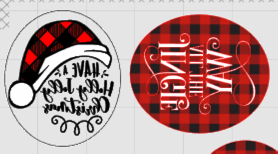
- Open your images in your software and arrange your images on the tattoo paper … be sure to MIRROR them!!
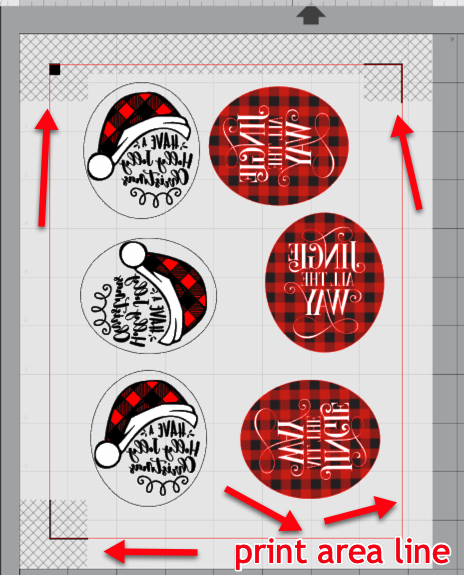
Print the images onto the glossy side of the paper using your printer’s glossy photo settings. If you are using a Silhouette, turn on your registration marks before printing. You can turn the registration marks on using the keyboard shortcut, CTRL-M on a PC or CMD-M on your Mac. Also make sure that your images are inside the red print area.
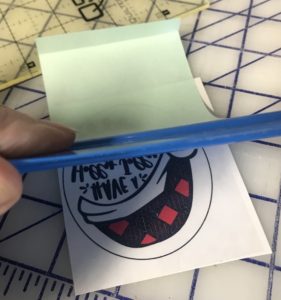
When the ink is dry, put the adhesive sheet on top of the printed image. Use a squeegee to help get the adhesive on the image without bubbles.
Load the printed sheet into your Silhouette and cut around the images. If you are using a Scan n Cut, make sure your images have a solid edge and you can use your Scan to Direct Cut feature.
After cutting, peel away the clear plastic layer, exposing the adhesive.
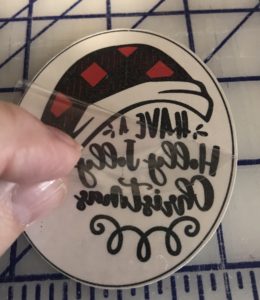
Apply the adhesive side to your wood slide and cover with a wet cloth for 10-15 seconds or until the paper backing slides off easily.
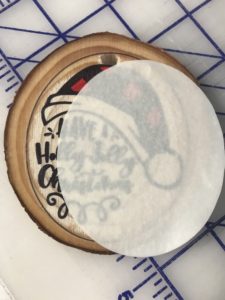
When they are “fresh”, your tattoos are a bit fragile so allow them to dry completely before using them.
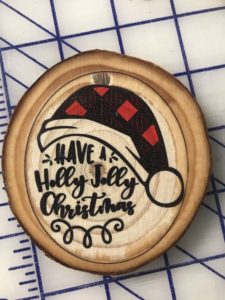
Add a ribbon or other hanger and that’s it! Super quick, super easy!! This would be a great activity with the grandkids!!
If you enjoyed these tips, please join my Facebook groups … Libby’s Silhouette Group — Tips, Tricks, Tutorials and Projects, Libby’s Craft and Sewing Group and Running With Sisers – Juliet and Romeo. You can also find me on FB at Libby’s Loft.com. Please join and feel free to ask questions and share your creations! I look forward to seeing you there!!
Until Next Time,
Happy Crafting!!
Disclaimer: Posts on this site may contain affiliate links. Clicking on one of these links or making purchases at linked sites does not mean you pay more for your purchases. It means I may receive a small commission on your purchase. This commission helps defray the costs of this site and enables me to continue to provide you with new and exciting content.
Until next time, Happy Crafting!!