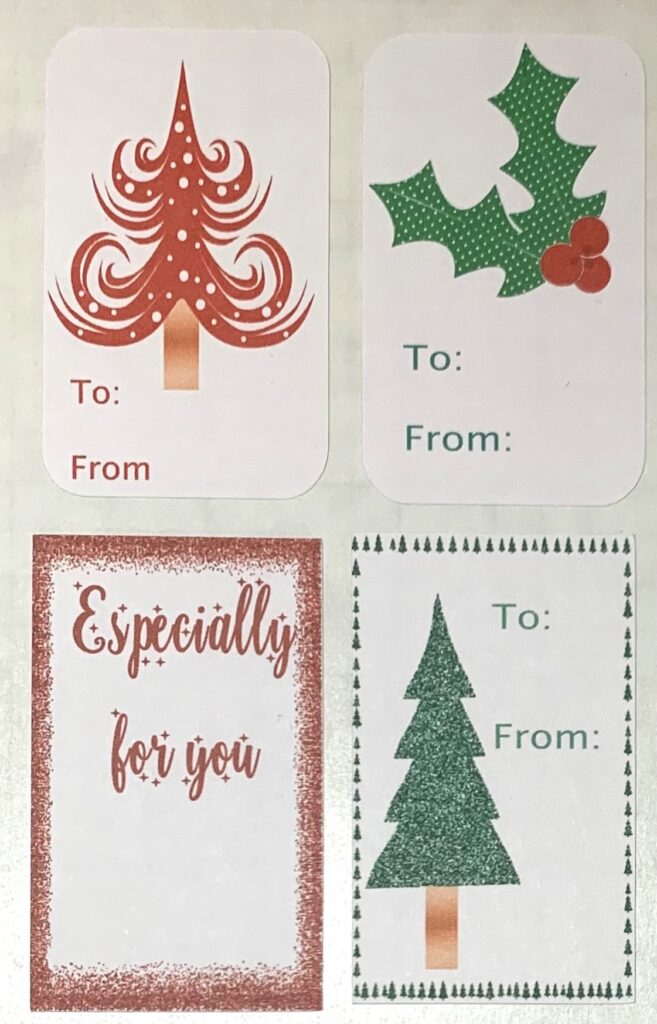
There are so many cute image files available right now … I love using the files to create print and cut labels and gift tags.
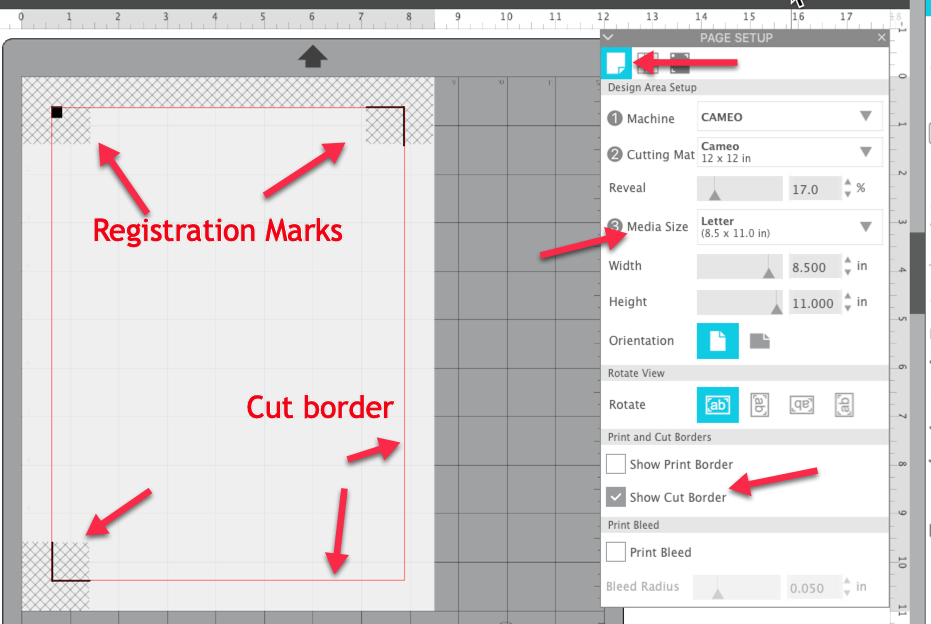
To get started, open a new workspace in your Silhouette Studio software. On the Page Setup Panel, select the size paper you are using for your labels. I am using 8.5″x11″ (letter size) paper, so I selected Letter as my Media Size. Check the Orientation (mine is set to Portrait). I also like to turn on the Cut Border so I know exactly where I can place my shapes. Finally, press “M” on the keyboard to turn on your Registration marks.
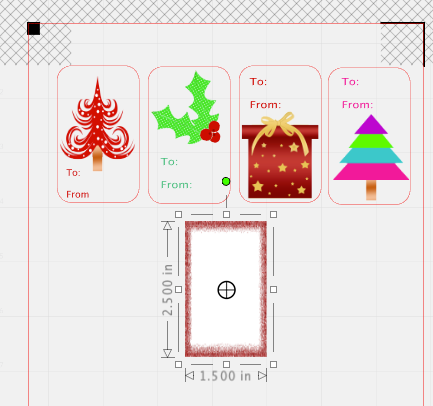
Decide how large you want your gift tags to be. I decided to create tags that are 2.5″ tall and 1.5″ wide. Click on the Draw tools. I selected the rounded rectangle for my shape. Click in the workspace and left click and drag to create your shape. Once you have created your shape, right click and select Convert to Path.
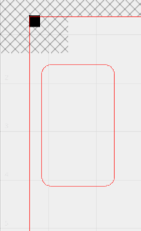
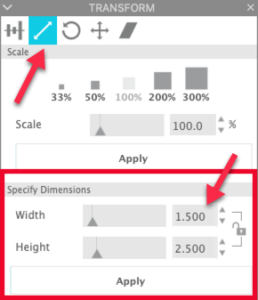
Now click on the Transform tab so we can easily set the size of the gift tag. Click on the Scale tab. Set the width (1.5″) and height (2.5″) by using the sliders or by entering the exact amount in the size box. Click Apply to set the size of your tag. With this rectangle selected, right click and select Duplicate. Left click and drag the duplicate off the mat to use later.
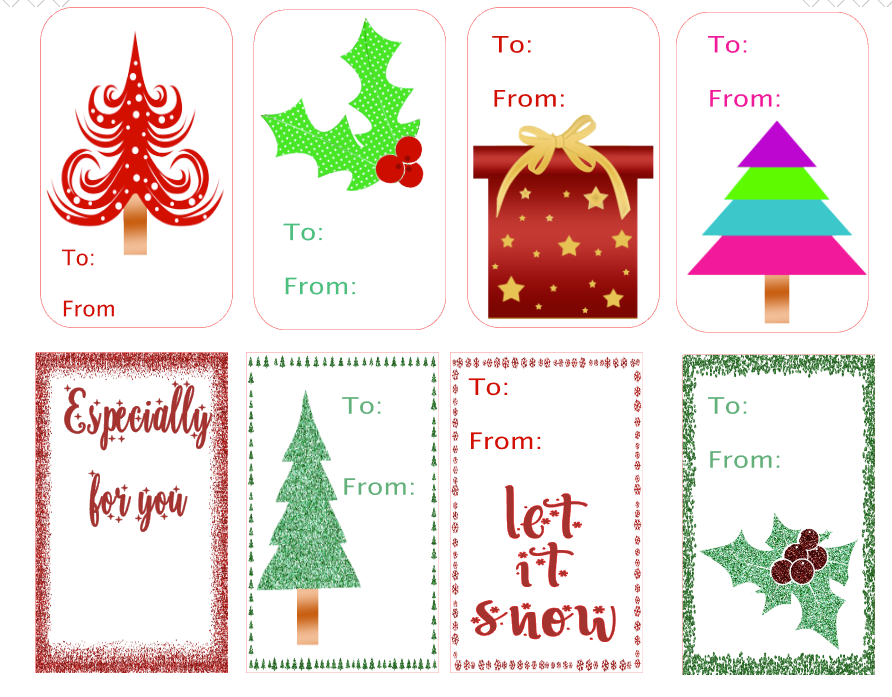
Now for the fun!! To get started, I am using designs from the Cute Christmas Clipart Holiday Graphics pack available from Creative Fabrica. I purchased these designs and downloaded them to my computer.
Select Merge from the File menu. Navigate to the location where you saved your artwork files. If you have a choice, use the PNG files because these usually have a transparent background. Locate the file you want to use. (I used the file 5.png.) Click on it to select it and click OK to place it in the workspace.
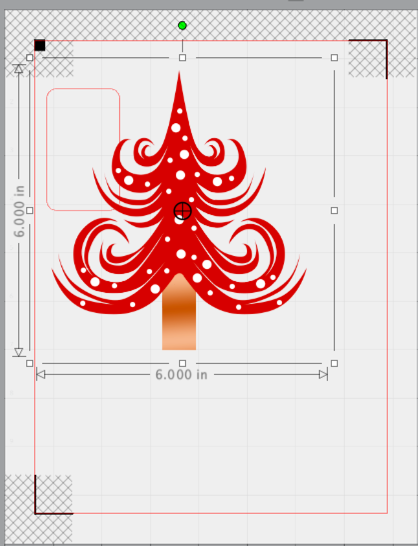
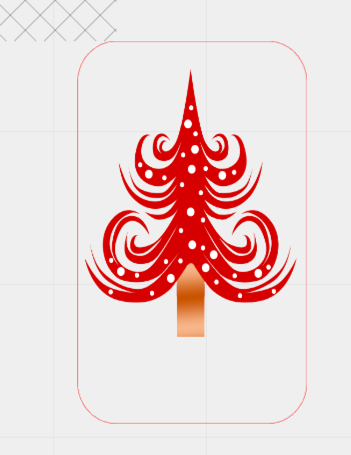
Use one of the corner handles and left click & drag to adjust the size of the image so it fits in the rounded rectangle we drew.
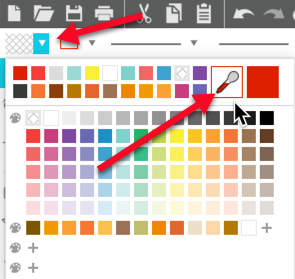
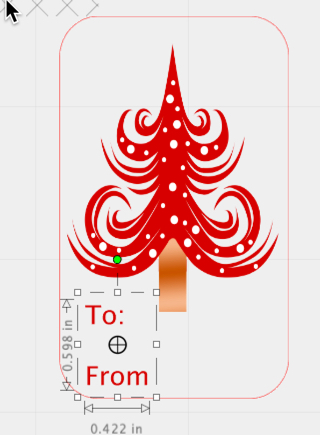
Click on the Text tool. Left click in the workspace to add a text placeholder. Enter the word “To:” and press the Enter key. Enter the word “From:”. Click outside the words to exit Text mode. Click back on the words so they are selected. I like to work with colored objects. Click on the Fill icon in the Quick Access Toolbar. Click on the eyedropper. Move the eyedropper into the workspace and click on the red in the tree. The letters are now filled with red. Left click on the corner handle and adjust the size so the words are small enough to fit in the gift tag.
With the words still selected, right click and select Duplicate. Left click and drag this duplicate text off the mat to use later.
I repeated these steps three more times, using different images from this bundle. I also added the lettering and changed the color to match one of the colors in the image.

Next I wanted to create some gift tags using images with a glitter outline. I found a bundle on Creative Fabrica, Christmas Glitter Borders Digital Paper, that was exactly what I wanted. To add one of these images, I selected Merge from the File menu. When the image comes into the workspace, it is HUGE!
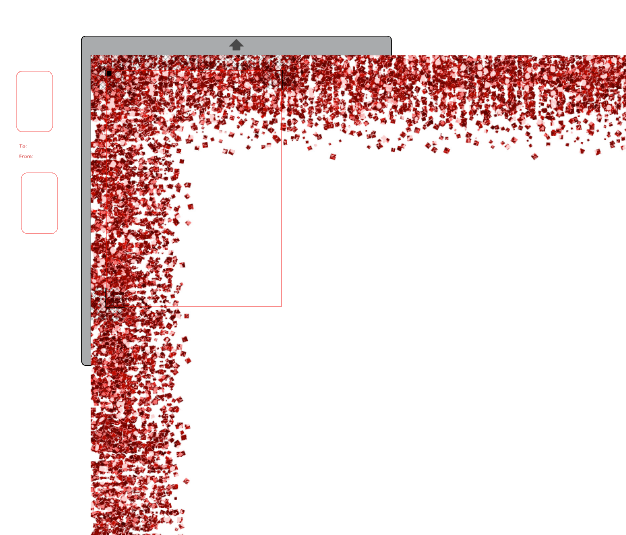
To size it, make sure the image is selected. Click no the Scale tab in the Transform Panel. Set the size to 1.5″ width and 2.5″ height. As soon as you click Apply, the image disappears. Don’t panic … and don’t click in the workspace. Click on the Center to Page icon and the image will be placed in the center of your workspace.
Because these are jpg images and not png images, they do not have a transparent background. The Center is filled with white. As long as you are printing this on white paper, that won’t make any difference.
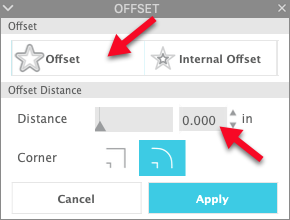
With the image selected, click on the Offset panel. Select Offset and set the Distance to 0.0. Click Apply. Now you have a cut line around the image.
Add your text to this tag. I used Lori Whitlock’s Darling Glitz Script font. After I created the text, I made sure it was selected and went to the Send tab and selected No Cut.
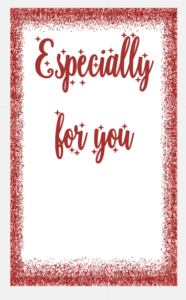
I repeated these steps three more times to create three more gift tags. For one, I created another phrase. For the other two, I added images from the Cute Christmas Clipart Holiday Graphics Pack.
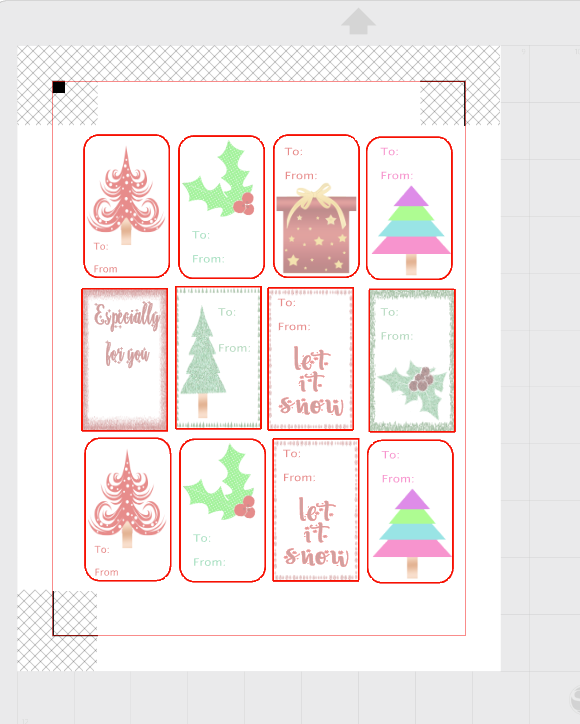
As I created each new tag, I selected all the elements of that tag and Grouped them together so I could easily copy and paste to create more of them. Remember too, if you are adding text to go to the Send tab and set the text to No Cut. Here’s what your page should look like in the Send tab. Notice that the dark red lines are only around the tags, not anything inside them.
Once you have checked your designs in the Send tab, you are ready to print the page. I used Removable White Matte Labels from OnLine Labels. Select Print from the File menu and select your printer. Remember that you cannot move anything on the page once you have printed the page.
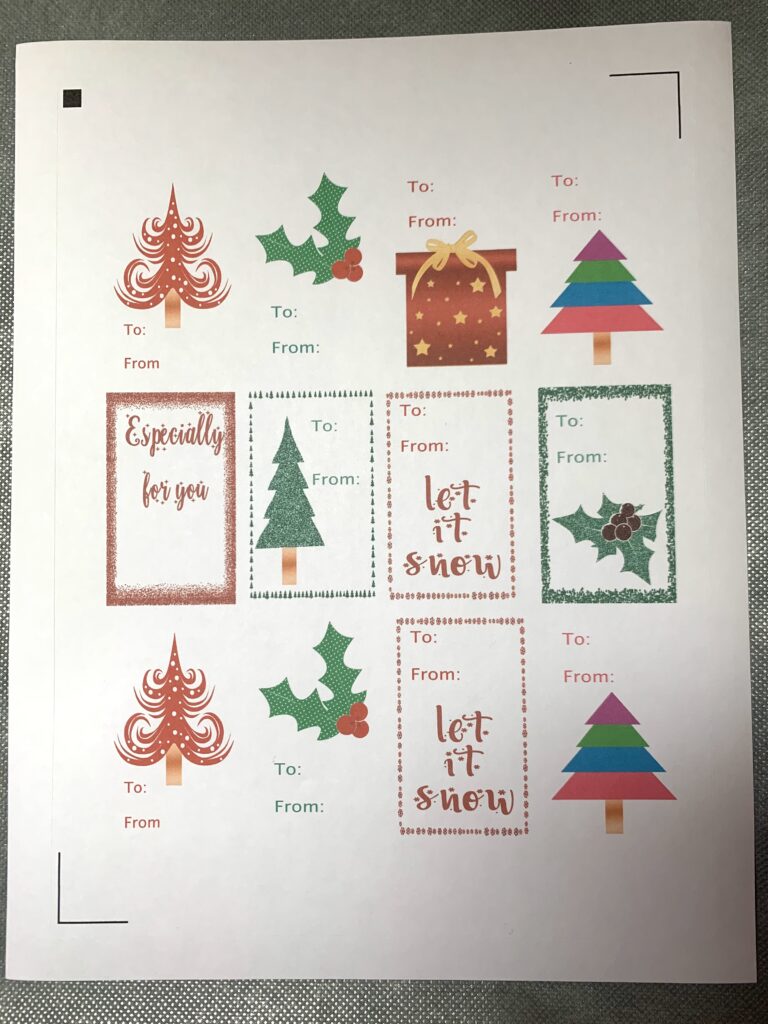
After printing, it’s time to cut. I used the default settings for Sticker Paper, White on my Cameo 4. I removed the excess paper so you could see how nice the tags look when cut.
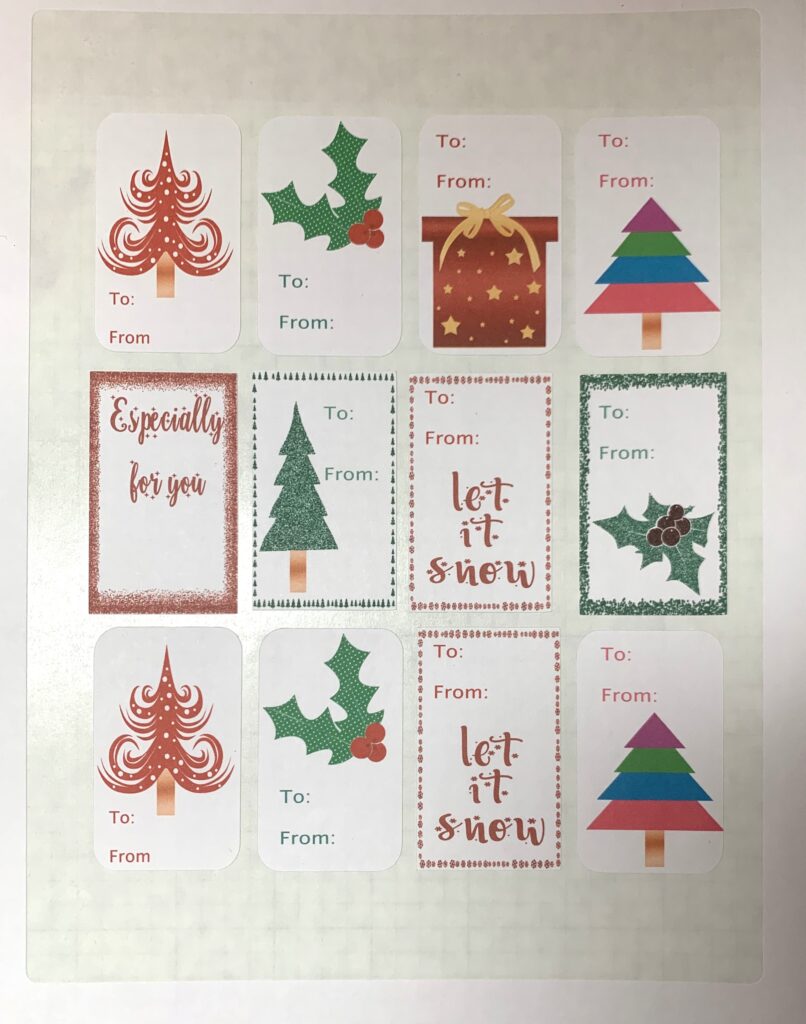
I hope you liked this project and will have fun creating your own custom gift tags.
If you enjoyed these tips, please join my Facebook groups … Libby’s Silhouette Group — Tips, Tricks, Tutorials and Projects, Libby’s Craft and Sewing Group and Running With Sisers – Juliet and Romeo. You can also find me on FB at Libby’s Loft.com. Please join and feel free to ask questions and share your creations! I look forward to seeing you there!!
Until Next Time,
Happy Crafting!!
Disclaimer: Posts on this site may contain affiliate links. Clicking on one of these links or making purchases at linked sites does not mean you pay more for your purchases. It means I may receive a small commission on your purchase. This commission helps defray the costs of this site and enables me to continue to provide you with new and exciting content.
Until next time,
Happy Crafting!
Disclaimer: Posts on this site may contain affiliate links. Clicking on one of these links or making purchases at linked sites does not mean you pay more for your purchases. It means I may receive a small commission on your purchase. This commission helps defray the costs of this site and enables me to continue to provide you with new and exciting content.