“Let’s reorganize the pantry, ” a voice said. “It will be fun and easy,” the voice said … I don’t mind often, but I decided to listen to the voice ….
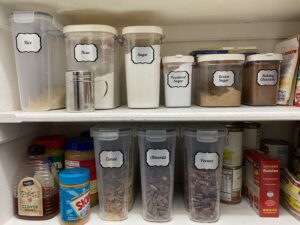
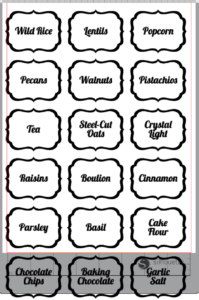
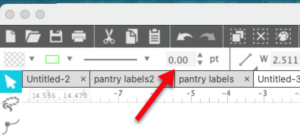
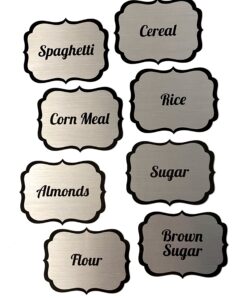
Looks great, doesn’t it! I like it too but there were a few more steps than just a normal print and cut …. let me tell you what I mean. First, I shopped in the Silhouette Design store and located three sets of pantry organization labels by one of my favorite designers, Lori Whitlock. I got designs #41609 (Pantry Labels Set 3), #41607 (Pantry Labels Set 1), and #41608 (Pantry Labels Set 2).
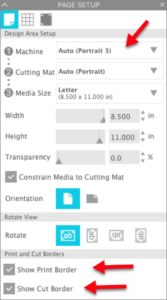
In the Page Setup panel, I selected my Portrait 3 and set my paper size to 8.5″ x 11″. I also checked the boxes to show the print border and the cut border.
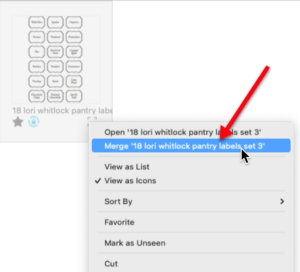
I located the file in my Library and select it. Then I right clicked and selected Merge to place the file into my workspace instead of opening a new workspace.
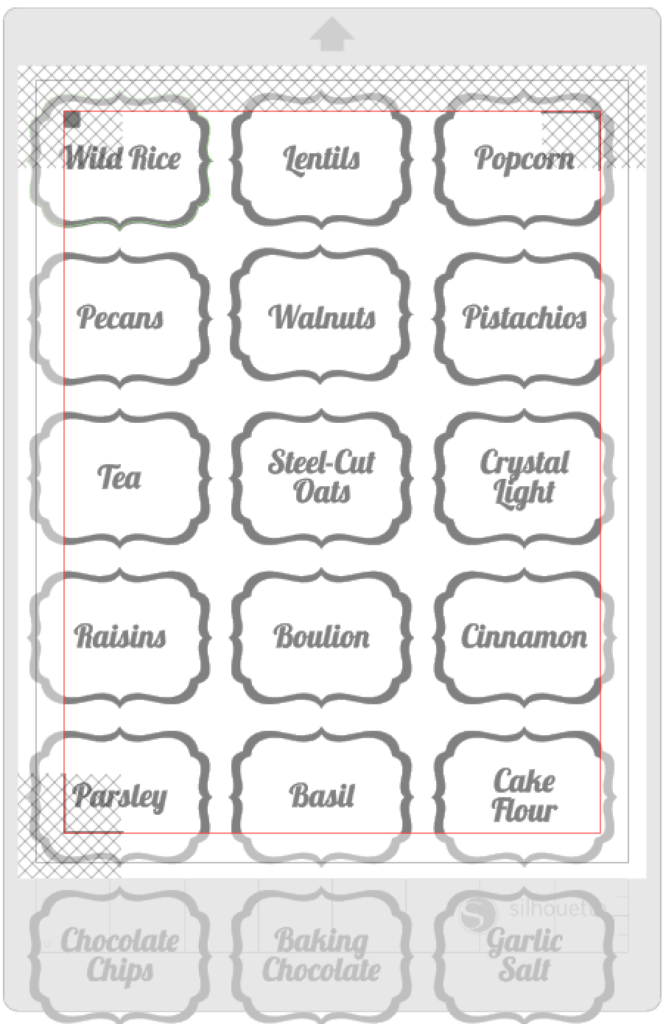
I knew this was going to be a print and cut project, so I pressed “m” on the keyboard to activate the registration marks. It’s important to have these turned on as you create so you will know where you can place your design items. Remember you need to be inside the registration marks and not in the hash marked area.
Ok, I thought … I am almost ready to print! I just have to move a few things around so the designs fit inside the cut area and I will be ready to go …. But oh, no! Not so fast!! I needed to select ungroup ungroup the labels so I could move them. When I went to move the first label out of the way, I found that the labels and the words were not grouped.

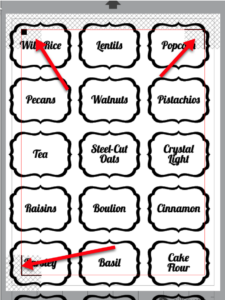
I decided I better check the cut lines before I continued. So I clicked on the Send tab to check the preview window.
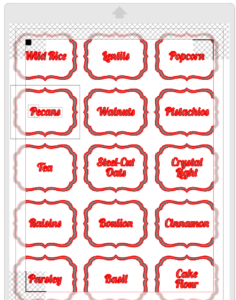
OOPS! Looks like the words are set to cut. And so is the inner line of the border. I have a few things to do … first, I selected all the letters in each word and grouped the word using CTRL/CMD+G. I then held down the shift key and selected the frame. I used CTRL/CMD+G to group the word and the frame. While I had each group selected, I set the word and the frame to No Cut in the Send Tab. I did this for all but one of the word/frame groups.
I grouped the words for the last set but did not group it with the frame yet. I had tried setting the frame to Cut Edge but that did not turn off the cut lines for the inner border. Because this is going to be a print and cut, I did not want to release the compound path and start deleting things. This seemed like a lot of steps and I knew there had to be an easier way! That’s when it came to me … I would use an offset!! (This is why I had you group all but one word and frame group.)
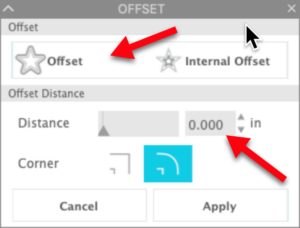
Back on the Design tab, I selected the first frame. With the frame selected, I clicked on the Offset panel icon in the right toolbar. I selected Offset and set the Distance to 0.00. I clicked Apply.
The offset was now snugged up directly on top of the frame. With the offset still selected, change the line color to something bright — I selected lime green. (At this point, you have to just believe that the offset is there.) I moved mine off to the side a bit so you can see it really is there. (I increased the line thickness of my offset so you could see it.
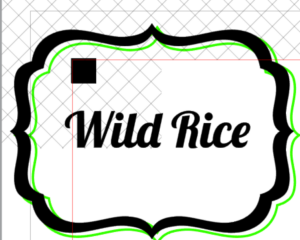
With the offset selected, I right clicked and selected Release Compound Path. I have to do this because the offset created a line on the inside and outside of the frame and I only wanted the outside line. I then selected the inside line and pressed the delete key on the keyboard.
And I now I am almost done …. I selected the words and the frame for the last set and grouped them. I then selected the offset and used CTRL/CMD+C to copy the offset frame. I did not paste yet … I will do that in a minute. I selected the offset and changed the line point value back to 0.
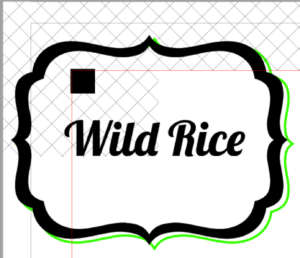
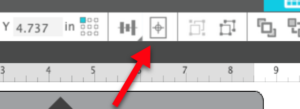
With the offset selected, I held the shift key and selected the frame group. I selected the Center icon in the dynamic toolbar at the top of the workspace.
The frame and the green offset line are now centered on each other. With them both selected, I used CTRL/CMD+G to group them. I repeated these steps for the rest of the labels, moving some off the mat if I did not want to cut them.
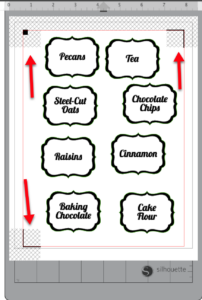
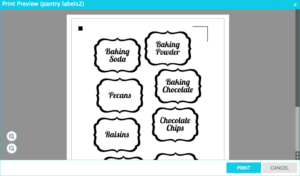
Notice that I kept my designs inside the print and cut areas and also not in the hashmark area. I did not change the default settings for the registration marks because I have found that I have better luck leaving them at the default. Now it’s time to print. I selected Print from the File menu and got this Print Preview window.
When I clicked Print, I was able to select my printer and send the print job. After printing, it was time to cut. I am using Silhouette’s Brushed Metal Sticker Sheets.
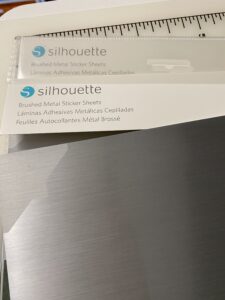
In the Send panel, I selected my material. I started with the pre-set settings for Sticker Paper — glitter because the sticker paper I am using is a little thicker than my regular sticker paper. I did a test cut and found that I needed to increase my blade depth by 1 to get a good test cut.
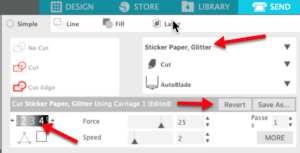
When I did my test cut, I moved it down into an empty space in the page. Sometimes performing your test cut in the default position can interfere with your cutter’s ability to read the registration marks.
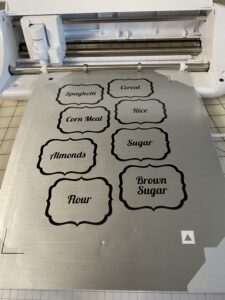
Once the labels were cut, I weeded them … the excess sticker material came off all in one piece … it was awesome!
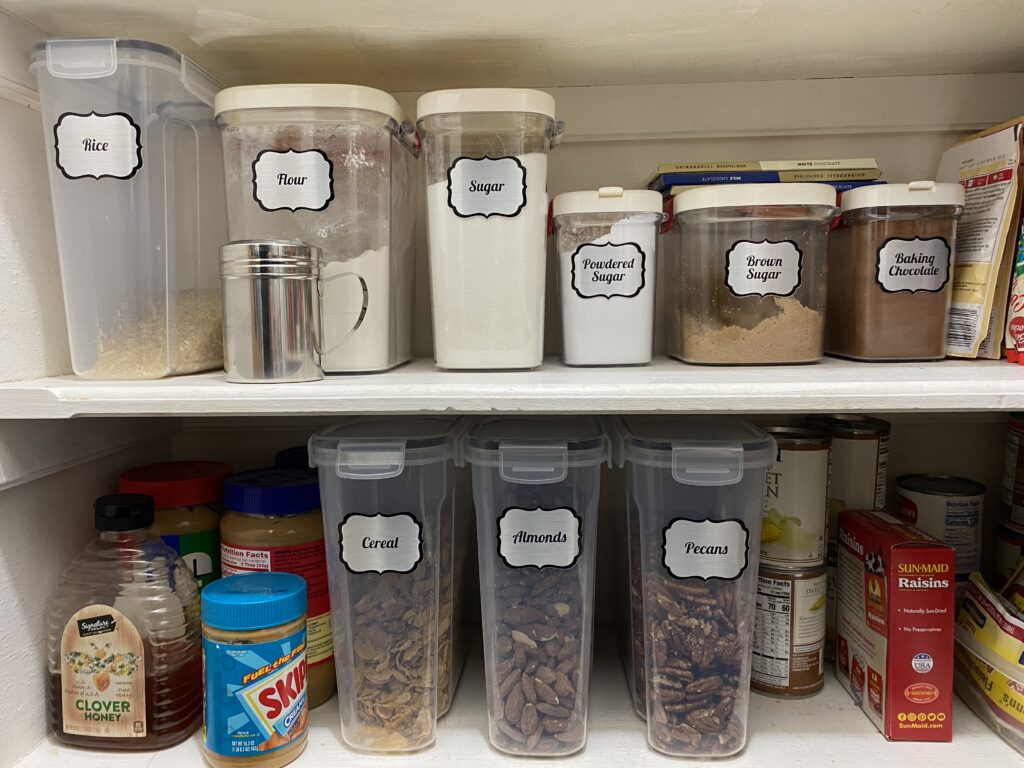
Here’s how they look in the pantry … no judgments … it is still a work in progress!
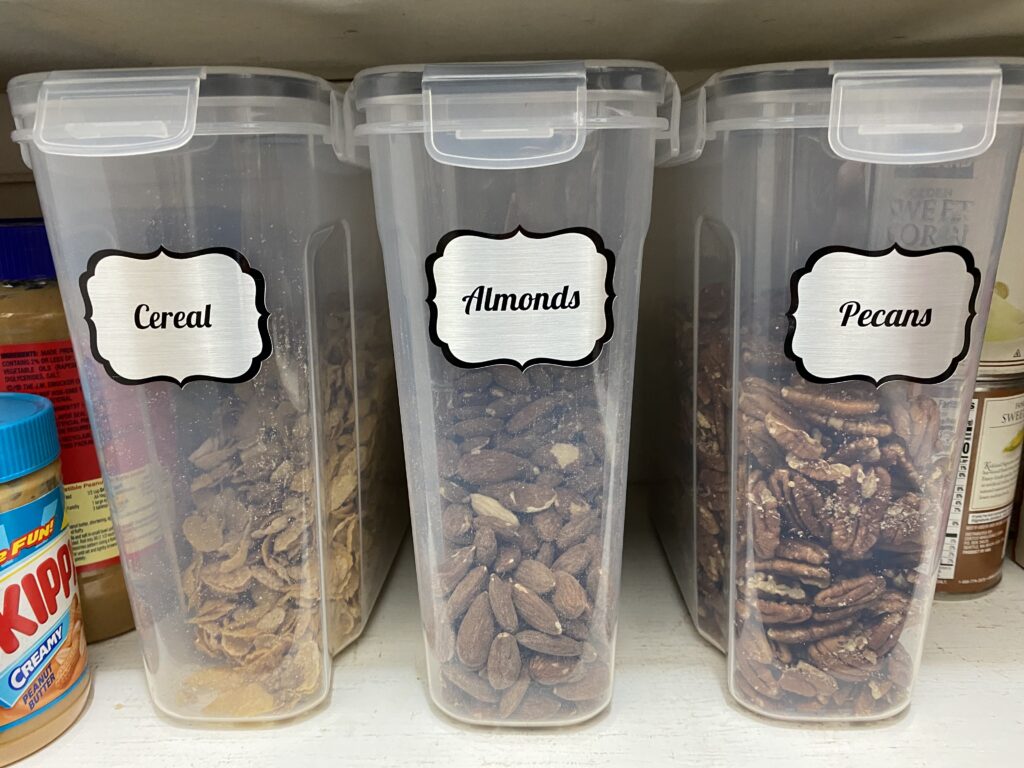
And here’s a closeup so you can see the cool metallic look of these stickers!!
So, now that it is all done, I have some extra stickers for some containers that will be arriving soon …. and I really like the look! I truly think it was worth the work! What do you think??
If you enjoyed these tips, please join my Facebook groups … Libby’s Silhouette Group — Tips, Tricks, Tutorials and Projects, Libby’s Craft and Sewing Group and Running With Sisers – Juliet and Romeo. You can also find me on FB at Libby’s Loft.com. Please join and feel free to ask questions and share your creations! I look forward to seeing you there!!
Until Next Time,
Happy Crafting!!
Disclaimer: Posts on this site may contain affiliate links. Clicking on one of these links or making purchases at linked sites does not mean you pay more for your purchases. It means I may receive a small commission on your purchase. This commission helps defray the costs of this site and enables me to continue to provide you with new and exciting content.
Until Next time,
Happy Crafting!!
Disclaimer: Posts on this site may contain affiliate links. Clicking on one of these links or making purchases at linked sites does not mean you pay more for your purchases. It means I may receive a small commission on your purchase. This commission helps defray the costs of this site and enables me to continue to provide you with new and exciting content.