Love the look of etching but hate the “mess” of using etching cream? Then transparent vinyl is the answer!
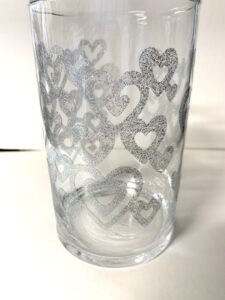
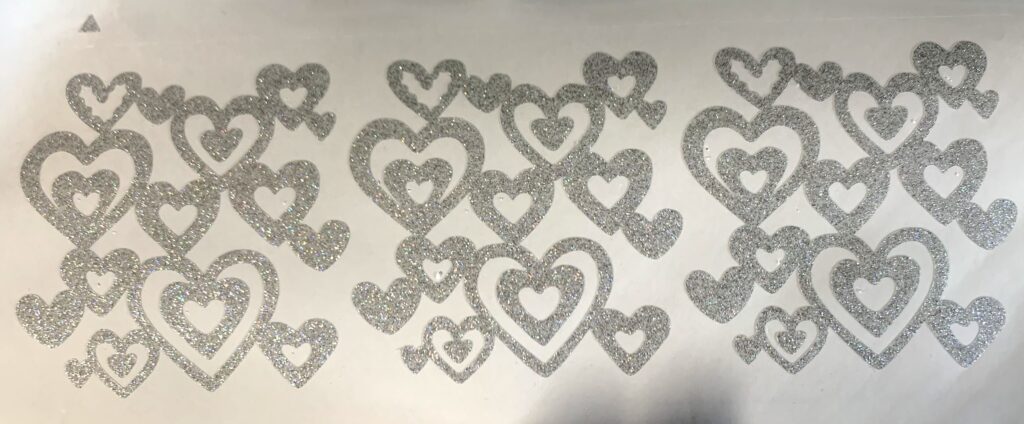
The design on the vase is actually three copies of the same design. I got the design from the Silhouette Design store (#92019 Crazy Hearts).
First measure your vase. Mine is 4″x6″ and the circumference is 11.25″. Armed with this information, I opened my Silhouette Studio software.
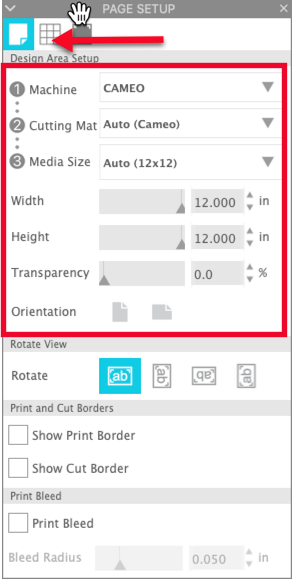
In the Page Setup panel, check your settings. I made sure I had my Machine set to Cameo, the Cutting Mat set to Auto (Cameo) and my Media Size set to Auto (12×12). In this case, I do not need to see the grid or the mat, so my Transparency is set to 0.0.
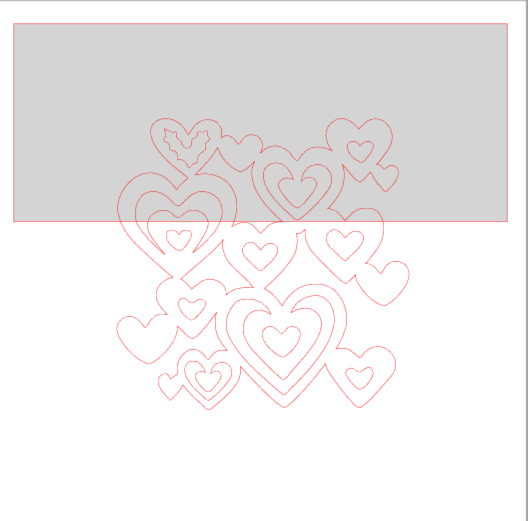
Because I wanted this design to go all the way round the vase, I like to draw a rectangle the size of the vase. Select the Rectangle from the Drawing tools. Move the cursor into the workspace and left click and drag to create a rectangle about 4.5″ tall by 11″ wide. I did not worry about the exact size because I know I could change it in a minute. Click in the Fill icon in the Dynamic Toolbar and select a light grey color.
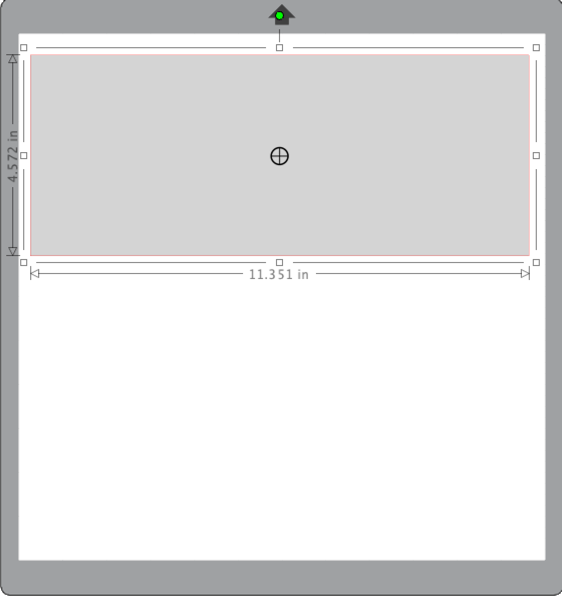
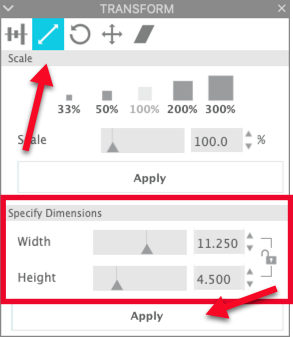
Click on the Transform tab in the right toolbar. Select the second tab, the Scale tab. In the Specify Dimensions section of the panel, change the width to the circumference of your vase (mine was 11.25″) and the height to the height of your vase. Even though my vase is 6″ tall, I only wanted the design to be about 4.5″ tall. Once you have entered your dimensions, click Apply.
Locate the file in your Library and double click on it to open it into your workspace.
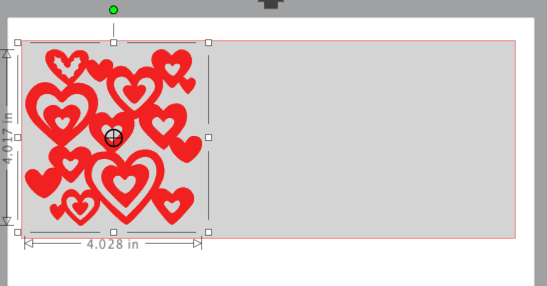
With the hearts selected, click on the Fill icon in the Dynamic Toolbar. Select a color that will stand out on the grey … I selected red. Left click on one of the corner handles on the heart design. Hold the mouse down and drag to make the design smaller (mine is about 4″). Left click and drag the hearts up into the left corner of the grey rectangle.
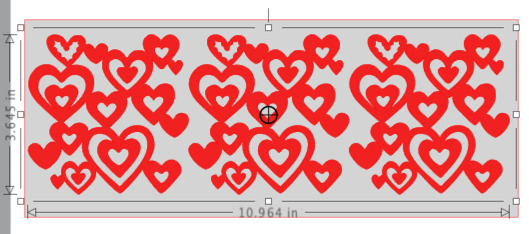
With the heart group selected, hold the CTRL (CMD) key and press the right arrow key. A second heart group will be placed in the workspace. Repeat this one more time so you have three groups of hearts in the workspace.
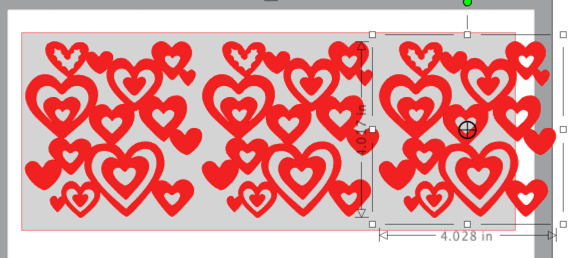
With the last heart group selected, hold down the Shift key and click on the second heart group. Continue holding the Shift key and click on the first heart group. With all three hearts selected, left click and drag one of the corner handles to adjust the size of the heart groups so they fit into the grey rectangle.
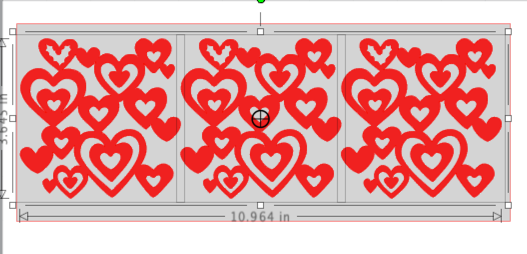
Group the three objects either by right clicking and selecting gGroup from the menu or by using the keyboard shortcut CTRL-G (CMD-G). There will now be one bounding box around all the hearts.
Save your design. I always designs I create to an external hard drive. Now you are ready to cut your vinyl.
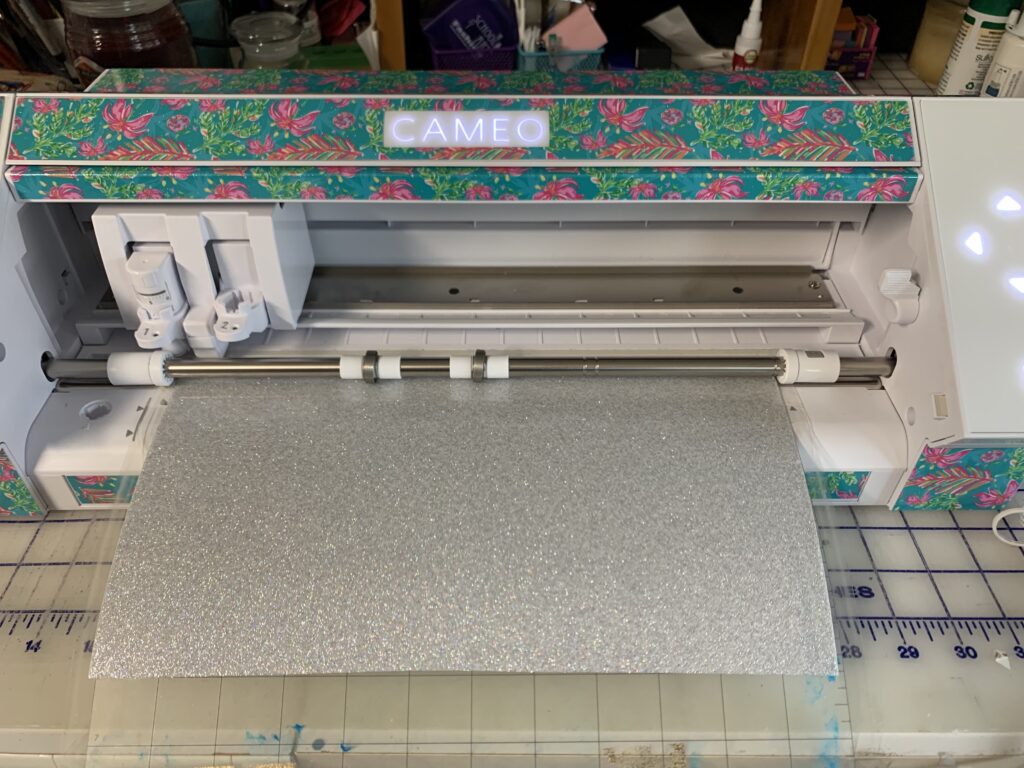
Place the transparent vinyl on your mat with the vinyl looking at you.
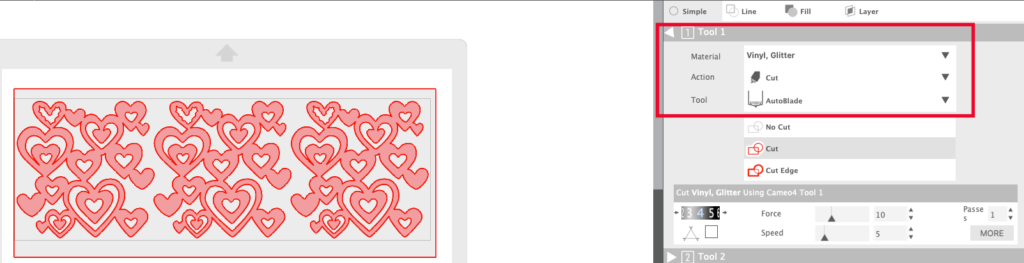
Click on the Send tab. Because you are only cutting one color, you can just use the Simple tab. In the Preview side of the window, make sure the hearts and rectangle have dark red lines. If they do not, make sure they are selected and click on Cut. Set your Material type to Vinyl, Glitter and the Action to Cut. Make sure you have the correct blade selected.
I recommend that you do a test cut … always!! The test will cut in the top left corner of the mat, unless you move it. Make sure your design is positioned so that the test cut will not cut into your hearts. If the test cut is not good, adjust your settings and repeat the test — remember to move the test to a new location. A good test would be one where the vinyl cuts and is easy to remove but the backing is not cut. If your test cut correctly, you can press Send and cut the vinyl. my vinyl with the second test cut weeded out to check the settings.
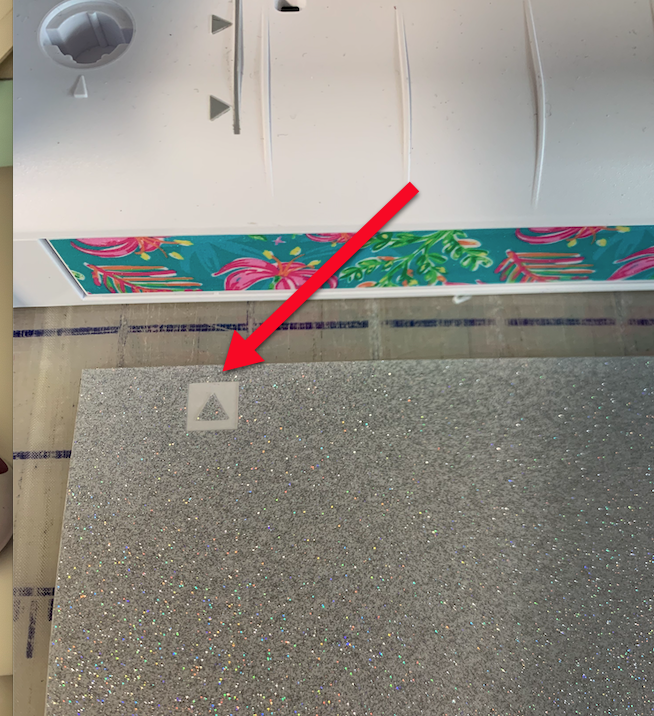
In the photo below, my first test cut was not successful and I moved the test cut over using the arrows in the Send tab — notice that the position of Tool 1 is in the place I want the new test cut. I moved it to the right and down a little into the vinyl to be sure I was not cutting into the previous test cut area.
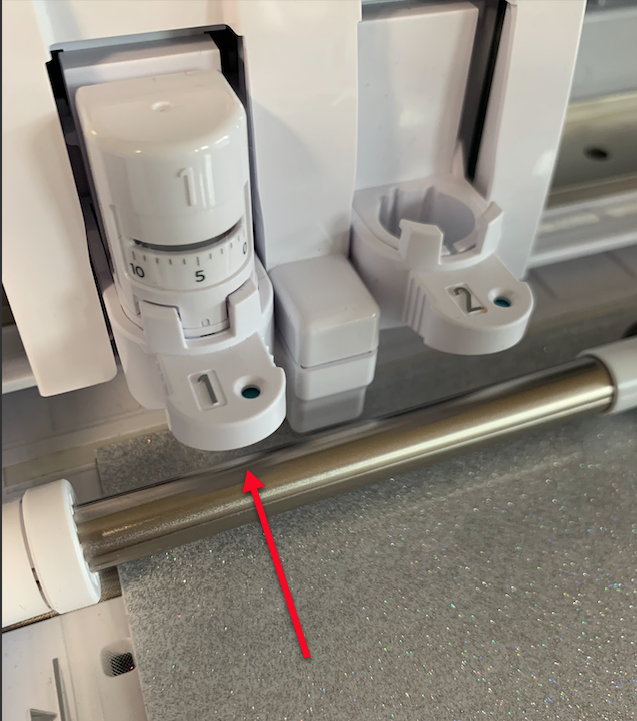
This is where my second test cut wound up — right where I moved it to.
My second cut was perfect so I pressed Send and cut the design. When it finished cutting, I weeded my design and it was ready for the transfer tape. I used Oracal Transfer Tape.
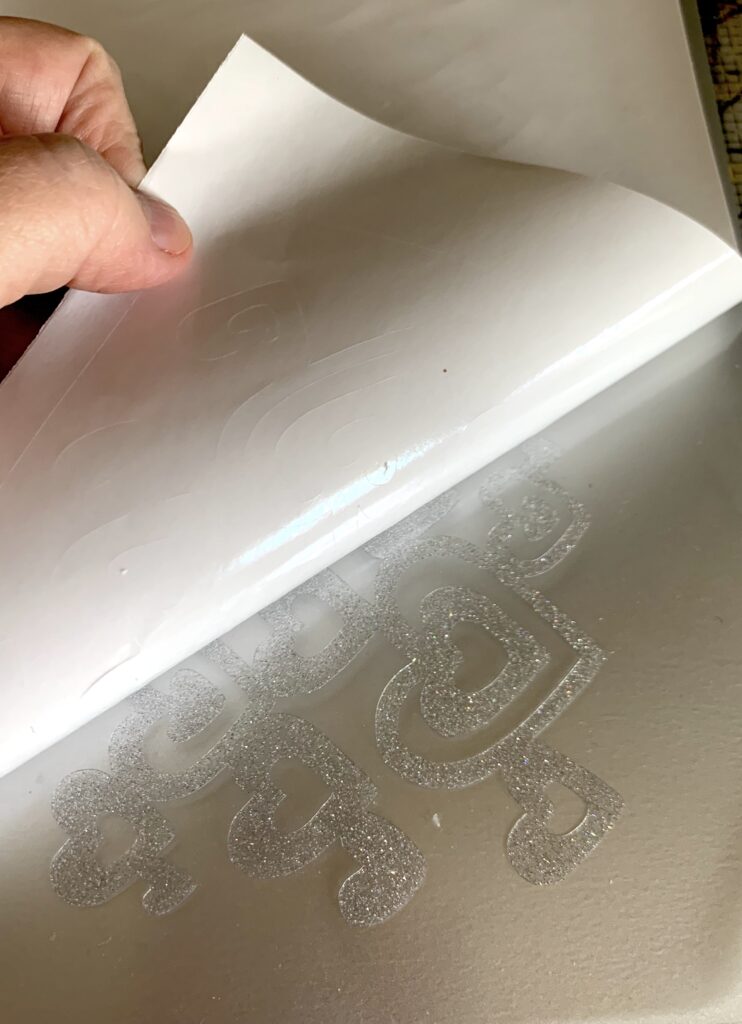
After I applied the transfer tape to the vinyl and made sure it was squeegeed down really well, I turned it over and removed the backing from the vinyl. This design weeded really well, but it’s a habit that serves me well when the design has lots of small parts.
Clean your vase with an alcohol wipe just to be sure it was free of oils and other dirt. Then I placed it in my cup cradle. I have had this cradle for about 10 years and don’t remember where I got mine, but there are tons available on the internet — or you could make your own. It really helps when trying to place vinyl on cups and mugs.
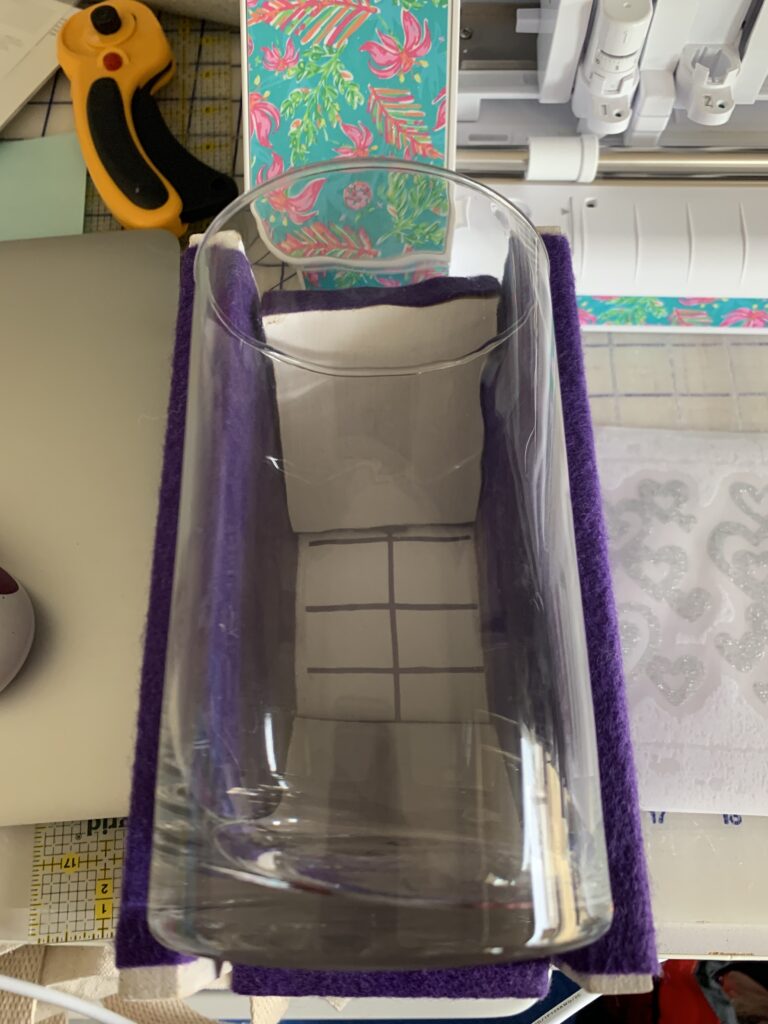
I lined the middle section of the design up on the vase and lowered it down on to the vase. I carefully rubbed this part of the design down on to the vase.
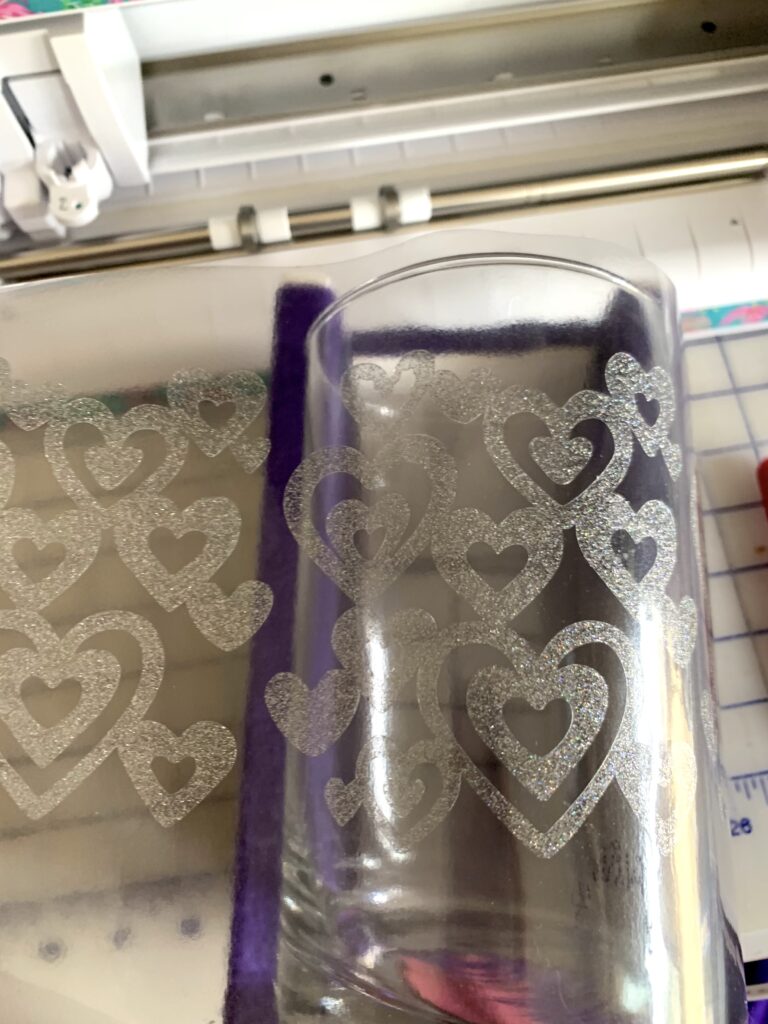
I then lifted the vase out of the cradle and smoothed first the left and then the right sides of the tape down onto the vase. Make sure to rub the vinyl really well or use a squeegee to rub over the vinyl to help make sure it adheres to the vase. Remove the transfer tape and enjoy!!
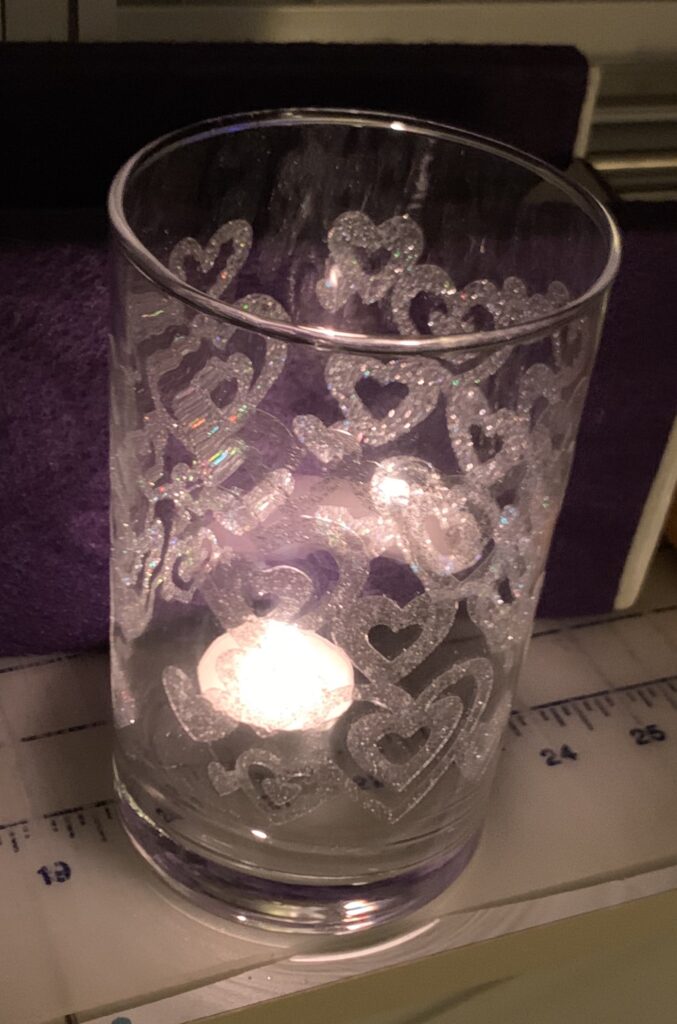
This would also be pretty if you add a flameless tea light.
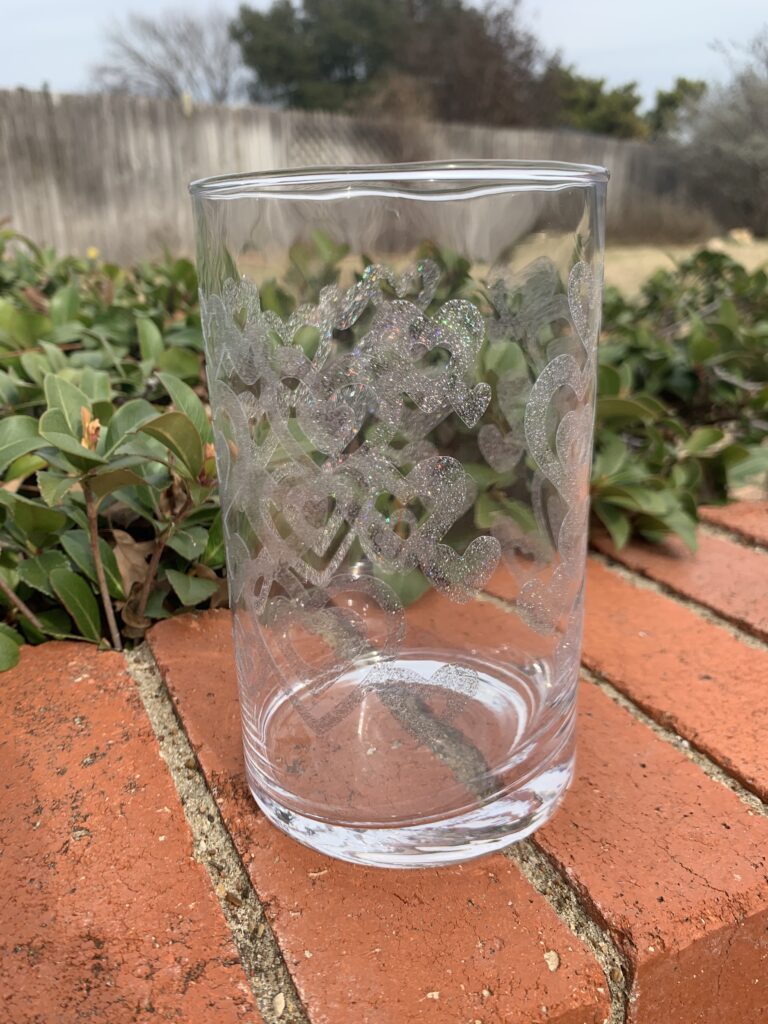
There you go …. Quick and easy faux etching … it took you longer to read this post that it will take you to create it!! I hope you like the project and will give this great transparent vinyl a try!
If you enjoyed these tips, please join my Facebook groups … Libby’s Silhouette Group — Tips, Tricks, Tutorials and Projects, Libby’s Craft and Sewing Group and Running With Sisers – Juliet and Romeo. You can also find me on FB at Libby’s Loft.com. Please join and feel free to ask questions and share your creations! I look forward to seeing you there!!
Until Next Time,
Happy Crafting!!
Disclaimer: Posts on this site may contain affiliate links. Clicking on one of these links or making purchases at linked sites does not mean you pay more for your purchases. It means I may receive a small commission on your purchase. This commission helps defray the costs of this site and enables me to continue to provide you with new and exciting content.
Until next time,
Happy Crafting!!
Disclaimer: Posts on this site may contain affiliate links. Clicking on one of these links or making purchases at linked sites does not mean you pay more for your purchases. It means I may receive a small commission on your purchase. This commission helps defray the costs of this site and enables me to continue to provide you with new and exciting content.