I have had some Holographic Sticker Paper in my “resource center” for a while now and when Silhouette America asked their Silhouette Elite Affiliates to create a custom gift wrap project … well, that holographic sticker paper called my name!!
To get started, I set my Material size to 8.5″ x 11″ for the sticker paper. Then I turned on the registration marks by pressing ‘m’ on the keyboard.

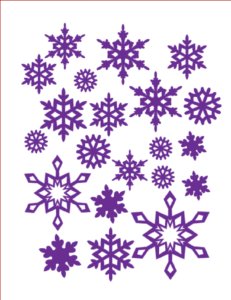
I grabbed some snowflake designs from the Silhouette Design Store. I selected designs #1804555, #5981, #69812, 53386 and #4943. I copied each of the snowflakes multiple times, changing the size to get a variety of snowflakes.
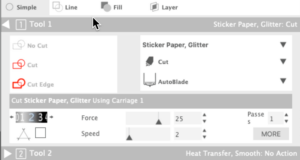
I selected Sticker Paper — Glitter as my starting point for cutting this sticker paper. My blade is a little older, so I had to do several test cuts to find the right settings for this sticker paper. I say “test cut” every time we are talk about cutting … it was a life saver tonight! This sticker paper has a thick carrier sheet that makes it shiny so it took some trial and error to find the right settings.
Once the snowflakes were weeded and placed on the gift bag, I got started on the gift tag.
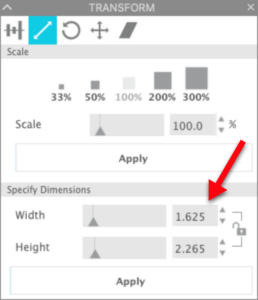
In Silhouette Studio, I created a rounded rectangle. I sized the shape to 1.625″ wide and 2.265″ tall in the Scale Tab of the Transform tab.
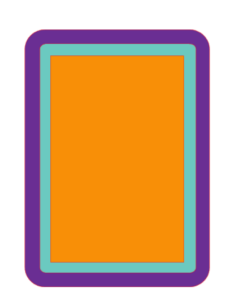
With the rectangle selected, I clicked on the Offset panel. I selected Internal Offset and left the distance at the default. Then I repeated this process again. I now had 3 rectangles. I added color to my rectangles so you could see them more easily.
I selected the first inner rectangle (teal in my example), right clicked and copied the design. I right clicked and pasted it into the workspace but moved it over to the side for now. I then selected the two inner rectangles, right clicked and selected Make a Compound path. This combined the two inner layers in to a frame.

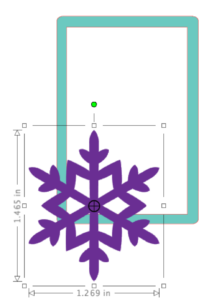
I moved the large purple rectangle off to the side for these next steps. I selected one of the snowflakes I used on the gift bag and pasted it into the lower left corner of the teal frame.
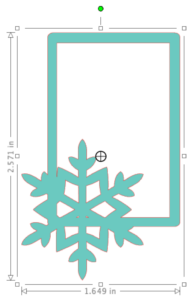
I selected the teal frame and the snowflake and welded the two shapes so they become one shape.
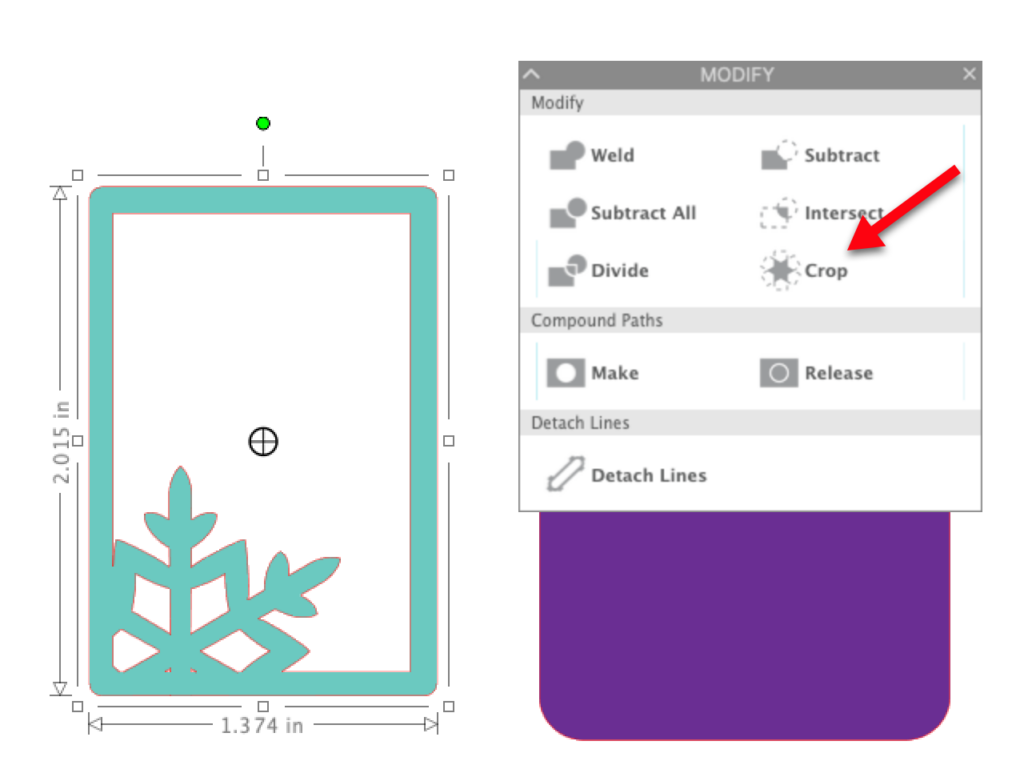
I moved the teal rectangle back into position over the top of the snowflake/frame design. My rectangle was created before the frame, so it was behind the frame. With the rectangle selected, I right clicked and selected Bring to Front.

I selected the rectangle and the frame shape. Then I selected Crop in the Modify panel.
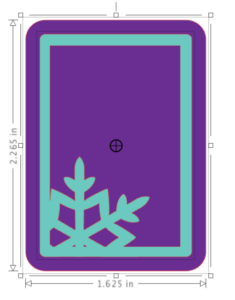
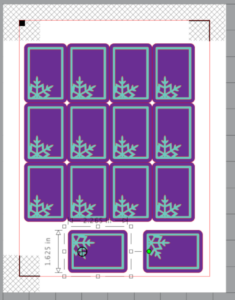
I selected the purple rectangle and the newly created frame and clicked on the Center icon to center them on each other. I added a small circle at the top of the purple rectangle to create a hang tag.
I selected all three elements and grouped them together. Then I moved them into the top left corner of the page making sure to stay inside the cut lines and outside the hash mark area. I duplicated the card to fill the page.
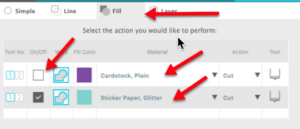
Once everything was lined up, I turned off the registration marks since I was not printing. (Press ‘m’ to toggle the registration marks on and off.) On the Send tab, I selected Fill so I could cut by fill. I made sure I had the right material selected for each color and unchecked the purple so I could cut the frame from holographic sticker paper.
I cut the frames from holographic sticker paper and then cut the card (purple in my example) from cardstock. (Make sure you check your material type and settings before cutting the cardstock).
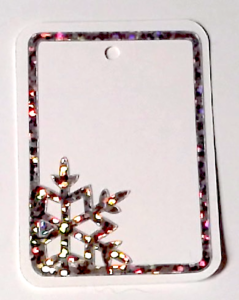
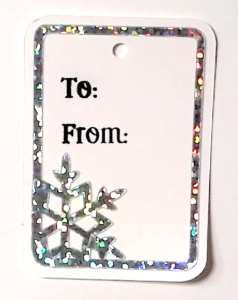
To assemble the card, layer the holographic sticker paper frame on the cardstock.
Next I grabbed my Mint to create the rest of the gift tag. In Mint Studio, I selected the 30x30mm template. I used the text tool to add lettering and selected a cute font. (I selected PN Kingdom Come.)
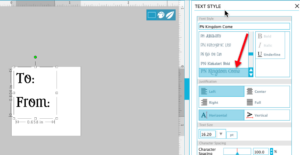
I knew I needed to keep the lower left corner of the stamp empty because I have the snowflake in the lower corner of the frame. Once everything was lined up, I created my stamp and added ink. When the ink soaked in, I “stamped it off” to remove excess ink and then stamped my gift tag.
I used baby rickrack to create a ribbon for the tag and threaded it through the grommet for the handle.
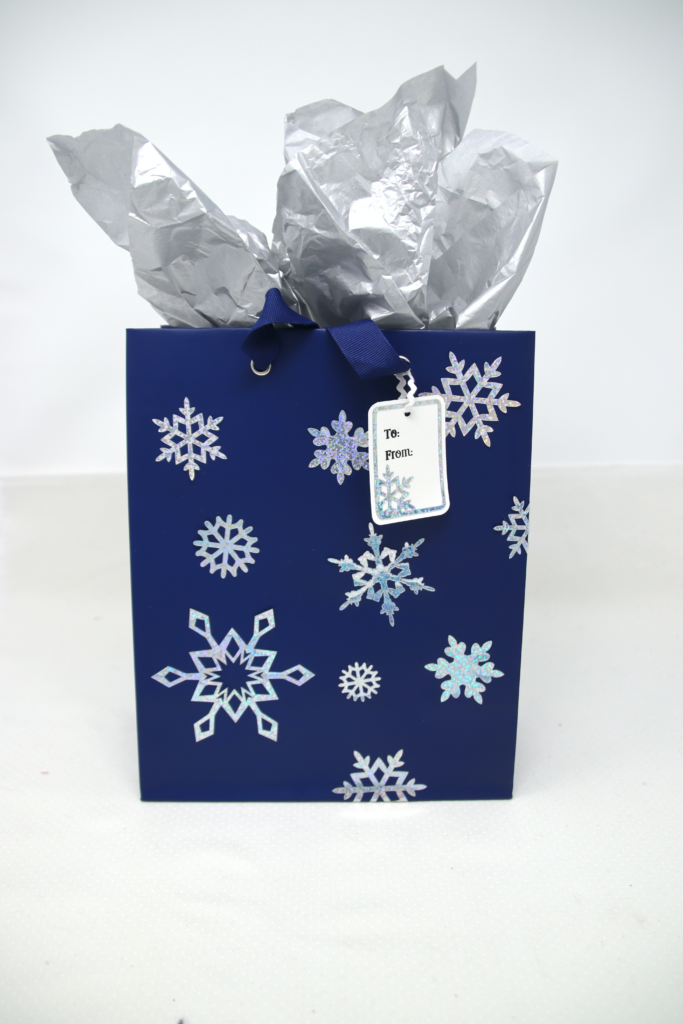
And there you go! A custom gift bag and gift card. I will be adding stickers to gift bags more often … I see monogrammed gift bags coming up soon!! How are you going to customize your gift bags?? Be sure to share photos with us!
If you enjoyed these tips, please join my Facebook groups … Libby’s Silhouette Group — Tips, Tricks, Tutorials and Projects, Libby’s Craft and Sewing Group and Running With Sisers – Juliet and Romeo. You can also find me on FB at Libby’s Loft.com. Please join and feel free to ask questions and share your creations! I look forward to seeing you there!!
Until Next Time,
Happy Crafting!!
Disclaimer: Posts on this site may contain affiliate links. Clicking on one of these links or making purchases at linked sites does not mean you pay more for your purchases. It means I may receive a small commission on your purchase. This commission helps defray the costs of this site and enables me to continue to provide you with new and exciting content.
Until Next time
Happy Crafting!!
Disclaimer: Posts on this site may contain affiliate links. Clicking on one of these links or making purchases at linked sites does not mean you pay more for your purchases. It means I may receive a small commission on your purchase. This commission helps defray the costs of this site and enables me to continue to provide you with new and exciting content.