I needed some gift tag stickers for holiday packages this year and decided to make my own.
I used the new Flexi Shape tool in v4.2 of the Silhouette Studio software. It’s easy to use this new tool — just select your design from the flyout menu. Click on the shape you want and move the cursor into the workspace. Left click and drag to draw your shape.
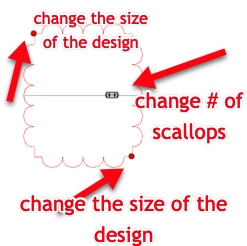
Once your shape is drawn, release the mouse. You can use the red circles to change the size of the design. Some shapes also have a slider that allows you to change the shape without changing the size … in the example above, it changes the number of scallops around the design.
Once you have the shape the way you want it, right click and select Convert to Path from the menu.
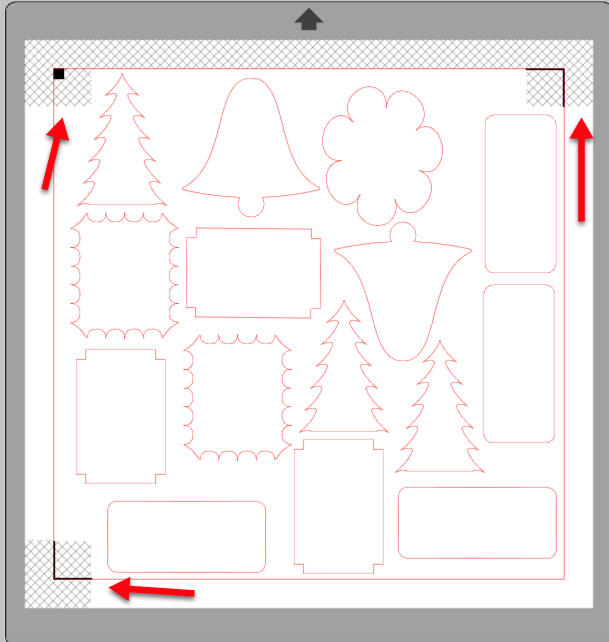
Because we are going to use the Print and Cut features in our software, press the “M” on the keyboard to turn on your registration marks.
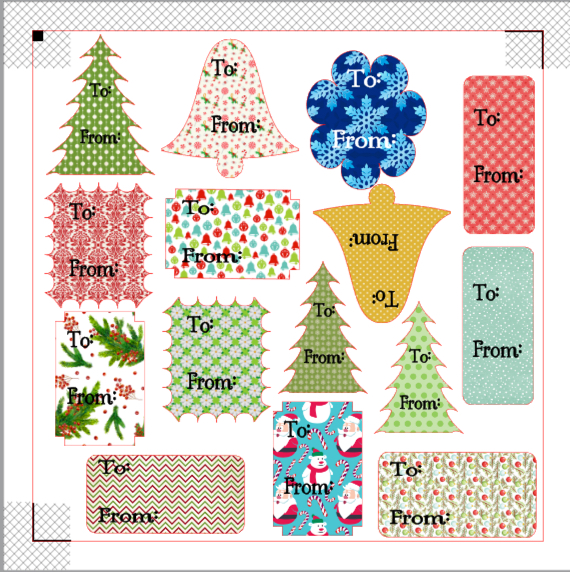
Continue creating shapes and placing them in the workspace. Keep your shapes inside the red bounding box and outside the shaded areas.
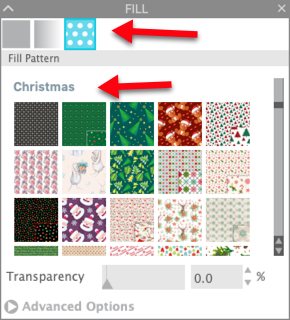
Now comes the fun part!! Click on one of your shapes. Click on the Fill Panel icon on the right side of the screen. In the Fill Panel, click on the third icon icon, the Fill Pattern icon. Scroll thru your patterns and select one that will look great in that shape. I have separated my patterns into categories to make it easier to find them. When you find a pattern you like, click on it to fill the selected shape.
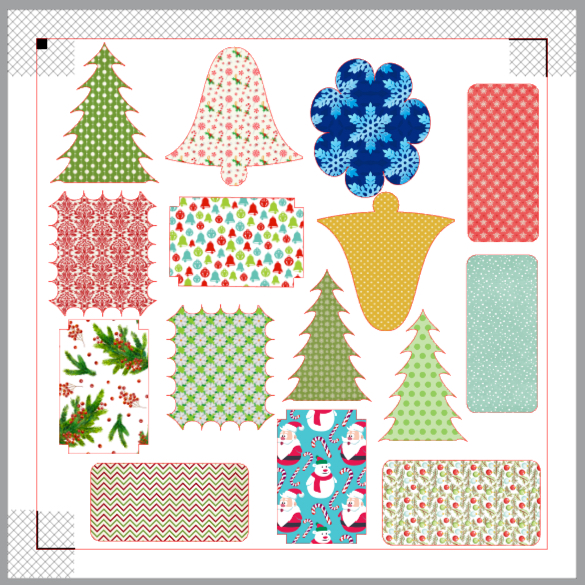
Continue selecting shapes and patterns until all your shapes are filled with patterns.
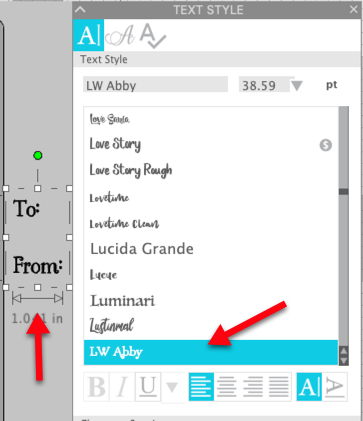
Click on the Text tool on the left toolbar. Click in the workspace to get a text placeholder. Enter the text you want on your tags. I used “To” and “From”.
With the lettering selected, change fonts, if desired. I selected Lori Whitlock’s font named “Abby”. It shows up in my font list in Studio as “LW Abby”.
With your lettering selected, right click and select Duplicate to create another copy of the lettering. You can also use Copy/Paste for this. Move the lettering into place on one of your tags. Size the font as necessary. Repeat until all your tags have lettering.
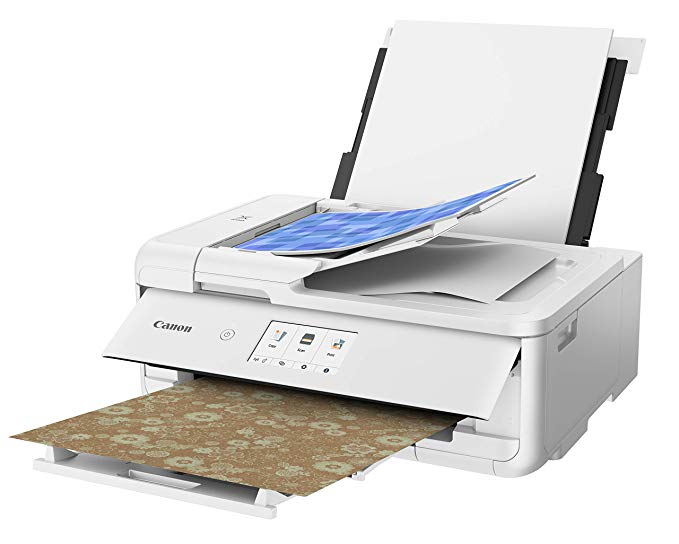
Be sure to check your print settings … I am printing on 12×12 matte sheets from Red River Paper, using my new Canon TS9521C printer.
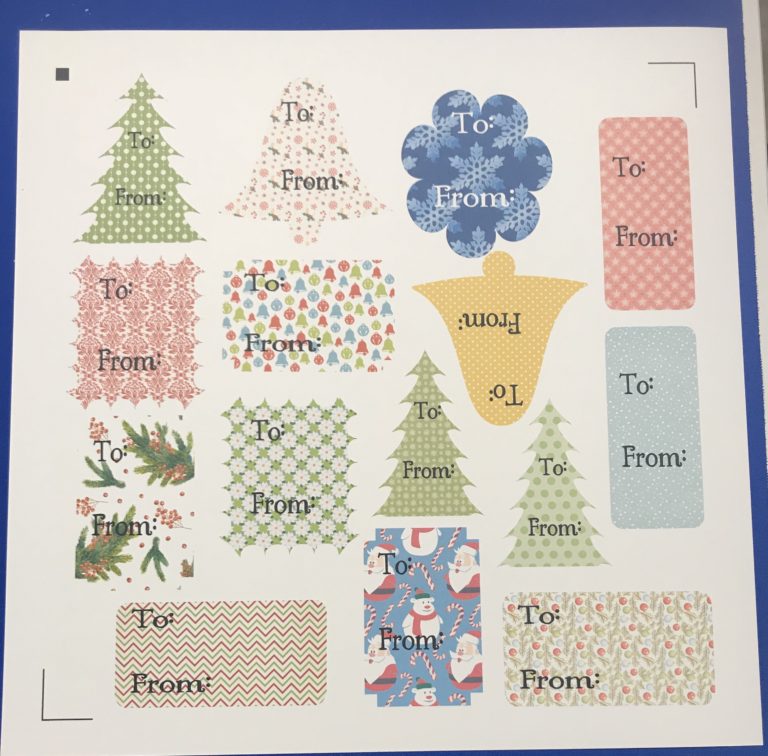
Here’s my printed page.
I loaded the printed page on to the mat and loaded the mat into my Silhouette Cameo. I used the auto blade on my Cameo 3 and performed a test cut. I found that the Card stock, Plain settings worked perfectly!
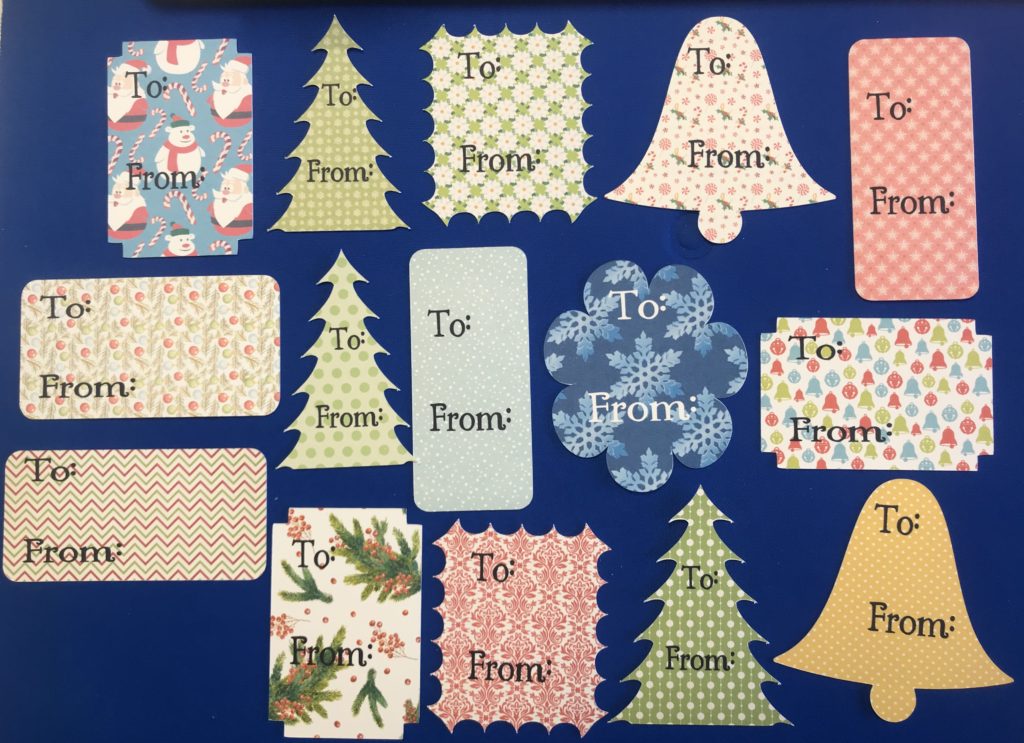
Here are my tags, all cut and ready for me to use on gifts … guess that means I better get busy wrapping!
Be sure to join my FB group, Libby’s Craft and Sewing Group, and post pictures of your creations!
Until next time,
Happy Crafting!

So talented. I really need to learn this machine
I need to learn how to use the software better. Thanks for the tutorial.
I downloaded the beta 4.2 version, but I do not have the Flexi Shape tool.
Can you help me?
Thank you.
Carolyn, it should be the 6th icon down in the left tool bar. It is right underneath the drawing tools.
I downloaded the 4.2 version, but I do not have the Flexi Shape tool
Can you help me?
Thank you.