Several months ago there was an update to Embrilliance software. The new version is 1.61. You can check your version by selecting About from the Help menu if on a PC or selecting About Embrilliance from the Embrilliance menu on a Mac.

If you do not have v1.161, you will need to update your software in order to use Font Envelopes. On the Embrilliance website, click on Downloads/Updates in the left column and download the update for your computer (Mac or PC). Once the update is downloaded, run the update.
There are a number of new and improved features in this new update and you can see all of them by clicking here. This blog on the Embrilliance website will tell you all about the enhancements in this update.
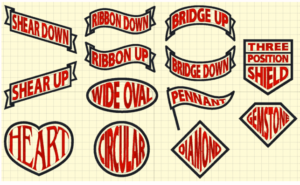
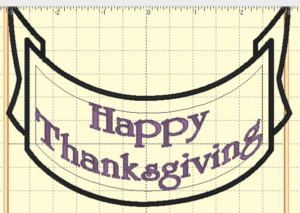
Today we are focusing on the ability to use Font Envelopes in your Embrilliance Essentials software. This photo from the Embrilliance website shows you a preview of the new envelopes.
To get started using the new font envelopes, you first need to download the free envelopes from the Embrilliance website. You can click here to download the free Library file.
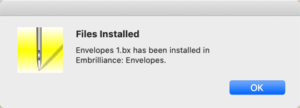
Once the file is downloaded, you need to install it in your Embrilliance software. You can do this by dragging the Envelopes.bx file into your Embrilliance software or by double clicking on the file. I just dragged the file over my open Embrilliance software. Once it was installed, I got this message:
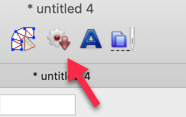
Now the fun begins!! To add a font envelope to your workspace, click on the Merge Design from Library icon.
This will open your Library window. In the Category Dropdown on the left side of the window, you will find a category called Embrilliance: Envelopes. Once it is selected, you will see the envelopes in the Preview window.
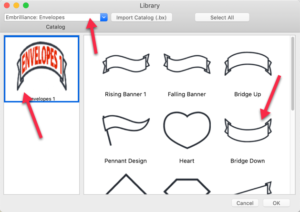
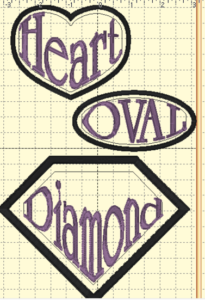
Scroll thru the envelopes in the Preview window. When you find one you like, click on it to select it. Click OK to add it to the workspace. (You can also double click on the preview picture to place it in the workspace.) I chose Bridge Down for this example.
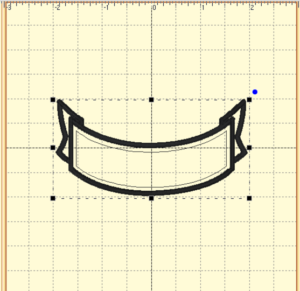
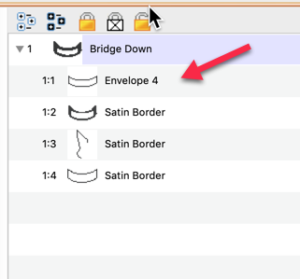
Take a look at the Objects panel. There are a number of items there that are part of this new design. It is important to make a note of the number next to the item named “Envelope”. We will be using that number in a minute. In this case, the name is “Envelope 4”.
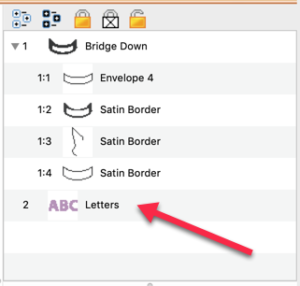
Now let’s add some text. Click on the Text tool. The text placeholder is appears in the workspace. In the Objects Panel, there is now an object called “Letters”.
In order for the font envelope to work with our text, the name of the object needs to be changed to match the name of the envelope. Double click on the word “Letters” in the Objects Panel. Add the number corresponding to the envelope to the name. In my case, I need to add the number “4” to the name.
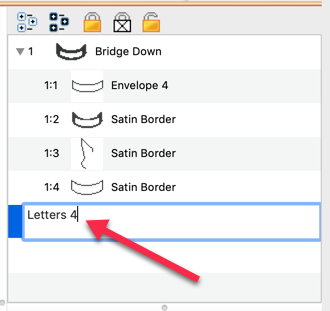
Press the Enter key to set the name change. Now click on the text box in the Properties window and enter your text. Press the enter key to set the text.
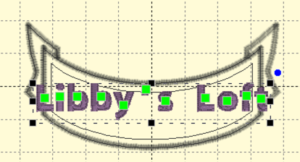
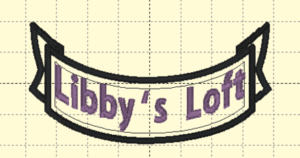
But wait!! The text is still straight! Click off the words so nothing is selected. The words should align themselves in the envelope.
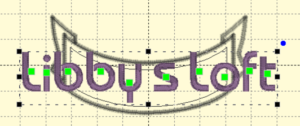
If you want to change the text, click on the text. it will become straight line text again. Make whatever changes you wish in the Properties window.
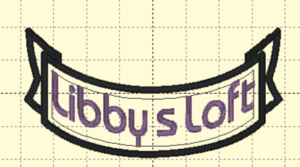
To apply the changes, click outside the design. The changed text should now be back in the envelope.
You can also use font envelopes with multi-line text. Just click on the Multi-Line icon in the Properties window and enter your text. The text will be sized and added to your font envelope.
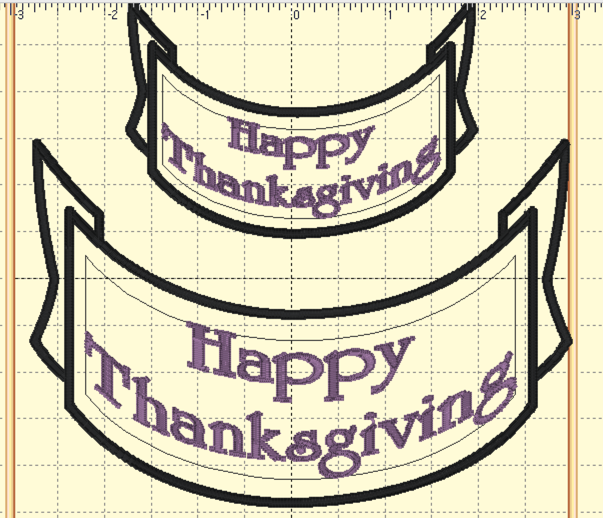
You can change the size of a font envelope by clicking and dragging the handles. As you drag the handle, only the envelope will resize but when you release your mouse button, the text will resize and fit into the new envelope.
If you have Stitch Artist, you can create your own font envelopes. The object you create must be a line object, not stitches. I’ll cover that in another blog post.
One more exciting feature …. you can have more than one envelope in a design! Just remember to rename the lettering to match the envelope.

That’s how easy it is to use font envelopes!! I hope you are as excited about using font envelopes!
Be sure to join my FB group, Libby’s Craft and Sewing Group, and post pictures of your creations!
Until next time,
Happy Crafting!!