
The earliest known monograms appeared on coins as early as 350BC. They were the names of the Greek cities that issued the coins. Monograms have been used by artists and craftsmen since the Middle Ages. They were also used by royalty on coins and as insignia of all types.
During the Victorian Era, in both Europe and America, elaborate monograms became popular. They were used as a way to identify an individual’s belongings and also as a way to show status. Ladies embroidered beautiful and elaborate monograms on everything from bedding and linens to garments and home decor items.
Monograms increased in popularity again in the mid-20th century. Traditional monograms for ladies used a large center initial for the last name and smaller letters for the first and middle names.
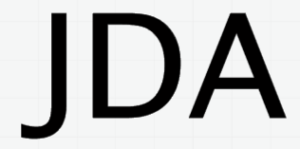
Monograms for men are usually straight line designs … with the first, middle and last initials in that order.
Sometimes monograms have a flourish or other embellishment with them. They range from the very basic to very elaborate.
Some people say that monograms for couples should have the woman’s initial on the left, the last name in the middle and the man’s initial on the right … because they say “ladies go first”. Mary and Kevin Smith would have a monogram like this.
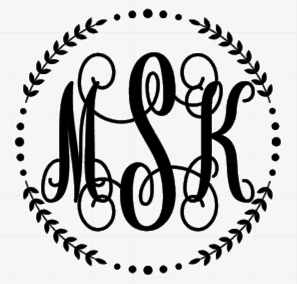
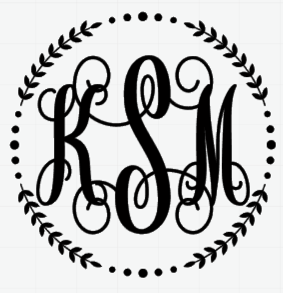
Others say that the man’s initial should go first, the last name would be in the middle and the woman’s initial on the right. In this case, Mary and Kevin Smith’s monogram would look like this.
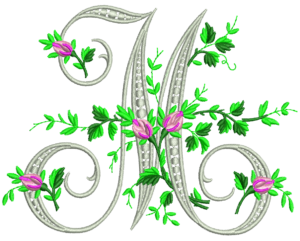
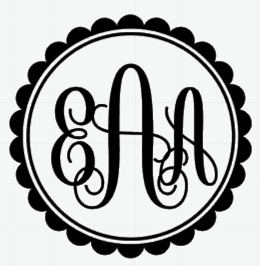
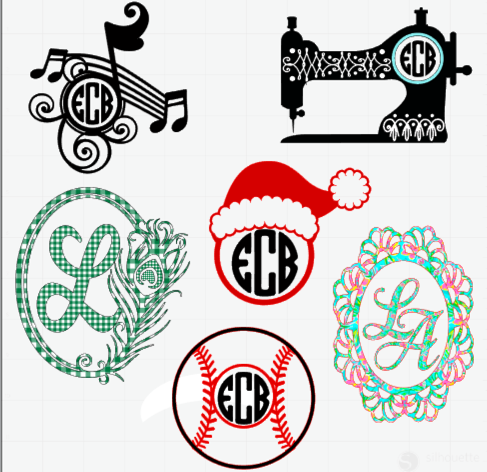
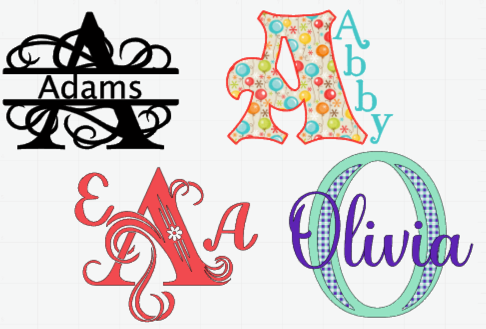
As crafters and sewists have begun to monogram a wider variety of items, monograms have gotten a new life! It’s not just about the letters anymore! Monogram frames have become very popular … and unique!
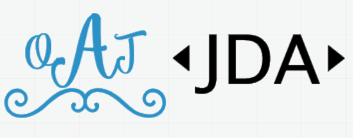
Now that we know the basics for placement of the initials in a monogram, let’s have some fun! Step away from the “straight and narrow” to create fun monograms where the letters stand on their own.
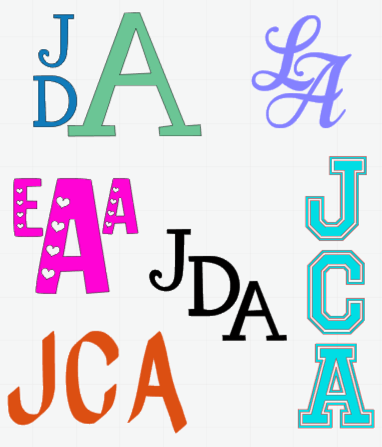
Combine one large initial with a name … first or last … to create unique monograms. A decorative initial for the last name flanked by plainer letters for the other initials also makes a fun monogram.
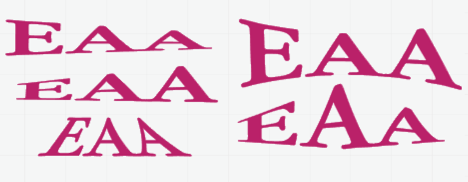
Silhouette Studio includes some Warp Templates that allow you to warp a monogram to create some interesting effects. Here are just a few.
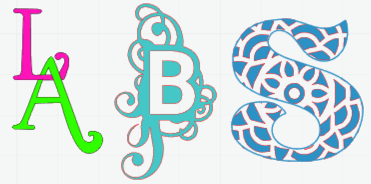
Use the knife tool to create interlocking letters or the Subtract tool in the Modify panel to remove parts of your design to create fun monograms.
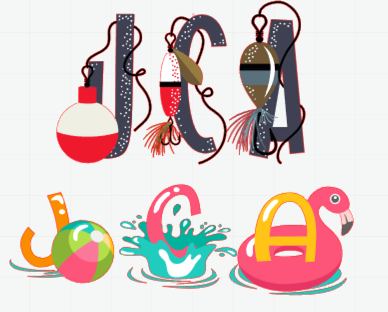
Don’t forget all the fun new fonts you can find …. here are a couple monograms creating using Full Color Fonts from the Silhouette Design Store.
As you can see, monograms are not just for hankies any more! They can be fun and funky and truly express the personality of the person!!
If you enjoyed these tips, please join my Facebook groups … Libby’s Silhouette Group — Tips, Tricks, Tutorials and Projects, Libby’s Craft and Sewing Group and Running With Sisers – Juliet and Romeo. You can also find me on FB at Libby’s Loft.com. Please join and feel free to ask questions and share your creations! I look forward to seeing you there!!
Until Next Time,
Happy Crafting!!
Disclaimer: Posts on this site may contain affiliate links. Clicking on one of these links or making purchases at linked sites does not mean you pay more for your purchases. It means I may receive a small commission on your purchase. This commission helps defray the costs of this site and enables me to continue to provide you with new and exciting content.
Until Next time,
Happy Crafting!!
Disclaimer: Posts on this site may contain affiliate links. Clicking on one of these links or making purchases at linked sites does not mean you pay more for your purchases. It means I may receive a small commission on your purchase. This commission helps defray the costs of this site and enables me to continue to provide you with new and exciting content.