I have had my Silhouette Curio for quite a while and have even gone to a Curio retreat, but I must confess I was not using my Curio. I decided the only way to improve my Curio skills was to jump right in, so I created my own Curio Boot Camp! Fortunately, I am the only student!! I have had a great time and wanted to share some of my experience with you! So here we go …
Before I started, I reviewed some blog posts from the “queen of the Curio” — my friend and colleague, EllyMae Habets of Silhouette Secrets+. The first blog post I read was this getting started post. I’m not going to give you all the details that Elly provides in her blog post … but I will give you some highlights and important information as you get started.
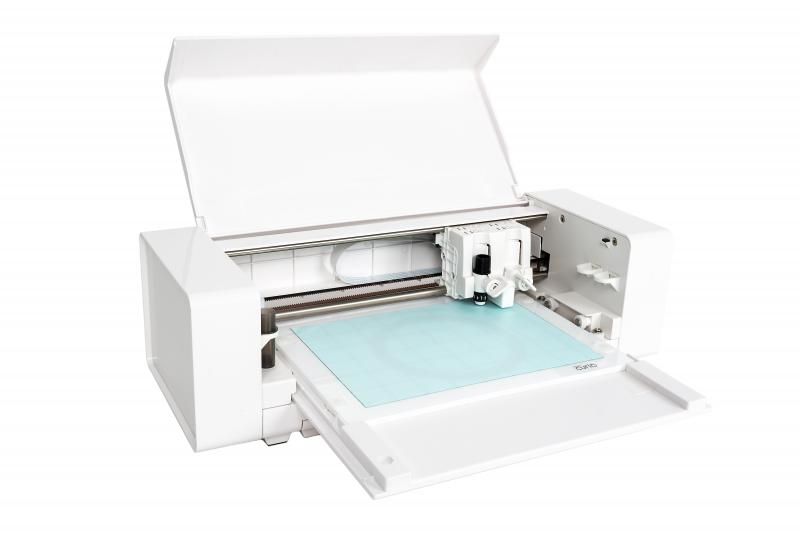
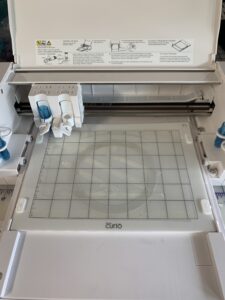
The curio comes with a hard base and a set of platforms and mats. Because the Curio is designed to cut materials of varied heights, you will adjust the number of platforms to fit the material being cut. The platforms are different thicknesses, but the total thickness of the platforms, mat and material are ideally set to 6.
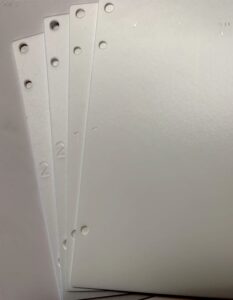
The platforms and mats fit onto the hard base in a stack and are held down by small clamps on each side of the base.
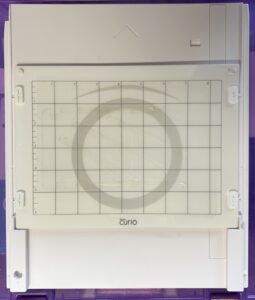
In order to open the designing panels specific to the Curio, the Curio must be recognized by your Silhouette Studio software. To accomplish this, connect your Curio to your computer, and turn it on. You must also load the base in your Curio. Be sure to read Elly’s post on how to load your mat.
Once my Curio was recognized by my Silhouette Studio software, I was ready to get started. I decided to start with acrylic etching as my first project. I decided to start with a small project as my first project. I had some 3″ acrylic circles from Craft Chameleon already in my supply drawer.
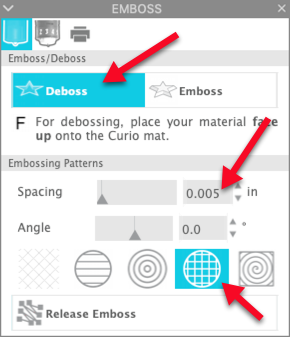
In Silhouette Studio, I merged the template file into my workspace. I then added a design I thought would etch well. In the Emboss panel and I selected an embossing pattern. I selected Deboss. I selected one of the patterns (I chose the 3rd one — the cross hatch pattern) and adjusted the spacing to 0.005.
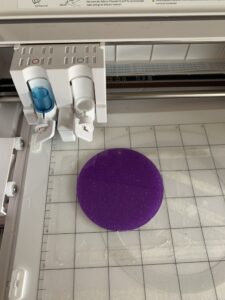
I put a piece of Protecto Film on the mat to help hold the acrylic piece in place. I used the Stippling and Etching Tool in Tool 1. Then I loaded the mat.
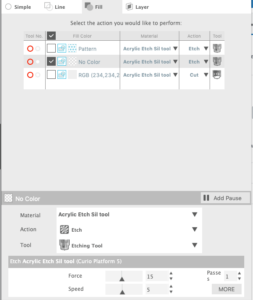
On the send tab, I double checked to be sure my Action was set to Etch and the the Etching tool was selected.
I held my breath and pressed SEND. Then I watched (yes, I watched the entire process) in amazement as my snowflake was etched on the acrylic.
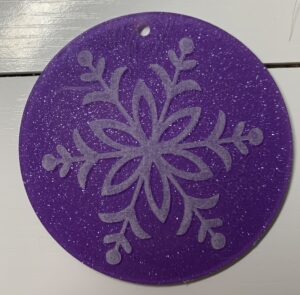
After the etching was completed, I removed the acrylic from the mat and cleaned it off using an alcohol wipe. There’s no special reason why I used the alcohol wipe other than it was right by my machine and I did not have to go to another room to get a damp cloth!
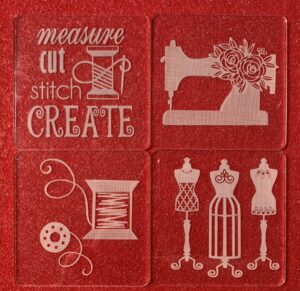
After my first etching, I got braver. This time I etched coasters for some Christmas gifts. The coasters came from Craft Chameleon and this time, I also used the template from Craft Chameleon to help with placement of the design. The template comes with a PNG file that can be loaded into Silhouette Studio to help with placement. Here’s what my screen looked like with the template and designs loaded.
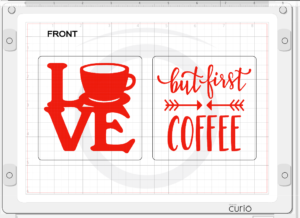
The template stays on the mat when you cut. Just a word to the wise here about using the template … make sure your acrylic is completely down in the template. If it’s not, you may experience problems in cutting … ask me how I know!

Next I decided to try metal etching. Again, I turned to EllyMae and Silhouette Secrets+ for guidance. Click here to read the blog post I used to get started.
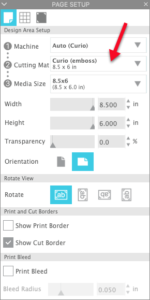
Metal etching is similar to etching on acrylic. You still set things up in the software the same way … select your design, add the fill pattern in the Emboss panel and use the Stippling and Etching tool. Instead of the cutting mat, you use the Embossing Mat. You can select the Embossing Mat in the Page Setup Panel so your screen will reflect exactly what you will see when you are at the Curio.
Here’s what my screen looked like with my design added. I was used the Metal Etching Sheets from Silhouette America for this project. The sheets are 5″x7″ so I drew a rectangle that size to help me size my design and center it on the sheet.
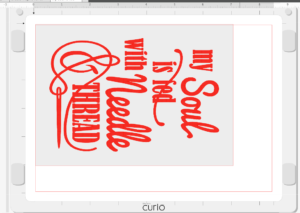
In the Send panel, I again checked all my settings, this time using the Metal Sheets, Etching preset as my material type.

When this design finished etching, I again cleaned it off … this time, I did rinse it with water and carefully dried it. Then I attached it to this wood plaque from Michaels.

Needless to say, I am hooked! I love my Curio and have ordered more acrylics (and templates) so I can keep playing. I hope this has inspired you to take that Curio out of the box and get started!
If you enjoyed these tips, please join my Facebook groups … Libby’s Silhouette Group — Tips, Tricks, Tutorials and Projects, Libby’s Craft and Sewing Group and Running With Sisers – Juliet and Romeo. You can also find me on FB at Libby’s Loft.com. Please join and feel free to ask questions and share your creations! I look forward to seeing you there!!
Until Next Time,
Happy Crafting!!
Disclaimer: Posts on this site may contain affiliate links. Clicking on one of these links or making purchases at linked sites does not mean you pay more for your purchases. It means I may receive a small commission on your purchase. This commission helps defray the costs of this site and enables me to continue to provide you with new and exciting content.
Until next time,
Happy Crafting
Disclaimer: Posts on this site may contain affiliate links. Clicking on one of these links or making purchases at linked sites does not mean you pay more for your purchases. It means I may receive a small commission on your purchase. This commission helps defray the costs of this site and enables me to continue to provide you with new and exciting content.
Boy this is just what I needed! Elly and you in one place!! Thank you Libby for this concise post. I will be referencing this lots!!
Great info as usual! I haven’t received mine yet but can’t wait to play!!
This wonderful! I still need to learn to use mine. I think you will help ?