Glass etching is quick, easy and looks amazing when finished! I did glass etching on some glass ornaments for gifts this year and wanted to share the process with you.
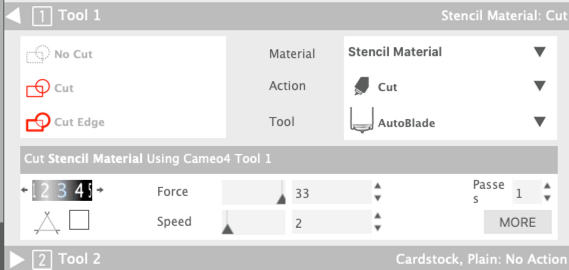
For this project I used Oracal 813, Stencil Vinyl. I have also used Oracal 651 for stencils and it works great as well. On my Silhouette Cameo, I used the Stencil Material settings with no adjustments. Be sure to use a test cut to check your settings before you cut the design — it will save time and vinyl. Tip: When you position your test cut, remember not to put it too close to your design — you need plenty of room around the design when using etching cream.
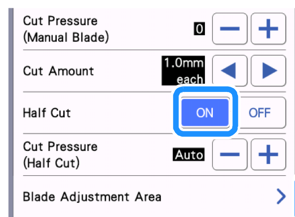
I also cut some stencil material on my Brother Scan ‘n Cut and used these settings: Cut Pressure 0, Cut Speed 3, Turquoise Blade 1. When I used the Scan ‘n Cut SDX225, I used the auto-settings. (Remember to turn Half-Cut on when cutting vinyl so it will not cut thru the backing.)
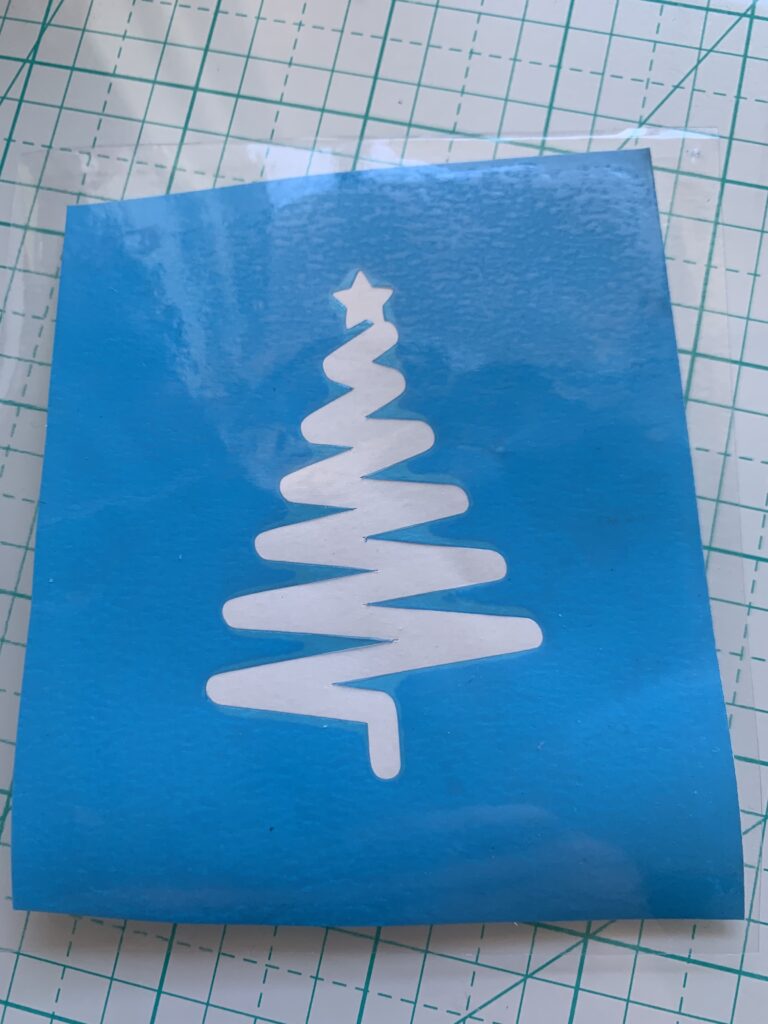
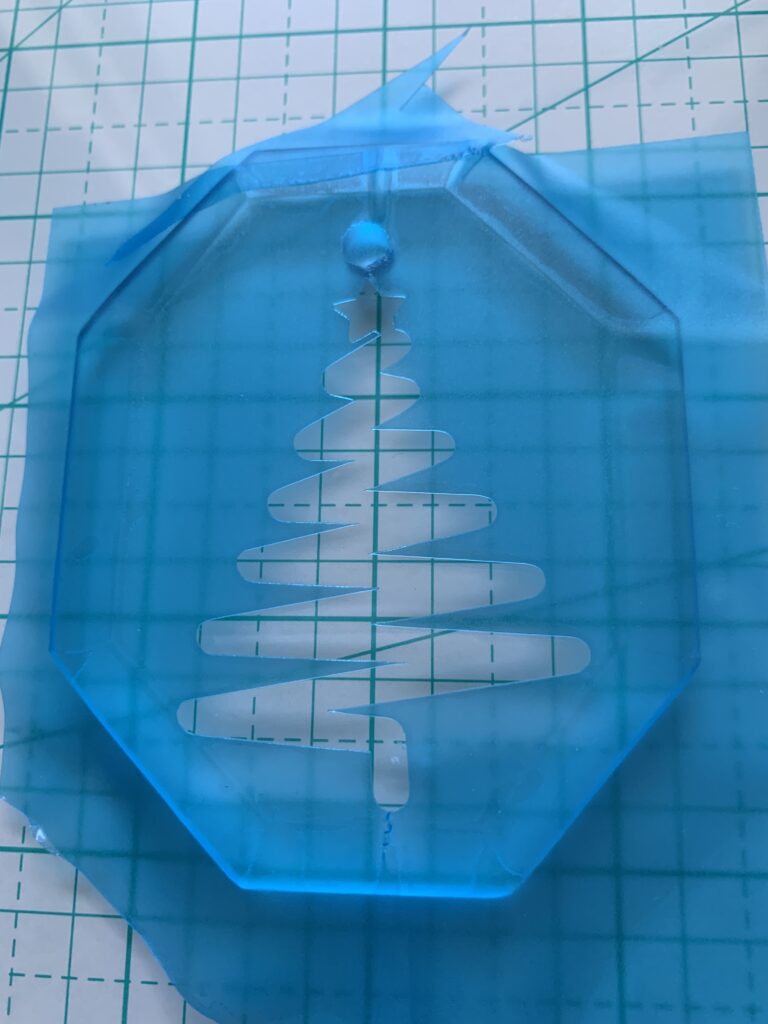
When the stencil material has been cut, it was time to weed. Remember that you are going to keep the negative and weed away the positive when weeding for a stencil …. that means, you weed away the parts of the design you would normally keep and keep the part you would normally discard. Once it was weeded, I applied transfer tape so I could easily position it on the ornaments.
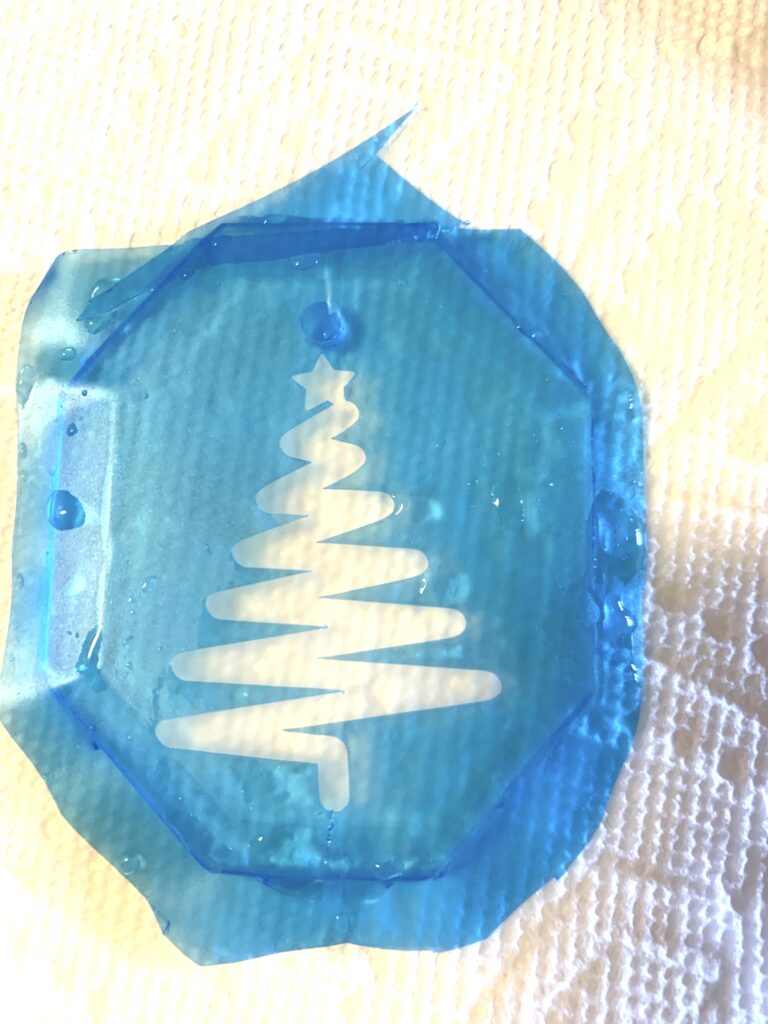
Because I would not be able to see the ornament easily when positioning the stencil material, I took advantage of the grid on my We R Memory Keepers Precision Glass Cutting Mat. I lined up the center of the ornament on the grid lines so it would be easier to align the design on the ornament. left a good bit of excess stencil material around the edges of the weeded design to make sure none of the etching cream could accidentally get on the ornament.
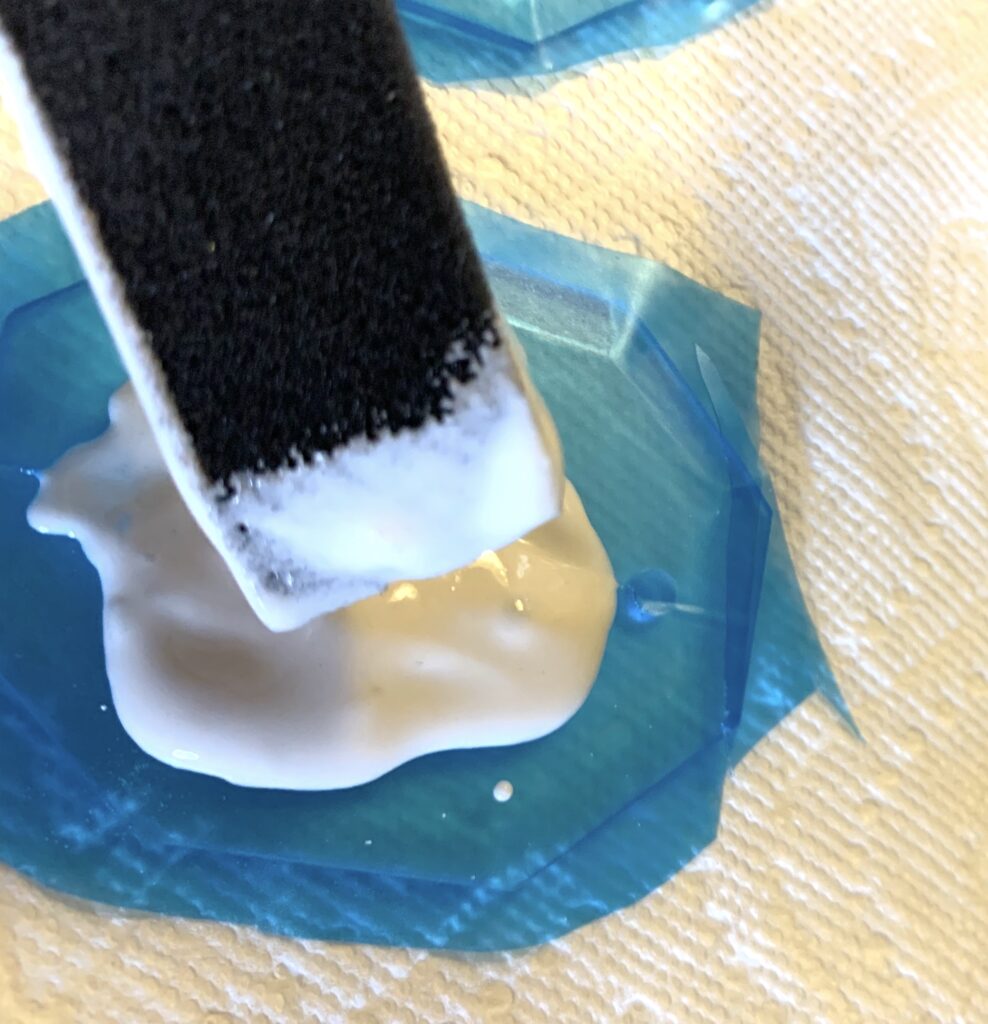
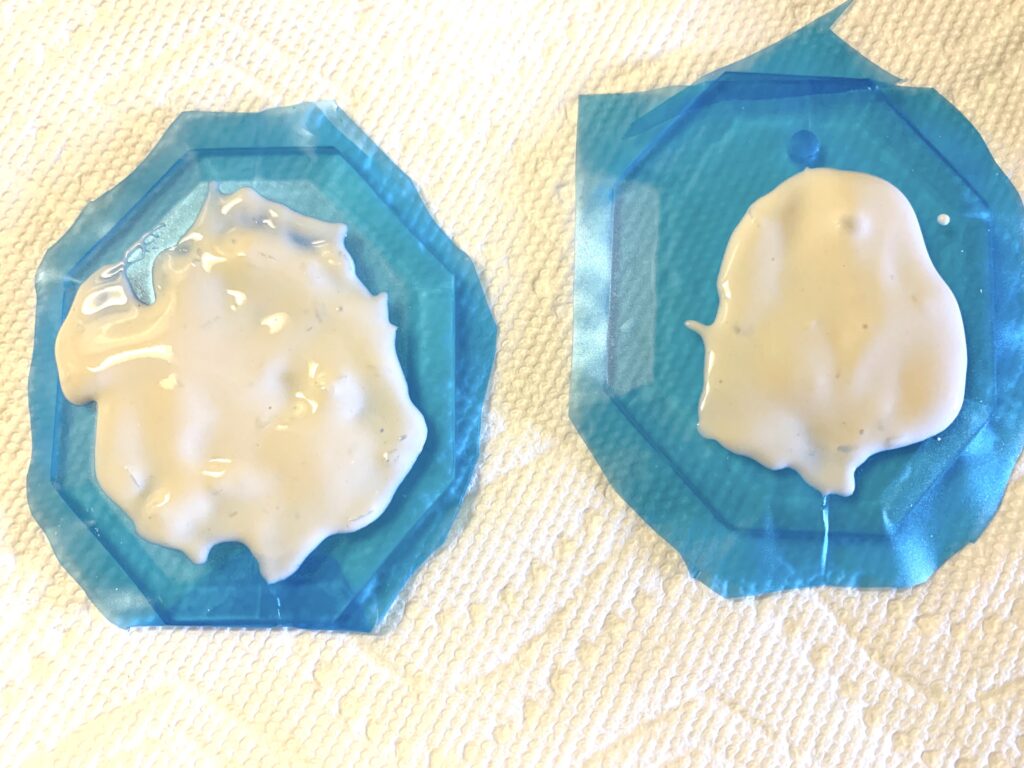
Once I had burnished the stencil material onto the ornament, I removed the transfer tape and again gently burnished the edges of the design to make sure they were completely adhered. I used a foam brush to apply my EtchAll Etching Cream. I applied it pretty liberally to make sure the design was completely and evenly covered. Tip: don’t brush the etching cream on … using the foam brush and gently dab it on so you don’t accidentally lift any of the edges of the stencil material.
I allowed the etching cream to work for about 15 minutes. Leaving it longer than the recommended time does not cause it to etch more deeply, it just takes more time.
When the time was up, I gently removed the etching cream using the foam brush. I was careful not to brush too hard to avoid accidentally causing the stencil material to lift. I put the excess etching cream back in the bottle to use another time.
With the excess etching cream removed, I ran water over the ornament, gently rubbing the excess etching cream to get it off the ornament.
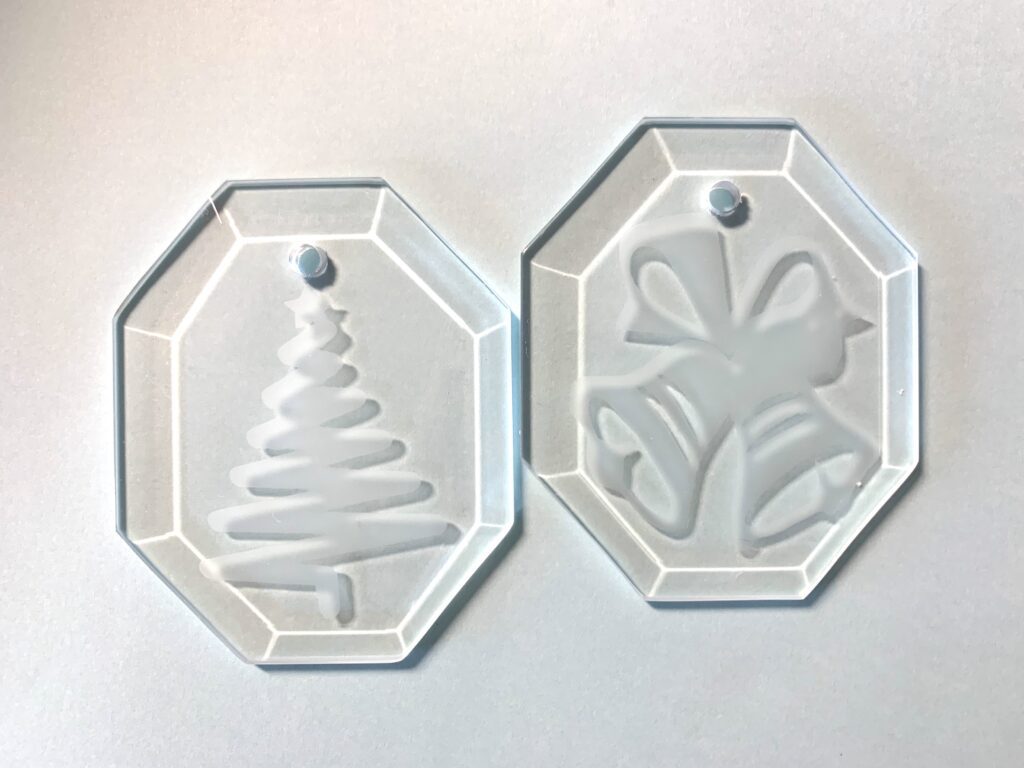
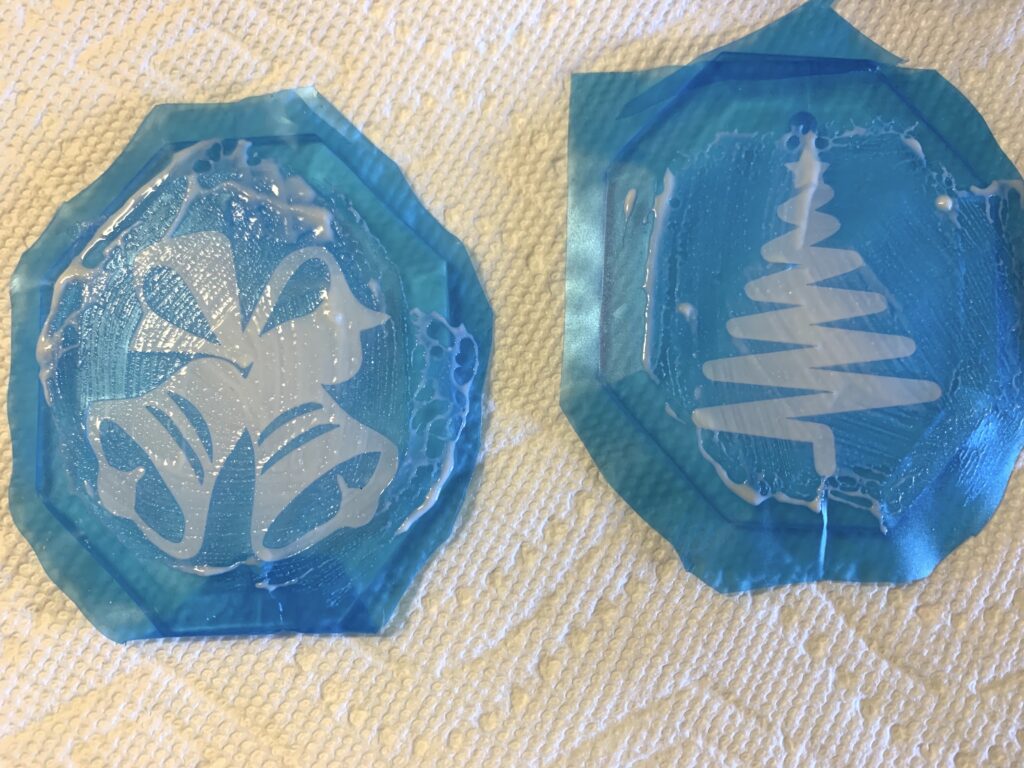
I dried the ornament and removed the stencil material. And voila! Two lovely ornaments!!

Here are a few more examples of glass etching.
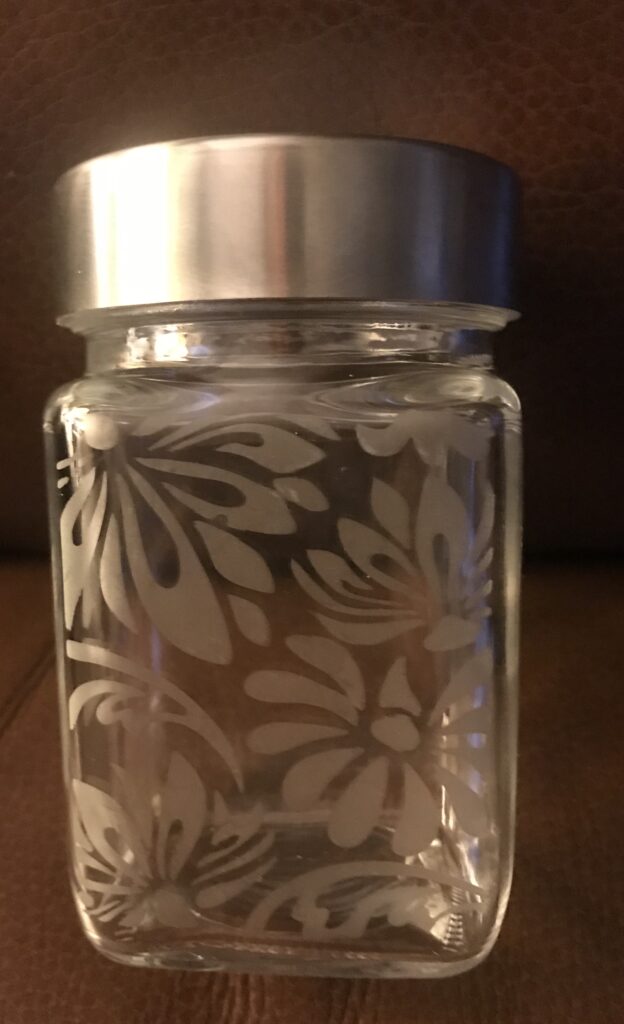
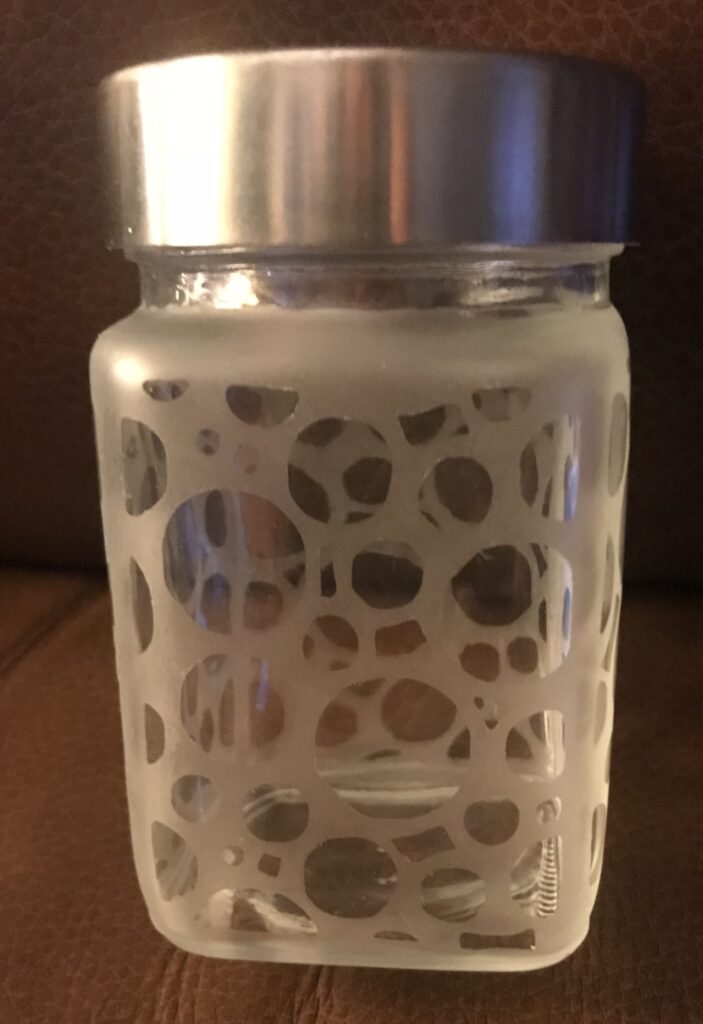
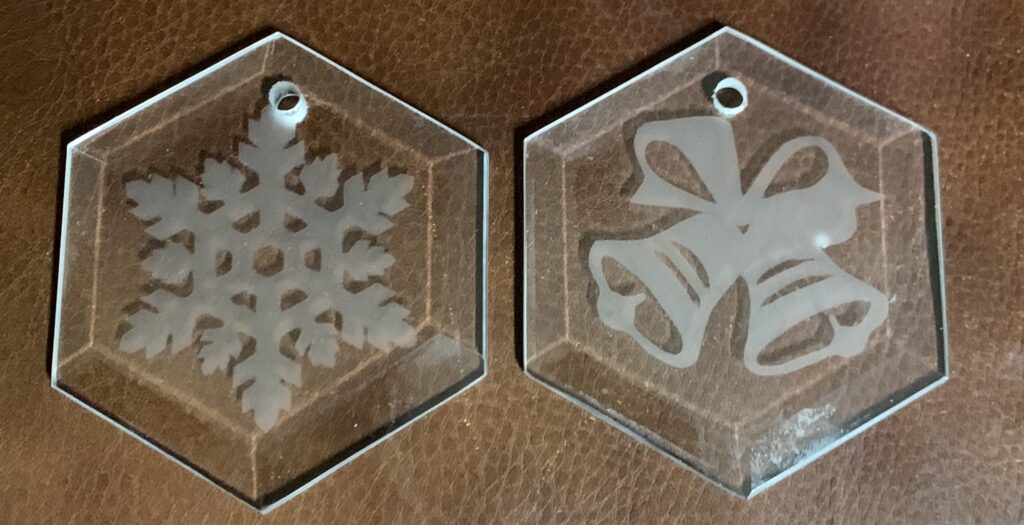
As you can see, etching is easy and creates interesting and fun effects on glass. Notice I keep saying I etched glass … unfortunately, the etching cream does not work on acrylics. I hope this has inspired you to give etching a try.
If you enjoyed these tips, please join my Facebook groups … Libby’s Silhouette Group — Tips, Tricks, Tutorials and Projects, Libby’s Craft and Sewing Group and Running With Sisers – Juliet and Romeo. You can also find me on FB at Libby’s Loft.com. Please join and feel free to ask questions and share your creations! I look forward to seeing you there!!
Until Next Time,
Happy Crafting!!
Disclaimer: Posts on this site may contain affiliate links. Clicking on one of these links or making purchases at linked sites does not mean you pay more for your purchases. It means I may receive a small commission on your purchase. This commission helps defray the costs of this site and enables me to continue to provide you with new and exciting content.
Until next time,
Happy Crafting!!
Disclaimer: Posts on this site may contain affiliate links. Clicking on one of these links or making purchases at linked sites does not mean you pay more for your purchases. It means I may receive a small commission on your purchase. This commission helps defray the costs of this site and enables me to continue to provide you with new and exciting content.