I just discovered a fun product available from Silhouette America — Shrink Plastic Sheets! Wait til you see how much fun these can be!
Use Silhouette’s Shrink Plastic Sheets to create fun pins, magnets, charms and other accessories. Simply print and cut, then bake to shrink. What could be easier! Let’s get started.
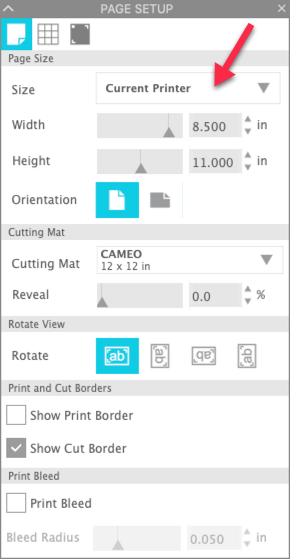
First let’s set up our workspace. In your Silhouette Studio software, create a new workspace. In the Page Setup panel, change the Page Size to Current Printer or Letter (8.5×11). The Shrink Plastic Sheets are 8.5×11″.
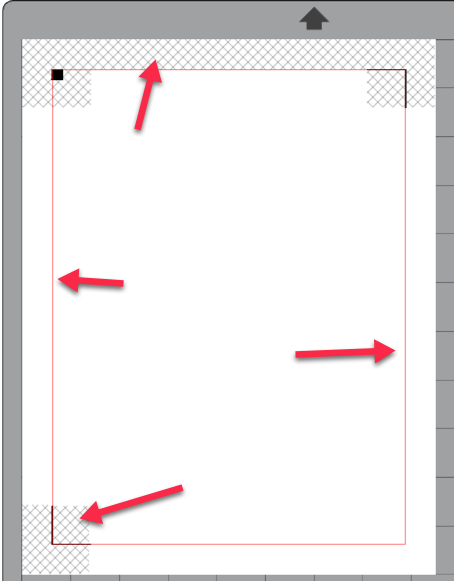
Press the “M” key on the keyboard. This will turn on your print and cut registration marks. Remember to keep your designs inside the red box and not in the hashmark gridded area.
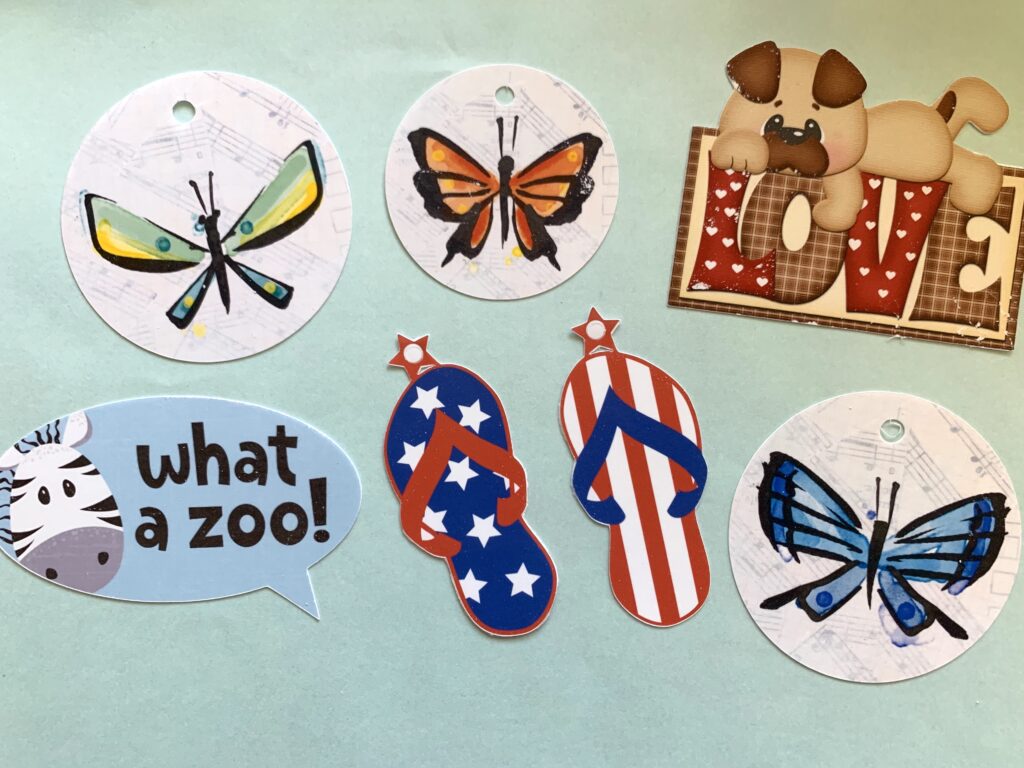
Now select your designs. I used a variety of print and cut designs from the Silhouette Design Store because they were “cut ready” — they were already in color and had a cut line around them.
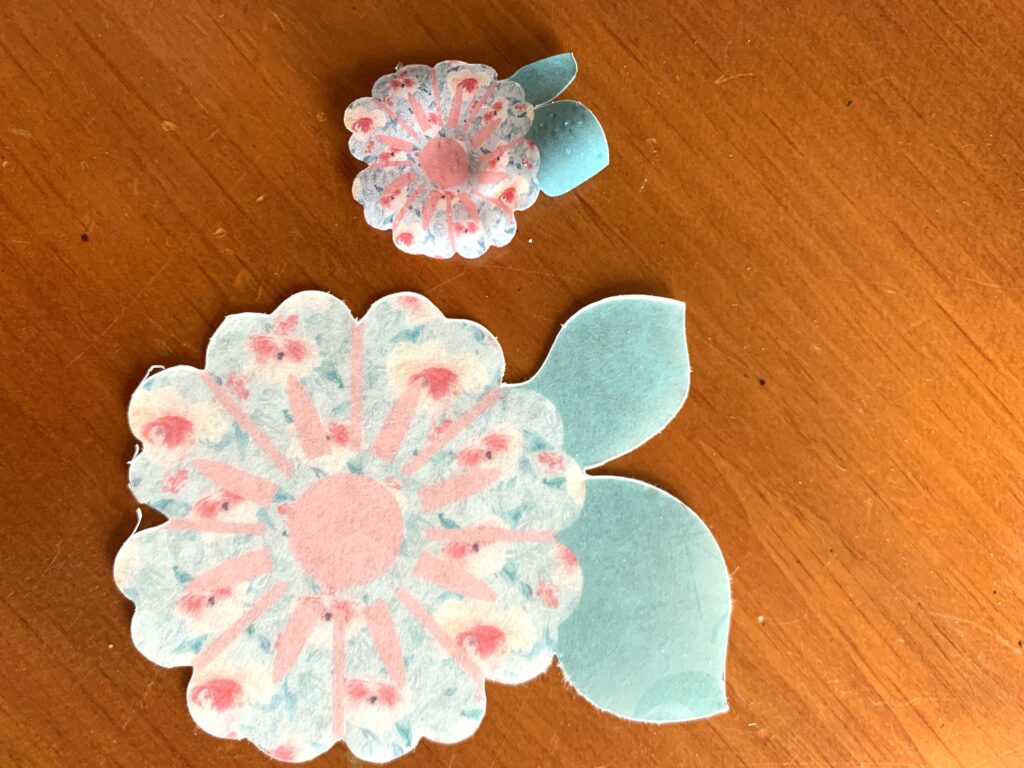
The shapes will shrink to about 1/3 of their original size, so take this into consideration when selecting and editing your designs prior to cutting.
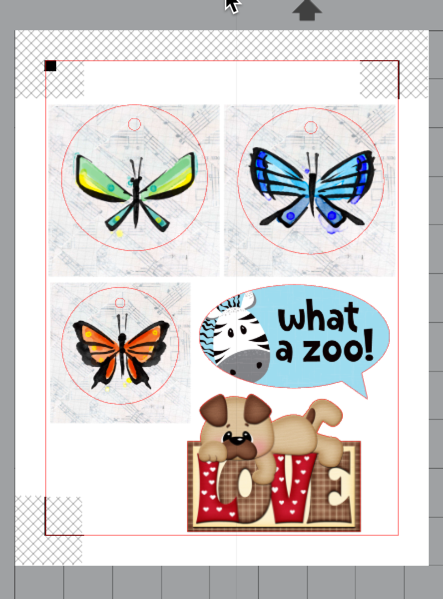
Select the sheets you want to use and print the design page. I used my Canon TS9521C printer and got great results!
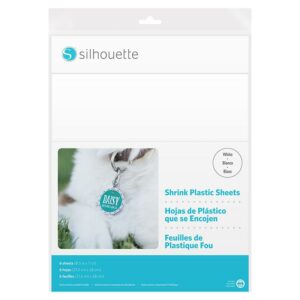
The white background sheets are great for designs that have white in them. Since white is not a color, the white paper will show thru and the design will look right.
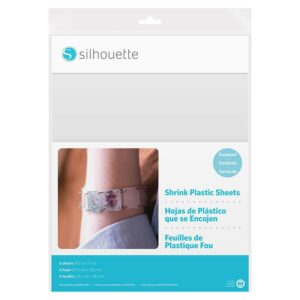
The Clear or Transparent background sheets are great for jewelry. The lack of a white background gives the designs a totally different look!
When you are printing, make sure you are printing on the correct side … ask me how I learned this!! The correct side for printing on the white background sheets is the matte side (not the shiny side!!). The correct side for printing the clear background sheets is the side without the Silhouette logo.
Be careful when removing the printed pages from the printer. I had one sheet that was still a little wet and I smeared the registration marks. The ink does not take long to dry, but I was overanxious!
Place the printed page on the mat, keeping the orientation the same as the orientation on your screen. Remember not to move anything on the screen once you send the job to the printer!
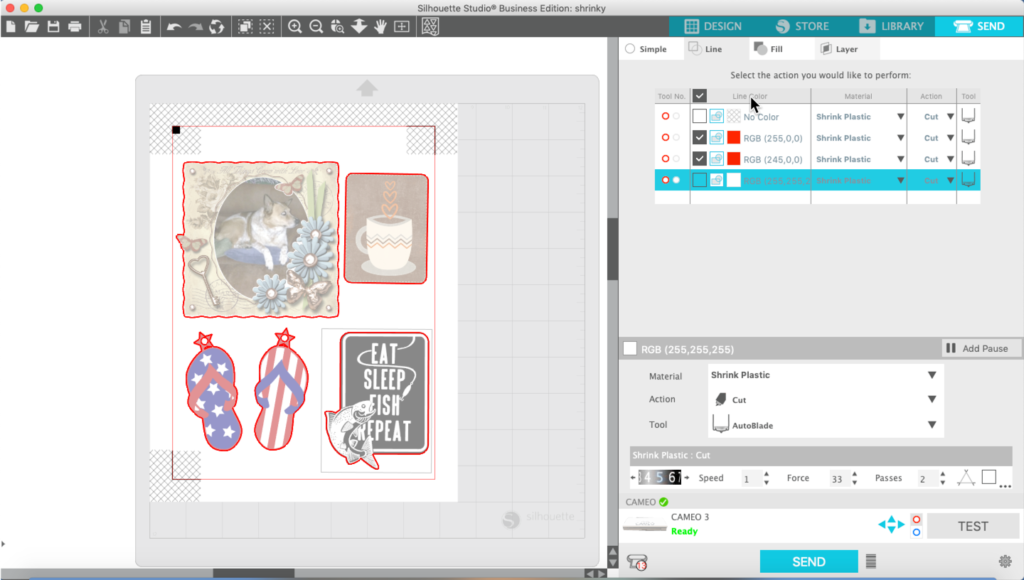
On the Send Tab, select Shrink Plastic as your material type. If you are using a ratchet blade, be sure to adjust your blade setting.
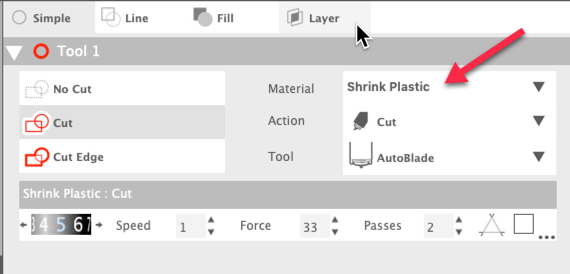
Check your designs to be sure that only the lines that you want cut are selected for cutting. I had some designs with inside cut lines that needed to be turned off. Send the cut job to the Cameo.
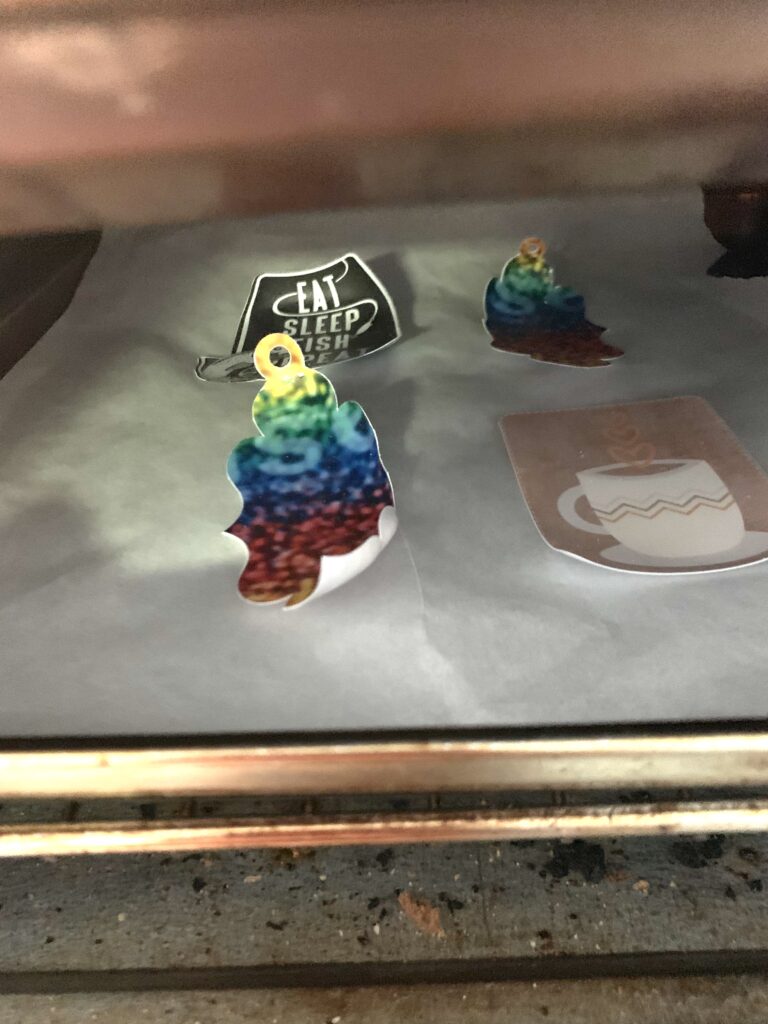
And now for the magic!! Preheat your oven (I used a toaster oven to keep from heating the whole house) to 325 degrees. Place the cut shapes on a piece of parchment paper on your cookie sheet and place it in the oven.

As the shapes begin to heat up, they will curl up. Don’t panic! This is what they are supposed to do!!
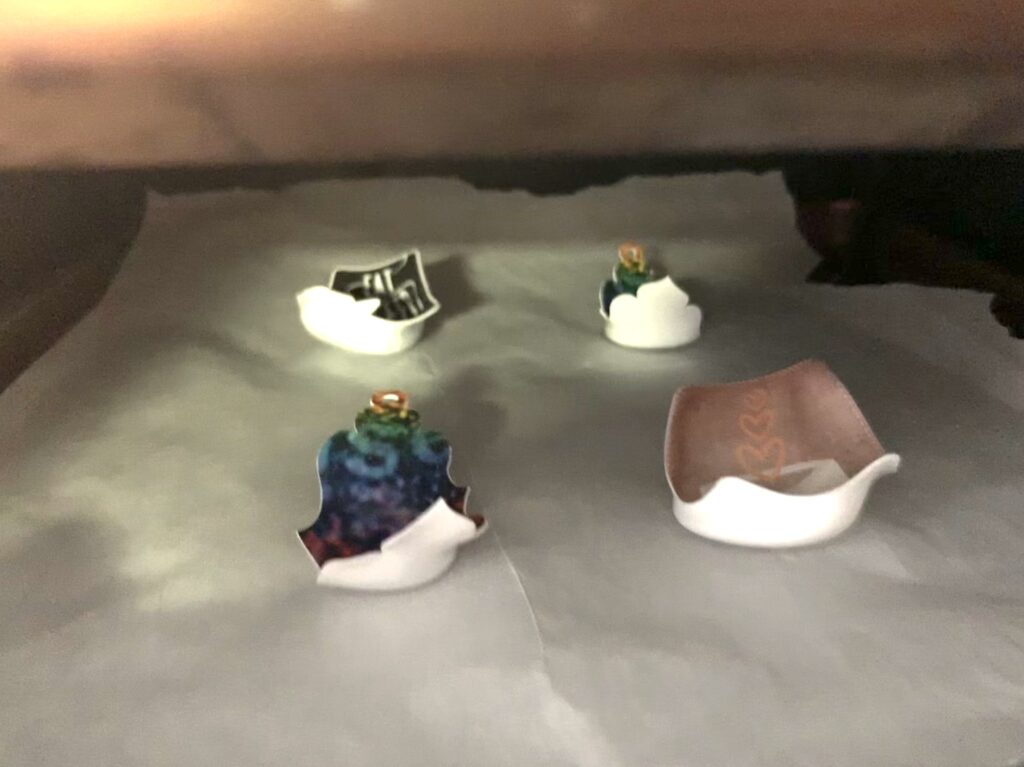
Once they have curled and begin to shrink, they will flatten back out. When they have flattened back out, remove them from the oven. You can manipulate the shapes while they are still warm. I pressed mine flat with a piece of wood and just hand pressure.
If you are using shapes printed on the Clear background, put them in the oven still on the backing paper. They will begin to shirring and the paper will curl. When the paper uncurls, you can take them out of the oven and press or shape as desired.

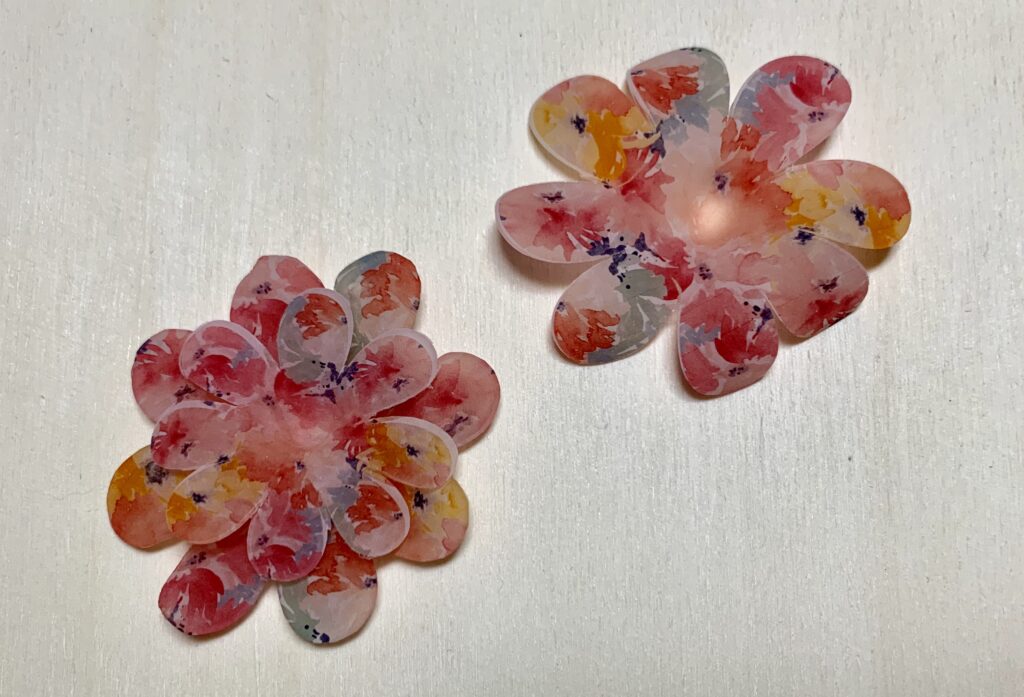
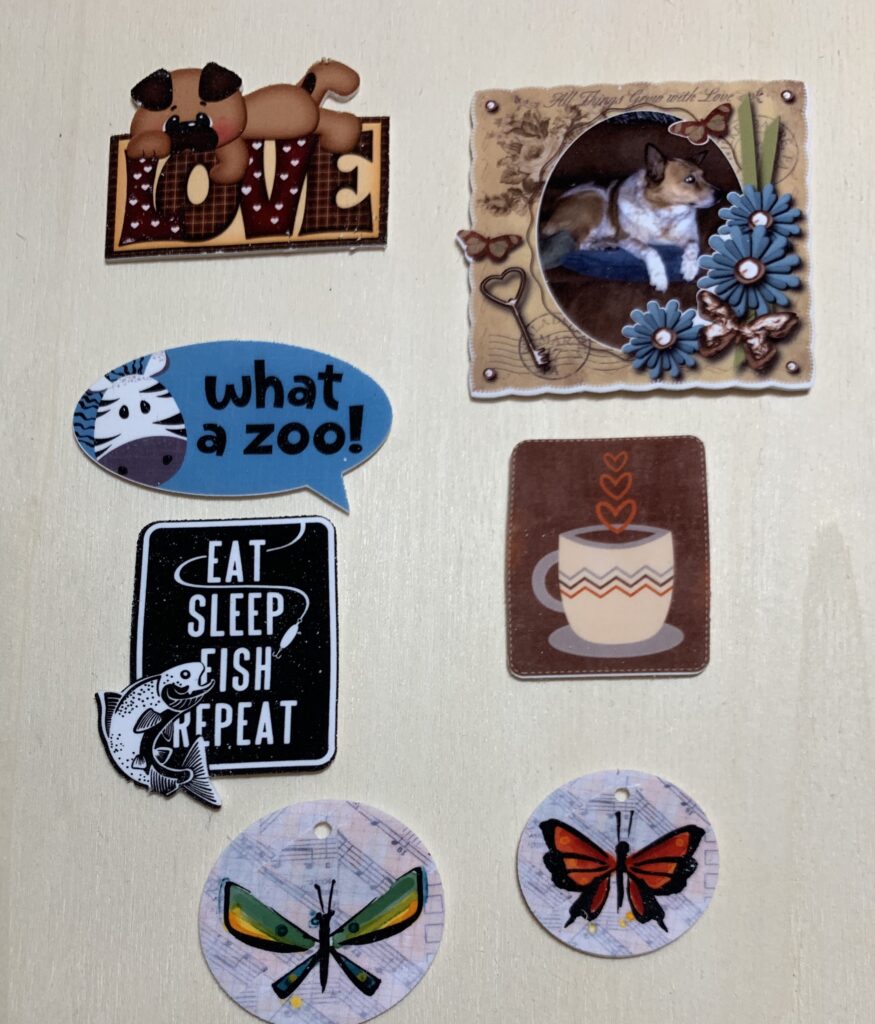
Here’s what the shapes look like when removed from the oven.
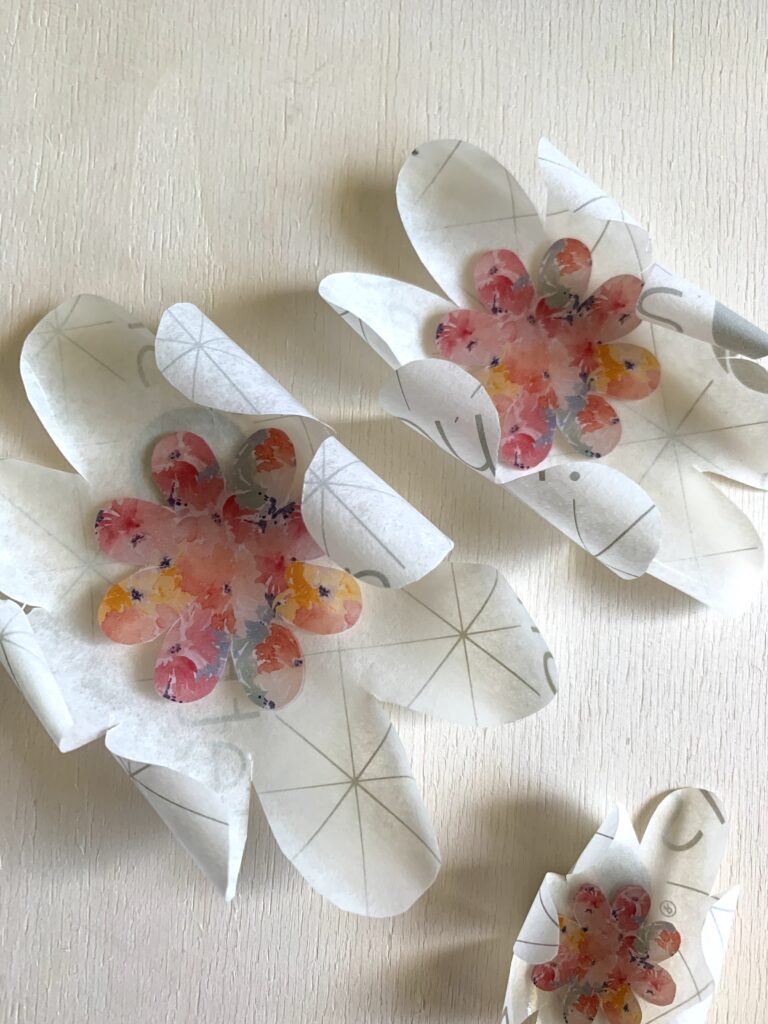
If you don’t want to use the oven, you can also use a heat gun (embossing gun) to apply the heat. You will want to hold the shape with a stylus so it does not blow all around the table.
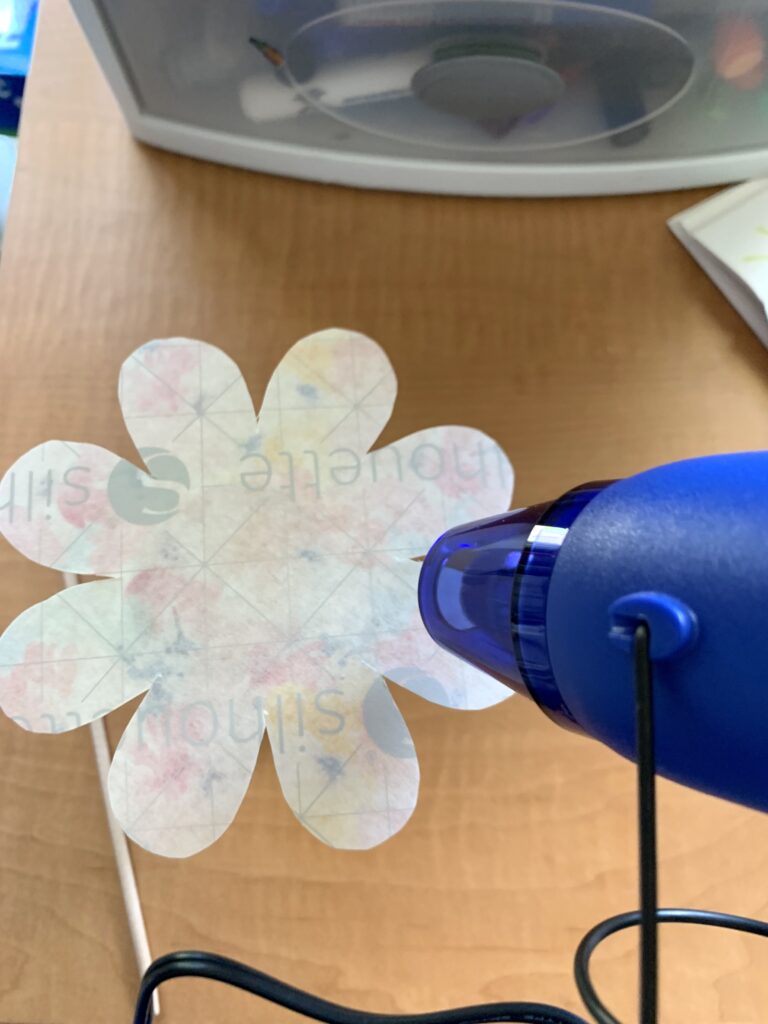
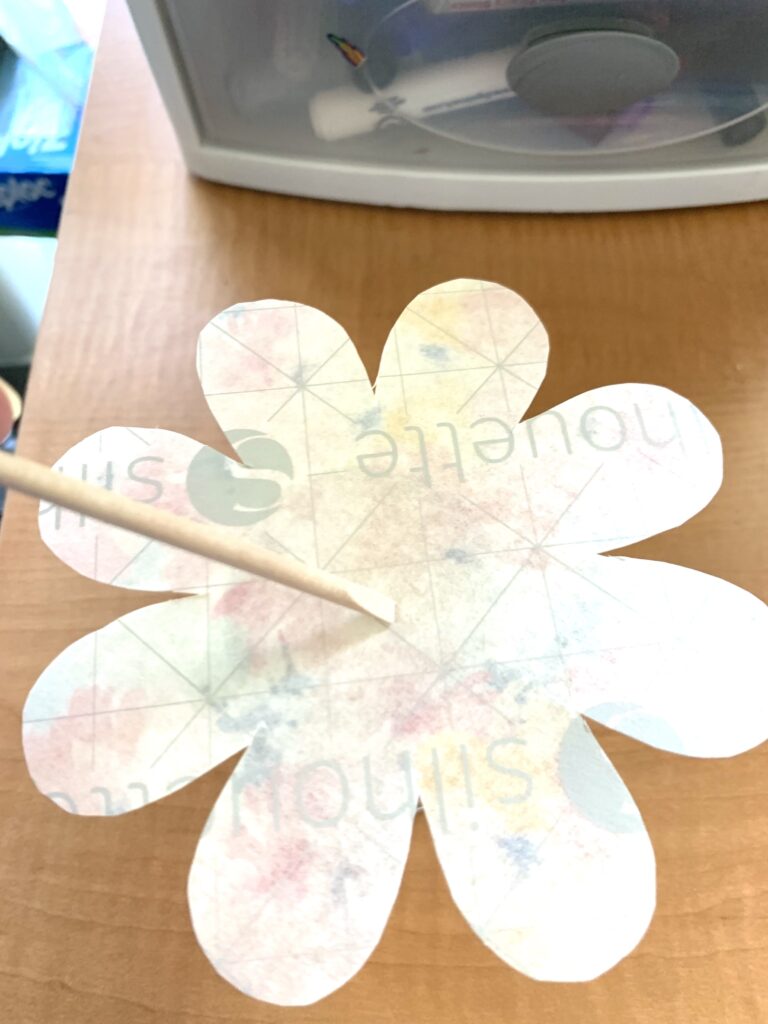
It was easier to shape the petals and get a 3D look using the heat gun.
I created some earrings and a couple of pendants for necklaces.
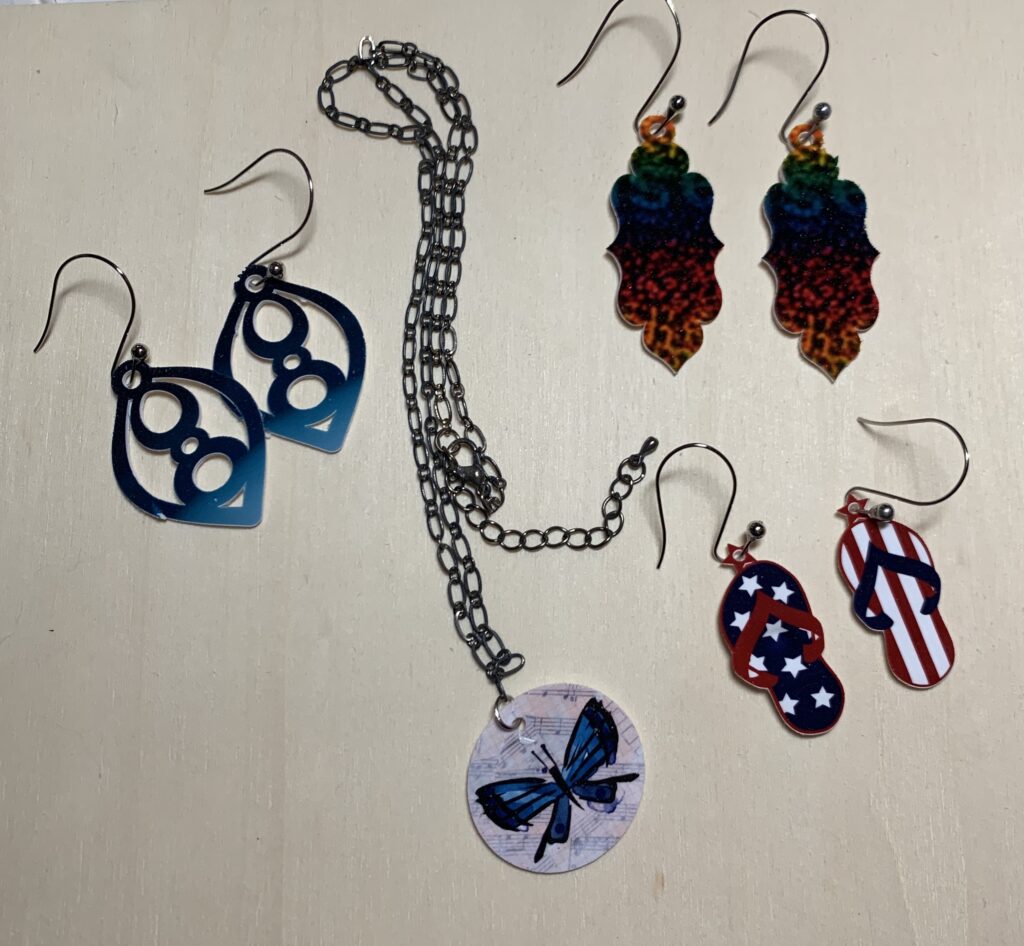
I attached magnet strips to the back of these for refrigerator magnets.
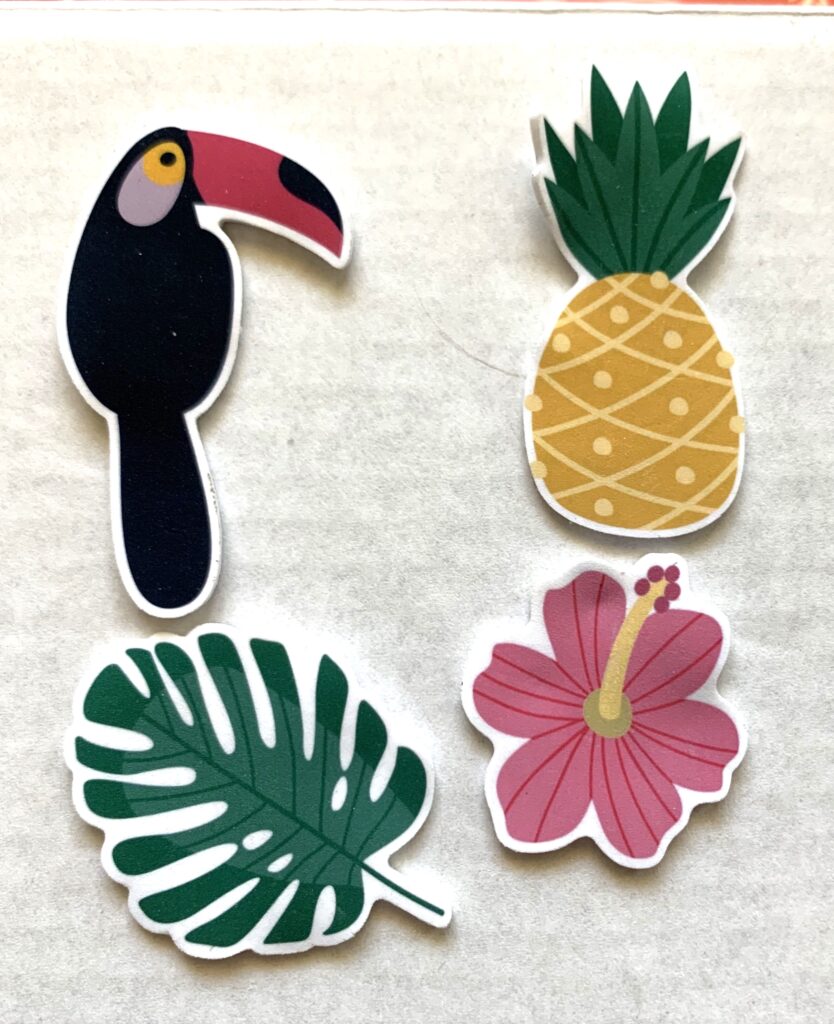
And these will be pins for a tropical themed party.
I hope you have fun with shrink plastic!!
If you enjoyed these tips, please join my Facebook groups … Libby’s Silhouette Group — Tips, Tricks, Tutorials and Projects, Libby’s Craft and Sewing Group and Running With Sisers – Juliet and Romeo. You can also find me on FB at Libby’s Loft.com. Please join and feel free to ask questions and share your creations! I look forward to seeing you there!!
Until Next Time,
Happy Crafting!!
Disclaimer: Posts on this site may contain affiliate links. Clicking on one of these links or making purchases at linked sites does not mean you pay more for your purchases. It means I may receive a small commission on your purchase. This commission helps defray the costs of this site and enables me to continue to provide you with new and exciting content.
Until next time,
Happy Crafting!!
Disclaimer: Posts on this site may contain affiliate links. Clicking on one of these links or making purchases at linked sites does not mean you pay more for your purchases. It means I may receive a small commission on your purchase. This commission helps defray the costs of this site and enables me to continue to provide you with new and exciting content.