Foil is everywhere right now! It’s quick and easy to add foil to your projects!!
Today we’ll look at the process of applying foil to your fabric projects using Siser Easyweed adhesive and heat-reactive foil.
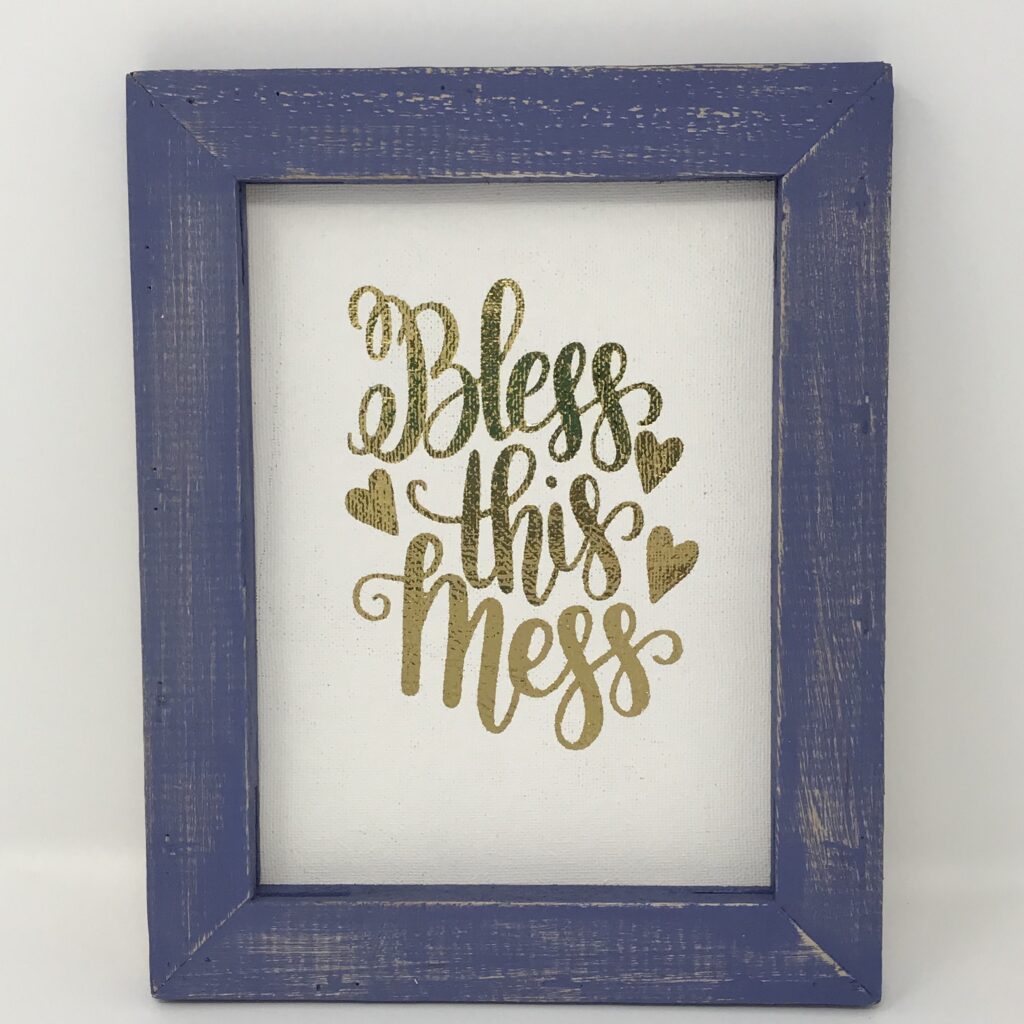
Select the design you want to use for your project. I recommend that you choose one that is not overly complicated or filled with lots of small parts because it’s sometimes a bit of a challenge to see the cut lines.
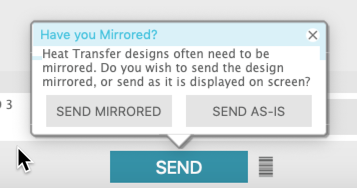
Place your vinyl on the mat with the shiny side down … this is the carrier. Make sure you mirror your image since you are cutting from the back of the vinyl. Your Silhouette software will remind you, in case you forget. (If you chose this method for mirroring, remember it mirrors not just the design but also its position on the mat!!)
I used the built in-settings for HTV-Glossy when cutting my design. Make sure you do a test cut before you cut the entire design! You want the adhesive to be easy to remove and the backing to remain uncut. Pre-press your garment to remove any moisture.
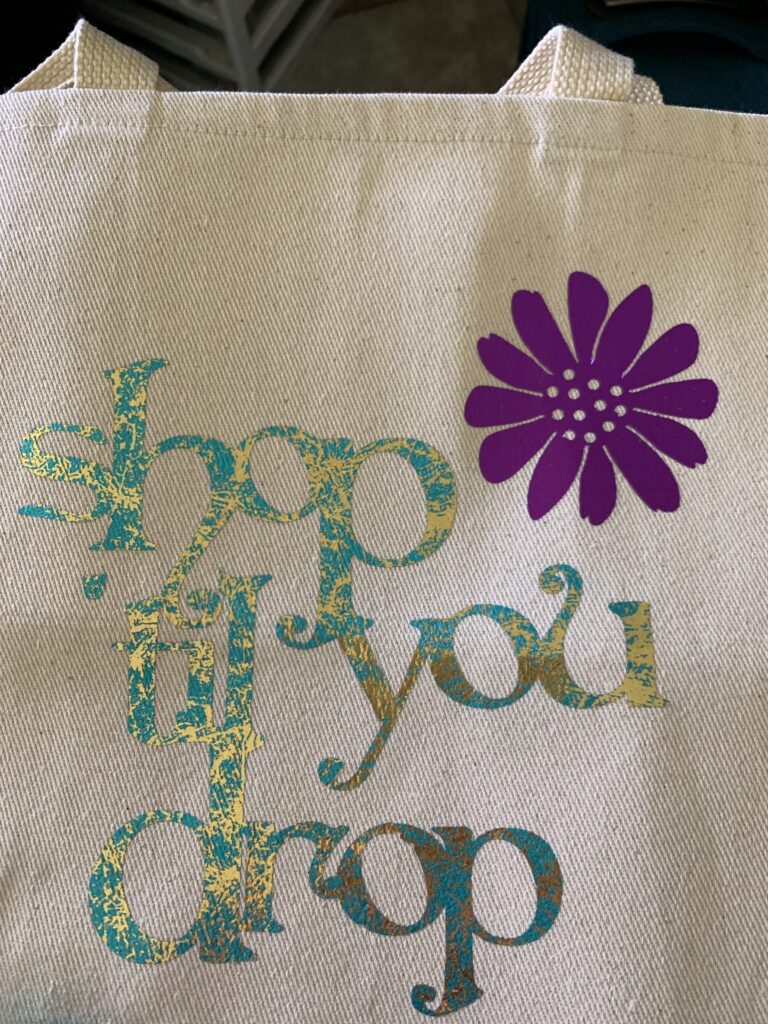
Pre-press your blank for about 3 seconds to remove any moisture. Position your weeded design. I created a tote bag for this blog.

Press at 275 degrees F for 3-5 seconds. You just want to activate the heat and allow it to release easily from the carrier sheet. The vinyl will become shiny when properly adhered.
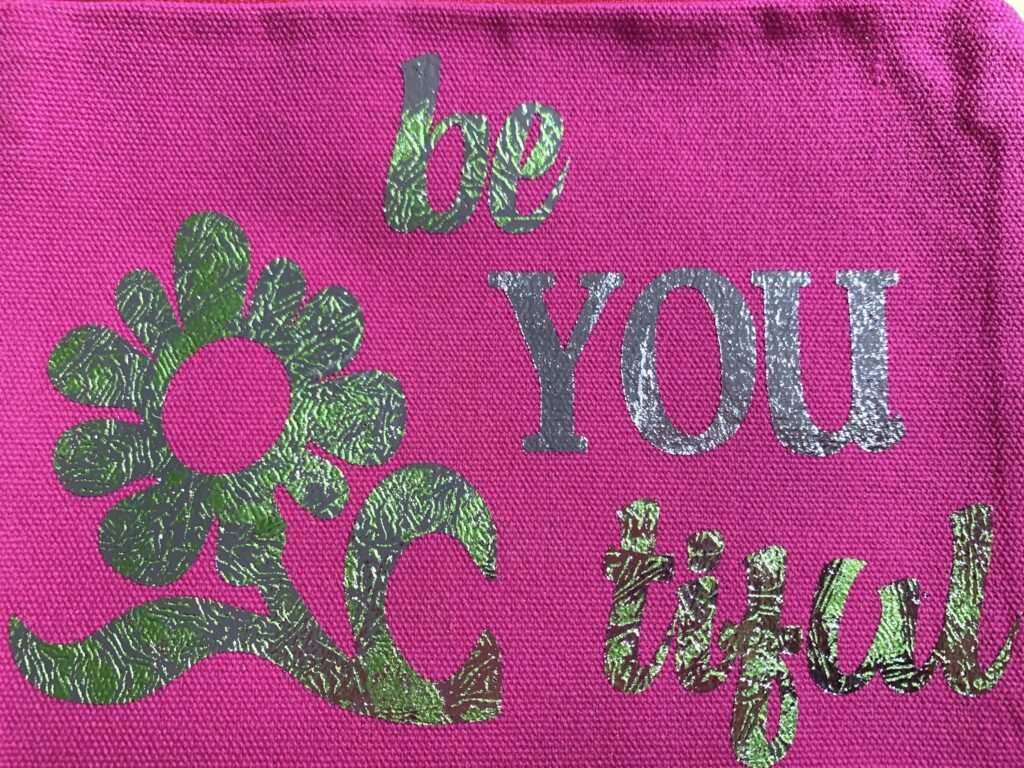
I wanted three colors on my tote bag. First, I placed a piece of pink foil over the flower, being careful not to cover any of the letters. Place the foil “pretty side up”.
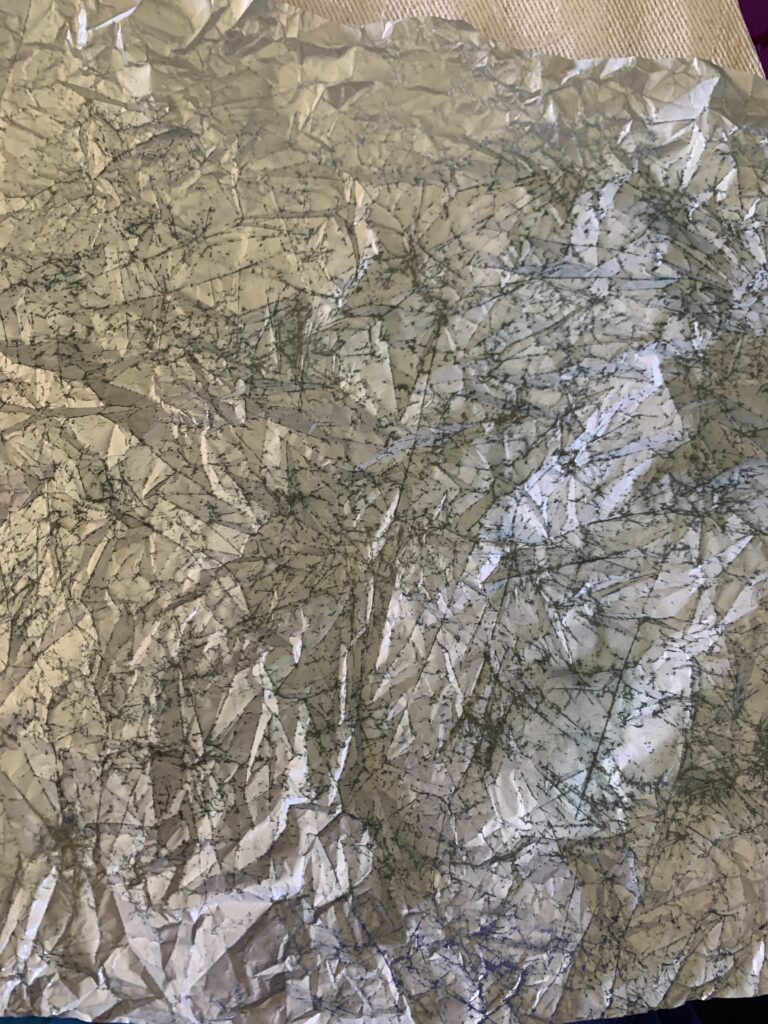
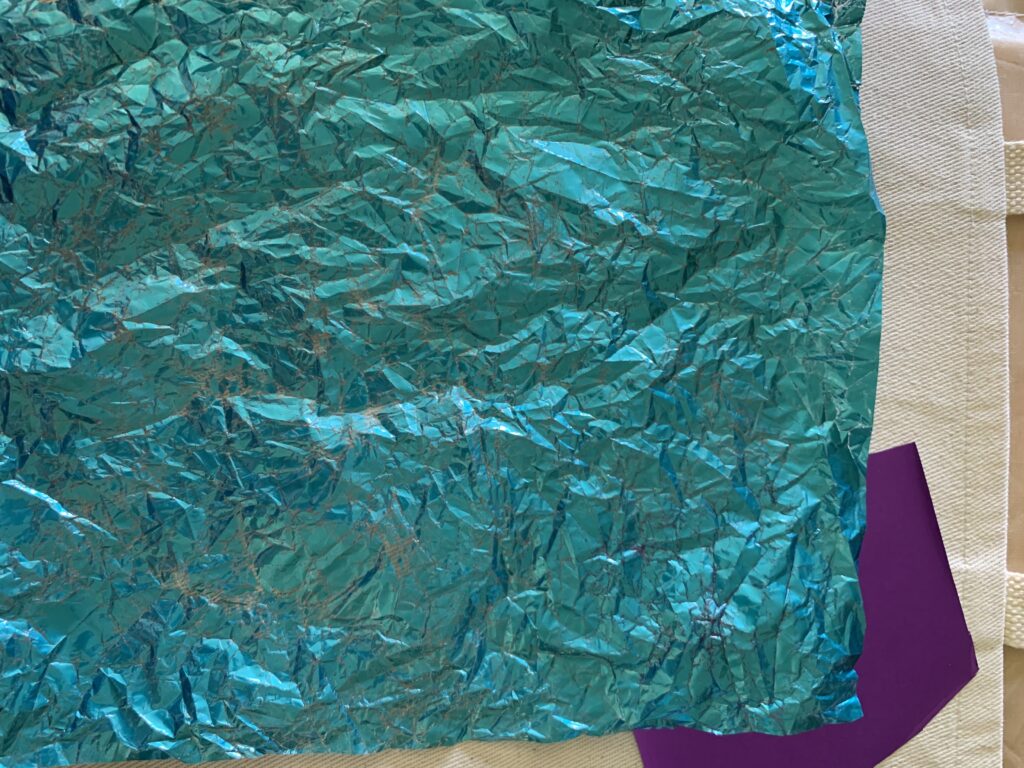
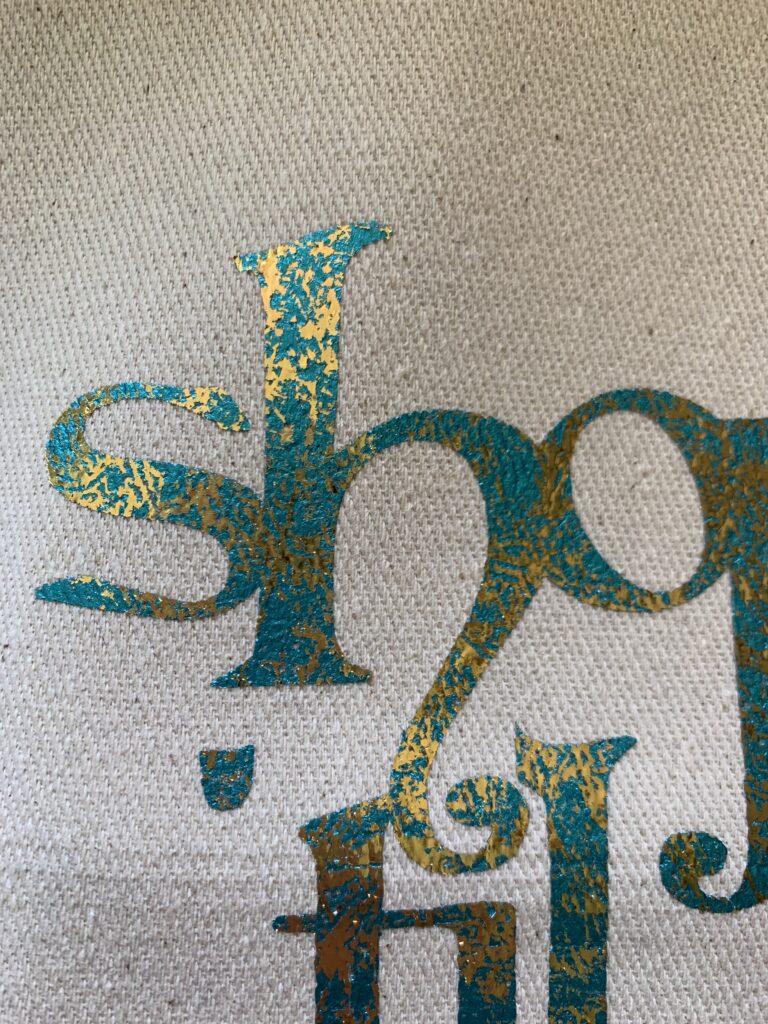
The first step in creating the two-color text was to distress the foil! I wadded it up in a ball several times and then I brushed it with a toothbrush to remove part of the foil.
I placed the distressed foil over the letters. It overlapped the pink foil. No worries, tho, the foil does not adhere to other foil. And there is no need to use a cover sheet. The foil will only adhere to the adhesive, not to your press or iron. I pressed this to the tote bag for 15 seconds. Foil is a COLD peel, so I put it to the side and worked on another project until it was completely cooled.
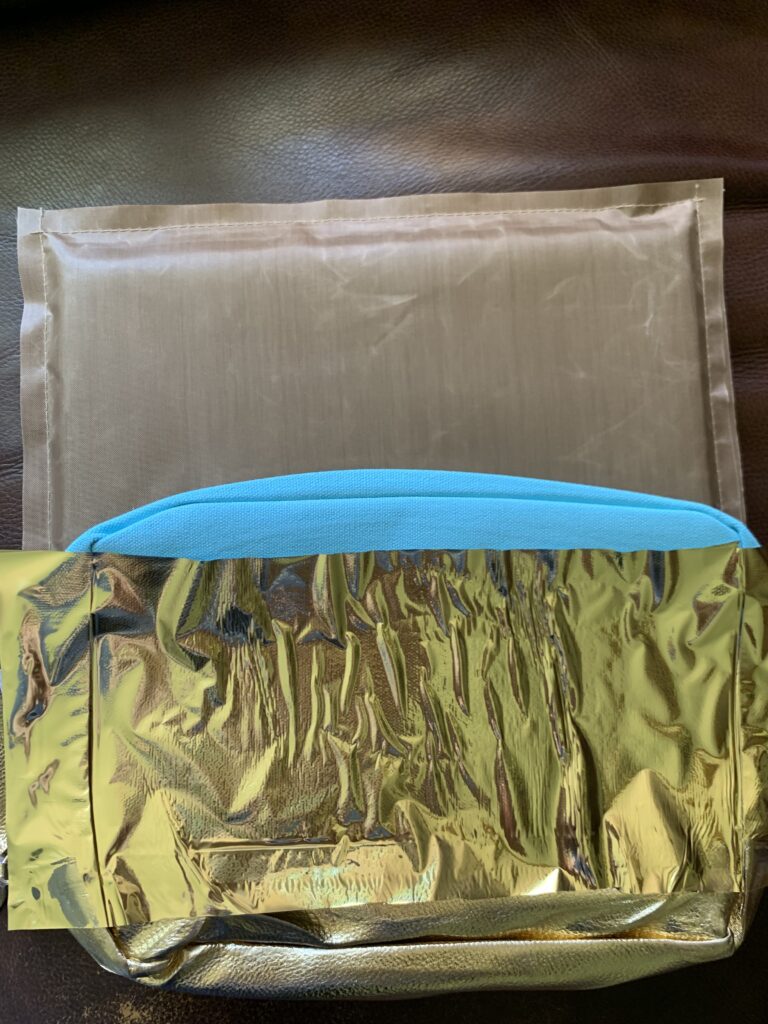
While waiting for the foil to cool, I pressed adhesive to a small cosmetic bag. Because the cosmetic bag had a zipper and lots of seams, I used a press pillow to increase the chances of getting good pressure when it was pressed. I also used a press pillow in the tote bag. You can make your own press pillows using the tutorial in the post called Create Your Own Press Pillows.
When the foil on the tote bag was completely cooled, I removed it and placed the second color foil over the words. I pressed the tote again for another 15 seconds. Once again, I waited until the foil was completely cooled and then peeled it away. Here’s the two-color result!
In the interest of full disclosure, I want to share that the foil on the cosmetic bag did not fair as well as I hoped. I used my large heat press so it was difficult to get the bag positioned so I could press the adhesive and also protect the gold synthetic “fabric” at the bottom of the bag. Because of that, I did not have good pressure when I pressed the foil on to the bag. Here’s the result.
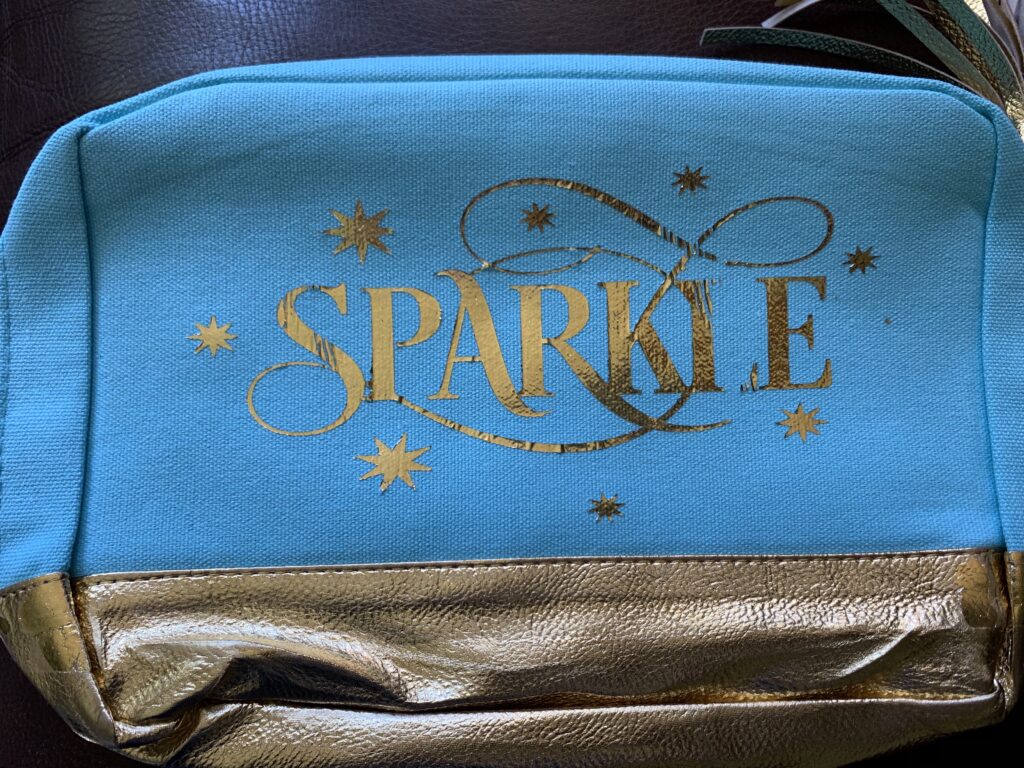
If you look closely at the bag, you will see that part of the letter “L is missing. The ripples in the foil are another sign that there was not adequate pressure when I pressed.
Here’s a few tips for working with foil:
- Using a cover sheet will cause foil to appear less shiny
- Foil has a ”texture” – use parchment paper, not Teflon sheet
- Flaking can usually be removed by gently rubbing the area
- A rainbow, wavy look – temperature too high
- Foil looks crinkly after being pressed – usually not enough pressure
I hope you will give foil a try! It’s easy and so much fun!!
If you enjoyed these tips, please join my Facebook groups … Libby’s Silhouette Group — Tips, Tricks, Tutorials and Projects, Libby’s Craft and Sewing Group and Running With Sisers – Juliet and Romeo. You can also find me on FB at Libby’s Loft.com. Please join and feel free to ask questions and share your creations! I look forward to seeing you there!!
Until Next Time,
Happy Crafting!!
Disclaimer: Posts on this site may contain affiliate links. Clicking on one of these links or making purchases at linked sites does not mean you pay more for your purchases. It means I may receive a small commission on your purchase. This commission helps defray the costs of this site and enables me to continue to provide you with new and exciting content.
Until next time,
Happy Crafting!!