The holidays are just around the corner and I am getting a head start on holiday gifts. Using printable temporary tattoo paper makes decorating quick and easy.
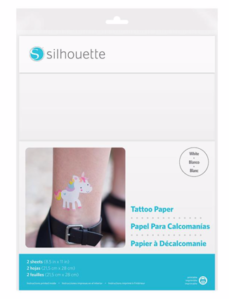
Working in my Silhouette Studio software, I first set my page to 8.5×11 because the Temporary Tattoo Paper is that size. I used white because my designs have white in them. If I had used the clear Tattoo Paper, those white spots would have been clear when I printed them.
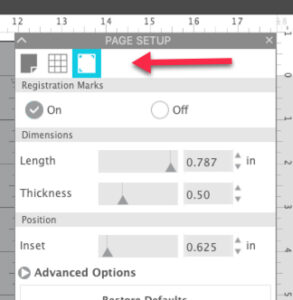
Because this is a Print and Cut, I added registration marks to my workspace by using the keyboard shortcut “M”. You can also add the registration marks in the third tab of the Page Setup tab.
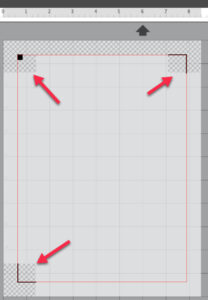
When you activate the registration marks, you will see an area at the top of the page and also in the lower left corner that have hashmarks. Do not place any part of your design in this hashmark area. You will also see the three registration marks that your Silhouette will read to ensure proper alignment and cutting of your files.
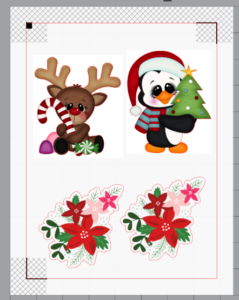
I added several designs (#70301, #51904, #282402) from the Silhouette Design store to my workspace. All three of the designs are Print and Cut designs. Print and Cut designs in the Design Store are created with a colorful image, designed to be printed, and an outline around the edge of the design, designed to be the cut line for the image. They are designated with a “P” inside a small box. I placed the designs in the workspace, making sure none of the white backgrounds of the designs overlapped each other. Make sure to mirror image your designs, if necessary. I forgot to mirror mine when I cut the tattoo paper, but my designs will look fine anyway.
I printed the designs onto my tattoo paper using my Canon T9521C printer. When you print, be sure to print on the shiny side of the white paper in the package. Be careful not to smudge the ink when you remove the page from the printer.
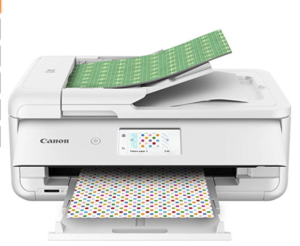
Once the ink dried, I applied the overlay page on top of the printed page and placed it on my mat. The page looked a little milky but my Cameo 3 read the registration marks with no problem. I used the Temporary Tattoo Paper, Printable setting when cutting these designs.
Here’s how it will look in your software when you are on the Send tab, ready to cut. Remember that the cut settings are just a recommendation and you may want to do a test cut. If you do a test cut, move it down so it is not at the top of the page because it will interfere with your Cameo’s ability to read the registration marks if it is in the top left corner. (Ask me how I know!!)

In the image above, notice that the red cut lies are around each of the designs and that none of the inside of the designs is going to be cut.
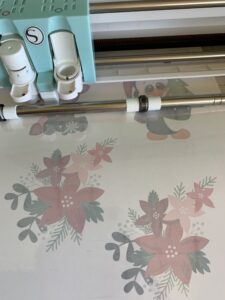
After the designs were cut, I removed them from the mat and was ready to apply them to my blanks.
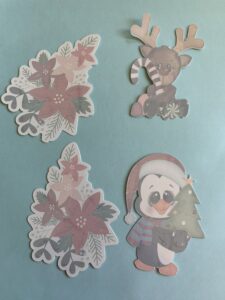
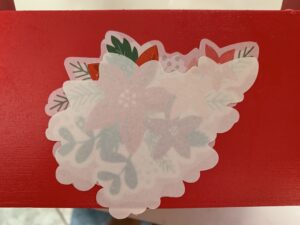
To apply the tattoos to your blanks, remove the protective clear coating from the cut design. Turn the design face down on on the blank.
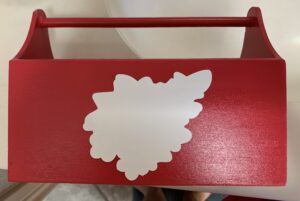
Cover the entire design with a damp cloth and hold in place for about 30 seconds.
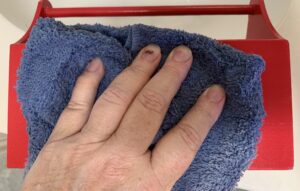
When the tattoo is ready, the white backing will slide easily off the tattoo paper.
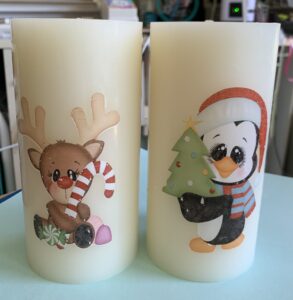
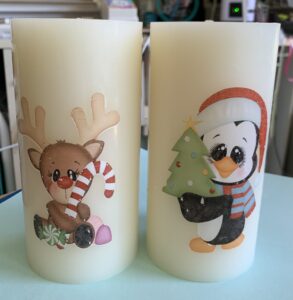
I also applied some tattoos to candles. It applied easily to the “faux” LED candle. I have applied tattoo paper to normal candles before and found that the tattoo was easily damaged if the candle was handled roughly (like using it for a class demo). So this time, I applied the tattoo to the candles just like I applied it to the faux candle.
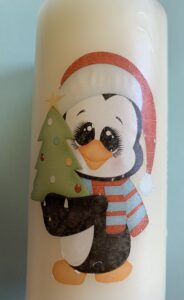
Then to help it adhere to the candle, I used the blow dryer on hot heat and a medium speed to melt the candle. As each area of the candle got warm, I pressed the tattoo firmly into the warm wax. The only problem I had was that the wax dripped to the side a little and I did not realize it. I had to go back and re-heat the candle and gently wipe these drips away. Here’s what they looked like before I fixed them.

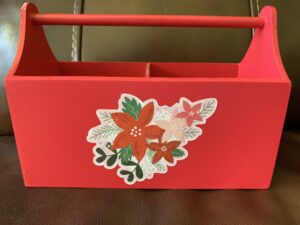
And there you have it! Custom candles and a cute tool box decorated with temporary tattoo paper. Quick and easy! I hope you will try decorating with temporary tattoo paper!

If you enjoyed these tips, please join my Facebook groups … Libby’s Silhouette Group — Tips, Tricks, Tutorials and Projects, Libby’s Craft and Sewing Group and Running With Sisers – Juliet and Romeo. You can also find me on FB at Libby’s Loft.com. Please join and feel free to ask questions and share your creations! I look forward to seeing you there!!
Until Next Time,
Happy Crafting!!
Disclaimer: Posts on this site may contain affiliate links. Clicking on one of these links or making purchases at linked sites does not mean you pay more for your purchases. It means I may receive a small commission on your purchase. This commission helps defray the costs of this site and enables me to continue to provide you with new and exciting content.
Until next time,
Happy Crafting!!
Disclaimer: Posts on this site may contain affiliate links. Clicking on one of these links or making purchases at linked sites does not mean you pay more for your purchases. It means I may receive a small commission on your purchase. This commission helps defray the costs of this site and enables me to continue to provide you with new and exciting content.
Love it Libby! What a great idea,