In the last few months, Brother has announced new blades and mats for use when cutting fabric. They sound great, but how do they really work? Today I took the new rotary blade, fabric blade and fabric mat out for a spin … here’s what I found!
The Fabric blade and the Fabric mat have gold accents — this is so you know they are meant to be used together and also so you can tell the Fabric Blade from your other blades.
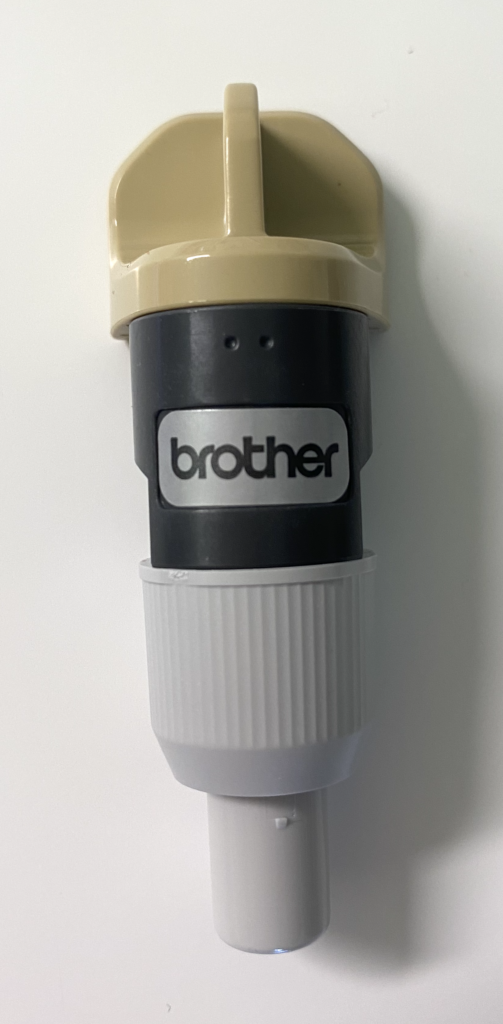
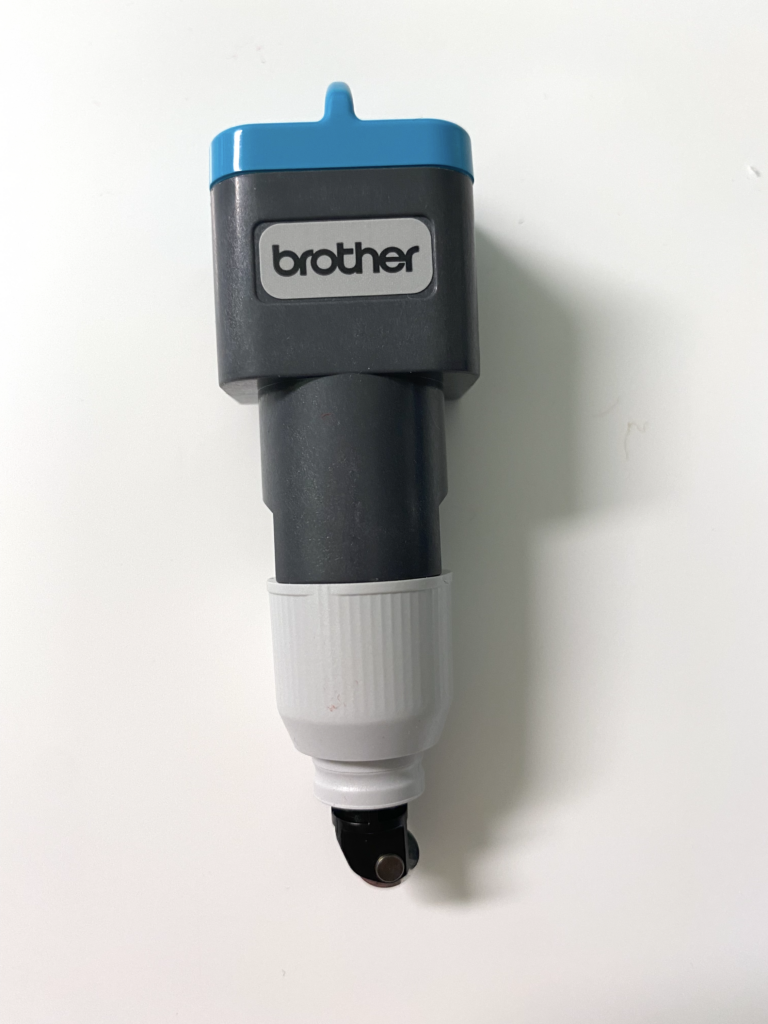
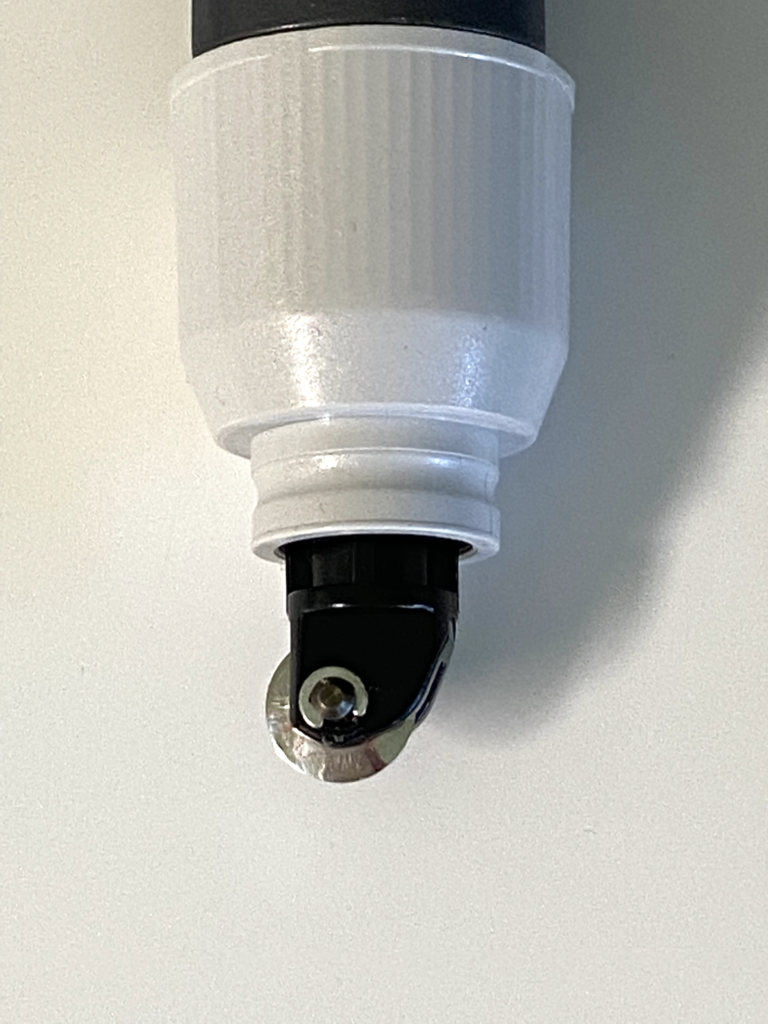
The Rotary blade actually has a small rotary blade instead of the more pointed blade you are used to seeing. In this close up you can see the small round blade. The blade comes with a cap and I would recommend you keep the cap because the rotary blade does not retract into itself and you could accidentally cut yourself if you don’t cover the blade tip.
To test the new products, I cut squares of fabric. One stack, I just pressed but added no stabilizer of any kind. I added regular spray starch to the next stack, Terial Magic to the third stack and finally, Terial Magic & Heat ‘n Bond Lite to the fourth stack. For the first test, I used my standard mat and my standard blade. Both the mat and the blade were not new but have not been used very much. I placed one piece of fabric from each stack on the mat and added a flower from the built in designs. Because the mat was not new, I used painters’ tape to help keep the fabric in place.
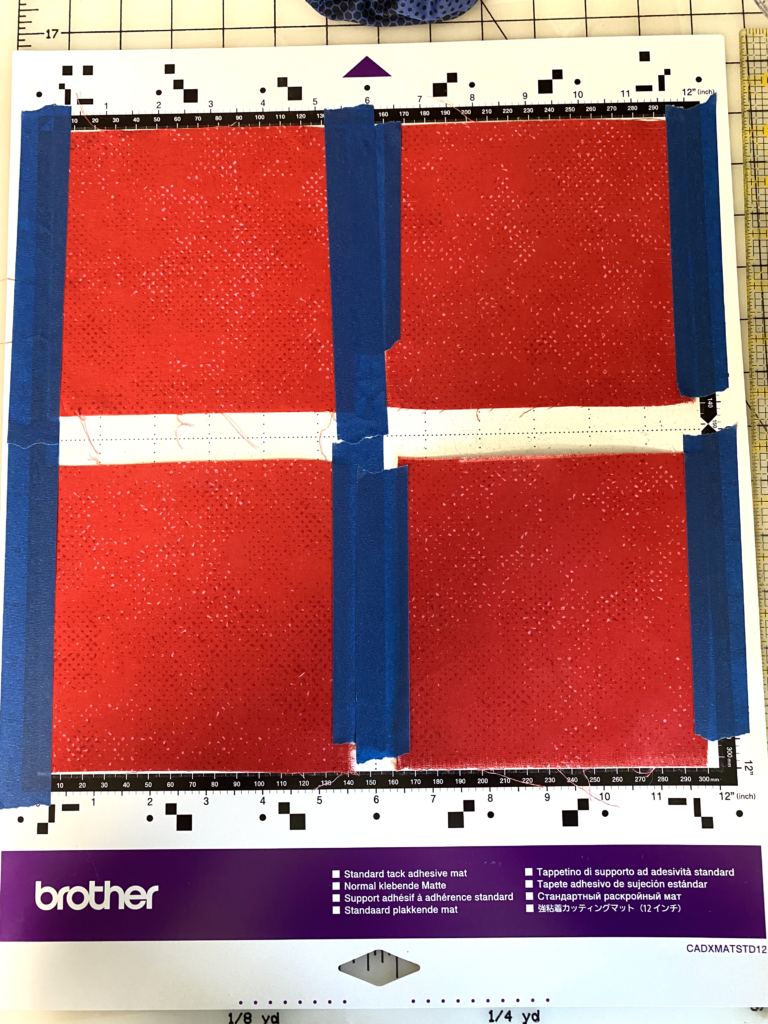
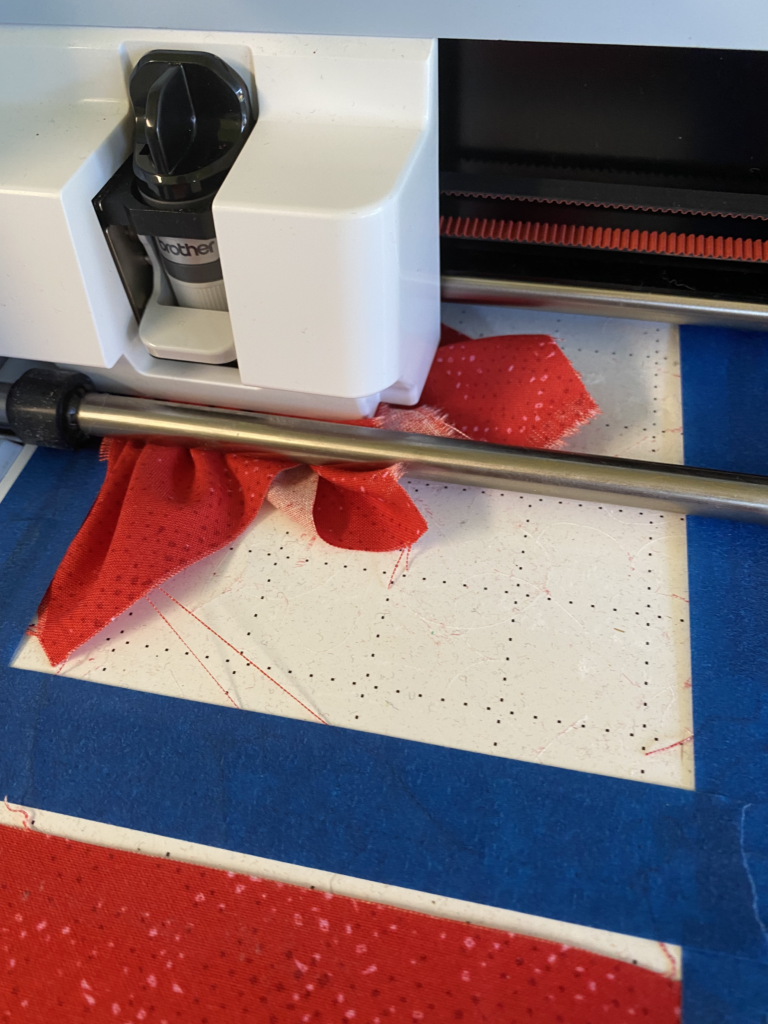
I only cut one flower at a time to allow the Scan ‘n Cut to do a new calculation for blade depth for each of the four materials. As I expected, the fabric with no stabilizer shifted even though I had used a squeegee to help get it to adhere to the mat. This was in addition to the tape.
Here’s how the standard blade and standard mat did on the rest of the fabrics. In all photos, the unstabilized fabric is the top left, the fabric with spray starch is the top right. The fabric with Terial Magic is bottom left and the fabric with Terial Magic and Heat ‘n Bond Lite is the bottom right.
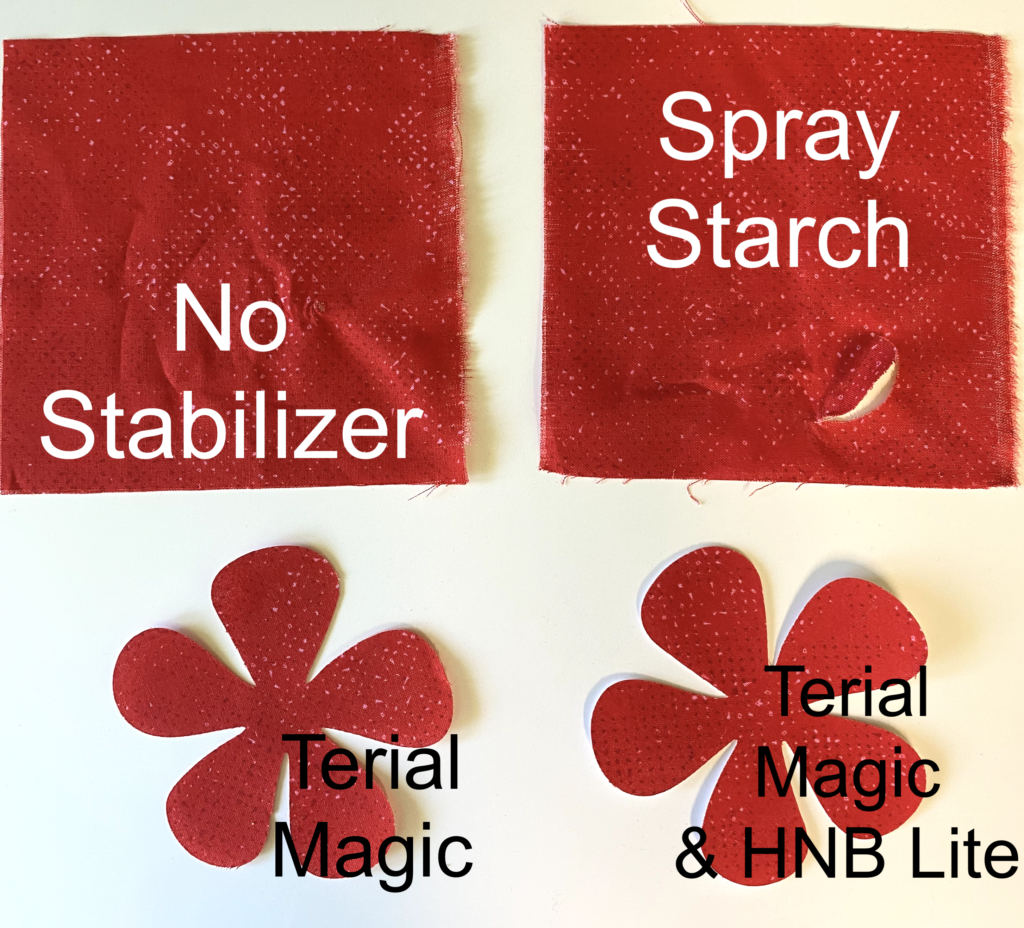
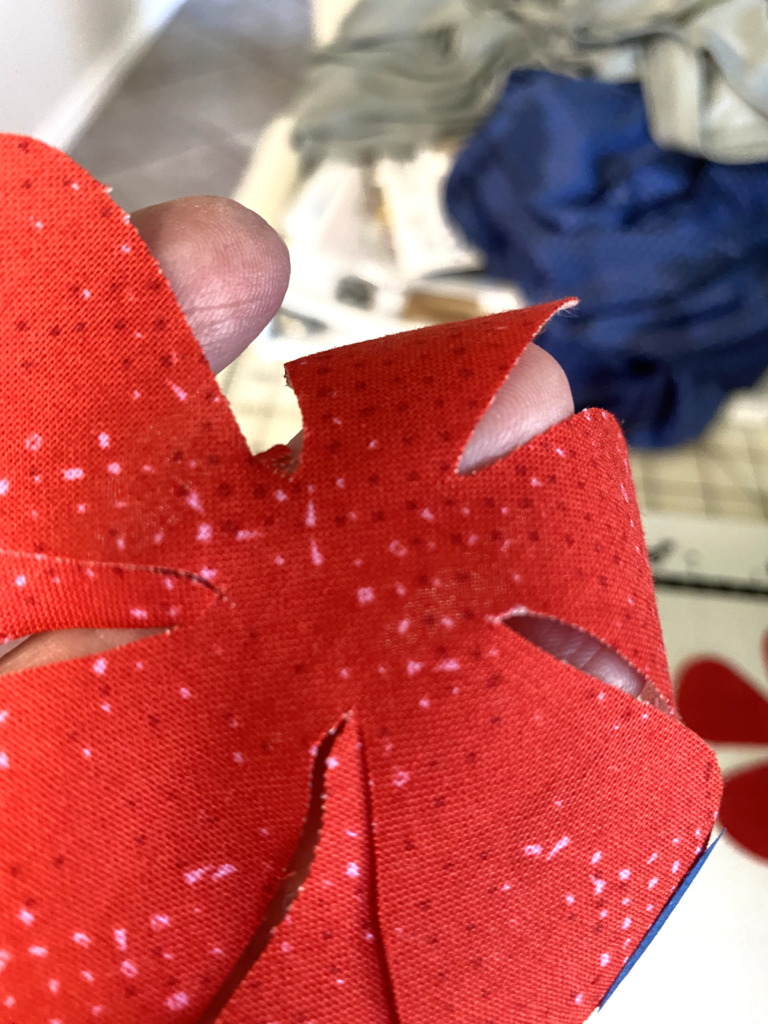
Next I cut using the same standard mat and a brand new Fabric Blade. The Fabric blade cut through most of the unstabilized fabric and did great on the other three samples.
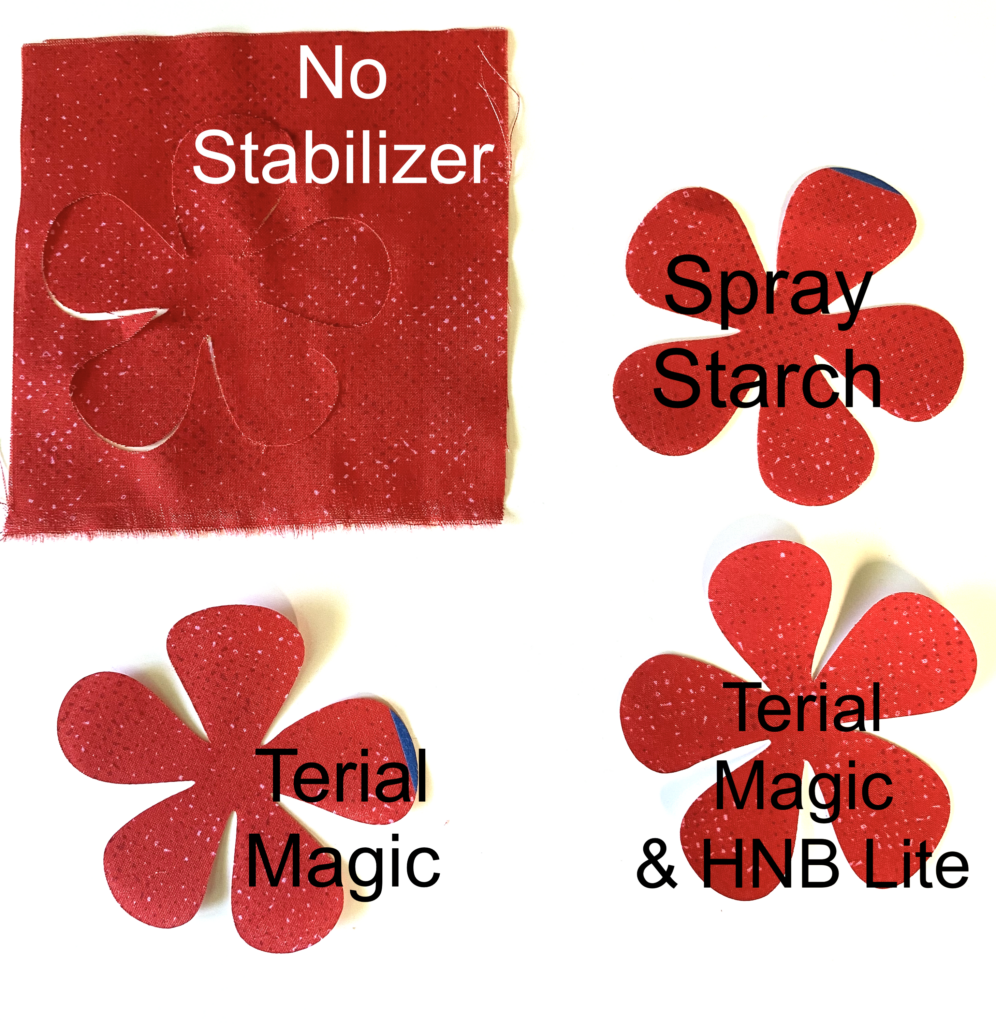
One spot on the unstabilized fabric did not cut completely, but the rest of the flower cut cleanly. I was able to easily clip this with a small pair of snips.
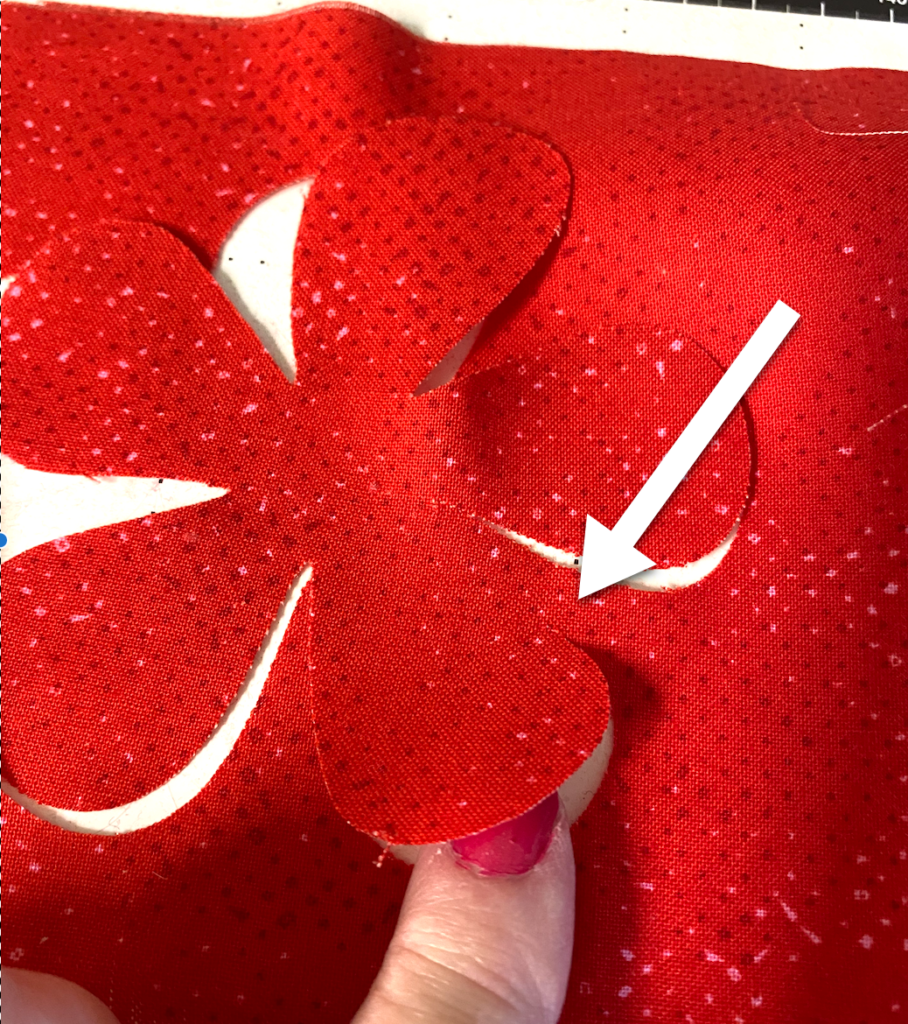
Next I tried the new Rotary blade with the standard mat. Here’s a video showing the rotary blade in action. Notice that it does not cut around the outline of the flower in one fluid motion. That’s because the small rotary blade needs to adjust its position. So you will see it lift up, move to another location, adjust the blade direction and then return to cutting. You will notice that designs cut using the rotary blade will take longer because of this action.
Again, there were two small spots in the flower on the unstabilized fabric that did not cut. This time, the spot was much smaller and was easily trimmed with a small pair of snips.
Using the fabric blade with a new fabric mat produced great results as far as the actual cuts. Even the unstabilized fabric was cleanly (and completely) cut!
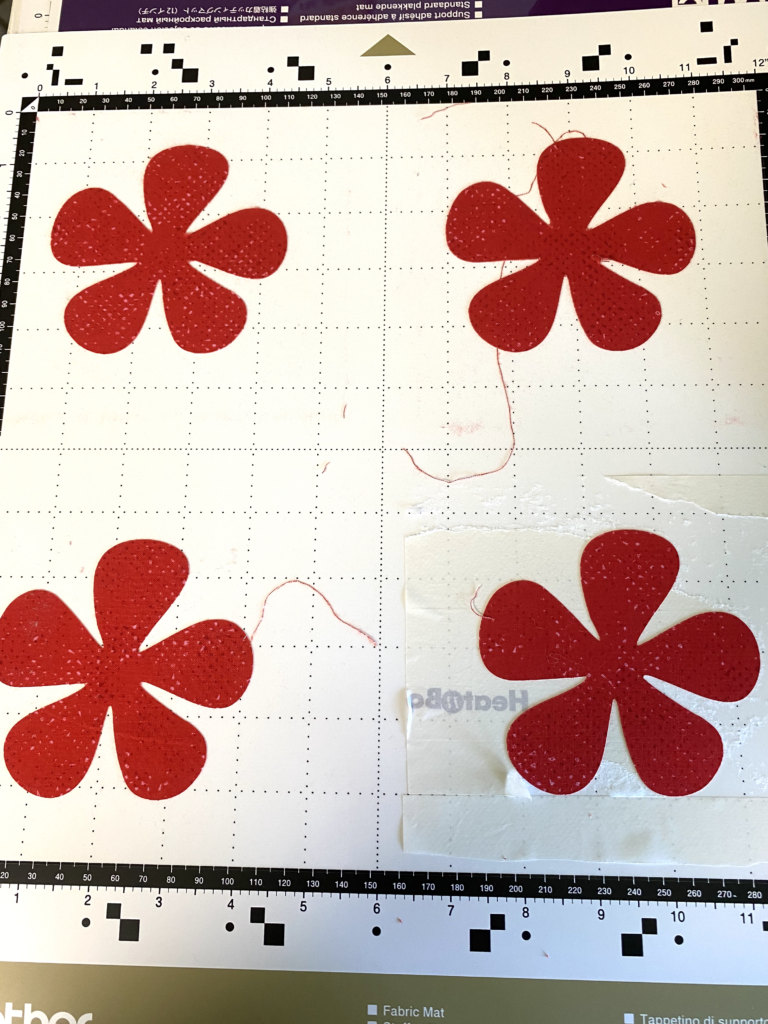
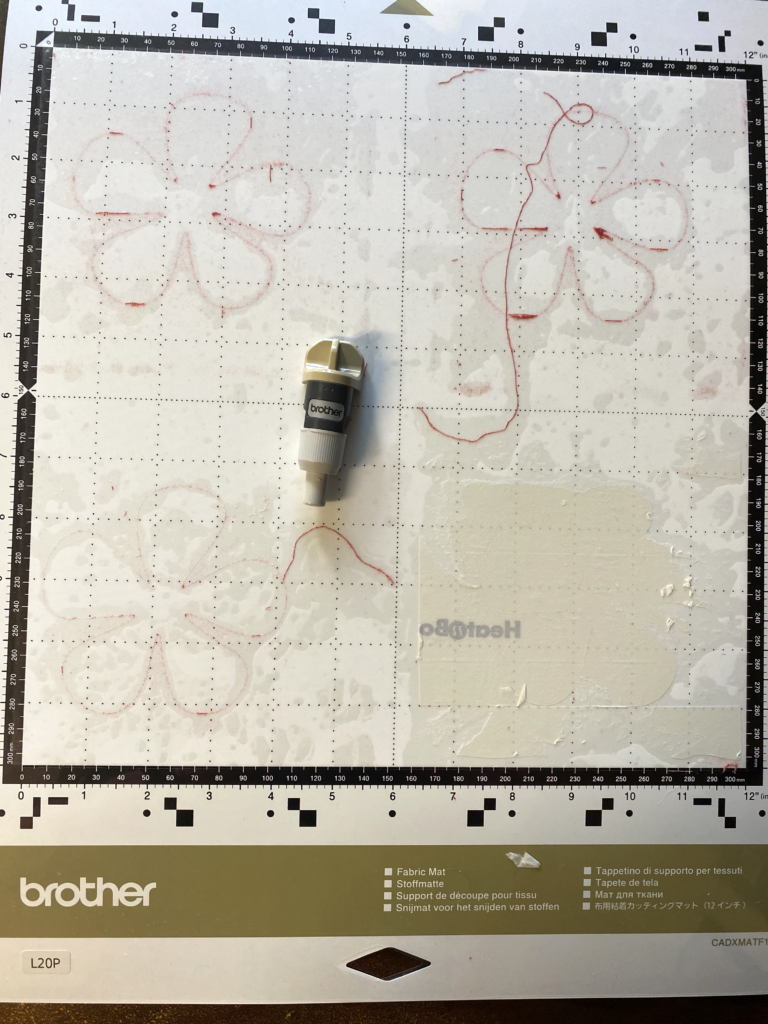
There was a small edge of fabric left on the mat where each of the flowers was cut and the paper backing from my Heat ‘n Bond Lite remains firmly attached to the mat! I tried to remove it using a spatula but will have do to some more cleaning to get it all removed!
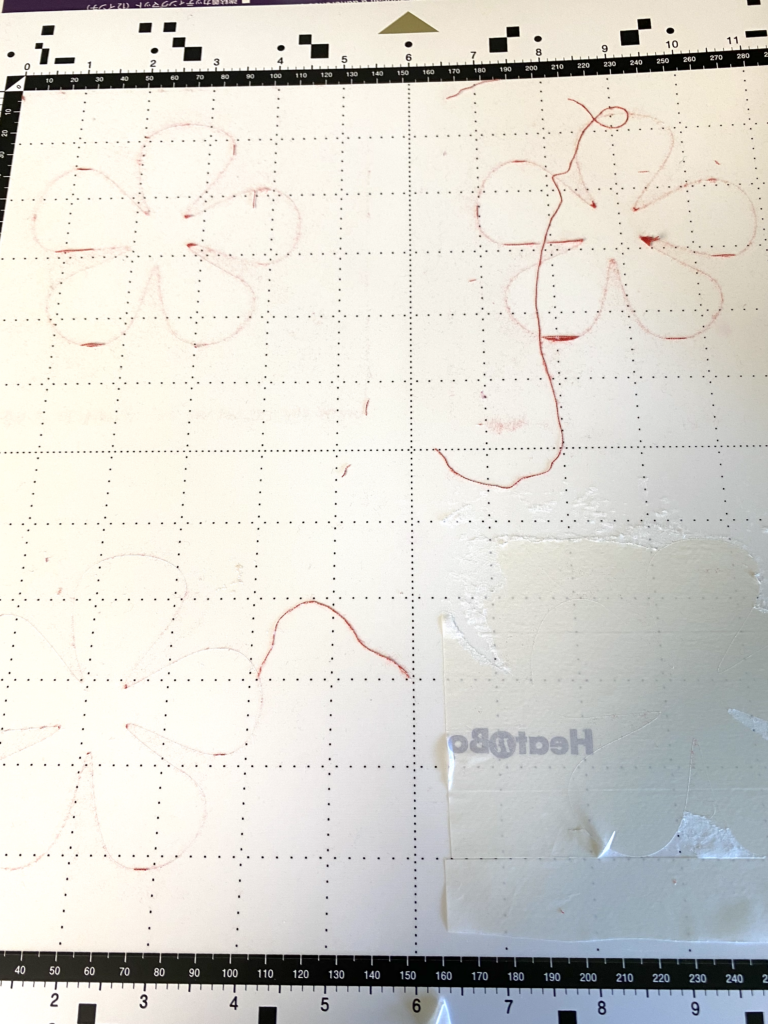
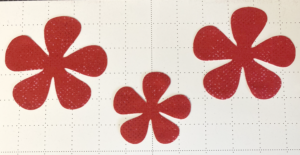
To be fair to the new rotary blade, I got a new standard mat and placed unstabilized fabric on the mat. This mat was much stickier than my old mat used in the previous test. I then added a smaller flower and a third flower and used one piece of fabric for all three flowers. They all cut perfectly!
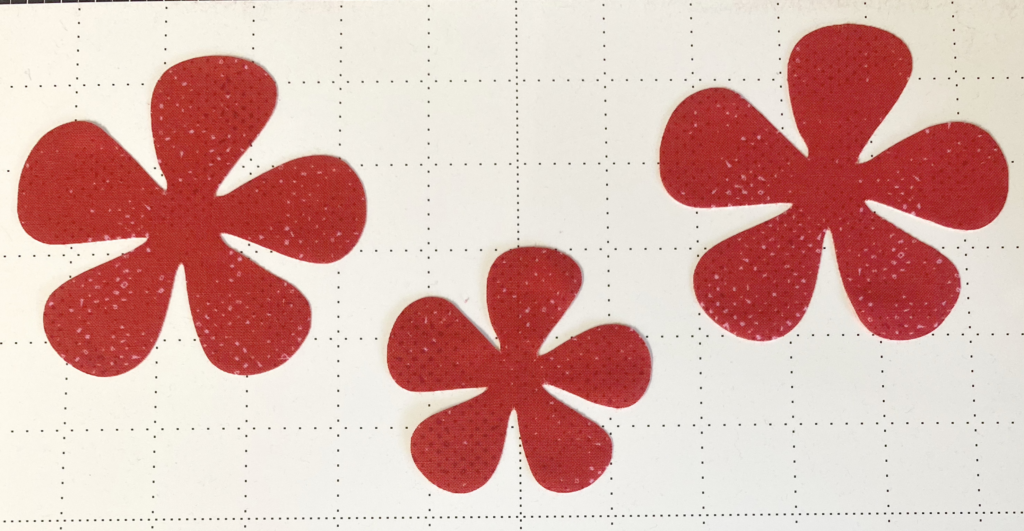
So, there you have it! The latest scoop on cutting fabric with your Scan ‘n Cut. If you have a good clean mat then I think the rotary blade will be great for working with fabric that has not been stabilized in any way. The Fabric Blade also does a good job, especially when combined with the Fabric Mat (remember it is SUPER sticky!!). Let me know which tool you like best!
If you enjoyed these tips, please join my Facebook groups … Libby’s Silhouette Group — Tips, Tricks, Tutorials and Projects, Libby’s Craft and Sewing Group and Running With Sisers – Juliet and Romeo. You can also find me on FB at Libby’s Loft.com. Please join and feel free to ask questions and share your creations! I look forward to seeing you there!!
Until Next Time,
Happy Crafting!!
Disclaimer: Posts on this site may contain affiliate links. Clicking on one of these links or making purchases at linked sites does not mean you pay more for your purchases. It means I may receive a small commission on your purchase. This commission helps defray the costs of this site and enables me to continue to provide you with new and exciting content.
Until next time,
Happy Crafting!!
Disclaimer: Posts on this site may contain affiliate links. Clicking on one of these links or making purchases at linked sites does not mean you pay more for your purchases. It means I may receive a small commission on your purchase. This commission helps defray the costs of this site and enables me to continue to provide you with new and exciting content.
Thanks for doing those experiments, sounds like fabric mat with fabric mat ALL the time! I also have heat n bond stuck on my mat because I used my lid mat and it was not sticky, and then I forgot when I bought my new 225F recently. Please let me know how you get off your heat n bond paper! Mine is stuck on! Boo hoo.