Download and Install the BX File
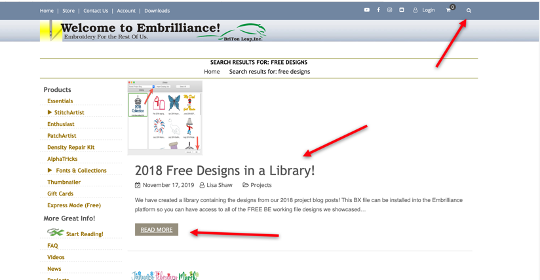
Download the file called EmbrillianceBlog2018 from the Embrilliance website. If you search on “Free Designs” on their website, you should locate the file. Click on Read More and will open the blog post. Scroll down and locate the download file. Download this to your computer.
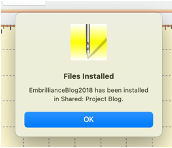
With Embrilliance open, you can either double click on the downloaded file (EmbrillianceBlog2018.bx) or you can left click and drag it over the Embrilliance workspace. This will install the files on into your Embrilliance software. You will see a dialog box telling you that the file has been installed. Click OK.
Change the Colors
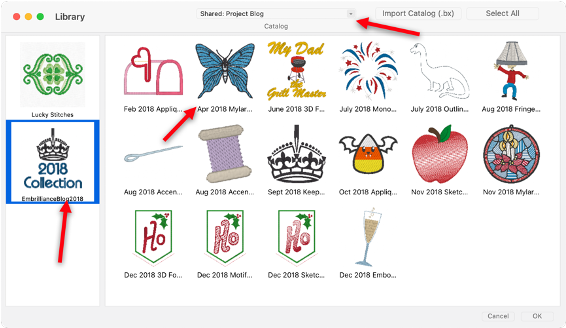
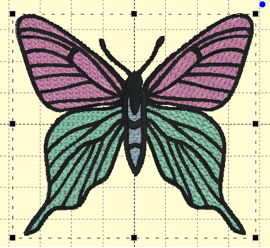
Click on the Merge Designs icon in the top toolbar. In the dialog box that opens, click on the dropdown arrow next to the location box. Navigate to the file you just installed. Mine was placed in the Shared: Project Blog folder. On the left side of the navigation window, you will see items you have already downloaded to this folder. Click on the 2018 Collection icon. All the designs from the 2018 blog posts should appear in the dialog box. Double click on the butterfly to place it in your workspace.
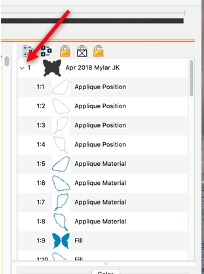
In the Objects Panel, click on the > or the + to expand the design so you can see all the parts of the design. The first four elements are appliqué placement lines. The next four are the appliqué material lines that will tack your fabric in place. Element number 9 is the fill stitch. This is the part of the design we will edit.
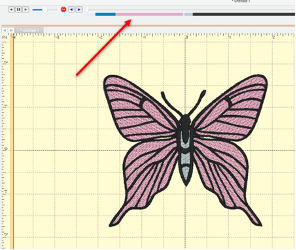
Click on the Stitch Simulator icon in the top toolbar. This opens the Stitch Simulator so you can check to see how your design is going to stitch out.

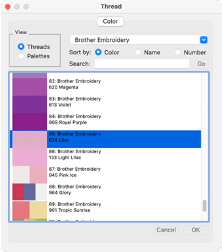
Use either the “play” button to move forward to the beginning of the fill or use the slider to advance the stitches to the beginning of the fill stitch. In my design, the fill begins at about stitch 859. Click on the STOP icon in the Stitch Simulator toolbar. This will open the Thread dialog box. Select a new color and click OK. Your modified design will be displayed with the new color.
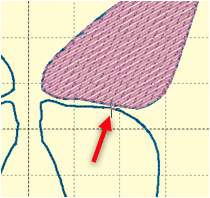
Repeat the previous steps, this time stopping at about stitch 1318, where the bottom right fill begins. Click on the STOP icon and change the thread to a color not already used in your design.
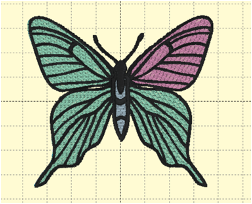
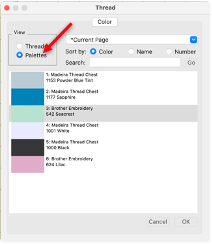
Repeat the steps to change the color of the top left part of the butterfly. (It begins about stitch 1909 in my design.) This time when the thread palette window opens, click on the button in front of the word Palettes in the View tab. This will show you only the colors used in the current design and you can select the color you used in the right top part of the butterfly easily.
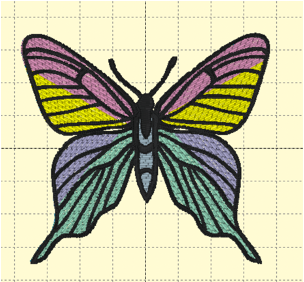
Finally, change the color of the bottom right part of the butterfly. Advance the color slider until you reach the first stitches for the bottom right (stitch 2395 in my design). Click on the STOP sign and change the color so it matches the left bottom of the butterfly.
You can take this process as far as you want, changing colors within each portion of the butterfly wings as well. Just use your stitch simulator to advance to the place you want to insert a change and follow the steps outlined above.
If you enjoyed these tips, please join my Facebook groups … Libby’s Silhouette Group — Tips, Tricks, Tutorials and Projects, Libby’s Craft and Sewing Group and Running With Sisers – Juliet and Romeo. You can also find me on FB at Libby’s Loft.com. Please join and feel free to ask questions and share your creations! I look forward to seeing you there!!
Until Next Time,
Happy Crafting!!
Disclaimer: Posts on this site may contain affiliate links. Clicking on one of these links or making purchases at linked sites does not mean you pay more for your purchases. It means I may receive a small commission on your purchase. This commission helps defray the costs of this site and enables me to continue to provide you with new and exciting content.