While looking for quick projects for an upcoming class, I found a video using a faux woodburning technique. Of course, I had to try it!
I ordered the Scorch Marker from Amazon and waited impatiently for it to arrive.

Once the marker arrived, I was ready to start my project. First I created a star shape using FlexiShapes in my Silhouette Studio. I created an offset around the star. I selected both stars and created a compound path. I duplicated the path two times and used the corner handles to scale each design and make them smaller, while keeping the design proportional. Finally I added a rectangle around the design as a weeding box. I also wanted the rectangle of vinyl to protect the wood when I was using the marker.
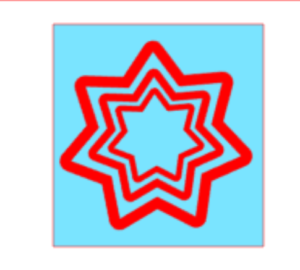
I cut the shape using a piece of scrap adhesive vinyl. After weeding, I transferred the entire design to transfer tape and put it on my wooden ornament.
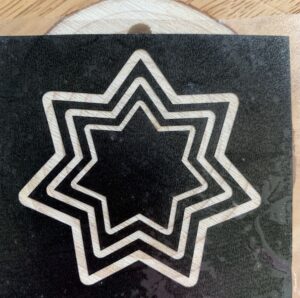
Using a squeegee, I sure the vinyl had adhered well and that there were no gaps between the vinyl and the ornament. When I was satisfied there were no gaps, I removed the transfer tape.
When I opened the marker, I had to shake it several times and press down on the tip to “load” the marker with the magic liquid.
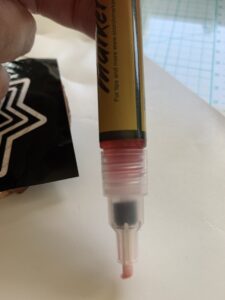
I painted the lines of the star, making sure to keep the marker primed. I could see the wood change colors, so knew I was getting good coverage.
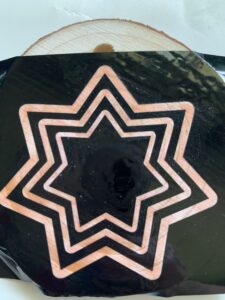
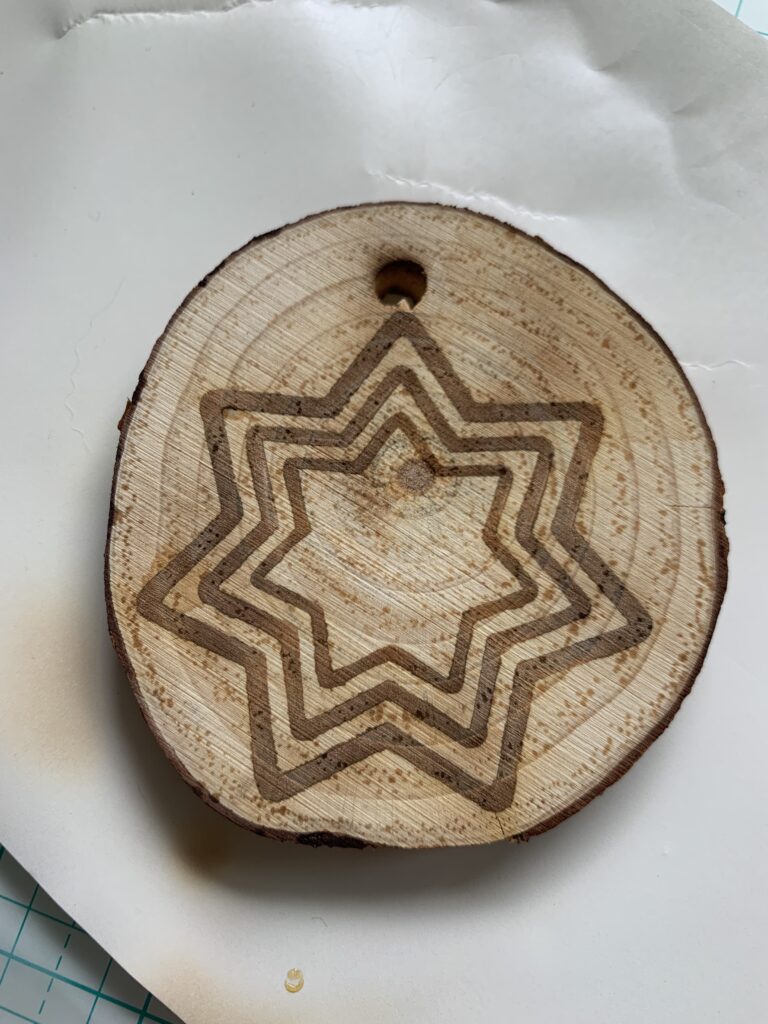
Now for the magic! I removed the vinyl stencil and tried heating the wood using my hairdryer. It was way too slow and I did not see any change in the wood after several minutes of heating the ornament. So, I got out my crafting heat gun and tried again. This time, I had success. The longer you heat it, the darker the impression on the wood becomes.
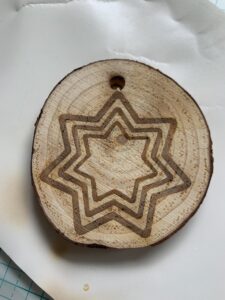
I had placed the ornament on a piece of backing from some adhesive vinyl I used for another project and I noticed that there was a little scorching of the paper due to the heat from the heat gun, so be careful where you place your wood while heating it.
There you have it! A quick, easy project!! Let me know if you try this!
If you enjoyed these tips, please join my Facebook groups … Libby’s Silhouette Group — Tips, Tricks, Tutorials and Projects, Libby’s Craft and Sewing Group and Running With Sisers – Juliet and Romeo. You can also find me on FB at Libby’s Loft.com. Please join and feel free to ask questions and share your creations! I look forward to seeing you there!!
Until Next Time,
Happy Crafting!!
Disclaimer: Posts on this site may contain affiliate links. Clicking on one of these links or making purchases at linked sites does not mean you pay more for your purchases. It means I may receive a small commission on your purchase. This commission helps defray the costs of this site and enables me to continue to provide you with new and exciting content.
Until next time,
Happy Crafting!!
Libby what a neat idea. I can already think of many ways to do this. I’m going to order the scorch marker tonite. Thanks again.
Thanks! It was so much fun! Be sure to post pictures of your creations in the FB group!!
How cool! I’m assuming it only works on wood….
Mags, I have not tried it on any other surface … hmmm … now you have me wondering!