I was having a conversation with my friend Barbara Foster of Let’s Go Silhouetting about using stickers to decorate my planner. Barbara is a master of the Silhouette Mint and suggested that I try making planner stamps for recurring events. I had so much fun I wanted to share the process with all of you!
To get started, download the Silhouette Mint Studio software. This software is available on the Silhouette America website. Once the software is loaded, you are ready to go!
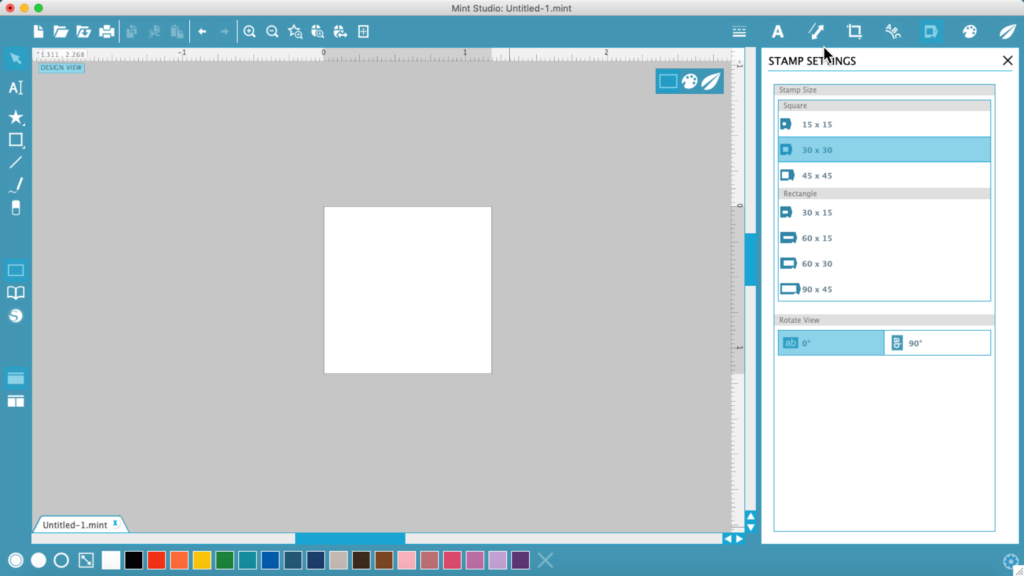
When your Mint Studio software opens and you click on Design, you will see a workspace that is very similar to the workspace in Silhouette Studio. On the right side of the workspace are the Stamp Settings. This is where you will select your stamp size.
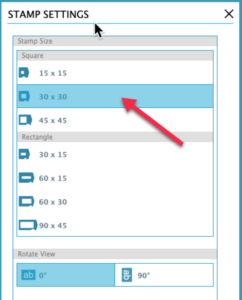
I chose a 30×30 stamp. (You can find all the Mint supplies at Silhouette America’s website.) The stamp shows in the workspace, ready for you to begin the design process.
I am going to make a stamp for soccer games, since my grandson is on the school soccer team and there are several games per week. I wanted a soccer ball on the stamp and had one in my Library. You can access your Library by clicking on the Library icon in the toolbar on the left side of the workspace.
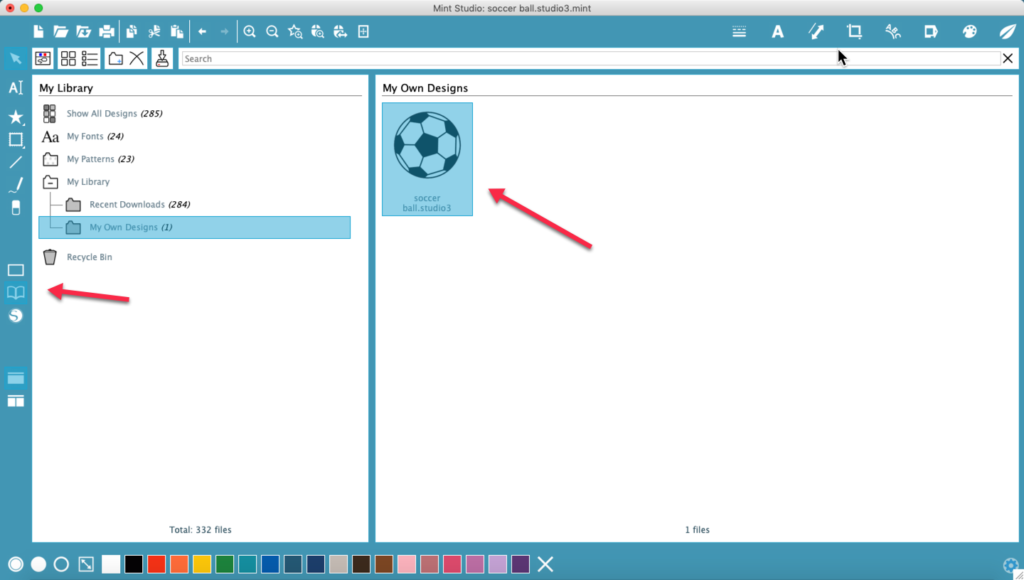
Double click on the design to place it in the workspace and then resize it so it fits in the stamp. I wanted three balls, so I copied and pasted two more into the design space. Make sure the first and last balls are where you want them to be in the stamp. If you have multiple elements, left click and drag a box around them. Click on the Object menu and select Align–Middle. With the three objects still selected, click on the Object menu again and select Align–Distribute Horizontal. The three objects are now aligned and equally spaced in the design area. With the three balls still selected, right click and select Group.

Now for some text. Click on the Text icon and click in the stamp area. I selected a font by Lori Whitlock called Splendid. It’s available in the Silhouette Design store. Enter your text … I used “Time:____” and pressed Enter to set the text. Use the Scale handles to size the text so it fits in your stamp.

Right click and select Duplicate to create another line of text with the same properties. Change the text if desired … I entered “Location: ____”.

Move the words into position where you want them. With the words selected, right click and select Group. Now select all the elements in the workspace and click on the Object menu. Select Center to Stamp from the Align flyout.

Here’s my stamp.

This would be a good time to save your stamp. You can either select Save As from the File Menu and save it to your hard drive or select Save to Library and save it in your library. Now it’s time to create your stamp. Click on the Mint icon at the far right of the toolbar.

Notice that your stamp is automatically mirrored when you click on the Mint icon and you see a preview of how your stamp will print.
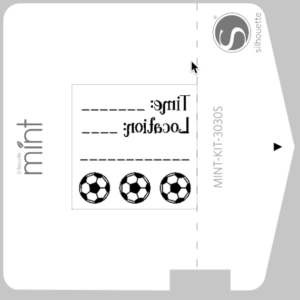
In order to get your stamp to print, follow the steps on the Send to Mint panel. Don’t try to insert your stamp too soon …. nothing happens … ask me how I know! You have to click Start Mint before inserting your stamp.
You will be prompted to insert your media then you will see that the stamp is being printed.

When your stamp is printed, remove it from your Mint.
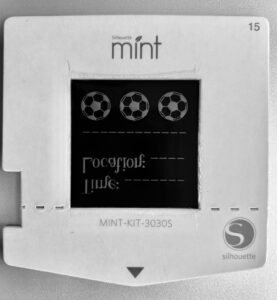
Gently bend the stamp media back on the folded line and lift the stamp off the carrier. The clear protective sheet may stick to the stamp a little, so just remove it.
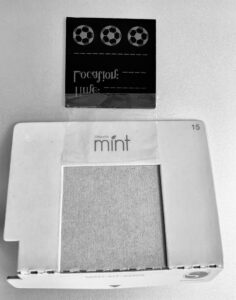
Remove the protective layer from the stamp mount and position your stamp over the mount.
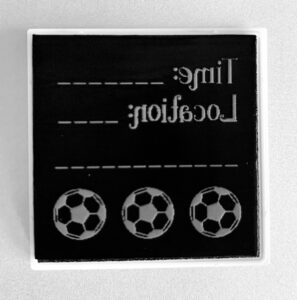
Place your stamp on a flat surface and apply your ink to the lines you want to color. You can use multiple colors, just be careful not to allow them to mingle.
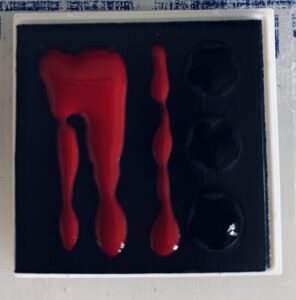
Allow the ink to absorb into the stamp for about 10 minutes. You will be able to tell when it is fully absorbed. Use a scrap piece of paper to “stamp off” the excess ink. Stamp the enclosed labels and use one for the stamp lid and the other for the stamp base.
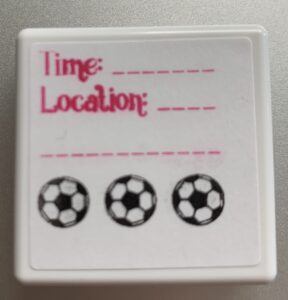
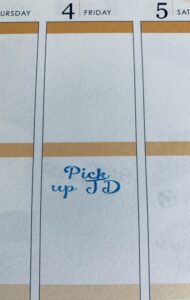
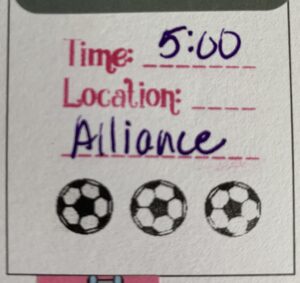
And here it is being used in my planner.
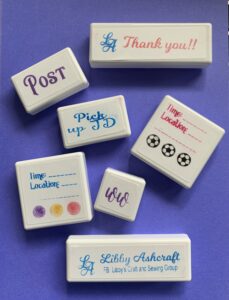
I hope this inspires you to get that Mint out of the box and start stamping! Here are a few of the stamps I have created.
If you enjoyed these tips, please join my Facebook groups … Libby’s Silhouette Group — Tips, Tricks, Tutorials and Projects, Libby’s Craft and Sewing Group and Running With Sisers – Juliet and Romeo. You can also find me on FB at Libby’s Loft.com. Please join and feel free to ask questions and share your creations! I look forward to seeing you there!!
Until Next Time,
Happy Crafting!!
Disclaimer: Posts on this site may contain affiliate links. Clicking on one of these links or making purchases at linked sites does not mean you pay more for your purchases. It means I may receive a small commission on your purchase. This commission helps defray the costs of this site and enables me to continue to provide you with new and exciting content.
Until next time,
Happy Crafting!!
Disclaimer: Posts on this site may contain affiliate links. Clicking on one of these links or making purchases at linked sites does not mean you pay more for your purchases. It means I may receive a small commission on your purchase. This commission helps defray the costs of this site and enables me to continue to provide you with new and exciting content.
I prefer to design in silhouette and then move the design over to mint. The mint software feels cumbersome.
Dawn, I usually prefer to design in silhouette Studio as well, but I wanted to take the Mint software out for a spin and see how it worked.