
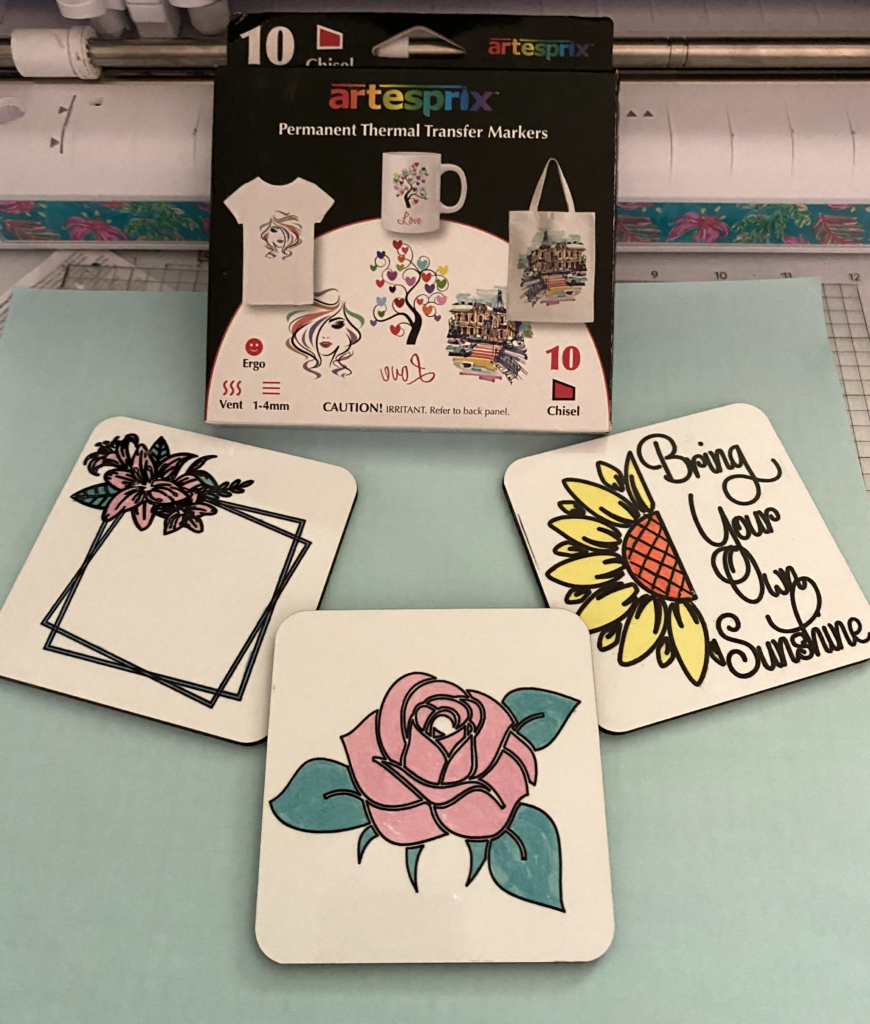
Everyone loves the clean crisp look and bright colors that you get with sublimation. Usually you need a dedicated printer, sublimation ink, sublimation paper and even special sublimation blanks to create these special projects. But Artesprix Markers change all that!!
I have had a great time playing with my Artesprix markers while preparing to write this post …. and it is like playing!! You do not need an electronic cutter to use the Artesprix markers, but I wanted to see how they would work. I used them in both my Silhouette Cameo 4 and my Scan ‘n Cut DX and I’ll let you know how they worked.
Getting started with Artesprix markers is really easy. You need a set of markers, a sublimation ready blank and some copy paper. Yes, that’s right … plain ole copy paper! I have a stack of sublimation coasters that I purchased from Heat Press Nation but you can find them in a variety of places that sell sublimation blanks.
Hand drawn images
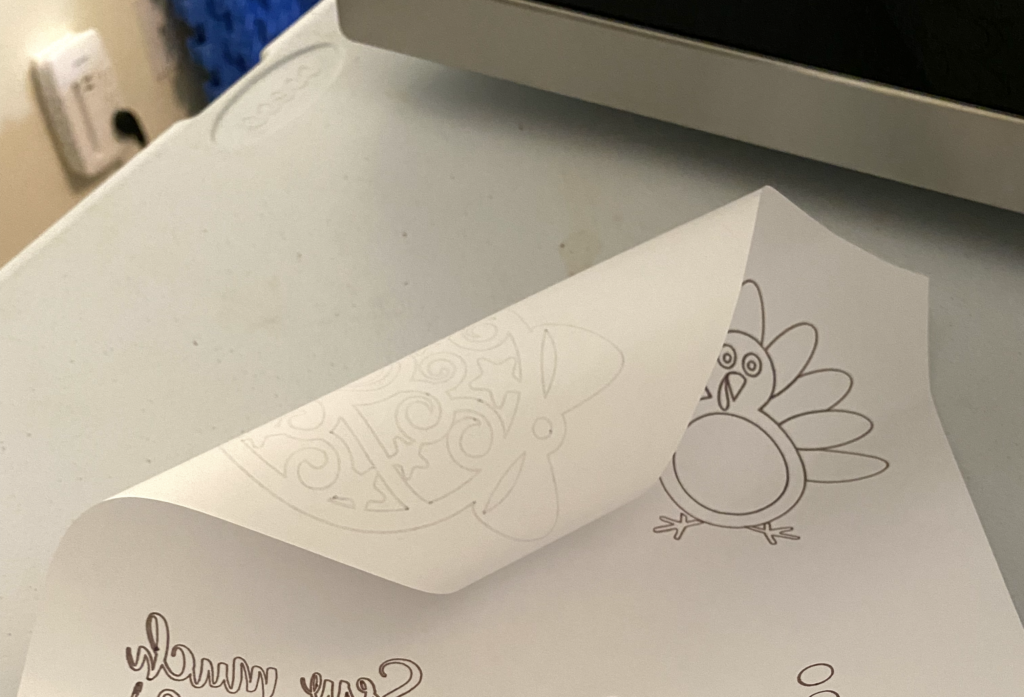
One way you can create your designs is to draw them yourself … well you all know I am not an artist, so I printed out a design to use. I turned the printed page over and placed another piece of copy paper on top. Then I put it on a light box so I could see to trace it using a black Artesprix marker. You don’t have to have a light box — you could tape it to a window on a bright day for tracing.
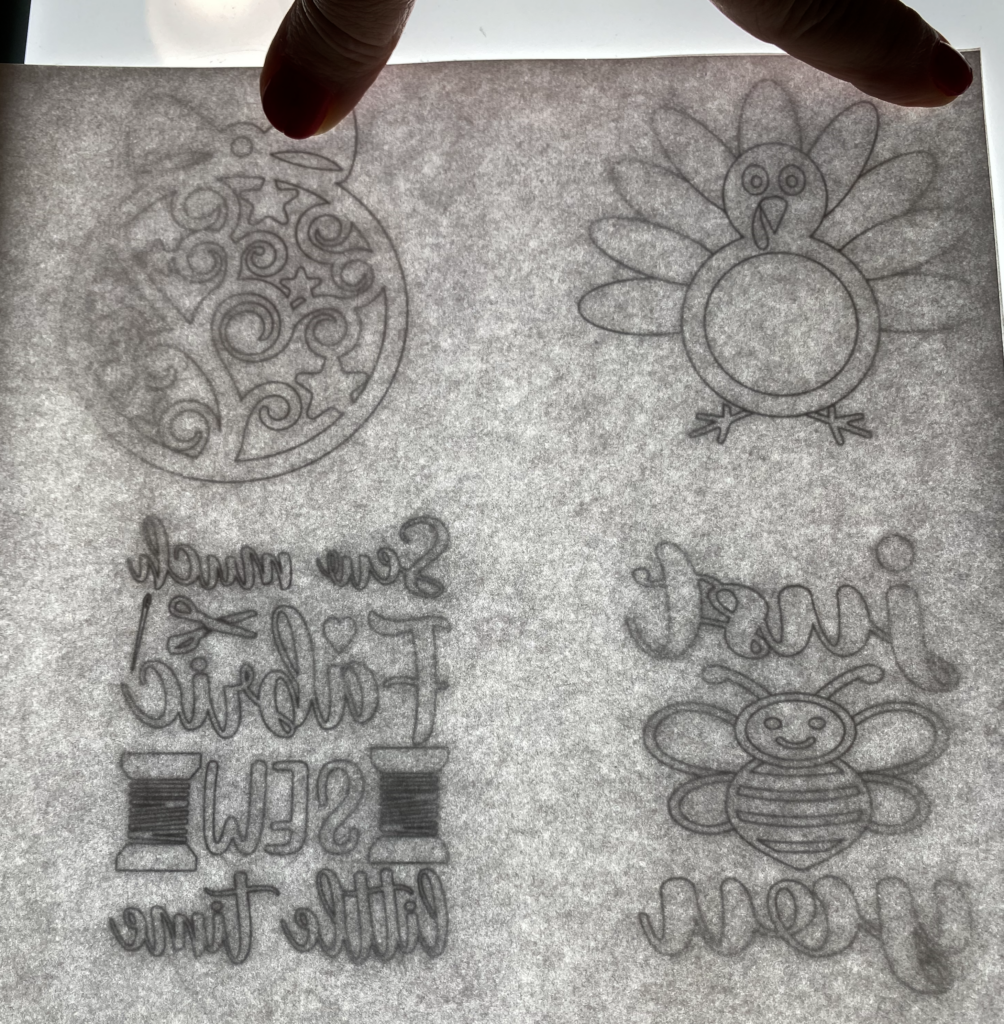
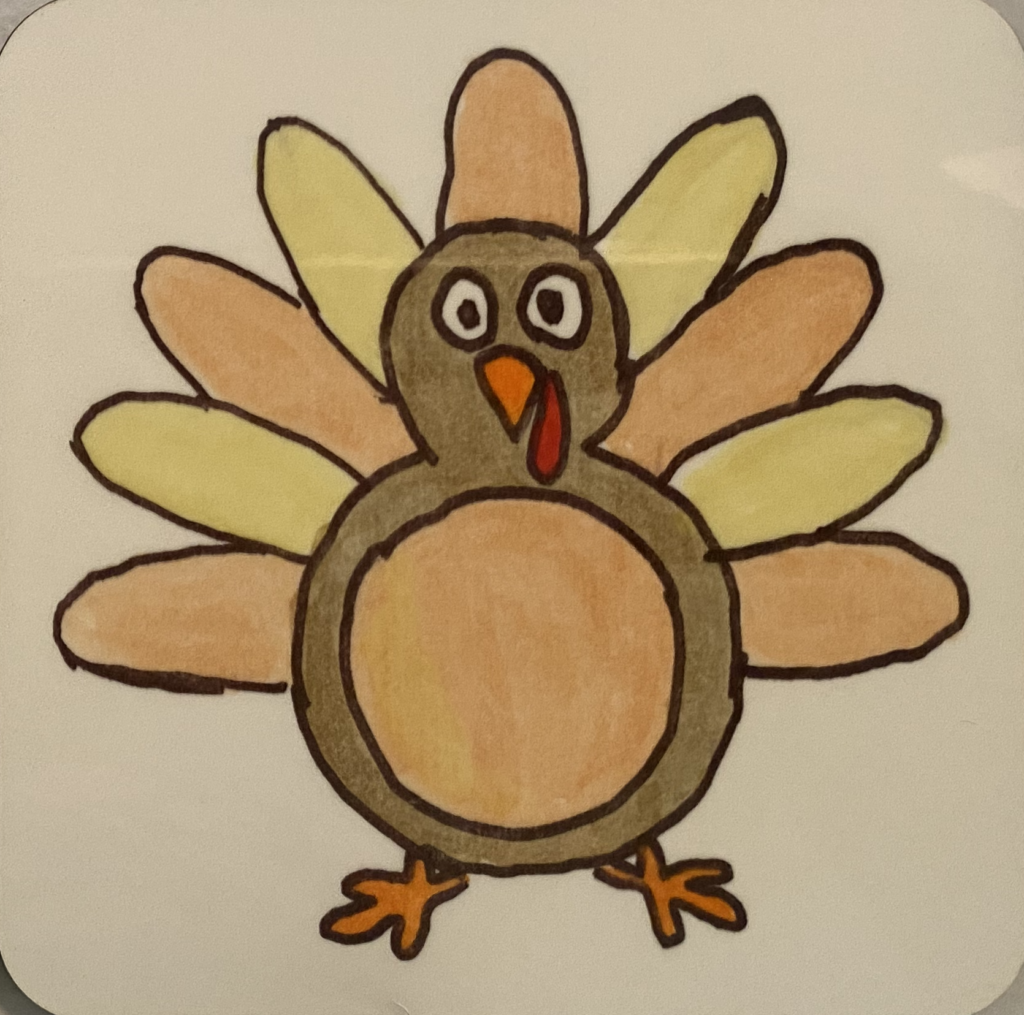
Once I had traced the image, I colored it in using more Artesprix markers. When you are coloring, be careful not to use too much ink — the colors will be dull until you press them. If you use too much ink, you run the risk of the color smearing the black outline (or other colors). My friend Sarah at Silhouette Made By Sarah gave me this tip about too much color. She is a member of the Artesprix Design Team and you can find great projects by Sarah on the Artesprix website. Here’s how my traced turkey looks after being pressed. My lines are a little ragged but it really has a “hand drawn” look. ( I told y’all I was not an artist!!)
Silhouette Cameo 4
I created a number of designs in my Silhouette Studio software for testing. I mirror imaged the designs if they had words or if it would make a difference in the finished project. Remember, you are putting the image on the blank with the image facing down, so you will want to remember about mirroring! I used the Pen Holder (Type B) with the large adapter in my Cameo 4. Be sure you are using the correct pen holder for your model Cameo.
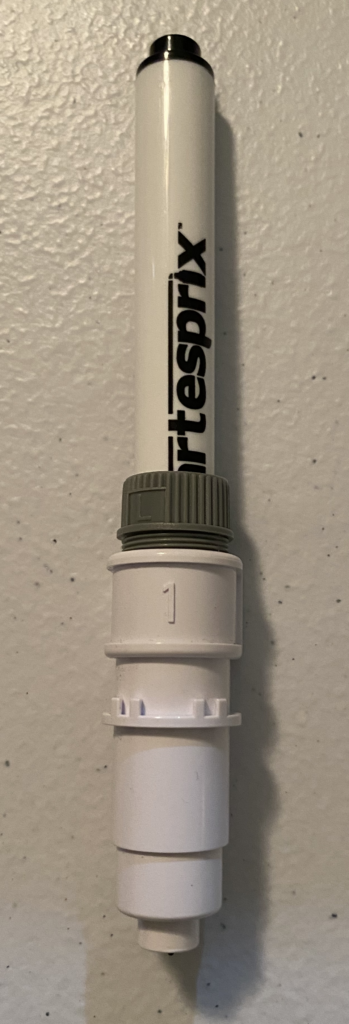
When I put it in the Cameo, I installed it and then pulled it back up just the smallest amount. This is the only time you may have better success with a very small gap between the housing and the blade holder. Notice that the pen holder has a “1” on it to remind you to place it in the first blade space. I recommend you do a test before you actually send your design to draw. I had to make a couple adjustments before I found the “sweet spot” for my marker.
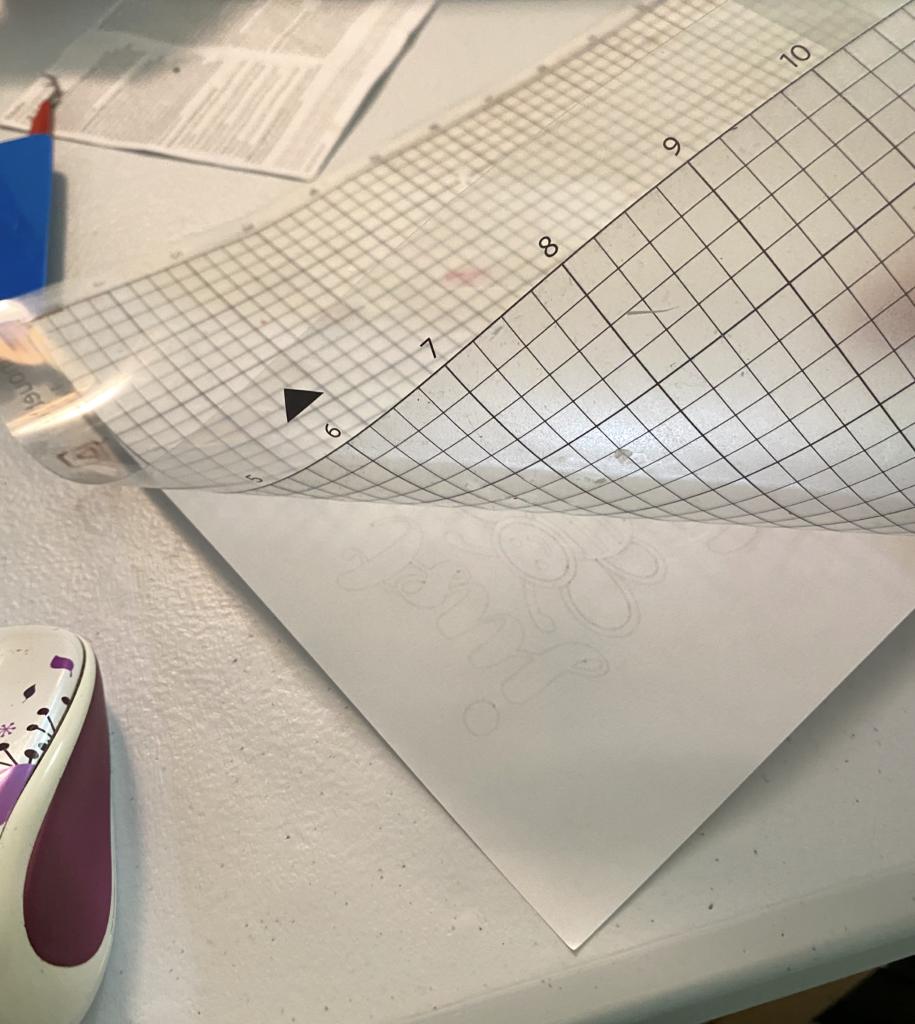
Here’s my printed page after I removed it from my mat. You can see that it is printed in reverse. But more importantly, you can see that the paper curled as I removed it from the mat. This is because I removed the paper from the mat.
I know better than this but I was excited to get to the coloring and got ahead of myself. (Sometimes it just does not pay to get in a hurry!) I was ready to remove my next page from the mat, I turned the mat over and removed the mat from the paper. This keeps it from curling.
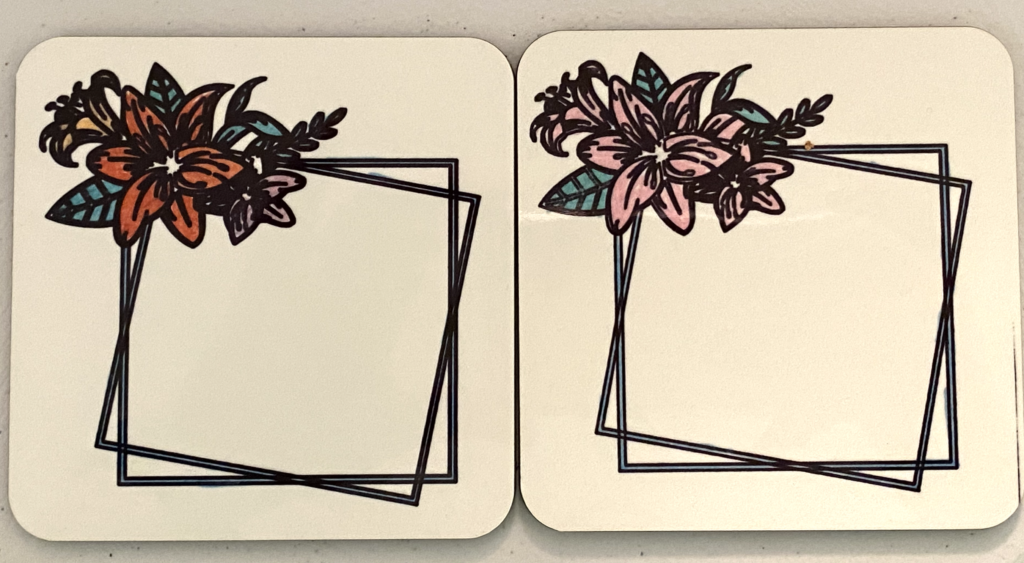
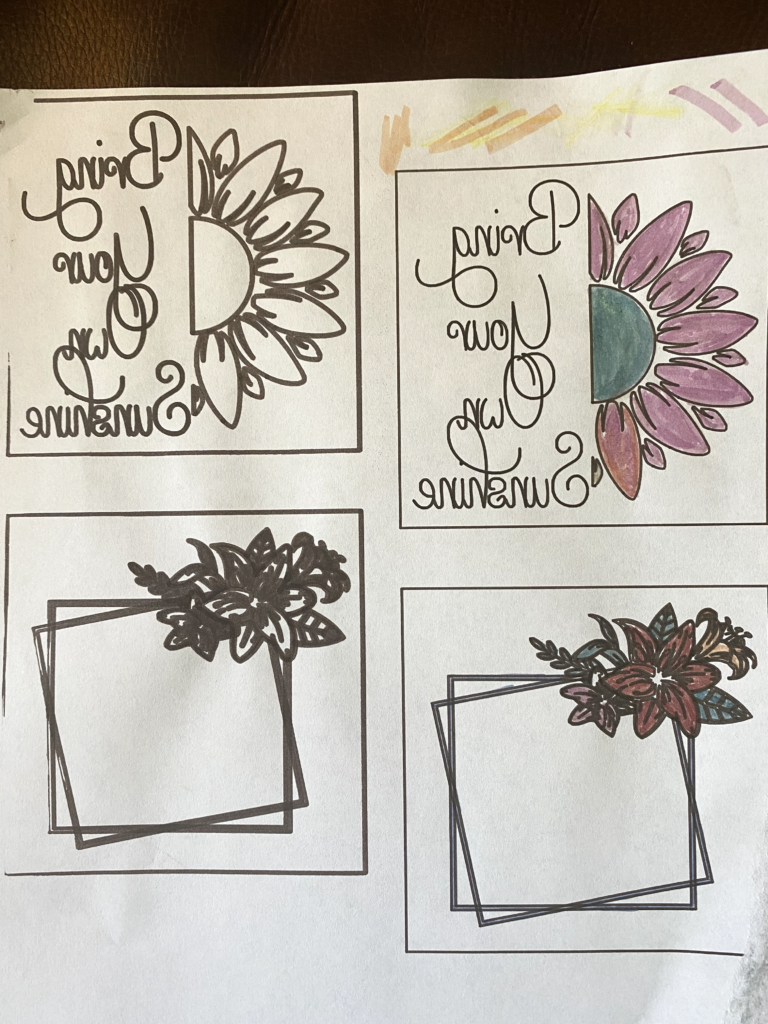
Here is an actual printed page with some coloring already done. You can see I experimented with different line thicknesses — the two on the left have a line width of 2.0 and the ones on the right have a line width of 1.0. You can also see my marks at the top where I was experimenting with colors before I actually colored my images.
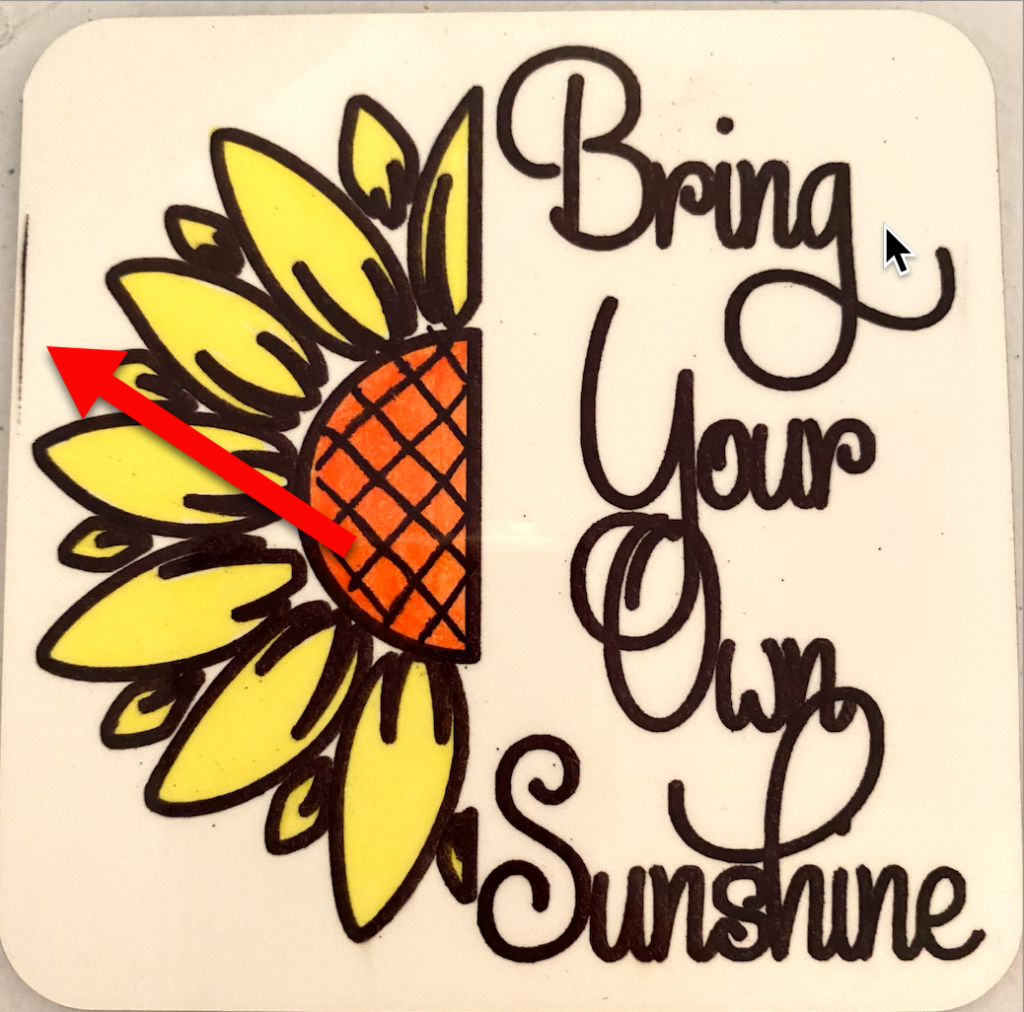
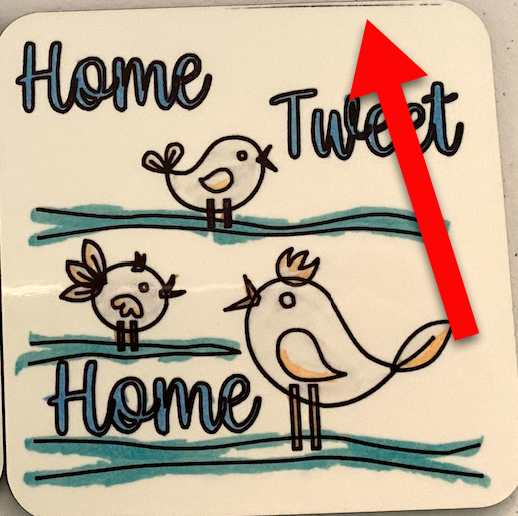
Remember I said the colors would be muted before pressing. Here’s the top right sunflower coaster after pressing. See how much more vibrant the colors are now! (I know sunflowers are not pink but I was playing with colors!)

We are going to take a look at the setup for the Scan ‘n Cut next and then I will tell you how to press the images. It is the same whether you have a hand drawn image or one drawn by an electronic cutter. You can scroll down to the section called Press the Images to the Blanks if you don’t have a Scan ‘n Cut.
Scan ‘n Cut
Full disclosure here, I created my all my images in Silhouette Studio. I have upgraded my software to Business Edition so I can save files as SVG files and use them with my Scan ‘n Cut. Since Brother CanvasWorkspace will not allow me to save as an SVG for use with another machine, using Silhouette Studio allows me to create one time and use images with both machines.
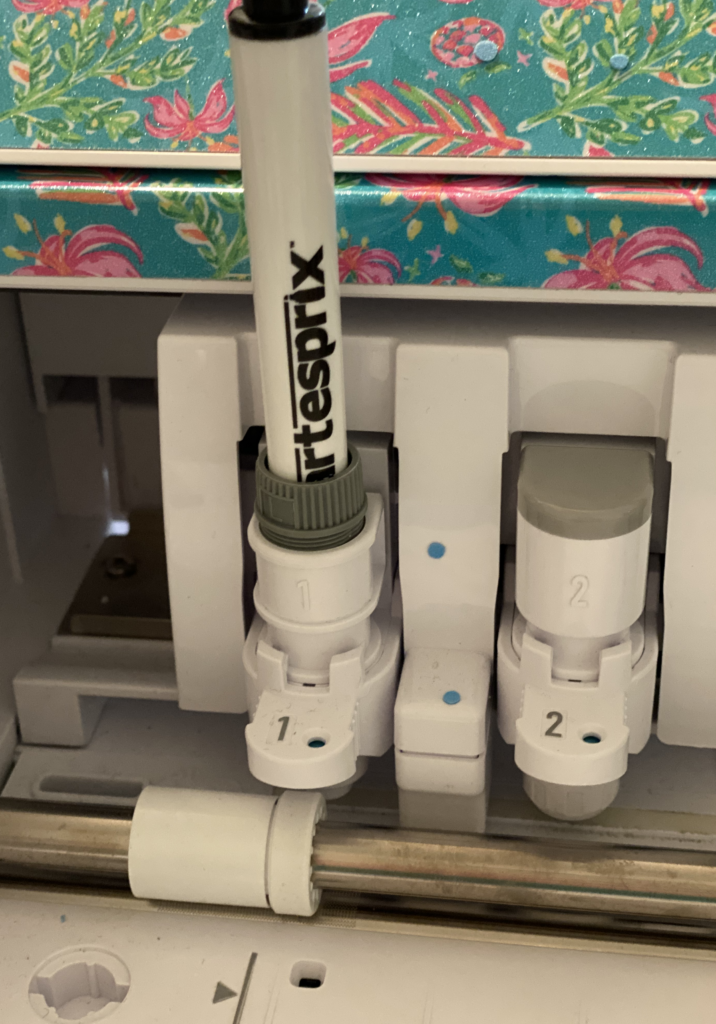
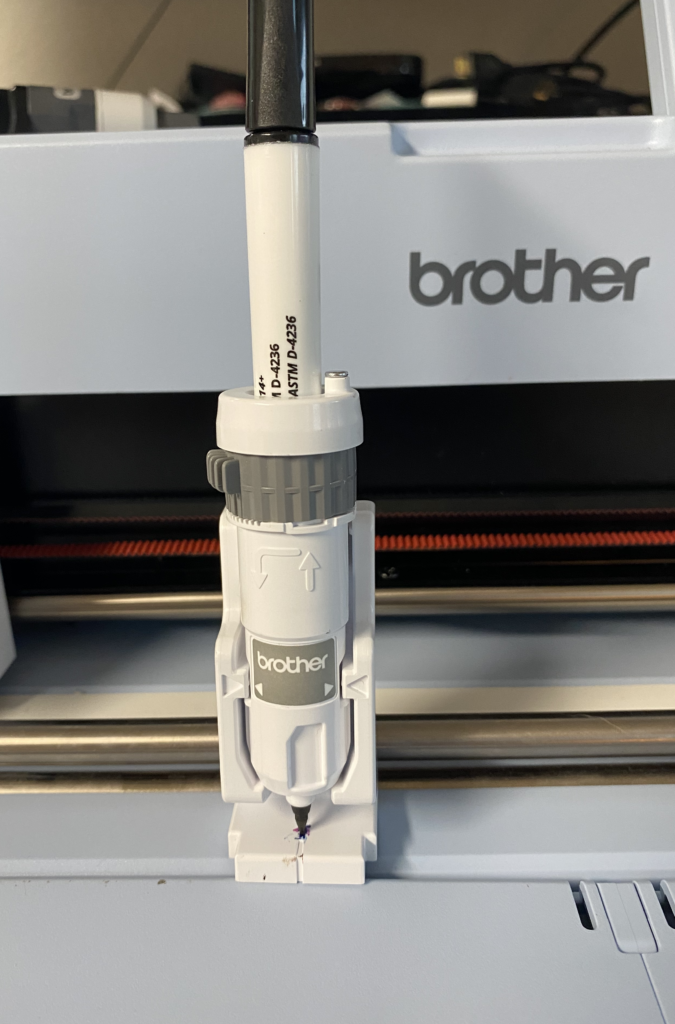
With my images on a USB, I opened the design in my Scan ‘n Cut. I used the Universal Pen Holder to hold my Artesprix marker. To use this adapter, put your pen in the adapter with the end of the pen below the bottom of the adapter. Tighten the pen into place. Then place the pen holder and the pen in the stand to check to see if your pen is correctly placed. You want the pen to just barely touch the bottom of the adapter. Brother suggests you put a piece of the paper you are using in the bottom of the adapter to check the distance. (You can see I have forgotten to do this several times.)
With the pen inserted, I was ready to print. Remember to set your Scan ‘n Cut to Draw, not Cut. This will keep it from doing the measurements at the top of the mat and of the material to measure the blade depth. You can see here that I did to a test cut to check that the pen was properly placed and would draw my lines. Once all the lines were drawn, I colored the designs and was ready to apply them to the coasters.
Press the Images to the Blanks
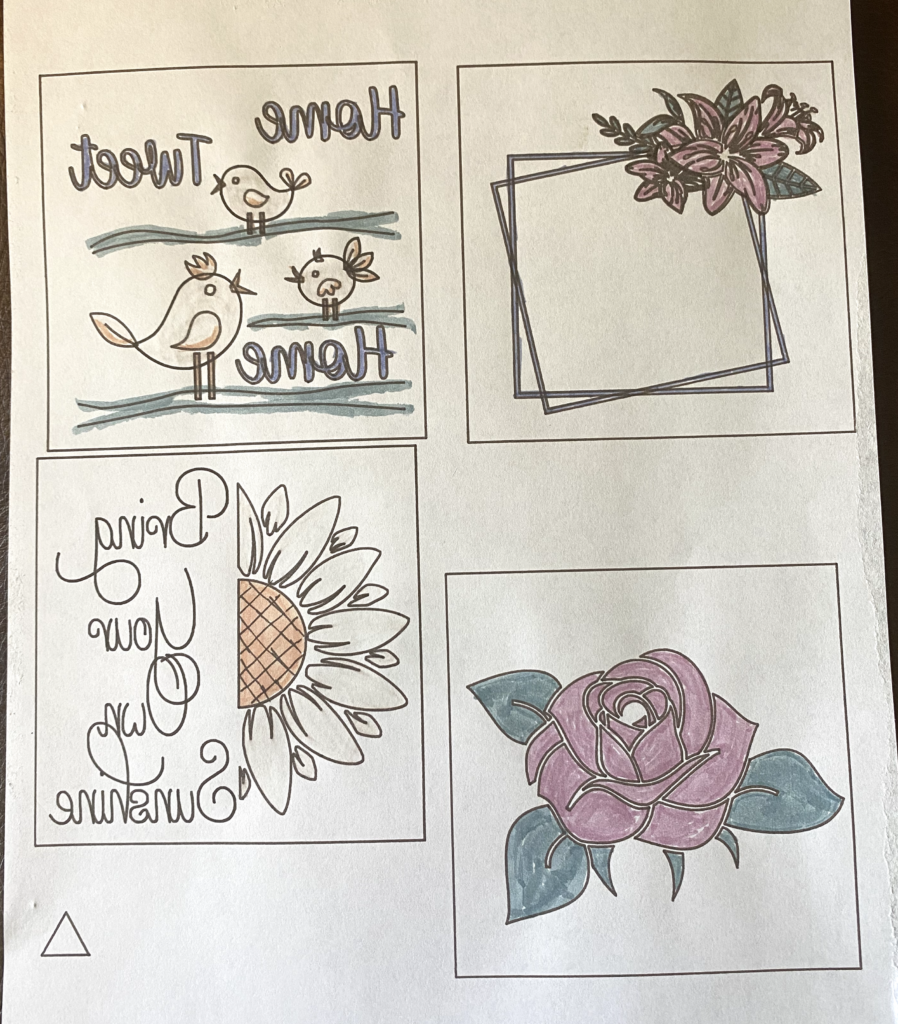
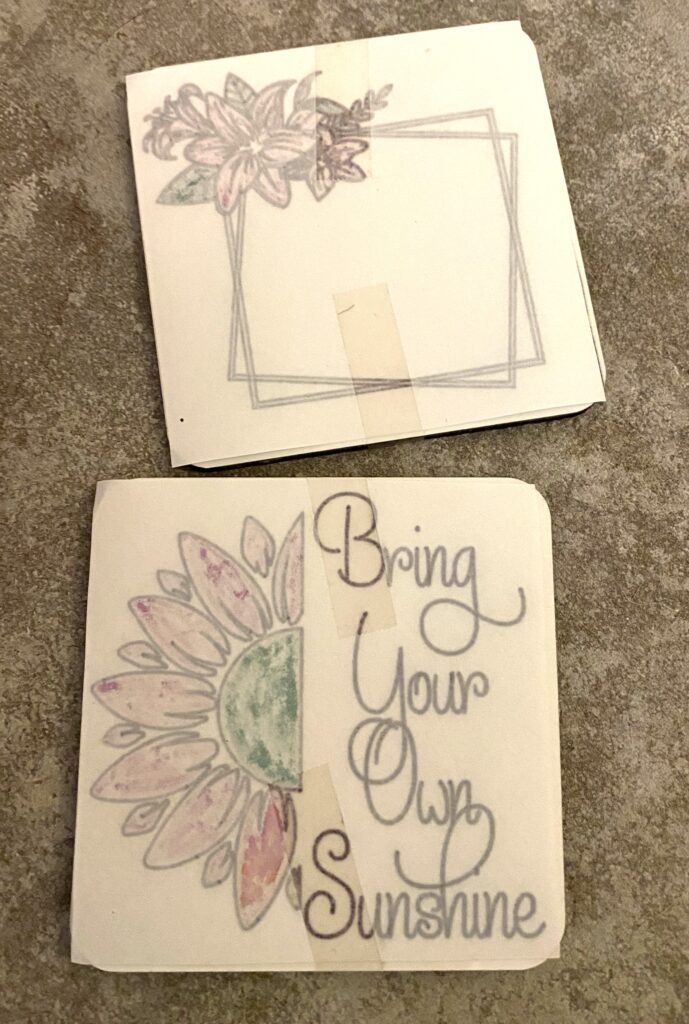
All my images were printed, traced and colored. You can see in the photo above that some of my images had a black outline around them. I had created this square to make sure my images would fit inside the coasters. I trimmed this away by hand when I was ready to press. You will see that even though it looked to the naked eye that I had removed all the outline, there are a couple spots where I did not. So, if you use a box for placement/size purposes, I recommend that you do not cut it unless you trim better than I did.
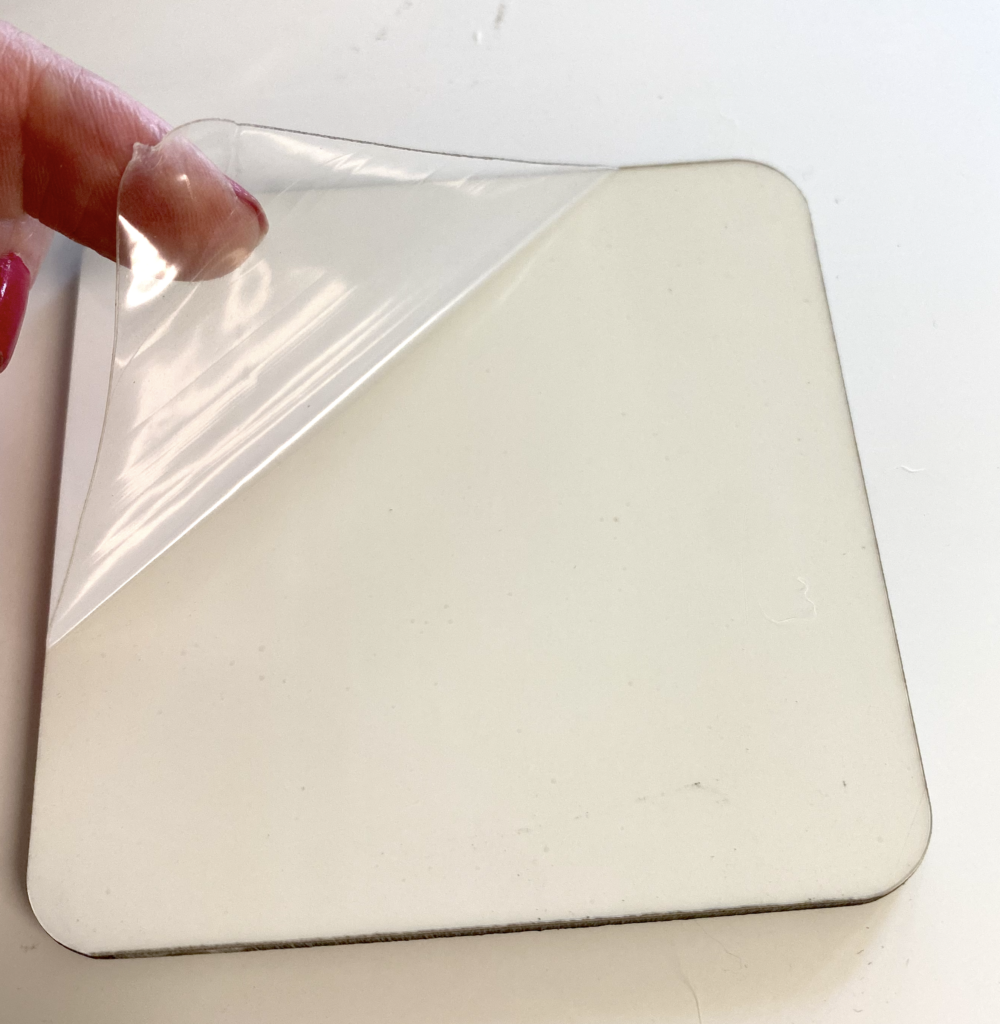
Once you have your images trimmed, remove the protective covering from your blank. Sublimation blanks usually have a protective covering to keep them from getting scratched. I always wait until I am ready to press to remove them “just in case”.
Place your image on the blank face down. Use heat resistant tape to hold it in place. You don’t want to just place the paper on the blank because you don’t want it to accidentally move as you are opening or closing your press.
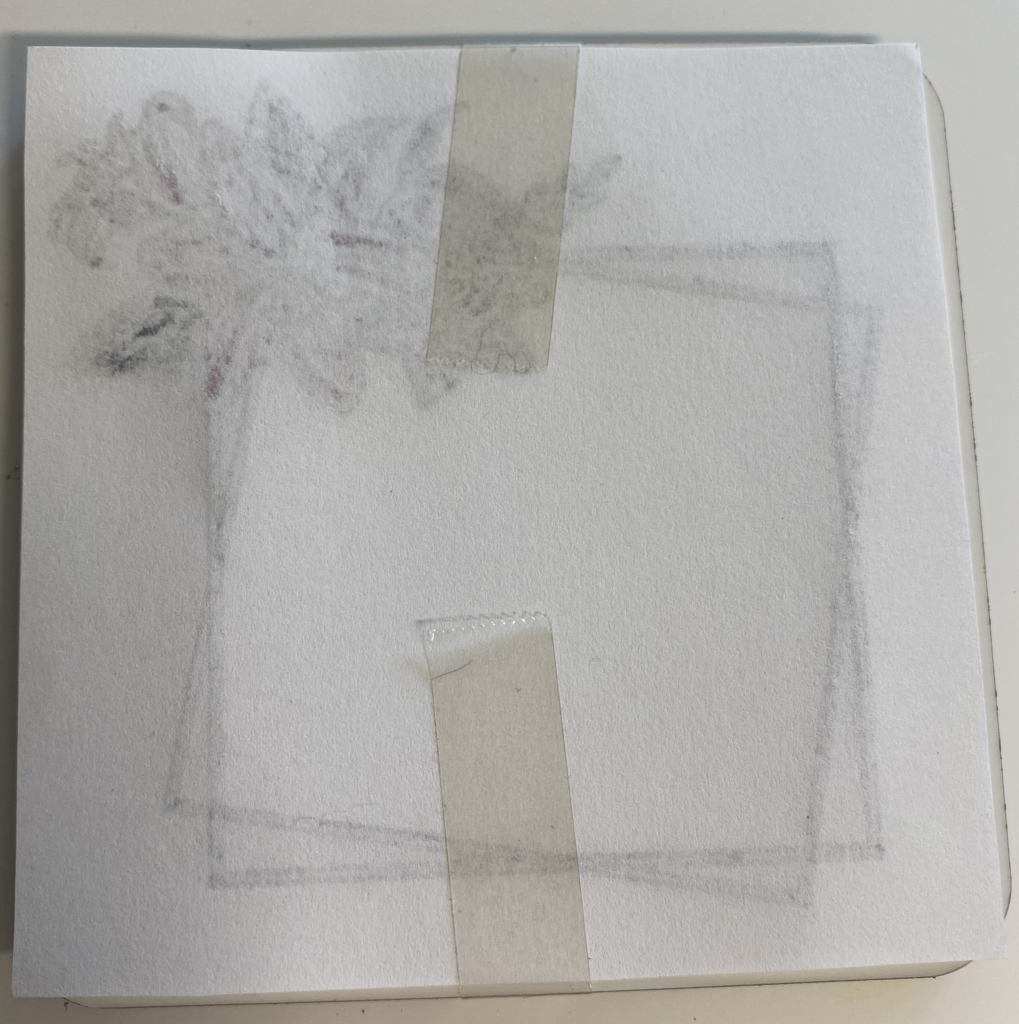
Create a “sandwich” for your blank — I used parchment paper but you can also get protective paper from Artesprix. Place a piece of parchment paper under the blank, then add the blank and then more parchment paper on the top. You are doing this to protect your press platen from any ink excess ink. I change this with each press because it is better to change it than to wind up with lines or color spots in places where you do not want them.

The coasters I purchased should be pressed for 60 seconds at 400 degrees F. Check with the manufacturer of your sublimation blank for time and temperature requirements. Once the coasters are pressed, they are VERY hot! I use a silicone spatula to move them from the press to a tile for cooling. I cool them first of all because they are not but also to give the sublimation process time to stop. I don’t want to move the paper too soon and cause ghosting. Some habits die hard .. this is a holdover from my days of sublimating mugs.
Once the coasters are cool to the touch, I remove the heat resistant tape and the paper. And voila! Beautiful colorful coasters!!

I had so much fun creating all these colorful coasters … especially the coloring part — it reminded me of my youth when coloring was quite “the thing”. I hope you have like my coasters and are ready to create cute sublimation projects of your own using the Artesprix markers! Be sure to post photos of your creations in the FB groups! I love seeing what you create!!
If you enjoyed these tips, please join my Facebook groups … Libby’s Silhouette Group — Tips, Tricks, Tutorials and Projects, Libby’s Craft and Sewing Group and Running With Sisers – Juliet and Romeo. You can also find me on FB at Libby’s Loft.com. Please join and feel free to ask questions and share your creations! I look forward to seeing you there!!
Until Next Time,
Happy Crafting!!
Disclaimer: Posts on this site may contain affiliate links. Clicking on one of these links or making purchases at linked sites does not mean you pay more for your purchases. It means I may receive a small commission on your purchase. This commission helps defray the costs of this site and enables me to continue to provide you with new and exciting content.
Until Next Time,
Happy Crafting!
Disclaimer: Posts on this site may contain affiliate links. Clicking on one of these links or making purchases at linked sites does not mean you pay more for your purchases. It means I may receive a small commission on your purchase. This commission helps defray the costs of this site and enables me to continue to provide you with new and exciting content.
Great post Libby!! Thanks for the shout out!
Thanks! And thanks for all your help!