Frequently we want to add heat transfer vinyl (HTV) and/or rhinestones to our projects but find that seams, straps and other bulky areas can interfere with those products adhering properly.
I like to use press pillows to help offset those bulky areas and make sure I get a good solid press. I just insert the pillow into the blank and press as usual.

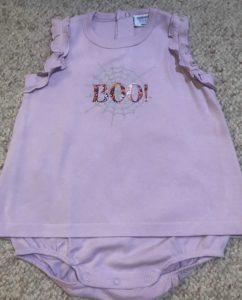
This cute one-piece girls outfit has a skirt on top of the body suit … and the button-up back would have made an impression in in the outfit when pressed …. press pillow to the rescue!
I slipped it between the skirt and the body suit and pressing was a breeze!
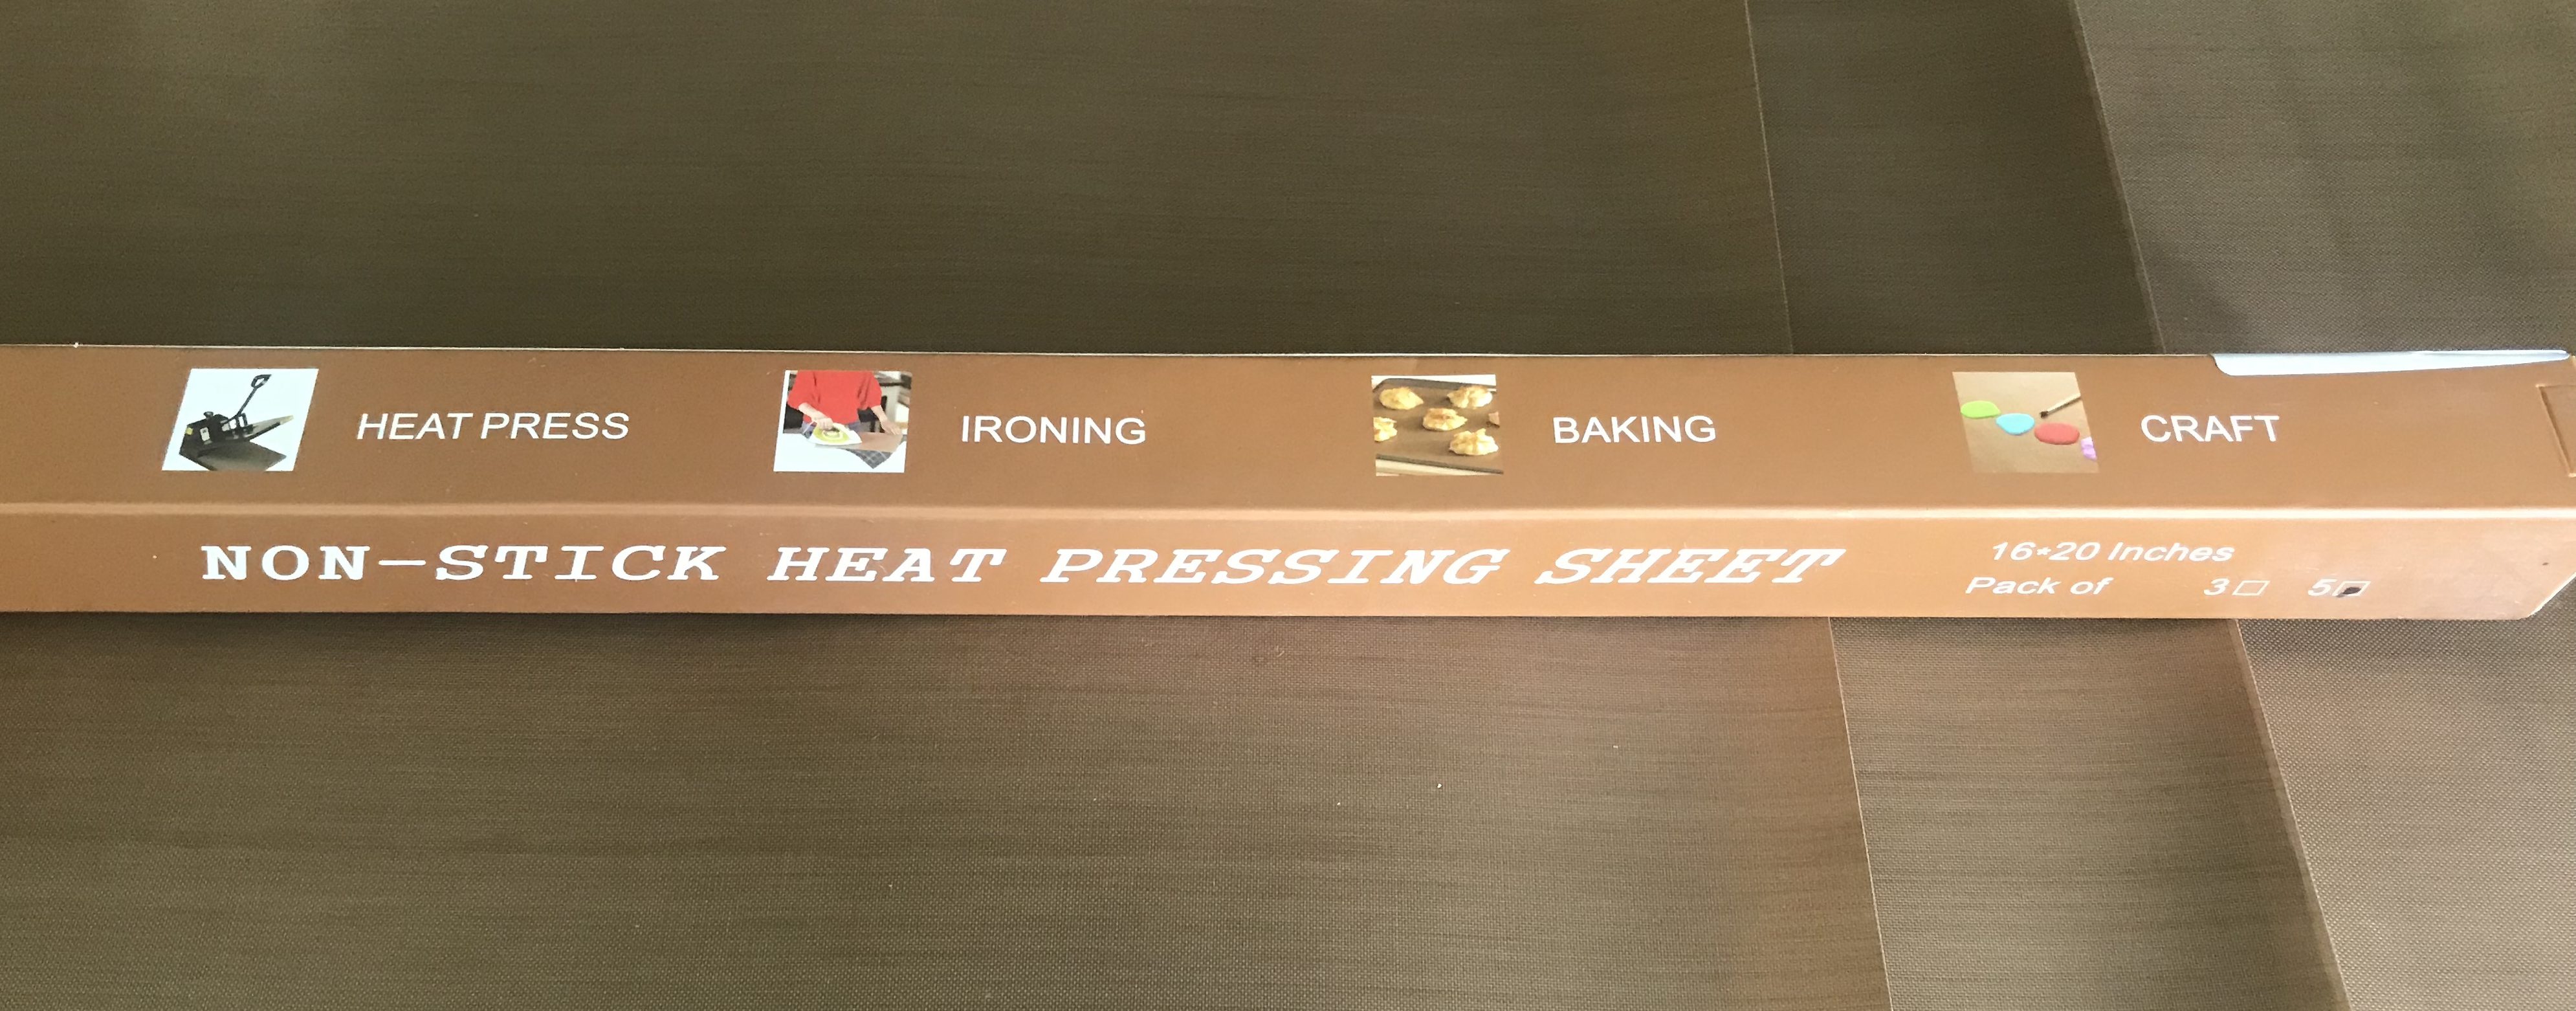
So, how can you create your own press pillows?? All you need are some teflon press sheets and 1/2″ high density foam.
I bought a package of 5 teflon press sheets on Amazon. Their 16″x 20″ size made them perfect for creating several press pillows. I ordered mine several months ago, and when I checked before writing this blog, I found 16″ x 24″ multi-packages as well.
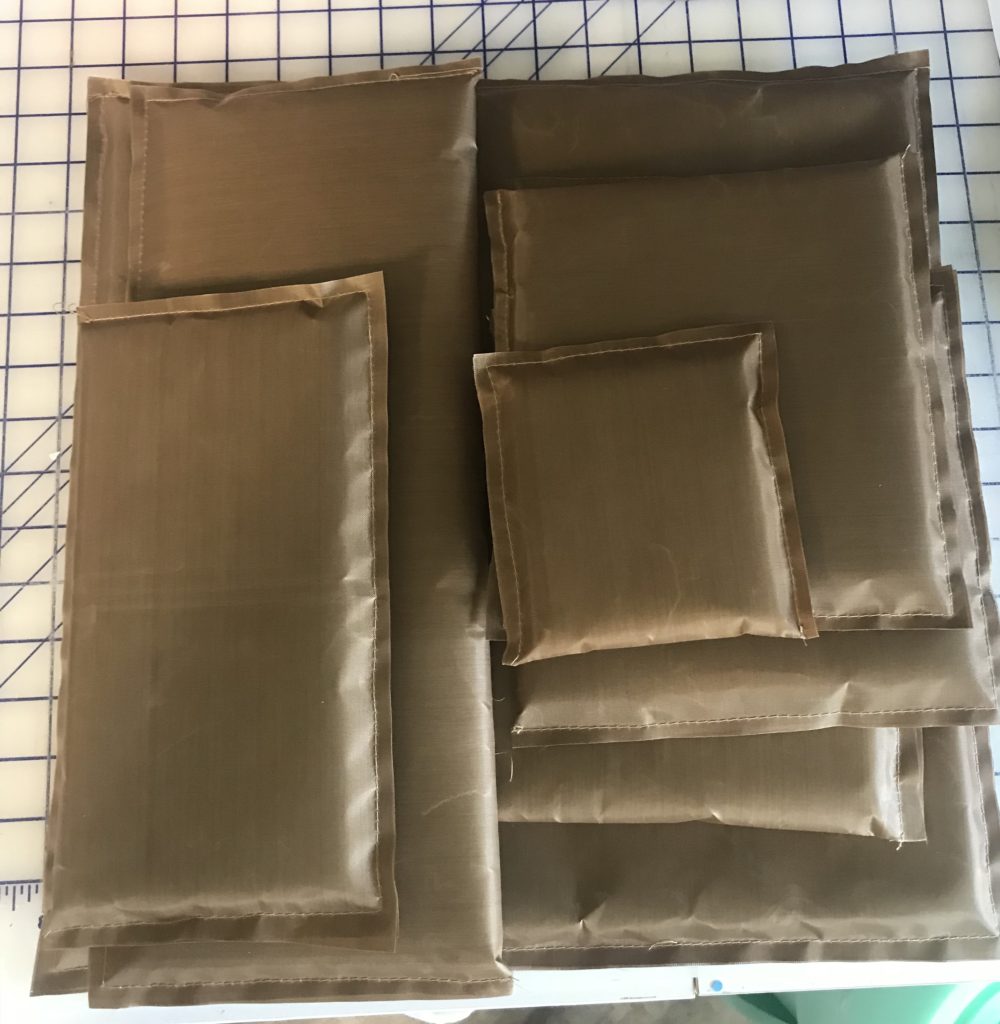
I decided that I definitely wanted a 16″ x 16″ press pillow for working with large pillow covers and tote bags. I also wanted a long pillow for use with pant legs and decided to create a 6.5″ x 16″ press pillow. I also wanted 8″x 8″ and 5″ x 5″ sizes. Finally, I wanted an 11″ x 11″ pillow. Where I was able, I used a long strip of teflon and folded it over so I would only have to sew three sides. After I created these sizes by cutting the teflon sheets to size, I used the excess pieces to create additional press pillows in a variety of sizes. I used 4 of the sheets in my package and wound up with these sizes: 4×4, 5×5, 5×11.5, 8×8, 8×7, 6.5×16, 11×11 and 16×16.
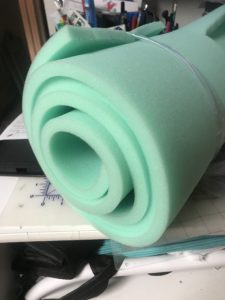
I used 1/2″ high density foam I purchased at JoAnn Fabrics. It was 24″ wide and available by the yard. It was $14.99 a yard and I used a 40% off coupon.
When I cut the first foam insert, I cut it 1/2″ smaller than the teflon pieces (to allow for the 1/4″ seams). For example, I cut a 6×12 piece of teflon and a 5.5×5.5 insert. I folded the teflon in half and sewed two of the sides, then inserted the foam. That’s when I discovered I had forgotten to allow for the thickness of the foam and that my insert was too large. I trimmed it down by an extra 1/4″ on two sides and it fit perfectly.
I used a heavy duty cotton thread (30 wt) in the needle and the bobbin and a straight stitch. I increased the stitch length to 4.0. If one side of the pillow was folded, I sewed two of the other sides, then slipped the foam inside the pocket and sewed the remaining side. I used a 1/4″ seam allowance.
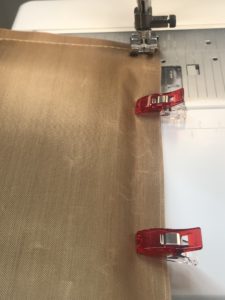
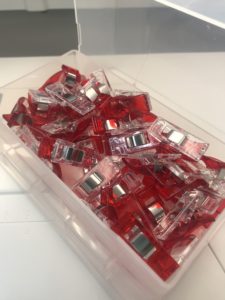
Because the teflon is slippery, I found it helpful to use Clover Wonder Clips to hold the sides together for sewing. These come in a variety of sizes and are great for so many things!
Here’s my stack of finished press pillows … it took about 45 minutes from start to finish … and that includes deciding what sizes I wanted, cutting and sewing. Best of all, my cost was under $20.

If you enjoyed these tips, please join my Facebook groups … Libby’s Silhouette Group — Tips, Tricks, Tutorials and Projects, Libby’s Craft and Sewing Group and Running With Sisers – Juliet and Romeo. You can also find me on FB at Libby’s Loft.com. Please join and feel free to ask questions and share your creations! I look forward to seeing you there!!
Until Next Time,
Happy Crafting!!
Disclaimer: Posts on this site may contain affiliate links. Clicking on one of these links or making purchases at linked sites does not mean you pay more for your purchases. It means I may receive a small commission on your purchase. This commission helps defray the costs of this site and enables me to continue to provide you with new and exciting content.
Until next time, Happy Crafting!!
These are awesome! Thank you!
You said the foam cost $14.99 a yard. How much was the pkg of teflon sheets?
The teflon sheets were $9.99.